
How to Stain a Painted Door Without Stripping It First
You can stain a painted door without stripping it first, but you’ve gotta prep it well. Degrease the door thoroughly, then scuff and degloss until the surface looks uniformly dull. Use a compatible gel stain so it bonds better, and apply thin coats, wiping off excess immediately to avoid dark patches. Let each coat dry, add more as needed, then seal with a clear coat once fully cured. If you want fewer surprises, keep going.
Can You Stain a Painted Door Without Stripping It First?
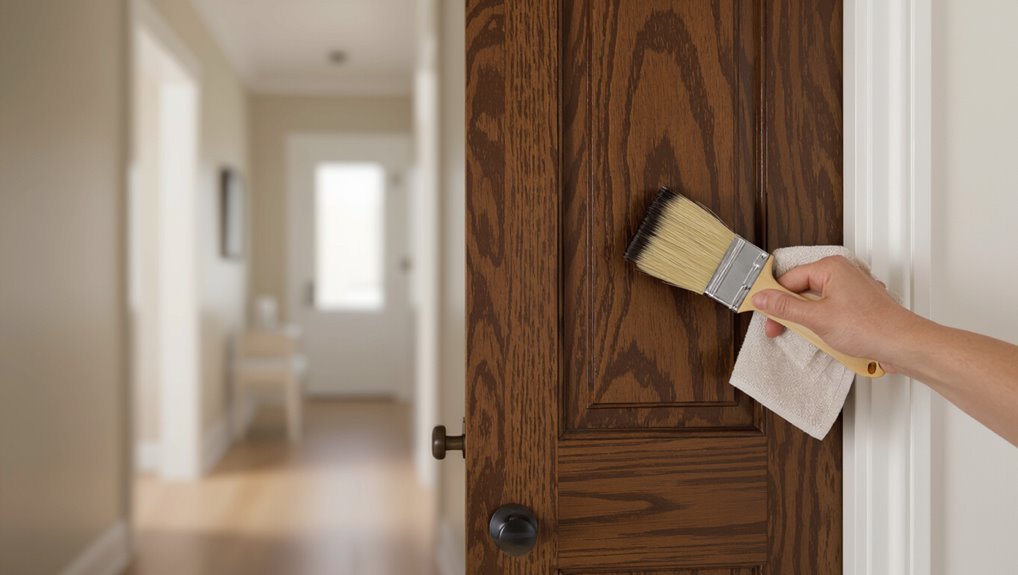
Yes—you can stain a painted door without stripping it first, but the results depend on how well the existing paint will let stain penetrate.
You need to check paint adhesion and surface soundness before you do anything. If the paint is peeling, glossy, or chalky, stain won’t bond evenly and you’ll get blotches.
Clean the door thoroughly, then lightly scuff-sand to dull shine and improve adhesion.
Choose a stain with good stain compatibility for the product you’re working over—often gel stains perform best.
Apply thin, even coats, wipe off promptly, and let it cure fully.
How to Identify Your Door’s Paint Finish
Start by checking the gloss level: rub a finger lightly and observe whether it feels flat, satin, or shiny.
Next, look for the existing sheen type by viewing the door under a light source—matte scatters light, while semi-gloss and gloss reflect it more strongly.
Once you know those two details, you’ll pick the right prep steps and stain approach.
Check For Gloss Level
A quick gloss check tells you how to prep your painted door before you stain. Wipe the surface clean, then shine a flashlight at a shallow angle and watch the light. If you see clear highlights, you’ve got higher gloss effects; if the light scatters softly, you’re closer to matte.
Next, compare sheen variations across panels and edges, since different coats or repairs can create zones that absorb stain differently. Run a fingertip lightly over a hidden area: tacky paint signals recent coatings, while dry, hard paint usually bonds well.
Look For Existing Sheen Type
Before you stain, figure out what sheen your painted door already has, because that finish controls how the stain soaks in.
Walk up close and tilt it under light: high-gloss reflects sharply, satin shows a soft sheen, and eggshell looks nearly matte.
You can test a hidden spot by rubbing gently with mineral spirits on a cloth; if color smears or beads heavily, expect sheen variability and lower paint durability.
Lightly mist water—matte darkens evenly, glossy won’t.
Match your stain plan to the sheen you find, not what you assume.
Supplies List for Staining Over Paint
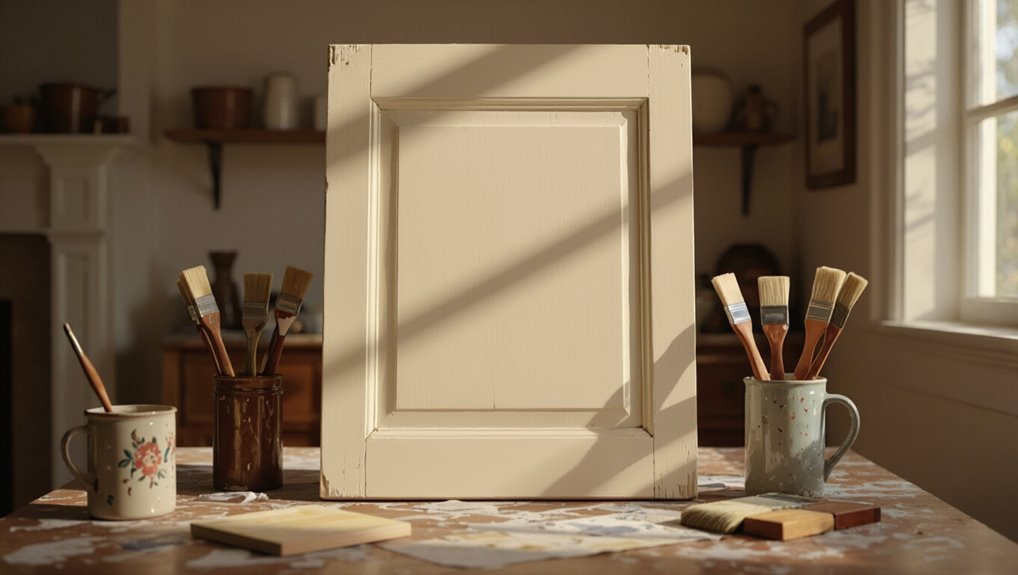
Gather the right supplies before you begin staining a painted door. For solid stain preparation and paint compatibility, you’ll need sandpaper (180–220 grit) or a sanding sponge, a tack cloth, painter’s tape, and drop cloths. Get a high-quality brush or foam applicator, stain, and a clean rag for wiping. Use a gel stain for better coverage over paint, plus an oil-based primer if your coating needs bonding. Check for a clear topcoat match. Here’s a quick checklist:
| Supply | Why | Tip |
|---|---|---|
| Gel stain | Sticks to paint | Test spot |
| 220 grit | Scuff surface | Light pressure |
| Tack cloth | Removes dust | Wipe once |
Clean the Door to Remove Grease and Grime
Once you’ve lined up your supplies for staining over paint, you need to clean the door thoroughly so the stain and primer bond well. Start by removing dust with a vacuum attachment or a dry microfiber cloth.
Then wash the surface using warm water and a degreasing cleaner; focus on handles, trim edges, and corners where fingerprints collect. Scrub gently with a sponge, not steel wool, and rinse with clean water.
Finally, dry completely, using ventilation or a fan. These door maintenance steps and cleaning techniques help you avoid fisheyes and uneven color.
Scuff and Degloss for Better Stain Adhesion
To help your stain grip the painted surface, scuff and degloss the door before you prime or stain. You need to dull the glossy paint so primer can lock in and the stain can penetrate evenly.
Use light pressure and work methodically, then wipe away dust until the surface feels smooth but not polished.
- Choose scuffing techniques: sanding block or scuff pad
- Focus on sheen-heavy areas and edges
- Apply deglossing methods with liquid deglosser per label
- Let it dry fully, then tack-wipe
This prep boosts adhesion and reduces blotching.
Test the Stain on a Hidden Spot First?
Test the stain on a hidden spot before you commit, because even properly scuffed and deglossed paint can absorb stain differently. Do hidden testing in an area like the underside of the door edge or inside a closet frame. Use the same cloth, time, and wiping pressure you’ll use on the surface, and let it dry fully to judge stain compatibility.
| Area | Apply time | Expected result |
|---|---|---|
| Hinge side | 5 min | Even tone |
| Bottom edge | 10 min | Slight blotching |
| Door back | 15 min | Noticeable darkening |
| Center panel | Match yours | Choose best method |
Choose Gel Stain for a Painted Door
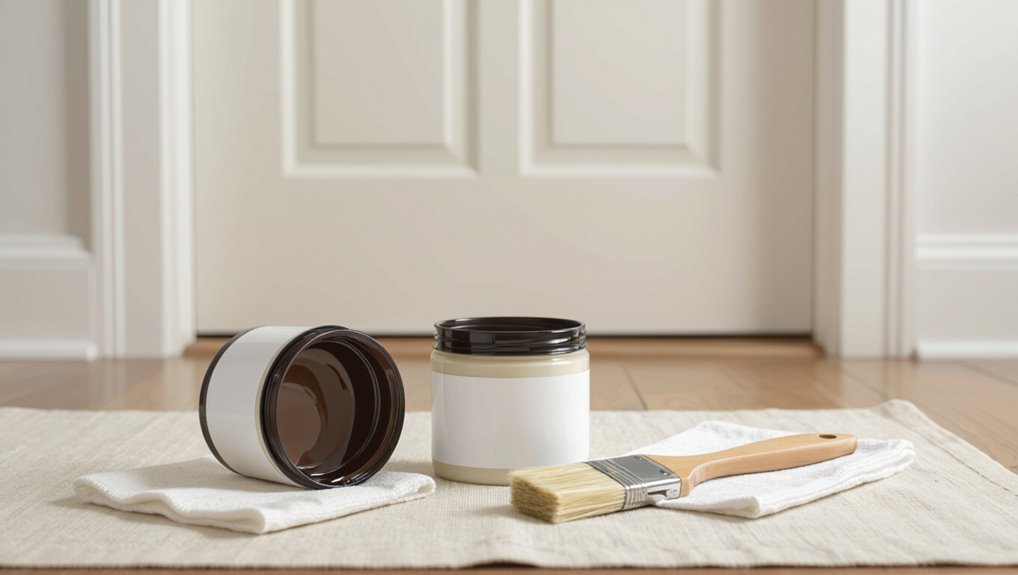
Pick a gel stain formula meant for painted surfaces so it bonds evenly.
When you apply, work in thin coats and spread the gel stain evenly over the paint for consistent color.
Let it sit for the proper dry time before you wipe or seal.
Select Gel Stain Formulas
Gel stain formulas work best on a painted door because they cling to the surface and minimize drips, letting you build color evenly without soaking into the old finish.
Choose gel stain types with a smooth, thick body so they won’t run into panel lines. Test a small hidden spot first, then tweak intensity based on your color selection goals.
- Match sheen: satin or semi-gloss for doors
- Pick a formula labeled for interior wood/paint
- Blend undertones to avoid patchy results
- Plan for multiple light coats, not one heavy coat
Apply Gel Evenly Over Paint
Apply the gel stain in thin, controlled passes so it layers evenly over the painted surface. Use a clean foam brush or lint-free rag, working with the grain and keeping a wet edge as you go.
Press lightly—too much force drags color and creates streaks. Apply the gel in sections, then overlap each stroke slightly to blend. If you see heavy spots, wipe them back quickly with a fresh cloth.
Maintain strong paint compatibility by checking the door’s current sheen; glossy paint may need extra smoothing before gel application techniques.
Allow Proper Dry Time
Once you’ve laid the gel stain evenly, let it dry according to the manufacturer’s directions—because the wrong timing can leave you with blotches or a dull finish.
You’ll get the best results when you follow proven drying techniques and aim for ideal conditions: stable temperature, steady airflow, and no heavy humidity.
Don’t rush to wipe, topcoat, or recoat until the surface is fully set.
Use this checklist:
- Check the label’s dry and recoat windows
- Keep doors flat or properly supported
- Avoid fans blowing directly on the stain
- Let it cure longer if humidity runs high
Pick Color and Sheen Compatible With Paint
Ready to choose a stain that won’t fight your painted surface? Start by using color theory: match the stain undertone to your paint—warm paint wants warm wood tones, cool paint pairs better with grays and ashy browns.
Then check sheen types. A glossy painted door reflects light, so choose a stain with a similar visual depth; otherwise the surface looks blotchy or patchy. For satin paint, use a penetrating stain or a gel stain designed to blend over coatings.
Test a spot inside the door edge, let it cure, and compare color after drying.
Condition Painted Surfaces for an Even Tone
Before you stain, clean the painted surface to remove grease and dust so you don’t lock grime under the finish.
Then lightly de-gloss the door with fine sandpaper or a deglosser to help the stain bond evenly.
Wipe off the residue and let it dry fully before you start staining.
Clean Grease And Dust
Start by removing grease, grime, and dust so the stain can absorb evenly into your painted door’s surface. You want solid grease removal and dust elimination before you stain.
Wash the door with warm water and a degreasing cleaner, then wipe thoroughly with a clean damp cloth. Dry completely, because residue will cause blotches. For stubborn spots, use a non-abrasive sponge and mild cleaner, scrubbing gently in the direction of the grain.
Finish by vacuuming or tack-wiping any remaining particles.
- Degrease all handles and lower panels
- Wipe edges and corners twice
- Let it dry fully
- Remove lint before staining
Lightly De Gloss for Bonding
Lightly deglossing your painted door helps the stain bond evenly instead of beading or blotching on top of the finish.
After cleaning, scuff the surface using fine-grit sandpaper or a deglosser pad, working with the grain. Use light pressure so you don’t burn through the paint.
Then wipe away all dust with a damp cloth, and let it dry fully. These deglossing techniques create a uniform, dull surface for strong bonding methods.
Test on a hidden spot: if the stain soaks smoothly, you’re ready.
Stain the Painted Door With Thin Coats
Apply stain in thin coats so the color builds evenly and doesn’t pool in corners or raised grain.
Before you start, use solid staining techniques and do color matching on a hidden spot to confirm your tone.
Then wipe the door dry, stir the stain, and brush or wipe with the grain using light pressure.
Let each coat dry fully, and add more only as needed.
- Work one section at a time
- Keep a wet edge while blending
- Remove excess stain immediately
- Sand lightly between coats if needed
Avoid Splotches on Painted Door Stains
Before you stain, clean the surface thoroughly so the stain absorbs evenly.
Lightly scuff sand to prevent patchiness, then wipe off dust.
Use the right stain and conditioner together so you avoid splotches.
Clean Surface For Even Absorption
To prevent splotches, you need a door surface that accepts stain evenly, so start by cleaning out dust, grease, and grime.
Do thorough surface preparation: wipe with a degreasing cleaner, then rinse and let it dry completely. If you skip this, uneven absorption techniques can cause blotchy dark spots.
Use a lint-free cloth and fresh water as you work, changing cloths when grime transfers.
- Remove all waxy residue
- Scrub seams and raised panels
- Rinse until water sheets clear
- Dry fully before staining
Light Scuff Sanding Prevents Patchiness
Light scuff sanding is the bridge between painted surfaces and even stain color—so grab a fine-grit sanding sponge (around 220–320 grit) and lightly dull the finish.
Work in the grain, using light pressure so you don’t cut through paint. This scuff sanding knocks down glossy spots that repel stain, helping you avoid dry, shiny patches.
After sanding, wipe thoroughly with a tack cloth or slightly damp rag, then let it dry.
Clean surface equals better stain adhesion, so the stain soaks uniformly and looks consistent across every panel.
Use Correct Stain And Conditioner
Choose the right stain and conditioner first, or you’ll invite splotches on a painted door. You need matching stain types for the finish you want, and you should treat the door evenly.
Start with solid surface preparation: clean thoroughly, let it dry, then lightly scuff so the coating can accept stain. Apply a matching wood conditioner before staining; it controls absorption and reduces blotchy spots. Use thin coats, keeping a wet edge, and wipe consistently.
- Match stain type to the topcoat sheen
- Condition fully, not just where it looks dry
- Work in sections for even dwell time
- Follow stain directions for wipe-off timing
Dry Times: When to Recoat Between Coats
Wait for the paint to fully dry before you recoat; if you rush, you can trap moisture and end up with tacky spots or uneven finish.
Use drying techniques that help airflow and steady temperature—fan circulation and a clean, dust-free workspace work well.
Boost drying with fan circulation and a dust-free, well-ventilated space to keep temperature steady and finish smooth.
Check the surface: you should feel no tack, and the finish should look uniform.
For most interior doors, recoat timing often lands around 2–4 hours, but follow the can’s guidance for your exact product and humidity.
If it’s still cool or humid, wait longer before applying the next coat.
Blend Overlaps and Wipe Drips for Smoothness
Once your first coat feels fully dry to the touch, you can prevent ridges and streaks by blending overlaps as you go and wiping any drips right away.
Use controlled strokes so your stain edges disappear into wet areas—your goal is smooth, even coverage. Apply blending techniques by slightly feathering where you stop and start, then keep a light, consistent pass across the grain.
- Reload brush lightly to avoid puddles
- Feather overlap lines immediately
- Perform drip removal with a clean rag
- Wipe, then recheck for glossy spots
Remove Excess Stain to Prevent Dark Patches
As soon as you see a heavy puddle or a glossy patch forming, you need to remove the excess stain before it soaks deeper and turns darker. For patch prevention, watch your stain application closely, and act fast. Wipe the surface with a clean rag, then lightly feather the edges so color evens out. If the rag picks up too much pigment, wring it and continue. Never leave pooling corners, raised trim, or brush ridges.
| Mistake | Fix |
|---|---|
| Puddle | Wipe fast |
| Glossy spot | Feather out |
| Thick coat | Thin wipe |
| Missed edge | Re-wipe |
| Uneven sheen | Light buff |
Seal It Right: Clear Coat for a Stained Door
Apply a clear coat only after the stain dries fully—usually 24 hours—so you don’t trap moisture under the finish.
Pick clear coat options that match your sheen goals: water-based polyurethane for easy cleanup, oil-based for richer depth, or a wiping varnish for a smooth feel.
Use steady application techniques: stir, don’t shake, and brush with the grain or spray lightly in thin passes. Let each coat tack, then lightly sand before the next for adhesion.
Stir, don’t shake—apply with the grain or lightly spray thin coats. Let each coat tack, then lightly sand for adhesion.
- Wipe away dust between coats
- Use a foam brush for fewer streaks
- Apply thin layers, not one heavy coat
- Finish with the sheen you want
Troubleshoot Fading, Peeling, or Uneven Coverage
If your stained door looks faded, peels, or has patchy coverage, the problem usually starts with surface prep or timing. Clean off dust and grease, then scuff-sand until the sheen dulls, and wipe tack-free.
Let your first coat cure fully before topcoating; rushing causes peeling. For faded color, try fading solutions like a second stain pass or a compatible gel glaze, not paint additives.
If the stain beads or lifts, check stain compatibility with your existing paint and clear coat. For uneven coverage fixes, apply stain with steady, light strokes, keep a wet edge, and blend immediately.
When Stripping Becomes Necessary After Testing
You’ve tested your stain, but problems can still show up once the first coats dry—especially when the old finish is blocking penetration or the paint layer won’t bond cleanly.
If your results look blotchy, sticky, or dull after curing, don’t keep “touching up.” Reassess your testing methods and accept stripping necessity.
- Stain beads on the surface
- Color fades unevenly after drying
- Coating won’t harden or bonds loosely
- Sanding exposes shiny or sealed patches
When you see these, strip the door, then re-stain. That’s the fastest path to a durable, even finish.
Frequently Asked Questions
Will Stain Soak Through Thick Painted Layers?
Yes—stain can soak through thick painted layers a bit, but paint absorption slows it and limits stain penetration. You’ll often get uneven, blotchy color, especially on glossy or sealed coatings. Sand-scuffing or priming helps.
Can I Use Oil-Based Gel Stain Over Latex Paint?
Yes—you can use oil-based gel stain over latex paint, but only if the surface’s cured, clean, and lightly scuffed. Test a small spot first; gel stain application needs latex paint compatibility to prevent peeling or blotches. Seal after.
What if I Can Still Feel Bumps After Sanding—Still Stainable?
If you still feel bump texture after sanding, you can still stain, but the finish won’t look smooth. Re-sand with finer grit, use a sanding block, feather edges, then wipe dust. If bumps persist, you’ll need more leveling.
How Do I Prevent Tannin Bleeding Through the Clear Coat?
“Measure twice, cut once.” Use tannin blocking primer/sealer first; let it cure fully. Then sand lightly, wipe dust, and apply stain application in thin, even coats. Finish with two clear-coat layers, curing between coats to stop bleed-through.
Will Staining Change a Door’s Durability or Moisture Resistance?
Yes—staining can slightly change durability and moisture resistance. You’ll maintain strength if you prep correctly and use an appropriate sealer. Finished stains work as moisture barriers, but poor adhesion or thin topcoats can still invite swelling, peeling, and wear.
Conclusion
You can stain a painted door without stripping it—if you prep it right. First, clean out grease, then scuff the surface so the stain can grip, and wipe off excess to avoid dark blotches. Seal it with a clear coat for a durable finish. You might worry the stain won’t “take,” but with proper deglossing and a quick test spot, you’ll see whether you’re ready to commit.
