
How to Get Scuff Marks Off Painted Walls Without Damaging the Surface
You can usually remove scuff marks without damaging paint by starting gently: try a clean rubber eraser or a lightly damp microfiber cloth and rub in short, careful strokes. If that fails, test a Magic Eraser or mild cleaner on a hidden spot, use light pressure, and check often to avoid dulling the finish. For tougher marks, try a baking‑soda paste, then rinse and dry. Keep going and you’ll find tips on finishes, touch‑ups, and prevention.
Remove Scuffs With a Rubber Eraser
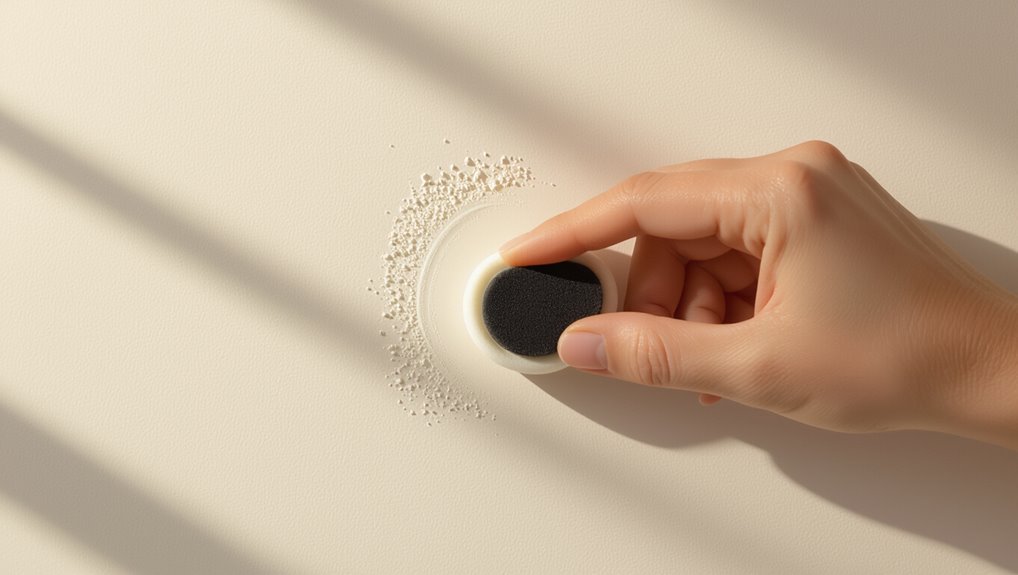
Start by grabbing a clean rubber eraser—preferably a white art eraser or a pencil eraser—and gently rub the scuff in short, light strokes.
You’ll test eraser types on an inconspicuous spot, working from the gentlest to firmer options.
Keep strokes controlled, brush away crumbs, and consider scuff prevention by using door stoppers, furniture pads, and mindful movement to avoid repeat marks.
Use a Magic Eraser Safely
Before you start, test the Magic Eraser on a hidden spot to make sure it won’t remove paint.
Use light pressure and check the area frequently to avoid dulling the finish.
Rinse the wall with a damp cloth and dry it to remove residue.
Test On Hidden Area
When using a Magic Eraser, test it on an inconspicuous spot—like inside a closet or behind a door—to make sure it won’t remove paint or finish.
Try areas with different paint types and wall textures to see effects.
Wait a few minutes, inspect for dulling or abrasion, and only proceed if the test area shows no damage.
Use Light Pressure
Gently rub the Magic Eraser over the scuff—don’t press hard—so you remove marks without sanding off paint or texture.
Use light pressure techniques: short, gentle strokes and frequent checks to avoid overworking the spot.
Combine with ideal cleaning tools like a soft microfiber cloth for surrounding areas.
If residue appears, blot gently rather than scrubbing to preserve the finish.
Rinse And Dry
Finish by rinsing and drying the area to remove residue and protect the paint—wet a clean microfiber cloth with plain water, wipe the spot to lift any remaining particles from the Magic Eraser, then pat dry with a second soft cloth so moisture doesn’t linger and damage the finish.
You’ll preserve wall protection by using proper cleaning techniques and checking the surface for streaks or dulling.
How to Test Cleaners Without Harming Paint
Before you try any cleaner on a visible area, pick a small, inconspicuous spot—like inside a closet or behind a door—and apply the product with a cotton swab or microfiber cloth to see how the paint reacts.
Check cleaner ingredients and paint compatibility, then test:
- Wait five minutes
- Blot, don’t rub
- Inspect for discoloration
- Rinse lightly
- Note results and proceed cautiously
Which Paint Finish Matters: Flat, Satin, or Glossy
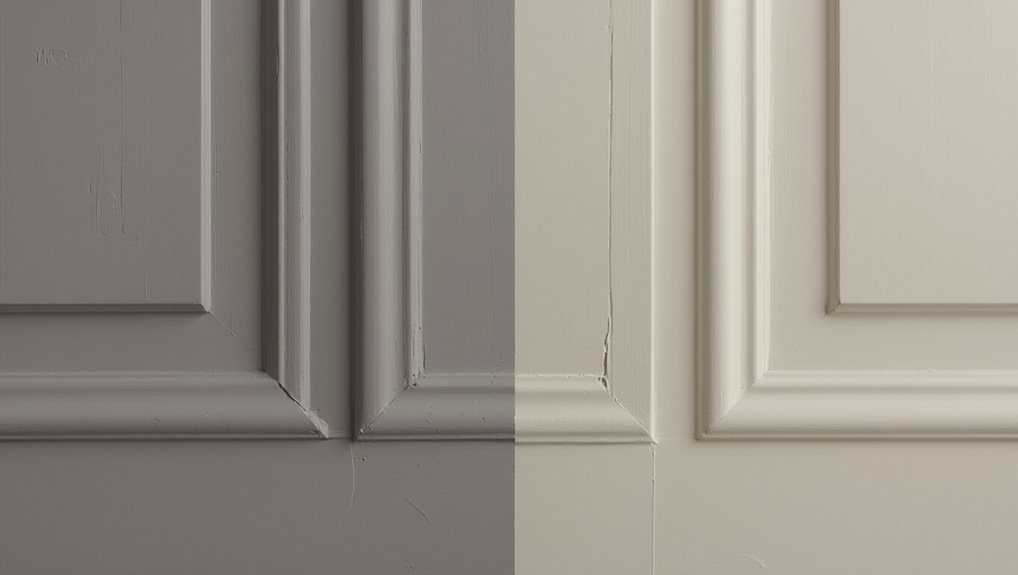
One key factor in how easily scuffs come off is the paint sheen you’ve used, since flat, satin, and glossy finishes respond very differently to cleaning.
You’ll find flat hides imperfections but sacrifices paint durability and resists scrubbing. Satin balances cleanability and subtle sheen, while glossy offers highest paint durability and easy wiping.
Choose finish sheen based on traffic and cleaning needs.
Baking‑Soda Paste to Remove Scuffs
If you’ve chosen a less forgiving sheen like flat paint, you’ll appreciate a gentle but effective method for lifting scuffs without stripping color: a baking-soda paste.
- Mix baking soda with water to a spreadable paste.
- Test on an inconspicuous spot first.
- Gently rub with a soft cloth or sponge.
- Wipe residue with a damp cloth.
- Dry and inspect for full scuff removal.
Mild Household Cleaners That Won’t Strip Paint
When you need a stronger option than a baking-soda paste but still want to protect your finish, reach for mild household cleaners like diluted dish soap, gentle all-purpose sprays, or a vinegar solution; they cut grime and scuff marks without stripping most paints when used sparingly. Use mild detergents and natural solutions; test first, wipe gently, rinse, dry.
| Soap | Vinegar | Spray |
|---|---|---|
| Dilute | 1:4 water | Light mist |
| Soft cloth | Quick rinse | Dry promptly |
Isopropyl Alcohol & WD‑40: When to Use Them
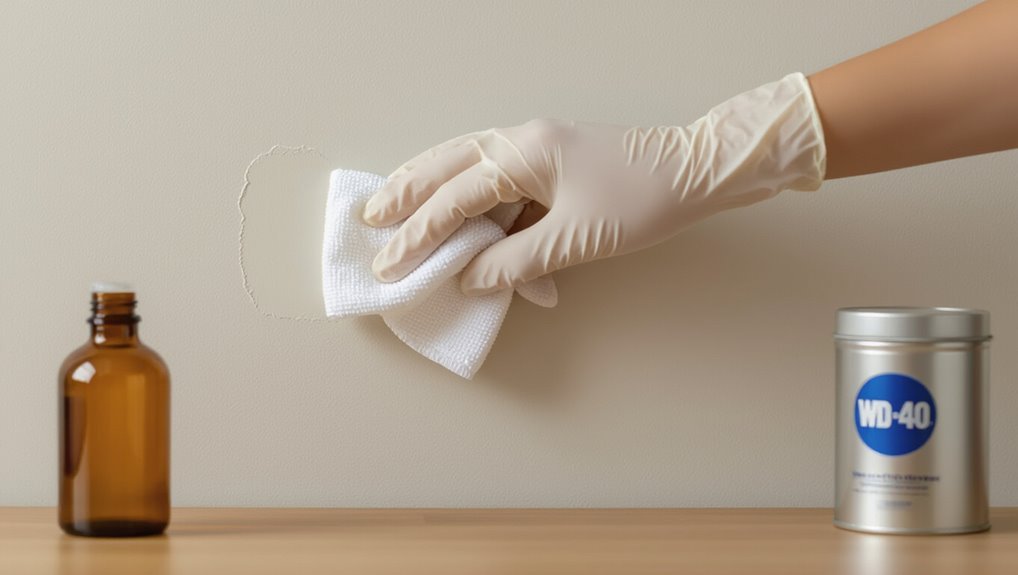
Although they’re stronger than mild cleaners, isopropyl alcohol and WD‑40 each have specific uses you should know:
- Use isopropyl alcohol benefits for ink, marker, or greasy scuffs.
- Test a hidden spot first to protect finish.
- Use wd 40 applications for adhesive residue or crayon marks sparingly.
- Wipe area after treatment with mild soap.
- Avoid prolonged soaking to prevent paint dulling.
Sanding and Buffing Stubborn Scuffs Safely
Start by evaluating the damage so you know whether sanding or buffing is appropriate: light surface scuffs often respond to a gentle buff, while deeper gouges may need fine-grit sanding and touch-up paint.
Use proper sanding techniques—light, even strokes with 220–320 grit—and suitable buffing materials like microfiber pads and nonabrasive sponges.
Work gently, clean dust, and reassess before proceeding.
Touch‑Up Painting: Match Color and Feather Edges
If the scuff still shows after sanding or buffing, match the paint and feather the edges to make the repair disappear.
You’ll want to test color on a small, inconspicuous area first and use a thin brush or mini-roller to blend new paint into the surrounding finish.
You should:
- Prep surface and remove dust
- Use color matching swatches
- Apply thin coats
- Practice edge blending
- Let paint cure before evaluating
Prevent Scuffs: Trim, Door Stops, and Furniture Pads
A few simple additions—trim guards, door stops, and furniture pads—save you time and keep walls looking fresh by preventing the scuffs that sanding and touchups try to erase.
You can install trim guards along high-traffic areas, mount door stops to stop knob strikes, and add felt pads under furniture.
These preventive measures provide discreet wall protection and reduce maintenance.
When to Call a Pro or Repaint Instead
If scuffs come with peeling paint or the wall’s finish is crumbling, you’ll want a pro to assess structural or moisture issues rather than keep spot-treating.
If stains still show after cleaning and touch-ups, repainting the whole wall will give a uniform result.
Don’t wait—addressing extensive damage or persistent stains now will save time and money later.
Extensive Damage Or Peeling
When scuffs come with large flakes, deep gouges, or widespread peeling, you’re past simple touch-ups and need to weigh calling a pro or committing to a repaint.
You’ll consider extensive repair and careful surface preparation; choose pro help for structural or large-area issues.
Quick checklist:
- Assess damage extent
- Check for moisture sources
- Estimate time/cost
- Decide DIY vs pro
- Plan repaint scope
Persistent Stains After Cleaning
Worn paint and peeling are one end of the spectrum; persistent stains after cleaning sit at the other, where vinegar, baking soda, and magic erasers won’t budge marks.
If you’ve tried effective cleaning techniques and still face discoloration, consider professional persistent stain removal or targeted repainting.
A pro can assess primer needs, match finishes, and save time; repaint when restoration won’t fully conceal stains.
Troubleshooting Checklist: Scuff Won’t Budge or Paint Peels
Although most scuffs come off with gentle cleaning, sometimes the mark won’t budge or the paint peels away — and you’ll need a quick troubleshooting checklist to decide the safest next step.
- Test mild scuff removal techniques in an inconspicuous spot.
- Try a magic eraser gently.
- Check for underlying stains or damage.
- Avoid harsh scrubbing to preserve paint protection tips.
- Consider spot priming before repainting.
Frequently Asked Questions
Can Scuff Removers Damage Wallpaper or Textured Wallcoverings?
Yes, they can — you should test scuff remover types first on an inconspicuous spot, since harsh cleaners or abrasive tools can harm wallpaper or textured wallcoverings; gentle products and careful technique protect wallpaper preservation.
Are Scuff-Removal Techniques Safe for Exterior Painted Walls?
Yes — you can safely remove scuffs from exterior walls; think of it like polishing a knight’s armor. Use gentle cleaners suited to exterior paint types, follow scuff prevention tips, and test a hidden spot first.
How Long Should I Wait After Painting Before Removing Scuffs?
Wait about two weeks for most paints to cure enough for gentle scuff removal; high-quality latex often needs 30 days. Consider paint curing and wall types, since porous or exterior surfaces may require longer before scrubbing.
Can Pets’ Claws or Nails Cause Scuffs That Need Different Treatment?
About 60% of pet owners report claw marks; yes, pet claws can cause scuffs needing tougher fixes. You’ll want pet claw prevention, consider scuff resistant paints, and trim nails regularly to minimize damage and treatments.
Do Temperature or Humidity Affect Scuff Removal Effectiveness?
Yes — temperature and humidity affect scuff removal effectiveness: you’ll find scuff removal techniques work best at moderate temperature and low humidity because cleaners dry properly; environmental effects like high humidity can smear residue and slow drying, reducing results.
