
How to Use a Paint Edger on Ceilings Like a Pro
You can get sharp, drip-free ceiling edges fast by picking an edger that matches your ceiling texture, loading it shallowly, and tapping off excess paint. Work with flat or matte latex, protect floors and trim, and use steady, overlapping strokes while keeping your wrist firm. Feather each pass and blend damp edges into surrounding paint to avoid lap marks. Rinse and dry the tool after use, and keep going for tips on tricky textures, crown molding, and cleanup.
Should You Use a Paint Edger on a Ceiling?
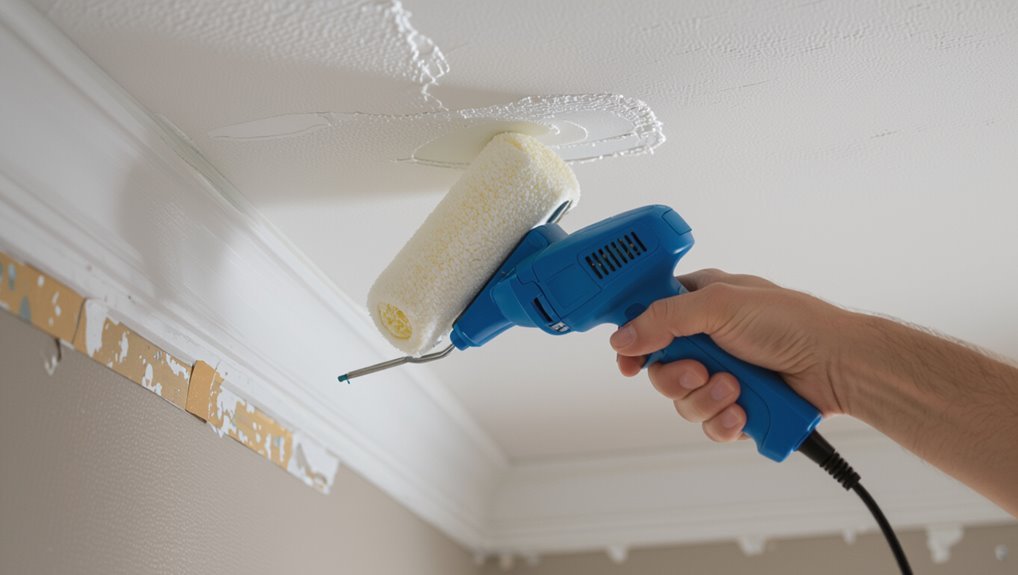
Wondering whether a paint edger works on ceilings? You’ll find paint edger benefits like faster trim work and neater lines, especially if you’re avoiding ladders.
Use steady, controlled motions and pair the tool with proper ceiling painting techniques to minimize drips and roller overlap.
It won’t replace careful prep, but it’ll cut time and improve edge consistency when you work methodically.
Choose the Right Paint Edger for Your Ceiling Type
Pick an edger that matches your ceiling texture—use a foam or felt edger for smooth ceilings and a thicker, more flexible pad for popcorn or heavily textured surfaces.
Check that the edger works with the paint you’re using, since some pads absorb too much water-based paint while others handle oils or thicker formulas better.
Testing a scrap area first will confirm the combo gives a clean line without drips or texture damage.
Match Edger To Ceiling
1 clear choice you’ll make before painting is matching your edger to the ceiling’s texture and height; using the right tool saves time and prevents drips or uneven coverage.
Inspect texture and reach, then pick a foam or microfiber pad for smooth ceilings and a thicker nap for popcorn or knockdown.
Combine edger techniques with solid ceiling preparation for neat, consistent edges.
Consider Paint Type
Your ceiling’s paint and finish determine which edger will give you the cleanest line: latex and water‑based paints work best with foam or microfiber pads that release paint evenly, while oil‑based or high‑sheen paints benefit from denser felt or lambswool pads to avoid streaks and dragging. Choose by paint viscosity and adjust application techniques.
| Paint | Pad | Result |
|---|---|---|
| Latex | Foam | Smooth |
| Oil | Felt | Dense |
Best Paint and Finish for Ceiling Edging
When edging a ceiling, you’ll want to pick a paint formulated for ceilings or interior walls—flat or matte latex is usually best for hiding imperfections.
Choose a low-sheen finish like flat or matte to minimize glare and make touch-ups less noticeable.
If the ceiling is in a high-moisture area, go with a mildew-resistant latex with a slight egg-shell sheen for easier cleaning.
Paint Type Selection
Because ceiling edging sits where light hits differently than walls, pick paint that hides imperfections and resists drips: a flat or matte ceiling paint is usually best for large, smooth ceilings, while a high-quality eggshell or satin can work if the ceiling needs occasional wiping.
Choose reputable paint brands, match primer and paint type, and prioritize good coverage and low-spatter formulations for edging success.
Finish Sheen Choices
Although ceilings don’t take the same wear as walls, the sheen you pick for edging still matters: you’ll balance sheen durability versus sheen reflection.
Choose flat or matte to hide imperfections and minimize glare, or an eggshell for slight washability without strong reflection.
For long-lasting trim near fixtures, satin offers better durability, but avoid high gloss on broad ceilings to prevent shine.
Prep the Room: Protect Furniture, Floors, and Trim
Start by clearing the room of small items and moving furniture to the center or another space you’ll cover; you want easy access to walls and trim.
For room preparation, lay down floor protection and use furniture covers.
Install trim safeguards and tape edges.
Control dust with drop cloths and a vacuum.
Keep paint storage sealed and nearby for quick access.
Clean, Repair, and Prime the Ceiling Before Edging
Before you break out the edger, give the ceiling a quick but thorough once-over: dust and cobwebs can ruin a smooth finish, so vacuum or wipe down the surface, patch any nail pops or cracks with joint compound, sand lightly, and spot-prime stains or repaired areas so the edger lays down consistent paint.
Then perform a brief surface inspection as part of ceiling preparation, removing loose texture and ensuring even priming.
How to Load an Edger Without Overloading Paint
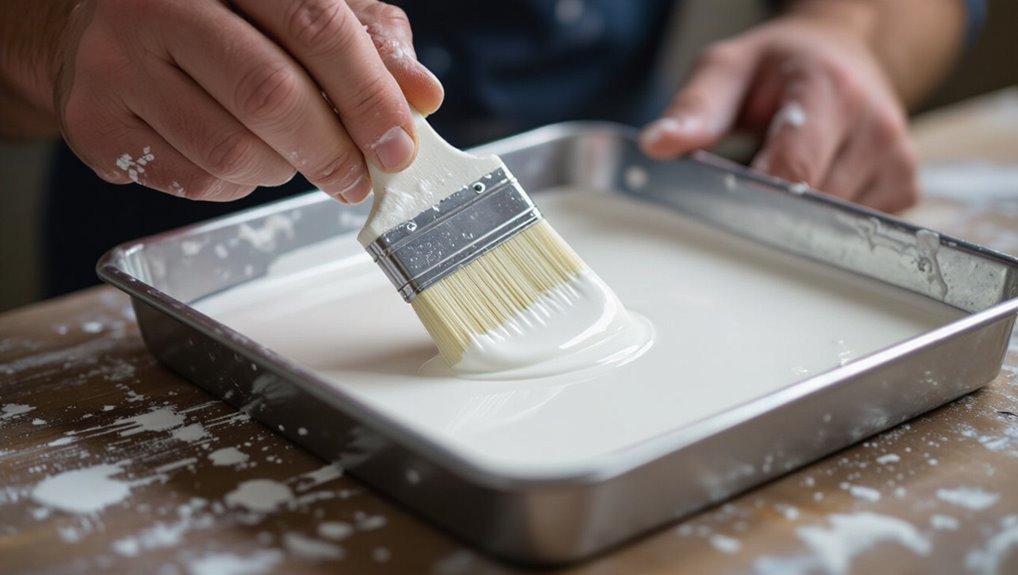
1 simple habit will keep your edger from gobbling paint: dip it shallowly and tap off the excess. You’ll use loading techniques that meter paint, preventing drips and avoiding spills.
Follow these steps:
- Dip edge 1/4 inch, tap rim.
- Wipe lightly on tray flange.
- Reload frequently with small amounts to maintain control and clean lines.
Hold and Angle the Edger for Clean Ceiling Lines
With the edger loaded just enough, position your hand so your wrist stays straight and your forearm does the guiding — that lets you keep a steady edge against the ceiling without wobble. Use a firm edger grip and subtle angle technique, keeping the pad flush and your body aligned to prevent drips and missed spots.
| Calm | Precision | Confidence |
|---|---|---|
| Breath | Focus | Steady |
| Control | Visual | Comfort |
| Trust | Skill | Pride |
| Finish | Joy | Clean |
Edging Strokes: Speed, Pressure, and Overlap
Keep a steady, moderate stroke speed so the edger lays paint evenly without drips.
Apply consistent pressure from start to finish to avoid gaps or buildup at the edges.
Overlap each pass by about half the pad width to blend strokes smoothly and maintain a uniform line.
Stroke Speed Control
Think of each edging stroke like a ribbon you lay down—move too fast and the paint thins out, move too slow and it pools.
You’ll refine your stroke technique with deliberate speed adjustment and steady pressure.
Practice this routine:
- Start moderate, feel the flow.
- Increase speed for thin runs.
- Slow for coverage near corners.
Consistent Overlap Technique
Because edging relies on a steady, predictable rhythm, you should overlap each pass by about a quarter inch so seams disappear and coverage stays even; match your speed and pressure to the previous stroke so the wet edge blends seamlessly into the next.
Maintain a consistent technique: move at a measured pace, keep even pressure, and check overlap frequently. These edging tips prevent lap marks and guarantee smooth ceilings.
Create a Straight Line at the Ceiling–Wall Joint
Want a crisp, straight line where ceiling meets wall? Use the straight edge technique and precision tools to guide your edger.
Want a crisp, straight line where ceiling meets wall? Use a straight edge and precision edger.
Follow these steps:
- Tape a guard where needed, align edger with ceiling.
- Keep steady pressure, move slowly along the joint.
- Feather the last millimeter toward the wall to blend. Clean edges prevent touch-ups.
Handling Corners, Light Fixtures, and Crown Molding
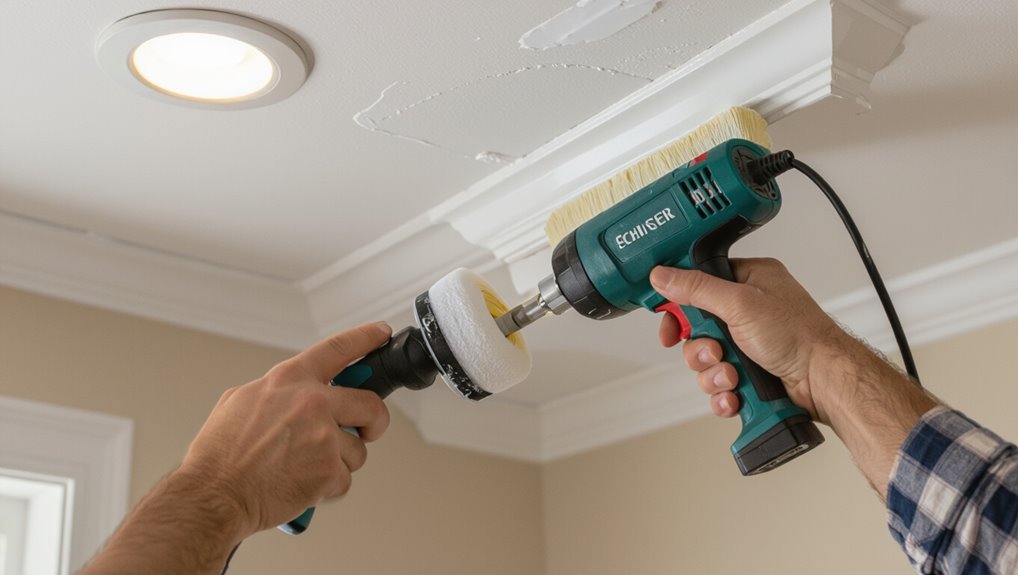
When you reach corners, take your time and angle the edger so you get a clean cut without smudging the adjacent wall.
For light fixtures, mask and work slowly around switches, outlets, and ceiling lights to avoid drips and paint on hardware.
When tackling crown molding, follow the profile closely with short, controlled strokes to keep the trim crisp and even.
Cutting In Corners
Corners, light fixtures, and crown molding demand a steadier touch than flat walls, so take your time and position the edger to maintain steady pressure as you guide paint into tight angles and around obstacles.
Use corner techniques and precision edging to stay neat.
- Feather edges lightly
- Angle blade into joint
- Wipe excess on tray before turning
Working Around Fixtures
Although tight spaces demand patience, you can handle fixtures confidently by keeping the edger steady and working in short, controlled strokes.
Move slowly around fixture placement, masking edges with painter’s tape. Make minimal light adjustments to reduce glare and see seams.
For recessed cans or hanging fixtures, remove bulbs when possible, protect hardware, and feather edges to blend with surrounding ceiling paint.
Navigating Crown Molding
Because crown molding sits where wall meets ceiling, you’ll need a steady hand and the right technique to keep your edger aligned, especially at corners and around light fixtures.
Use these crown molding techniques to protect profiles and match crown molding styles.
- Tape edges before cutting in.
- Rotate edger for angled corners.
- Use trim brush near fixtures and corners.
Fix Drips, Roller Marks, and Paint Buildup
Small drips, roller marks, and paint buildup are easy to fix if you act before the paint fully dries: smooth drips with a damp brush or roller, lightly back-roll to erase roller lines, and feather out excess paint with a clean, slightly damp brush to blend the edge.
For drip prevention and paint smoothing, gently remove buildup, blot excess, and work small sections to keep edges neat.
When and How to Blend Edged Areas With a Roller
Once you’ve edged a section, grab a roller and blend the damp edge into the surrounding paint while it’s still wet so the seam disappears.
Use controlled strokes and light pressure to avoid lap marks. Focus on blending techniques and consistent roller application.
- Feather edges outward.
- Match roller nap to paint.
- Work in small sections for uniformity.
Tips for Textured and Popcorn Ceilings
If your ceiling has texture or popcorn, take extra care when edging since the rough surface can catch paint and create drips; work slowly and keep the edger lightly loaded so you don’t overload the peaks. Use textured techniques and popcorn preparation: test pressure, angle, and paint amount.
| Test | Angle | Pressure |
|---|---|---|
| Light | 45° | Gentle |
| Trial | 30° | Moderate |
| Adjust | 60° | Minimal |
Quick Cleanup and Care for Your Paint Edger
After you finish edging a textured ceiling, don’t let paint dry on the tool—clean it promptly to keep it working smoothly.
After edging a textured ceiling, clean the tool promptly—never let paint dry on it.
Use edger maintenance tips and simple cleaning techniques to prolong life.
Follow this quick routine:
- Rinse excess paint immediately.
- Use mild soap and a soft brush.
- Dry thoroughly and store in a ventilated spot.
Accessories That Make Ceiling Edging Faster and Easier
To speed up ceiling edging and cut down on strain, use a few handy accessories that boost reach, control, and cleanup.
Pick edger accessories like extension poles and brush variations for tight corners. Use paint trays, tape options, and protective gear to work cleanly.
Master applicator techniques, keep cleaning supplies handy, and you’ll finish faster with neater edges.
Troubleshooting: What to Do If Lines Look Uneven
When your ceiling lines look uneven, don’t panic—small fixes will usually clean them up quickly.
Check these steps to correct uneven lines and handle fixing mistakes fast:
- Lightly sand or feather edges with fine-grit sandpaper.
- Reapply thin paint with steady pressure, using the edger or a brush.
- Touch up with a small angled brush for crisp, clean seams.
Frequently Asked Questions
Can a Paint Edger Be Used With Ceiling Stains or Watermarks Present?
Yes—you can, but you shouldn’t until stains are treated. Use stain removal techniques, prime spots, then follow ceiling preparation tips. That prevents bleed-through, guarantees adhesion, and lets your edger produce clean, professional-looking results.
How Long Should Painted Ceiling Edges Cure Before Touching or Rehanging Fixtures?
About 24 hours: studies show 80% of latex paints reach initial cure by then, so you should wait at least 24–48 hours before light handling and 72 hours for secure fixture reattachment to guarantee full cure time and safe fixture reattachment.
Can I Use an Electric Paint Edger Extension Pole With a Ladder?
Yes — you can, but prioritize safety: use an electric edger benefits-aware setup, guarantee extension pole compatibility with your ladder, lock connections, maintain balance, and have a spotter so you won’t overreach or tip the ladder.
Are There Safety Tips for Edging Ceilings With Flaking Lead-Based Paint?
Yes—you shouldn’t risk it: investigate claims that small scraping releases dangerous dust. Use lead paint precautions, wet methods, and protective gear (respirator, disposable suit, gloves); seal off area, avoid DIY if paint’s severely flaking.
How Do Humidity and Temperature Affect Ceiling Edging Drying Times?
Humidity effects slow drying in high humidity, so you’ll need longer wait times and better ventilation; temperature considerations mean colder temps slow curing while warmer speeds it, but extreme heat can cause blistering, so aim for moderate conditions.
