
Can You Paint Over Acrylic Paint With Regular Wall Paint?
Yes — you can paint over acrylic with regular wall paint as long as the acrylic layer is sound, clean, and not overly glossy. You’ll want to wipe away dirt, sand glossy areas lightly, remove any flaking or powdery spots, and apply a compatible primer if needed so the new paint will stick. Use thin, even coats and test a small area first to check adhesion; keep going for details on prep, paints, and troubleshooting.
Can You Paint Over Acrylic With Regular Wall Paint?
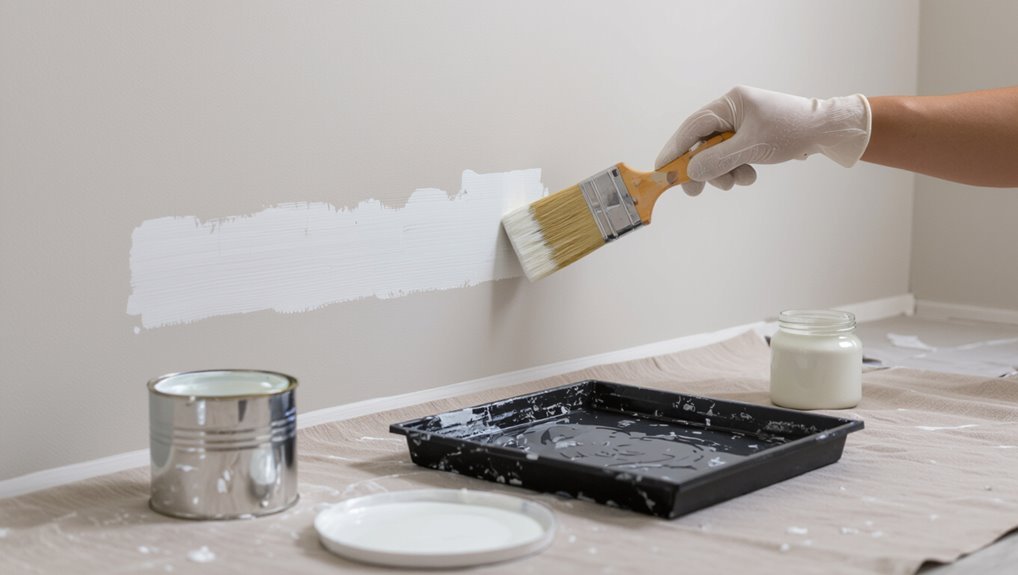
Yes—you can paint over acrylic with regular wall paint, but prep matters.
You’ll assess acrylic paint properties first—adhesion, gloss, and flexibility—to decide if sanding or priming’s needed.
Clean and scuff glossy acrylic, apply a suitable primer, then test wall paint compatibility on a small area.
That guarantees the new finish bonds evenly and won’t peel or show through.
When Painting Over Acrylic Is Safe: Surfaces and Paint Condition
When the acrylic layer is intact, clean, and not overly glossy, you can safely paint over it with minimal prep; check for flaking, cracking, or strong brush marks first, because damaged acrylic needs repair or removal before recoating.
Guarantee substrate stability and assess acrylic durability; sand lightly for adhesion.
Confirm paint compatibility between your wall paint and the acrylic base to avoid peeling or uneven finish.
When You Should Not Paint Directly Over Acrylic
If the acrylic layer is peeling, cracked, powdery, or has been applied over an unstable substrate, don’t paint directly over it—you’ll trap moisture and make adhesion problems worse.
Peeling, cracked, or powdery acrylic over unstable substrates must be removed—painting over it traps moisture and worsens adhesion.
You need to respect acrylic limitations and check surface compatibility before proceeding.
- Remove loose film and clean thoroughly.
- Test adhesion with a tape pull.
- Repair or prime unsuitable substrates first.
Tools and Supplies You Need Before You Start
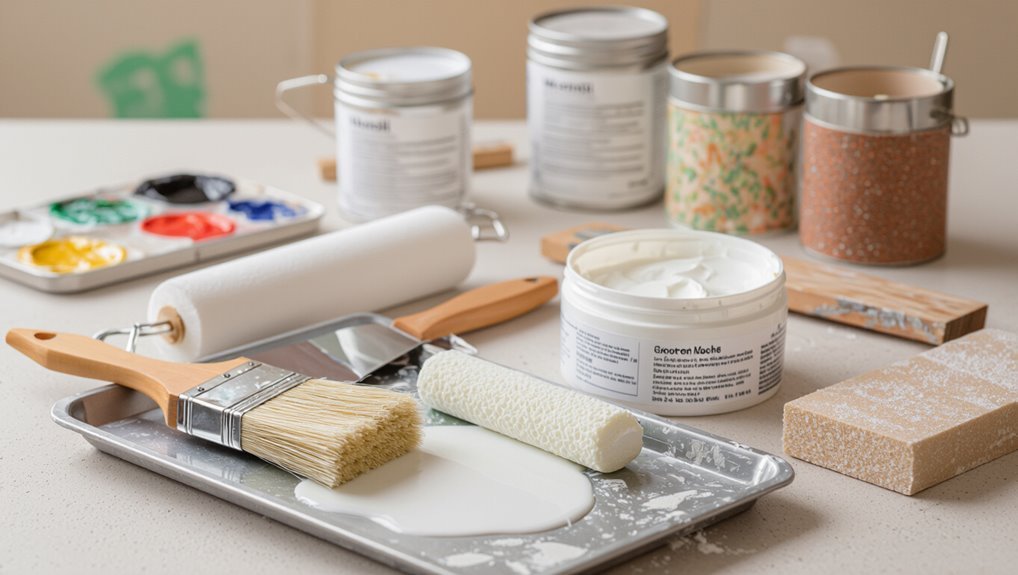
Gather a basic toolkit before you start so you won’t halt mid-job: you’ll need quality sandpaper (120–220 grit), a stiff brush or vacuum for dust, tack cloths, a good primer compatible with both the substrate and new paint, and the paint itself plus brushes or rollers suited to the finish you want.
Create a clear tools checklist, confirm supply sources, and pack gloves, drop cloths, trays, and masking tape.
Prep Steps to Paint Over Acrylic: Clean, Sand, Degloss
Start by thoroughly cleaning the surface, then scuffing and deglossing it so the new paint can adhere properly.
You’ll use simple cleaning techniques, test sanding methods, and a solvent or deglosser as needed.
- Remove dirt with detergent; rinse and dry.
- Lightly sand glossy areas with fine grit.
- Wipe residue with tack cloth or deglosser.
Do You Need Primer? Best Primers for Acrylic Surfaces
Wondering whether you need a primer before painting over acrylic? You usually do.
Choose primer types based on adhesion and stain-blocking: acrylic primers for porous surfaces, bonding primers for slick or glossy acrylic, and shellac or oil primers for tough stains.
Check surface compatibility—ensure the primer adheres to the existing acrylic and to your new wall paint for a durable, even finish.
Best Wall Paints to Use Over Acrylic
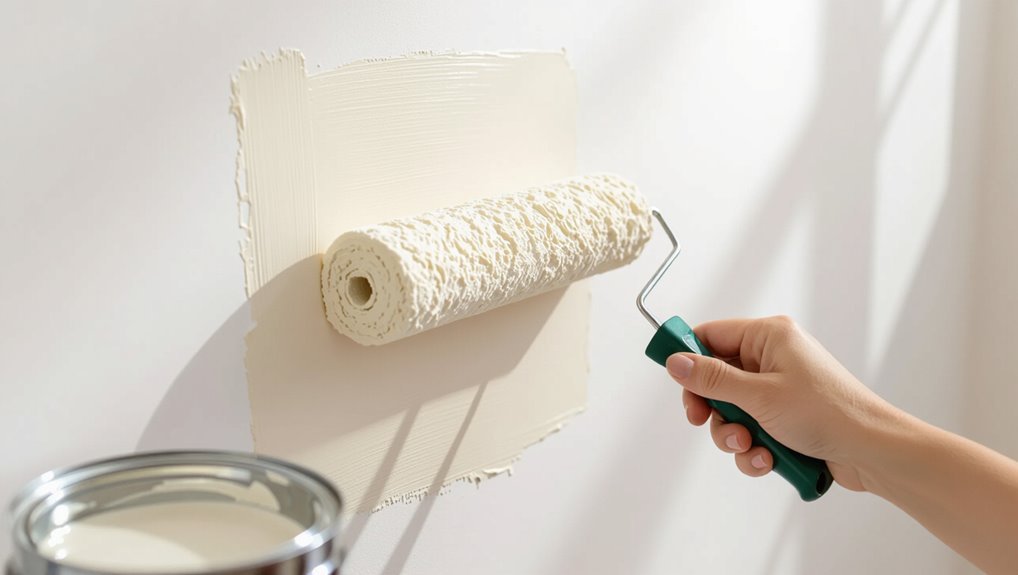
Choosing the right wall paint to go over existing acrylic matters because it affects adhesion, coverage, and final appearance.
You should pick paints with proven adhesion and consider color compatibility to avoid visible undertones. Aim for quality best wall finishes that resist yellowing.
- Latex enamel — durable, easy cleanup.
- Acrylic latex — flexible, breathable.
- Water-based eggshell/satin — subtle sheen, forgiving.
How to Apply Paint for Even Coverage and No Peeling
Before you paint, you’ll want to clean, sand, and repair the acrylic surface so the new coat can bond properly.
Apply a suitable primer to improve adhesion and block any stains or uneven textures.
With proper prep and primer, you’ll get even coverage and reduce the risk of peeling.
Surface Preparation Steps
1 key to a smooth, long-lasting repaint is thorough surface preparation: clean the area, remove loose or peeling acrylic, sand glossy spots to dull the surface, and prime any bare or patched sections so new paint adheres evenly and resists peeling.
- Match prep to surface types for consistent adhesion and finish.
- Repair cracks and sand edges until smooth.
- Clean, degrease, and let dry to boost paint durability.
Primer And Adhesion
When you want even coverage and to prevent peeling, apply a compatible primer that bonds to the existing acrylic and the substrate; this creates a uniform surface so the new paint spreads smoothly and grips securely.
You’ll choose adhesion techniques like bonding primers or a light deglossing, confirm surface compatibility, follow dry times, and sand between coats so the topcoat adheres evenly and resists peeling.
Troubleshooting: Common Problems After Painting Over Acrylic
If you notice bubbling, cracking, or poor adhesion after painting over acrylic, don’t panic—you can usually fix it.
- Check for acrylic adhesion issues: sand glossy areas and clean residue before recoating.
- Address paint compatibility concerns: use a bonding primer when switching paint types.
- Remove loose flakes, allow full cure, and apply thin, even coats to prevent recurrence.
Quick Checklist: DIY vs. Hire a Pro
Think about how much time and effort you can commit and whether your skills match the job before you start.
If you’re short on experience or the project is large, hiring a pro might save you money in the long run despite the higher upfront cost.
For simple touch-ups or small rooms, you can probably handle it yourself and keep costs low.
Time And Effort
Because your schedule and stamina shape the project’s success, weigh time and effort before deciding to DIY or hire a pro.
You’ll use time management and effort assessment to plan tasks, breaks, and realistic timelines; be honest about availability and energy.
- Estimate hours for prep, painting, drying.
- Compare that to your weekly free time.
- Factor in fatigue and possible delays.
Skill And Cost
Now that you’ve mapped time and effort, assess the skills and costs involved to decide whether to DIY or hire a pro.
Do a quick skill assessment: can you prep, prime, and blend without streaks?
Then run a cost analysis: materials, tools, and possible fixes versus contractor rates.
If skills or time fall short, hiring a pro may save money and headaches.
Frequently Asked Questions
Can You Use Oil-Based Paint Over Acrylic Without a Primer?
No, you shouldn’t; oil paint compatibility with acrylic surfaces is poor without primer, and acrylic paint adhesion can fail. You’ll need a proper solvent-wipe, sanding, and a bonding primer so the oil will stick reliably.
Will Acrylic Paint Bleed Through Latex Wall Paint Over Time?
Yes — acrylic paint can bleed through latex wall paint over time if the acrylic wasn’t fully cured or sealed; you’ll want to prime or seal the acrylic first so the wall paint adheres and won’t discolor or lift later.
How Long Should Acrylic Cure Before Repainting With Wall Paint?
Coincidentally, you’ll want to wait about two weeks—acrylic paint curing completes enough for reliable adhesion; longer’s better if applied thickly. That helps guarantee wall paint compatibility and reduces risks of peeling or bleeding later.
Can You Paint Over Acrylic on Exterior Surfaces in Cold Weather?
Yes — you can, but you’ll need to prep properly. You’ll guarantee acrylic paint adhesion by cleaning, sanding, and using primer; cold weather challenges like slowed curing and moisture mean you’ll paint only when temperatures and forecast are suitable.
Are There Health Concerns When Sanding Old Acrylic Paint?
Yes — you should be cautious: sanding old acrylic paint can release harmful particles, so you’ll use sanding safety measures and dust precautions like a respirator, wet sanding, containment, and HEPA cleanup to protect your health.
