
Can You Seal Mold With Paint? What Experts Say About This Common Fix
You shouldn’t seal active mold with paint because that only hides spores and moisture without fixing the root cause. If you just paint over stains, the mold can keep growing beneath the finish, spreading spores and mycotoxins and risking health issues. After proper cleanup and drying, mold-resistant primer and paint can help prevent return, but paints don’t replace removal for active or extensive infestations—keep going to learn when paint is appropriate and what remediation specs experts recommend.
Can You Safely Paint Over Mold? : Short Answer
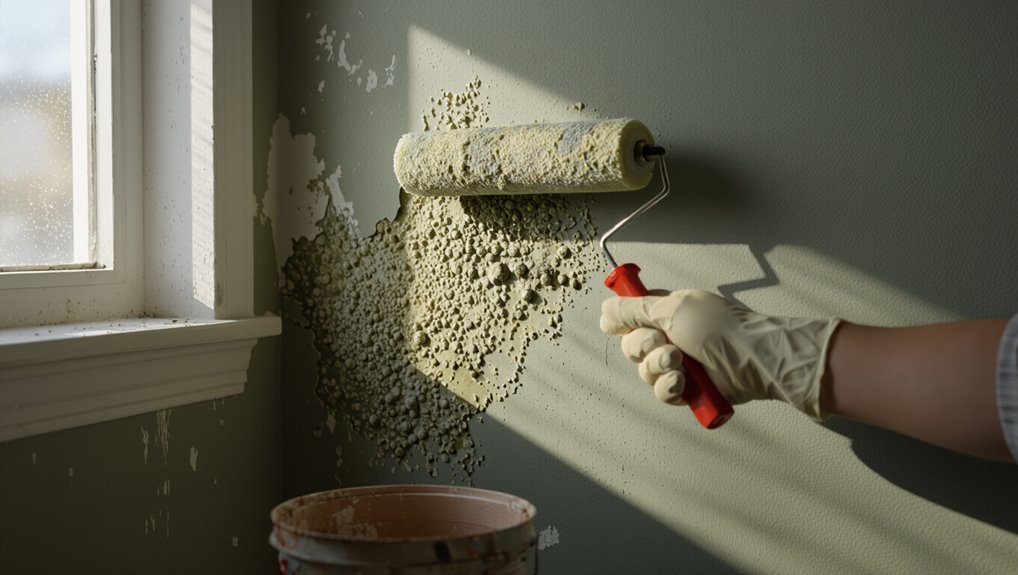
Can you safely paint over mold? You shouldn’t.
You’ll reinforce mold misconceptions if you skip remediation; paint effectiveness is limited to covering, not killing spores or stopping moisture.
Painting over mold only hides it; it won’t kill spores or fix the moisture causing it.
You should first remove mold, fix leaks, and dry surfaces.
Use appropriate cleaners and protective gear, then apply mold-resistant primer and paint only after the area’s truly remediated to avoid health risks and recurrence.
Why Mold Often Returns After a Paint-Only Fix
Painting over mold might seem like a quick fix, but it usually only masks the problem temporarily.
You’ll see mold regeneration because spores, moisture, and food sources remain. Without addressing root causes, paint seals them in.
Use prevention strategies like fixing leaks and improving ventilation, not just coatings.
- Spores survive under paint
- Hidden moisture persists
- Organic residues remain
- Poor airflow continues
- Temporary cosmetic cover
When Is Sealing Mold With Paint Appropriate?
While you shouldn’t rely on paint as a cure-all, sealing over mold can be appropriate in specific, controlled situations—for example, after you’ve removed active growth, fixed moisture sources, and cleaned the surface thoroughly. You should follow mold prevention strategies and use effective sealing techniques: choose primer, test adhesion, monitor treated areas, and only seal when conditions are stable.
| Step | Action |
|---|---|
| 1 | Clean |
| 2 | Prime |
| 3 | Monitor |
Signs You Have an Underlying Moisture Problem
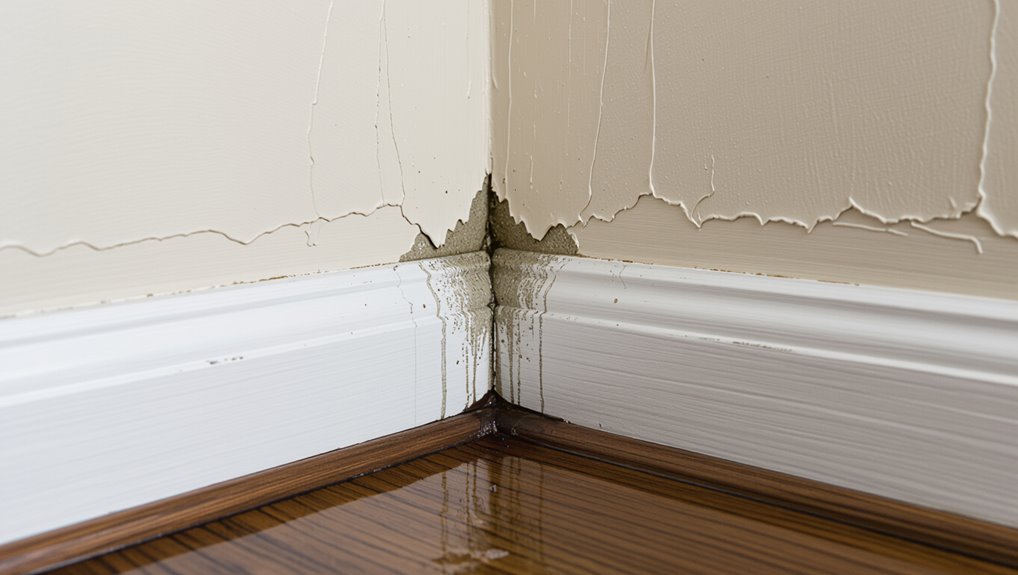
If you notice a musty odor indoors, that’s often a telltale sign moisture is lurking behind walls or under floors.
You should also watch for persistent water stains on ceilings, walls, or trim, which indicate ongoing leaks or humidity issues.
Addressing these signs before painting will prevent trapped moisture from causing mold to return.
Musty Odor Indoors
Ever notice a persistent musty smell that doesn’t go away after airing the room out? That odor often signals hidden moisture affecting indoor air quality; you should investigate rather than just mask it.
Look for sources, check ventilation, and act quickly to prevent mold growth.
- Inspect closets and basements
- Smell near vents and ducts
- Check behind furniture
- Monitor humidity levels
- Consider a professional inspection
Persistent Water Stains
When you spot persistent water stains on walls or ceilings, don’t ignore them—they’re often the first visible sign of a deeper moisture problem that can feed mold and damage building materials.
You should investigate leaks or condensation promptly to prevent further water damage and structural decline. Fix sources, dry surfaces, and consult pros; stain prevention alone won’t stop mold if moisture persists.
How Moisture Actually Drives Mold Growth
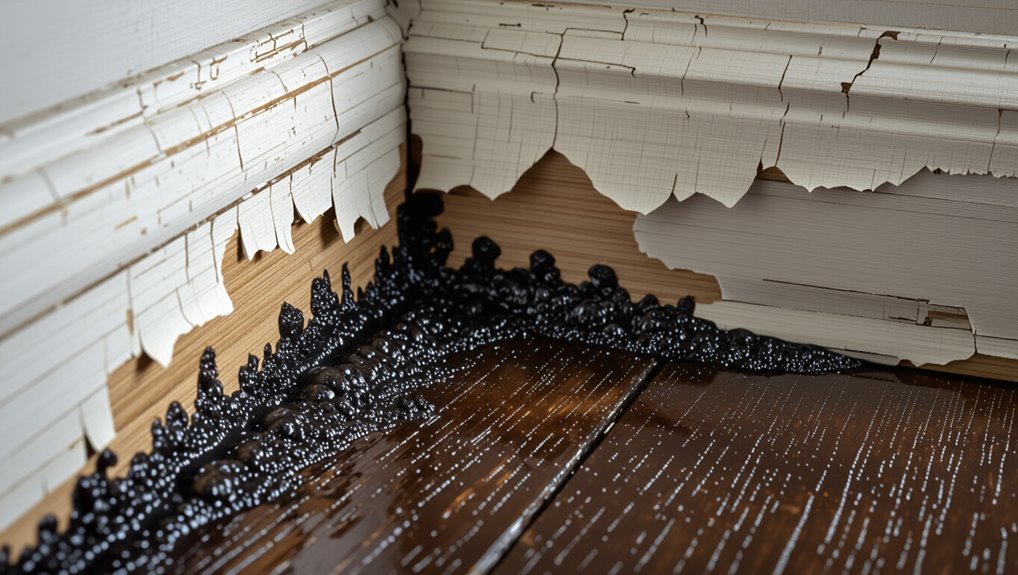
You need to find where the moisture is coming from—leaks, condensation, or rising damp—because that source controls how mold feeds and spreads.
Pay attention to relative humidity: above about 60% you’ll create ideal conditions for spores to germinate on paints and surfaces.
Fixing the source and lowering indoor humidity are the two practical steps that stop mold growth before paint ever becomes a cosmetic fix.
Moisture Source Identification
Because mold needs moisture to grow, identifying where that moisture comes from is the first step in stopping it.
You’ll use moisture sources mapping and mold assessments to pinpoint leaks, condensation, or intrusion. Then act to remove the cause before sealing.
- Roof or plumbing leaks
- Poor ventilation in bathrooms
- Window and wall leaks
- Basement seepage
- Appliance or pipe condensation
Relative Humidity Effects
If indoor humidity stays high—generally above about 60%—mold finds the moisture it needs to germinate and grow on walls, fabrics, and paint films.
You’ll notice spores activate in damp corners and poorly ventilated rooms.
Prioritize humidity control with dehumidifiers, ventilation, and prompt drying.
These prevention strategies reduce substrate wetness, making sealing with paint a temporary, not primary, solution.
When To Test for Mold Before Painting?
When should you test for mold before painting? You should consider mold testing during paint preparation whenever stains, musty odors, prior water damage, visible black or fuzzy growth, or health symptoms appear.
Testing confirms whether remediation’s needed before sealing.
- visible stains
- persistent musty odor
- recent leaks
- recurring spots after cleaning
- occupant respiratory symptoms
Safe Surface Prep Before Using Mold-Resistant Paint
Before you roll on mold-resistant paint, make sure surfaces are completely clean and dry so the coating can stick and work properly.
You’ll need to remove any visible mold with appropriate cleaners and protective gear, not just paint over it.
If you aren’t confident the surface is clear, test a small spot or call a pro before proceeding.
Clean And Dry Surfaces
Start by making certain the surface is completely clean and dry so the mold-resistant paint can bond properly.
You’ll handle surface preparation carefully, focusing on mold removal outcomes without discussing removal methods here. Confirm no moisture, loose debris, or contaminants remain before painting.
- Check for dampness
- Vacuum and wipe down
- Allow full drying time
- Sand glossy spots
- Tape off edges
Remove Mold Thoroughly
Tackle mold removal thoroughly so the paint has a clean, stable surface to cling to; you’ll want to eliminate all visible growth and any loose material that could compromise adhesion.
Use appropriate mold removal techniques—scrubbing with detergent, targeted biocides, or diluted bleach where safe—while wearing protective gear.
Rinse, dry, and inspect; effective cleaning prevents recurrence and guarantees mold-resistant paint bonds properly.
DIY Removal Steps for Small-Area Mold
Gather your tools and protect yourself: for small-area mold (less than about 10 square feet), you can safely remove it yourself with proper precautions.
Use mold identification techniques, ventilate, and apply DIY cleaning solutions. Work methodically, discard materials that retain mold, and dry thoroughly.
- gloves and N95 mask
- goggles and ventilation
- nonbleach cleaner
- scrub brush and rags
- plastic bags for disposal
When To Call a Professional Remediator
If mold covers more than about 10 square feet, has returned after cleaning, or is in your HVAC system or structural cavities, call a professional remediator—you’ll get safer, more thorough removal and guidance on fixing the underlying moisture problem.
You should seek a professional assessment when health symptoms persist, contamination smells linger, or mold removal reveals hidden damage.
They’ll document, remediate, and advise on prevention.
How Antimicrobial and Encapsulating Paints Work (And Limits)
You’ll learn how antimicrobial paints use biocides to kill or inhibit mold while encapsulating coatings trap residual spores and spores behind a film.
Know that encapsulation hides contamination rather than removing it, so it’s only appropriate for small, dry, non-active stains.
Also understand the performance limits—paint won’t fix leaks, penetrate deep materials, or replace proper mold remediation when colonies are extensive.
How They Kill Mold
Paints labeled antimicrobial or encapsulating attack mold in two different ways: antimicrobial formulas include agents that inhibit or kill fungal growth on the paint film, while encapsulating paints trap existing spores and block moisture and oxygen to starve future growth.
- You rely on biocides to curb mold growth on surfaces.
- You create a moisture barrier.
- You reduce oxygen access.
- You slow recolonization.
- You shouldn’t skip proper mold removal beforehand.
Encapsulation Versus Removal
When deciding whether to encapsulate or remove mold, weigh effectiveness, safety, and the condition of the surface: antimicrobial paints can kill or inhibit fungal growth on the finished film, while encapsulating coatings trap residual spores and cut off moisture and oxygen.
However, neither is a substitute for removing active, widespread infestations before you coat.
Use proper encapsulation methods for minor stains, and employ removal techniques for active or extensive mold.
Performance Limits Explained
Although antimicrobial and encapsulating coatings can reduce visible mold and limit regrowth, they work by different mechanisms and have clear limits you should understand before relying on them.
You should treat them as temporary tools, not fixes, and prioritize moisture management alongside remediation.
- Stop water intrusion first
- Antimicrobials inhibit surface spores
- Encapsulants trap colonies
- They don’t kill deep mold
- Know paint limitations
What Paints Can’t Do: Spores, Mycotoxins, Hidden Growth
Even if you coat over a moldy surface, paint can’t kill spores or neutralize mycotoxins, so it won’t stop the health risks or future growth.
You’ll still face hidden growth behind finishes, ongoing mold growth where moisture persists, and lingering toxins on materials.
Understanding paint limitations helps you choose removal and remediation, not cosmetic sealing, to truly address contamination.
Health Risks of Painting Over Active Mold
Coating over mold doesn’t just leave spores and mycotoxins in place — it can also make your home and health worse.
You’ll trap contamination, increasing mold exposure and long-term health implications like allergies, asthma flares, and respiratory irritation.
Don’t assume paint fixes it; removal and drying are essential. Consider professional cleanup if symptoms persist.
- worsened allergies
- asthma exacerbation
- chronic irritation
- hidden contamination
- persistent exposure
Which Paints Are Labeled “Moldproof” or “Mildew-Resistant
Many paints are marketed as “moldproof” or “mildew-resistant,” but those labels usually mean the formulation contains antimicrobial additives that slow fungal growth on the painted surface rather than kill existing mold.
You should still remove active mold and dry the area before painting, then choose products specifically labeled for high-humidity areas like bathrooms and basements and follow manufacturer prep instructions.
Pick mold resistant formulations to boost paint durability.
Best Paint Products and Additives for Mold-Prone Areas
When you’re picking paint for mold-prone rooms, prioritize products formulated for high humidity and backed by antimicrobial technology; these combine durable film-forming resins with mildewcide additives to slow fungal growth on the surface.
Prioritize paints made for high humidity and antimicrobial protection—durable resins plus mildewcides to slow surface fungal growth
You should use mold resistant primers, choose quality paint additives for ongoing protection, and spot-test compatibility before full application.
- Mildew-resistant latex
- Antimicrobial enamel
- Zinc-pyrithione additive
- Epoxy coatings
- Mold resistant primers
Cost and Lifespan: Paint Treatments vs Full Remediation
You can save a lot up front by using mold-resistant paint or additives, but those costs don’t guarantee long-term protection.
Over time, paint treatments may need reapplication or fail if the underlying moisture problem isn’t fixed, while full remediation costs more initially but usually lasts far longer.
We’ll compare the upfront cost differences and the durability tradeoffs so you can choose the most cost-effective route.
Upfront Cost Comparison
Choosing between a paint-based mold sealant and full remediation comes down to upfront costs versus expected lifespan: paint treatments often cost a fraction of remediation initially, but they typically only delay problems rather than eliminate them.
You’ll weigh short-term savings against potential repeat work; compare upfront costs and suitable paint types, then decide based on budget and tolerance for risk.
- Cost per room
- Material quality
- Labor vs DIY
- Warranty issues
- Frequency of reapplication
Long-Term Durability Tradeoffs
Short-term savings from a paint-based sealant can look attractive, but its true cost shows up over time in both money and building health. You’ll face long term effects like hidden rot and recurring mold, so durability concerns matter: remediation costs more upfront but lasts.
| Paint Fix | Full Remediation |
|---|---|
| Temporary | Permanent |
| Cheap now, costly later | Higher upfront, lower lifetime cost |
Remediation Specs Landlords and Contractors Should Require
Before any paint goes on, insist on clear remediation specs so contractors and landlords know exactly what’s required and why.
You’ll demand remediation guidelines and explicit contractor responsibilities, timelines, containment, testing, and verification before sealing.
Follow this checklist:
- Scope of work and limits
- Moisture source elimination
- Containment and PPE requirements
- Clearance testing criteria
- Documentation and warranties
Common Myths About Killing Mold With Household Paint
Though slapping regular paint over mold might seem like a quick fix, it doesn’t kill the spores or stop regrowth—you’ll just be hiding the problem until it returns.
You shouldn’t assume paints disinfect; myth debunking matters because mold misconceptions lead to wasted time and worsening damage.
You must remove and remediate mold properly before considering specialty sealants or paints designed for treated, mold-free surfaces.
Quick Checklist: Should You Paint Over Mold Now?
Wondering if you can just paint over that damp patch? You shouldn’t—address moisture, test for mold, and choose proper mold prevention techniques before finishing.
Consider safer paint alternatives only after remediation.
- Identify active leaks
- Dry and clean surfaces
- Test for hidden mold
- Use mold prevention techniques
- Explore paint alternatives after repair
Frequently Asked Questions
Can Sealed Mold Cause Odor Problems Later?
Yes — if you seal mold without removing it, you’ll often get persistent mold odor and other long term effects; you’ll trap spores and moisture, letting smell and structural damage worsen over time unless proper remediation’s done.
Will Paint Sealing Affect Home Insurance Claims?
Yes — if you seal mold before addressing the source, your insurance policy claim risks denial; carriers often exclude mold damage unless remediation follows policy terms. You should document repairs and confirm mold coverage with your insurer.
Can Mold Paint Be Used on Furniture or Fabrics?
Remember a soggy book that never dried—don’t treat mold paint like a bandage: you shouldn’t use mold paint on furniture or fabrics. Instead, follow mold prevention strategies and furniture care, addressing the source and cleaning thoroughly.
Do Vapor Barriers Interact With Mold-Resistant Paints?
Yes — vapor barriers can affect mold-resistant paints: you’ll see vapor barrier effectiveness influence paint durability because trapped moisture beneath a barrier can shorten coating life and undermine mold resistance, so coordinate barrier placement and paint choice carefully.
Is Sealing Mold With Paint Safe for Allergy Sufferers?
No — you’d be fooling yourself if you think paint hides the problem; it won’t stop allergy symptoms. You’ll still get mold exposure, so don’t rely on sealing—remediate, ventilate, and get professionals to protect your health.
