
Can You Paint Over Peel Stop Primer? What Comes Next Matters
You can paint over Peel Stop, but only if it’s fully cured, clean, and lightly sanded for adhesion. Test a small area first to confirm compatibility with your latex or oil topcoat and use a score-and-tape adhesion test. If primer is lifting or substrate is unstable, strip and repair rather than topcoat. Follow recoat timing and cleanup instructions, avoid painting over contamination, and keep repair scope in mind—continue on to learn the right prep, tools, and tests.
Can You Paint Over Peel Stop Right Now? Quick Answer
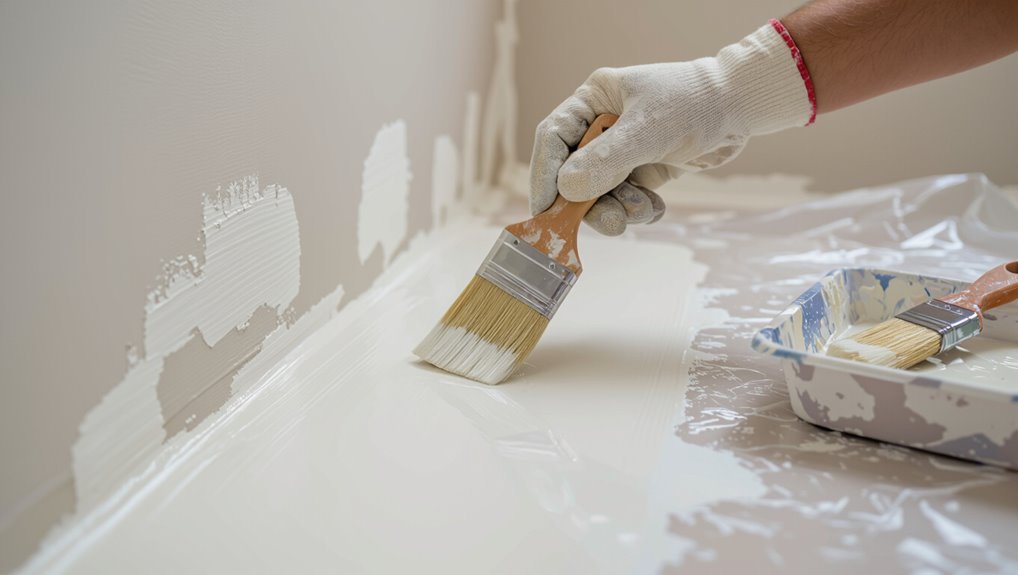
Can you paint over Peel Stop right now? You can if it’s fully cured and the surface is clean; Peel Stop requires proper cure time and light sanding for adhesion.
Check Topcoat Compatibility—latex or oil topcoats may work, but follow manufacturer specs. Test a small area first.
If cure or compatibility’s uncertain, wait rather than risk peeling or poor finish.
When Peel Stop Is the Right Fix : Decision Criteria
If you can see obvious paint film failure—bubbling, flaking, or large cracks—Peel Stop can be the right fix to stabilize those areas before repainting.
You should also consider how much the substrate moves; if the surface is prone to shifting or thermal expansion, Peel Stop’s flexibility can help prevent future failures.
Weigh visible damage against ongoing substrate movement to decide whether this primer is the appropriate solution.
Visible Paint Film Failure
When you see large, cohesive areas of paint pulling away from the substrate while the underlying wood, metal, or older coating looks intact, that’s a visible paint film failure—one that Peel Stop can often address.
You’ll prep by removing loose film, clean and sand, then perform a targeted peel stop application.
The primer benefits include adhesion restoration and a stable base for topcoats, preventing re-peel.
Substrate Movement Risk
Because substrates expand, contract, or shift over time, you should assess movement risk before choosing Peel Stop so you don’t trap a failing bond under a new primer. You’ll evaluate joints, historic movement, and substrate type to judge Peel Stop suitability. Focus on substrate movement impact on paint adhesion; choose flexible systems if movement is likely.
| Factor | Action |
|---|---|
| Joints | Inspect |
| History | Review |
How to Inspect Flaking Paint and Substrate
Start by scanning the surface for visible chips, blistering, and loose paint so you know where repairs are needed.
Then press or tap the substrate and use a scraper to check if the underlying material is sound or crumbling.
If you find widespread flaking or a soft substrate, you’ll need more extensive prep before applying Peel Stop.
Visual Damage Assessment
Before you grab a brush, take a systematic look at the surface to identify where paint is flaking, bubbling, or pulling away from the substrate.
Note size, pattern, and location of damage, and record areas needing repair. Assess whether peel stop benefits and primer application were previously used, then prioritize sections by severity so you can plan targeted scraping, cleaning, and spot priming before repainting.
Substrate Soundness Check
When you inspect flaking paint, press and probe the surface to find areas where the coating no longer adheres and to reveal any soft, powdery, or crumbling substrate beneath; use a putty knife, screwdriver, or a stiff-bristled brush to test adhesion and look for blistering, delamination, or raised edges that indicate deeper failure.
| Check | Action |
|---|---|
| Substrate integrity | Scrape, tap, probe |
| Moisture assessment | Use meter, sniff for damp |
Prep Checklist Before Applying a Topcoat
1 essential round of checks will save you wasted paint and uneven finish: confirm the Peel Stop primer is fully cured, dry-sand any remaining texture to feather edges, and remove all dust and contaminants with a tack cloth or vacuum before you mix your topcoat.
Use proven prep techniques and thorough surface cleaning so your topcoat adheres and looks uniform.
- Check for primer cure
- Remove dust
- Wipe glossy spots
Sanding Peel Stop: Tools, Grit, and Technique
Grab the right tools and work methodically: sanding Peel Stop properly means using the correct grit, a good sanding block or random-orbit sander, and light, even pressure so you remove texture without cutting through the primer.
You’ll follow sanding techniques that include starting with 120–180 grit for smoothing, finish with 220 if needed, keep dust controlled, and inspect frequently to avoid over-sanding.
Which Topcoats Bond Best Over Peel Stop
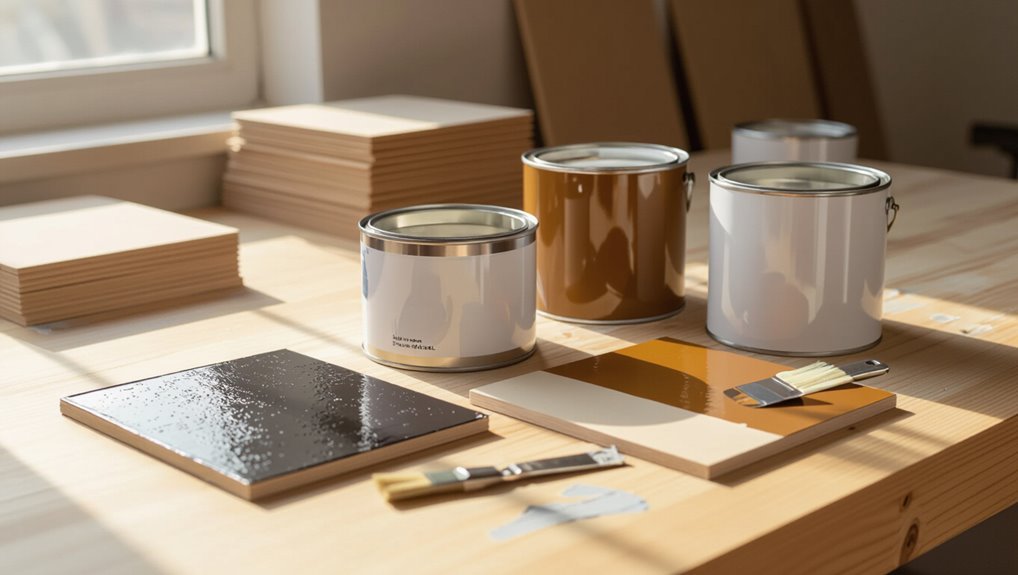
When you pick a topcoat for Peel Stop, oil-based paints often give strong adhesion and durable coverage on treated areas.
Acrylic latex can work well too, especially if you scuff the surface first and use compatible formulas.
For trouble spots or mixed substrates, consider a specialty bonding primer to guarantee the finish sticks and lasts.
Oil-Based Paint Compatibility
Although Peel Stop is formulated to adhere to problematic surfaces, oil-based paints generally offer the most reliable bond as topcoats because their solvent system and film-forming properties meld well with the primer’s chemistry.
You’ll find alkyd enamels and traditional oil finishes especially compatible, providing durable adhesion and a hard, resilient surface.
You should note oil properties that improve paint adhesion.
- Alkyd enamel for longevity
- Traditional oil for hardness
- Slow cure for better flow and adhesion
Acrylic Latex Performance
Because Peel Stop’s bonding chemistry differs from traditional primers, you’ll want to pick acrylic latex topcoats that are specifically formulated for adhesion to challenging substrates; 100% acrylic latex and high-performance acrylic blends usually bond best, offering flexible, breathable films that resist peeling and chalking while accommodating substrate movement.
You’ll get acrylic benefits like UV resistance, and latex durability that handles expansion, moisture, and cleaning without compromising adhesion.
Specialty Bonding Primers
If you need maximum adhesion over Peel Stop, reach for specialty bonding primers designed to bridge difficult substrates and accept a wide range of topcoats.
You’ll pick the right primer types by matching bonding techniques to surface texture and topcoat chemistry. These primers often promote adhesion for enamels, acrylics, and urethanes—prep, test, then apply per manufacturer instructions.
- Use adhesion-promoting cleaners
- Spot-test topcoat compatibility
- Sand glossy areas before priming
Which Paints Work: Latex, Oil, or Acrylic?
Wondering which paint will bond best to Peel Stop primer? You can use latex paint, oil paint, or acrylic paint as topcoat options, but check paint compatibility first.
For best paint adhesion and finish durability, prep surfaces, follow manufacturer instructions, and match solvents.
Choose application techniques—brush, roller, or sprayer—appropriate to the chosen system to guarantee even coverage and a lasting finish.
Common Mistakes That Make New Paint Fail
Now that you’ve picked a compatible topcoat and prep method, it helps to know what commonly makes a fresh paint job fail so you can avoid those traps.
You’ll prevent paint failure causes by focusing on proper surface preparation and drying times.
Common mistakes include:
- Painting over contamination or loose primer
- Skipping primer or using incompatible products
- Painting in high humidity or on wet surfaces
Quick Fixes vs. Permanent Repair: Time and Durability
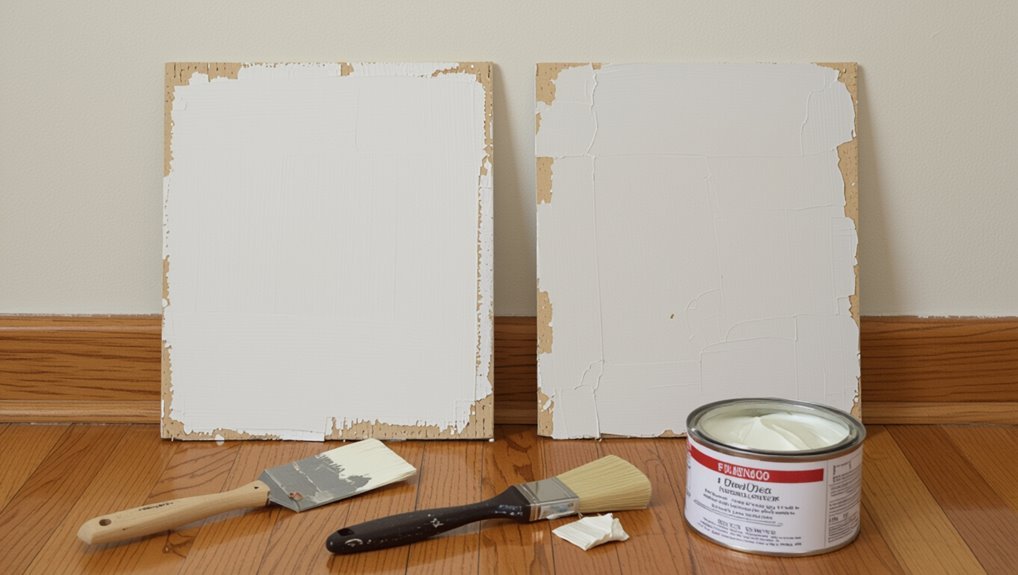
When you need results fast, quick fixes—like spot-priming with a peel-stop product and slapping on a topcoat—can hide problems short-term but often fail sooner than a full repair.
Permanent fixes take longer and cost more up front, yet they address adhesion, contamination, and substrate damage so your paint job lasts.
You’ll weigh temporary solutions against long term durability, budget, and time.
How to Test Adhesion and When to Recoat or Strip
How do you know if a peel-stop primer will hold or if you need to strip back to bare substrate?
Do a simple adhesion testing: score, tape, and pull. Check recoat timing per product label; if primer peels or lifts, strip. If tape test holds and cure time met, sand and recoat.
- Score and tape test
- Evaluate recoat timing
- Strip if lifting observed
Frequently Asked Questions
Will Peel Stop Primer Affect Indoor Air Quality or VOC Levels?
Like a faint breeze, yes — Peel Stop can influence air quality and VOC emissions indoors. You’ll notice temporary odors during application; proper ventilation and low-VOC topcoats will reduce lingering VOC levels and protect indoor air quality.
Can Peel Stop Be Used on Exterior Wood Trim?
Yes — you can use Peel Stop on exterior wood trim, but you’ll need thorough wood preparation and proper priming to guarantee exterior durability; follow manufacturer drying times and topcoat recommendations to prevent peeling and weather damage.
How Long After Peel Stop Can I Apply Caulk or Sealant?
You can apply caulk or sealant after Peel Stop cures, typically 24–48 hours; check caulk application instructions and sealant compatibility with Peel Stop, and guarantee surfaces are dry, clean, and free of dust for best adhesion.
Is Peel Stop Safe to Use Over Lead-Based Paint?
No—you shouldn’t; it’s like patching a cracked dam. You’ve got to follow lead paint precautions, test and abate as required, then use Peel Stop for safe application only after certified removal or encapsulation.
Does Peel Stop Interfere With Wallpaper Adhesion?
Yes — Peel Stop can reduce wallpaper durability if it blocks adhesion; you’ll want to test primer compatibility first. If it creates a slick film, sand or use a wallpaper-friendly primer to guarantee proper bonding before hanging.
