
How to Fix Uneven Walls Before Painting for a Professional Finish
First inspect walls for cracks, bulges, nail holes, peeling paint, or damp spots and map trouble areas. Clean and sand surfaces, then patch small dents with spackling or use joint compound for larger gaps. If defects are widespread, skim coat the whole wall for a consistent plane. Match texture, sand smooth, and apply a high-adhesion primer before painting. Take your time—proper prep prevents rework, and keep going to learn detailed tools, techniques, and timing.
Do Your Walls Need Repair? 5 Quick Checks
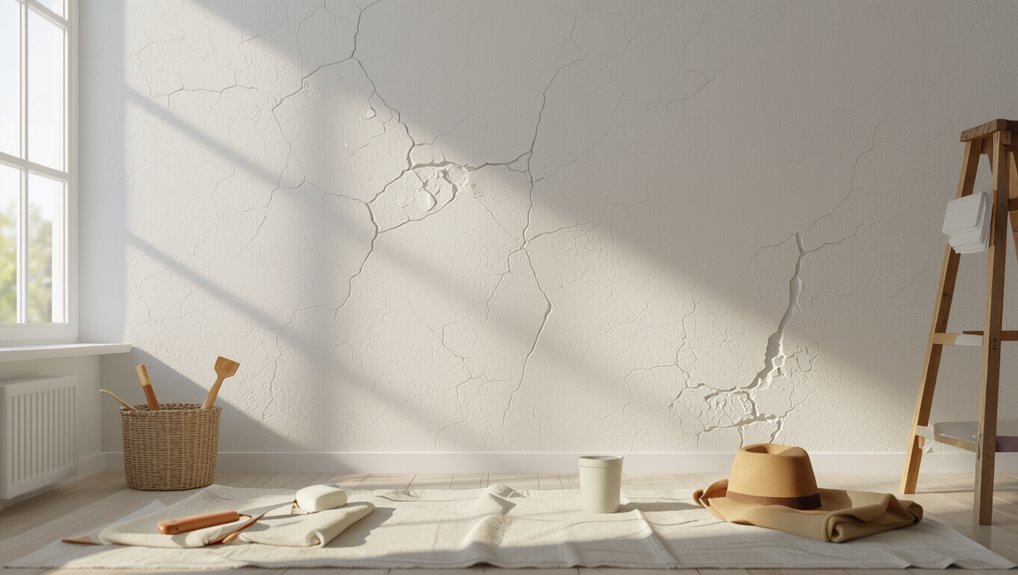
Wondering whether your walls really need fixing before you paint? You’ll start a quick wall assessment: look for cracks, bumps, nail holes, peeling paint, and damp spots.
Grade each issue by severity, then choose repair techniques accordingly—patch minor holes, smooth bumps, treat moisture, and consult pros for structural damage.
Triage keeps your prep efficient and prevents paint problems later.
Inspect and Map Uneven Areas (What to Look For)
Now that you’ve triaged visible issues, it’s time to inspect the whole surface and map every uneven spot so you can plan repairs.
During wall inspection, note visual indicators of cracks, bulges, or delamination. Use wall mapping and texture evaluation to record surface irregularities.
Your damage assessment guides appropriate repair techniques, prioritizing areas by severity and location for an efficient workflow.
Quick Decision: Patch Small Defects or Skim Coat Whole Wall
How do you decide whether to patch isolated dings or skim coat an entire wall? You’ll weigh defect size, frequency, and visibility.
Use simple patching techniques for small dents and nail holes; it’s faster and less disruptive.
For small dents and nail holes, stick to quick patching—it’s faster, simpler, and far less disruptive.
Choose skim coating when defects are widespread, textures clash, or you need a uniform base.
Consider time, skill, and finish expectations before committing.
Tools & Materials You’ll Actually Need
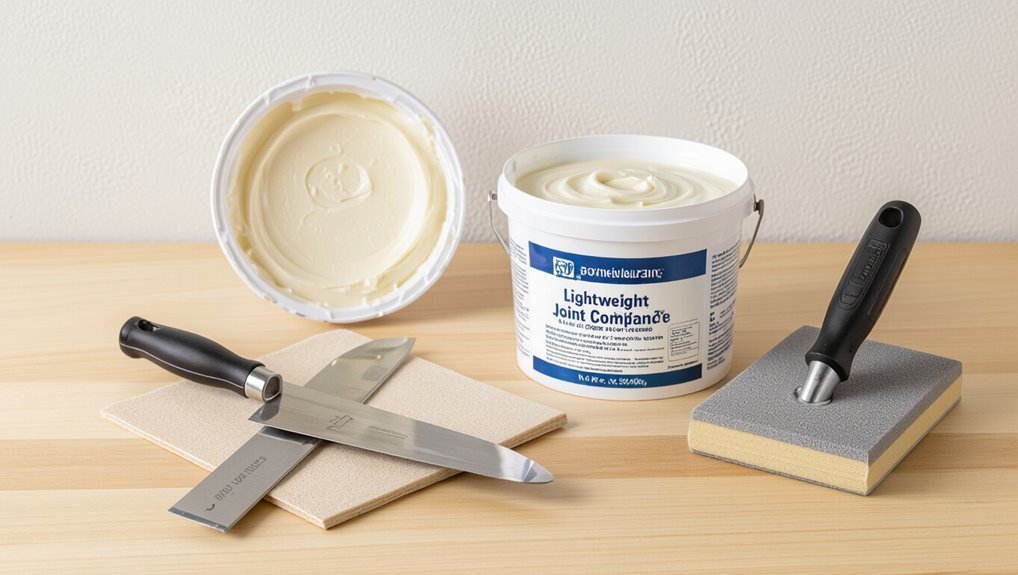
You’ll only need a handful of reliable tools and the right materials to get even walls ready for paint: a good-quality joint compound, a lightweight or all-purpose spackling for small repairs, a hawk and trowel or drywall knife set (6″, 10″, 12″), sanding block or pole sander with 120–220 grit paper, a mud pan, corner trowel if you’ve got corners to fix, a drywall primer/sealer, and basic safety gear like a dust mask and goggles.
Choose tool types by task and match material choices to wall condition; include a quality putty knife, mixing paddle, and microfiber cloths for clean-up.
Spot Patching: Fix Dents, Nail Pops, and Holes
Start by identifying every dent, nail pop, and hole so you can tackle them efficiently.
Use basic spot repair techniques and common patching materials: clean debris, countersink nails, apply patching compound, and sand smooth. Then prime patched areas before painting.
- Clean and prep
- Use appropriate filler
- Smooth and sand
- Prime patches
Mix & Apply Joint Compound for a Smooth Skim
Start by mixing the joint compound to a creamy, spreadable consistency so it holds shape but isn’t runny.
Apply thin, even coats with a broad knife, feathering edges to blend with the wall.
Let each coat dry and sand lightly between layers for a truly smooth skim.
Mixing The Right Consistency
Before you load your hawk, get the joint compound to a spreadable, pancake-batter consistency so it glides on smoothly without sagging or running.
You’ll appreciate consistency importance and proven mixing techniques to avoid lumps.
Follow these quick steps:
- Add water gradually.
- Whisk until uniform.
- Rest to de-foam.
- Adjust thickness before use.
Applying Thin Even Coats
1. You’ll mix thin consistency and use thin layer techniques to spread joint compound smoothly. Apply with a wide knife, dragging even strokes; don’t overload the blade. Aim for feathered edges so paint application later sits uniform. Repeat thin coats, letting each cure.
| Tool | Purpose |
|---|---|
| Knife | Spread |
| Trowel | Smooth |
| Bucket | Mix |
| Tape | Edges |
Sanding Between Layers
When your skim coat has cured, sand each thin layer lightly so the next coat will adhere and the surface will stay flat; use a fine-grit sanding block or pole sander and keep pressure even to avoid gouges.
- Test sanding techniques on a scrap to learn feel.
- Start with 120–150 grit; finish with 180–220 for smoothness.
- Vacuum dust between passes.
- Wipe with a damp cloth before next coat.
Feathering Techniques to Blend Repairs Invisibly

Start feathering your repair by applying thin, even layers of joint compound so each coat blends smoothly into the surrounding wall.
Work outward from the patch, tapering the edges gradually to avoid a visible ridge.
Lightly sand between coats to smooth connections before adding the next layer.
Feathering With Thin Layers
Feather thin layers of joint compound so your repair fades smoothly into the surrounding wall; you’ll apply several light coats instead of one heavy one, sanding lightly between each to keep edges invisible and avoid ridges that show through paint.
- Use feathering techniques with a wide knife.
- Apply thin coats, drying fully.
- Sand between coats, keep pressure light.
- Check blending edges before priming.
Blend Edges Gradually
Ease the change between repaired areas and the surrounding wall by blending edges gradually with overlapping, thinning strokes; you’ll want each pass to extend slightly beyond the previous one so the compound tapers down invisibly. Use precise blending techniques and controlled edge shifts to hide repair lines. Practice consistent pressure and direction.
| Tool | Purpose |
|---|---|
| Knife | Spread compound |
| Brush | Smooth edges |
| Trowel | Feather taper |
Sand Between Coats
After the compound dries, sand between coats to refine the profile and blend repairs invisibly; use a fine-grit sanding block and light, even strokes that taper out past the repair so you don’t create dips.
- Choose sandpaper selection wisely: 120–220 grit for smoothing.
- Use gentle sanding techniques to avoid gouges.
- Feather edges until seamlessness vanishes.
- Wipe dust, inspect, repeat as needed.
Sand Smart: Avoid Gouges, Dust, and New Imperfections
Start by choosing the right grit and pressure so you remove high spots without digging new gouges; use a sanding block or pole sander to keep the surface flat and move with steady, even strokes.
Use proper sanding techniques, test on a scrap, and sand lightly across repairs.
Employ dust control—vacuum, tack cloth, and a mask—to avoid contamination and new imperfections before painting.
Which Primer to Use on Repaired or Uneven Walls
When choosing a primer for repaired or uneven walls, you’ll want one formulated for high adhesion and leveling to bridge minor imperfections.
Pick a primer type—stain-blocking, bonding, or high-build—based on the repair material and surface porosity.
Make sure the product offers good coverage so you don’t need multiple coats to get an even base.
Primer Type Selection
Because repaired or uneven walls absorb paint differently, choosing the right primer matters more than you might think.
You’ll pick between oil-based, latex, shellac, or bonding primers based on repair type and moisture.
Match primer types to substrates, and use proper application techniques for sealing and uniformity.
- Oil-based
- Latex
- Shellac
- Bonding
Coverage And Adhesion
Now that you’ve matched primer types to your repairs, focus on coverage and adhesion—how well the primer hides imperfections and bonds to uneven surfaces will determine your finish.
Choose high-build primers for better coverage techniques, roll in thin, even coats, and sand between layers.
Consider adhesion factors like surface porosity, primer chemistry (acrylic vs. oil), and temperature to guarantee durable bonding.
Fix Uneven Textured Walls and Match the Finish
If your walls have a textured finish, don’t try to skim over the unevenness—matching or repairing the texture is essential before you paint so the repair blends seamlessly.
- Assess existing texture for texture matching.
- Clean and prep the repair area.
- Apply matching compound or spray texture.
- Feather edges and sand lightly to guarantee finish consistency before priming and painting.
Time, Cost, and Skill: What to Expect for Each Repair
When planning repairs, you’ll want a realistic sense of how long each fix takes, what it costs, and the skill level required so you can pick the right approach for your budget and timeline.
Small patching jobs take hours, low repair costs, and basic skill levels.
Replastering or skim coats need days, higher repair costs, and intermediate to advanced skills or a pro hire.
Prevent Future Cracks, Warping, and Paint Failures
Because preventing future cracks, warping, and paint failures starts with addressing root causes, you should focus on moisture control, proper substrate prep, and using the right materials and techniques.
- Fix leaks and control humidity for crack prevention.
- Guarantee studs and framing support wall stability.
- Use vapor barriers and appropriate primers.
- Choose flexible fillers and paint systems rated for movement.
Frequently Asked Questions
Can I Paint Over Wallpaper Without Removing It First?
You can paint over wallpaper sometimes, but it’s risky; you’ll avoid wallpaper removal yet may hurt paint adhesion. You’ll need smooth, firmly stuck paper, primer-sealer, and expect possible bubbling, seams showing, or future peeling issues.
How to Handle Mold or Mildew Before Repairs?
You should remove mold with a bleach or vinegar solution, scrub and dry thoroughly, then fix damaged drywall; use mold removal products and improve ventilation for mildew prevention, seal repaired areas, and apply mildew-resistant primer and paint.
Can Humidity or Seasonal Changes Affect Skim Coat Adhesion?
About 30% of indoor painting failures trace to moisture — yes, humidity effects and seasonal shifts can cause adhesion issues, so you’ll control RH, avoid extreme temps, and let surfaces fully dry before applying a skim coat.
Is Wallpaper Paste or Adhesive Interfering With Joint Compound?
Yes — old wallpaper adhesive can interfere: you’ll need to remove residues because adhesive compatibility affects joint compound application; otherwise the compound won’t bond, causing delamination, cracking, or poor finish, so prep thoroughly beforehand.
Can I Use a Paint Sprayer on Newly Skim-Coated Walls?
Yes — think of your sprayer like a paint-powered breeze: you’ll need meticulous surface preparation and correct spray technique, letting the skim coat fully cure, sanding smooth, cleaning dust, and using light, overlapping passes for even coverage.
