
How to Remove Old Latex Paint From Interior Walls the Safe Way
You can safely remove old latex paint by first evaluating the wall for peeling, moisture, texture and paint layers, then choosing the least invasive method that will work — scrape loose areas, use controlled heat for thick spots, or apply a low‑fume chemical stripper when time is tight. Wear gloves, eye protection and a NIOSH respirator, seal the room, protect floors, repair gouges, prime bare areas, and dispose of waste properly; keep going to learn step‑by‑step setup and tips.
When to Strip Old Latex Paint vs. Repainting
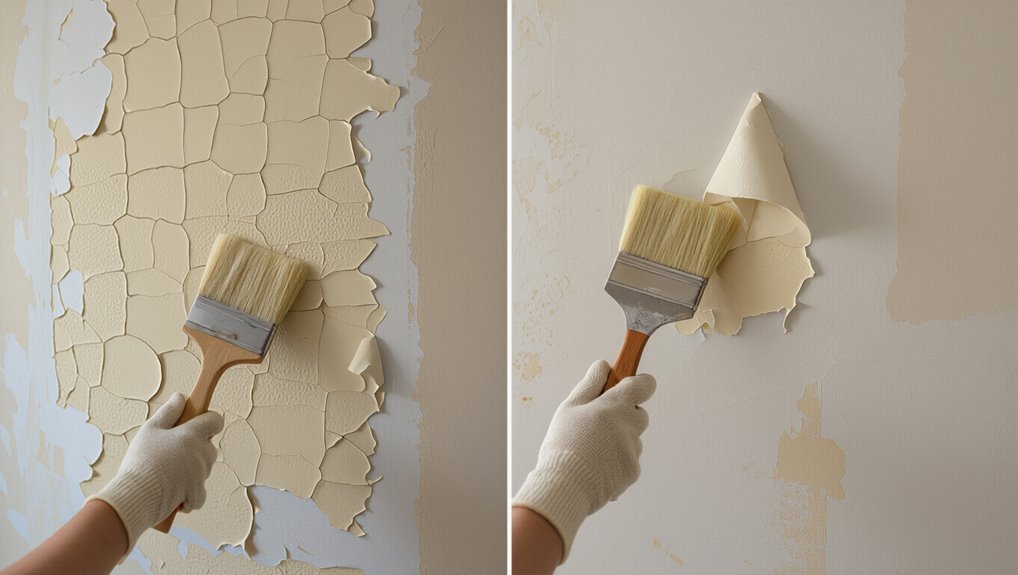
When should you strip old latex paint instead of repainting?
You’ll strip when paint longevity’s reached its end—extensive peeling, multiple layers, or failure to adhere—so a new coat won’t last.
Also strip when surface suitability’s poor: textured, damaged, or incompatible substrates that prevent bonding.
Strip paint when the surface is unsuitable—too textured, damaged, or incompatible for a lasting bond.
If conditions allow simple repair and adhesion, you can skip stripping and repaint instead.
Assess Wall and Latex Paint Condition
Before you decide whether to strip or repaint, closely inspect the wall and the existing latex paint to determine the scope of work.
Check paint adhesion and wall texture to spot peeling, blistering, or uneven surfaces. Note moisture, previous repairs, and layers. Then plan preparation steps.
- Peel test
- Surface hardness
- Texture depth
- Moisture check
Quick Decision Guide: Choose Scraping, Heat, or Stripper
Decide quickly which removal method fits the paint’s condition and your tolerance for effort, time, and fumes.
If paint’s loose or flaking, use scraping techniques with a stiff scraper and gentle sanding.
For stubborn, thick layers, try controlled heat application to soften paint, or choose a chemical stripper when time is limited or scraping won’t reach grooves.
Match method to surface.
Safety Gear and Home Protections to Set Up
Before you start, make sure you’re wearing proper personal protective equipment—gloves, eye protection, and a respirator if you’ll be sanding or using chemical strippers.
Protect floors, furniture, and vents with drop cloths and taped plastic sheeting so dust and runoff don’t spread.
Taking these precautions now will keep you safe and make cleanup much easier.
Personal Protective Equipment
When you’re removing old latex paint, wear gloves, eye protection, and a respirator or mask rated for particulates and fumes.
Protect floors and furniture with drop cloths or plastic sheeting to keep dust and splatter contained. You’ll prioritize personal safety and use protective clothing.
Follow these steps:
- NIOSH-rated respirator
- Chemical-resistant gloves
- Safety goggles or face shield
- Disposable coveralls with booties
Room and Surface Protection
1 simple setup keeps dust, fumes, and paint splatter from turning your whole house into a cleanup project: seal off the work area, cover floors and furniture with heavy-duty plastic or drop cloths, and tape plastic to doorways and vents to contain particles and fumes.
You’ll protect wall coverings and nearby surface finishes, secure HVAC registers, and use weighted edges so coverings don’t shift while you strip paint.
Tools for Scraping and Low‑Dust Sanding
Start with the right tools and you’ll remove old latex paint faster and with less mess.
Choose scraper types for edges and a flexible putty knife for flat areas. Use low-dust sanding techniques and a vacuum-backed sander to capture particles.
Follow this checklist:
- Metal scraper
- Flexible putty knife
- Vacuum-backed handheld sander
- Fine-grit sanding blocks
Soften and Remove Latex Paint With Heat
You can soften old latex paint with a heat gun to make scraping much easier.
Hold the gun a few inches away and move it steadily until the paint bubbles, then scrape with a putty knife or scraper.
Work in small areas and keep the gun moving to avoid scorching the substrate.
Use a Heat Gun
Aim the heat gun a few inches from the painted surface and sweep it slowly to warm the latex until it softens and starts to bubble.
Adjust heat settings to avoid scorching, keep moving, and protect nearby trim.
Use appropriate PPE and ventilation.
Consider small test patches before full paint removal.
- Low to medium heat
- Keep gun moving
- Protect surroundings
- Test first
Heat and Scrape Carefully
Warm the paint just enough to loosen its bond, then scrape it away with steady, controlled strokes. You’ll use careful heat application to soften layers, keep the gun moving, and apply scraping techniques that protect the wall. Work slowly, test small areas, and avoid overheating. Clean residue with a damp cloth and fine sandpaper for a smooth surface.
| Tool | Purpose |
|---|---|
| Heat gun | Soften paint |
| Scraper | Remove softened paint |
| Cloth | Wipe residue |
| Sandpaper | Smooth surface |
Use Eco‑Friendly Latex Paint Strippers
When you want to strip latex paint without harsh chemicals, eco-friendly paint strippers offer effective, low-toxicity options that protect your health and the environment.
You’ll choose eco friendly options and natural alternatives like soy or citrus-based gels, applying per instructions and rinsing thoroughly.
Consider:
- Soy-based gel
- Citrus solvent
- Enzyme remover
- Biodegradable paste
Step‑by‑Step: Scrape, Neutralize, and Clean
Start by scraping off loosened paint with a sturdy putty knife or paint scraper, keeping the blade flat to avoid gouging the surface. Work in short, controlled strokes and collect chips for disposal.
Then neutralize residue with a mild vinegar solution, rinse, and dry.
Finish by lightly abrading and cleaning the wall to complete wall surface preparation using safe paint removal techniques before repainting.
Handle Multiple Paint Layers and Stubborn Spots
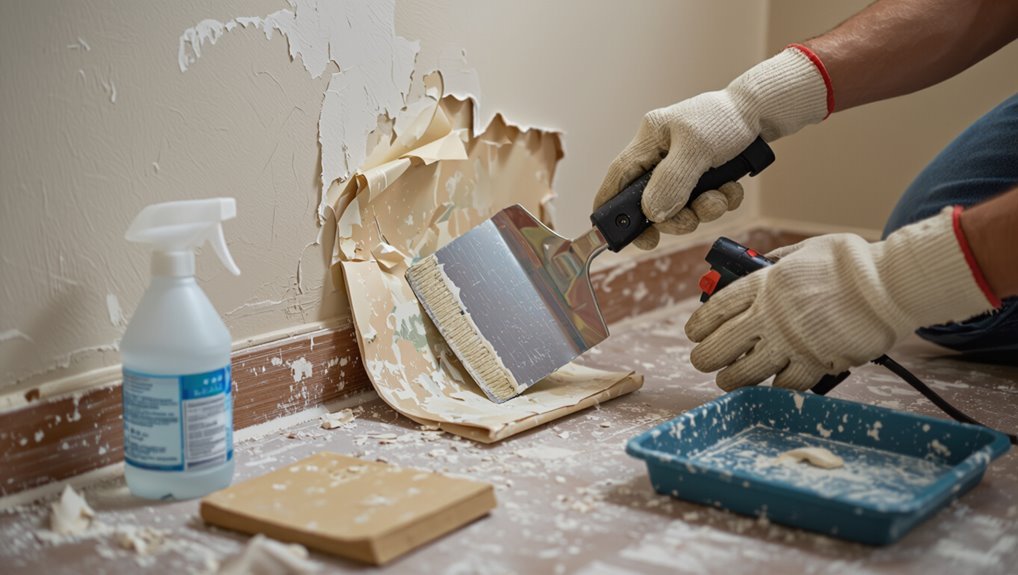
Tackle multiple paint layers and stubborn spots by working from the least aggressive method to the most, so you don’t damage the substrate: try repeated scraping and sanding first, then apply a chemical remover or heat gun only on areas that won’t come clean, and always test a small inconspicuous patch before treating larger sections.
- Assess paint adhesion and loose flakes.
- Scrape gently, then sand.
- Spot-treat with remover.
- Use heat on stubborn build-up.
Repairing Surfaces and Priming After Removal
Once the old paint’s gone, you’ll want to inspect and repair any dings or holes with an appropriate filler so the surface’s smooth.
Sand the repaired spots flush, clean the area, and pick a primer that matches the substrate and topcoat—stain-blocking or bonding primers often work best.
Proper priming seals repairs and guarantees the new paint adheres evenly.
Repairing Dings And Holes
After you’ve stripped loose or peeling latex, inspect the surface for dings, nail holes, and gouges so you can prioritize repairs and choose the right filler.
Use spackle or lightweight compound for filling dings and patching holes, then sand smooth and clean dust before priming.
- Clean area
- Apply filler
- Sand flush
- Wipe dust
Choosing The Right Primer
1 key decision before repainting is picking a primer that matches both the surface condition and the type of paint you’ll use, because the wrong primer can lead to poor adhesion, visible stains, or peeling.
Assess stains, gloss, and repairs, then choose primer types—latex for most walls, oil or shellac for stains.
Follow proper primer application: clean, sand, and apply even coats for reliable adhesion.
Lead Testing and When to Call a Pro
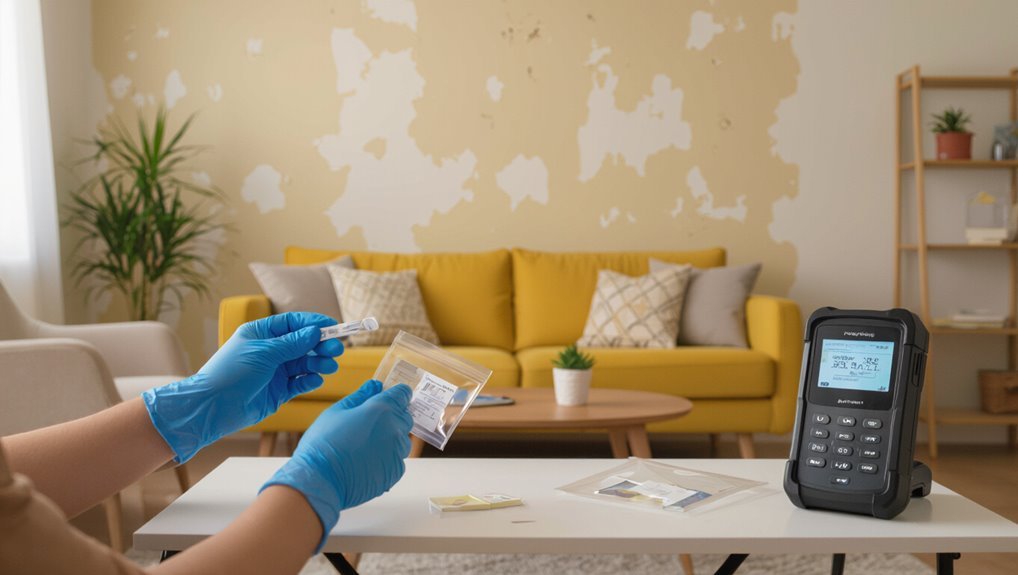
Worried the old paint might contain lead? You should do lead testing before you sand or scrape; DIY kits work for screening, but get professional assistance if tests are positive, the surface flakes heavily, or children/pregnant people live there.
Worried about lead in old paint? Test before sanding—DIY kits screen, but call a pro if positive or occupants are vulnerable.
Consider hiring a certified abatement pro when:
- Tests confirm lead
- Paint is deteriorating
- Occupants are vulnerable
- Project is extensive
Dispose Paint Waste Safely and Legally
When you finish scraping or sanding, deal with leftover paint and contaminated debris immediately and legally to protect people and the environment.
Don’t pour paint down drains or toss rags in regular trash. Use local paint recycling programs, label containers, and follow municipal hazardous waste rules.
Contact your waste authority for drop‑off sites or scheduled pickups to guarantee compliant, safe disposal.
Time‑Saving Tips, Common Mistakes, and Prepping to Repaint
Before you grab a brush, plan your repainting steps so you’ll work faster and avoid redoing tasks later: gather supplies, choose primers and paints that suit the surface, and set up a clean, well‑ventilated workspace to minimize interruptions and mistakes.
- Schedule tasks for better time management.
- Inspect and sand uneven areas.
- Use correct paint preparation and primer.
- Protect floors and trim to speed cleanup.
Frequently Asked Questions
Can I Remove Latex Paint From Wallpaper Without Damaging It?
Yes — you can, but you’ll need delicate paint removal techniques to avoid damage. You’ll test a small area, use gentle solvents or mechanical removal, and prioritize wallpaper preservation by working slowly and stopping if adhesive or paper softens.
Will Removing Paint Affect Home Humidity or Mold Growth?
Removing paint itself won’t change humidity, but your removal methods can. If you ventilate, manage humidity control, and dry surfaces promptly, you’ll reduce risks; that helps mold prevention by stopping damp conditions that encourage growth.
Can I Reuse Softened Latex Paint for Touch-Ups?
Yes — you can reuse softened latex paint for touch-ups if the paint consistency matches the original; sand, stir thoroughly, test on a hidden spot, and use proper touch up techniques to blend edges and feather strokes for seamless repair.
Are There Pet-Safe Alternatives to Common Paint Strippers?
Like a gentle rain, you can choose pet-safe alternatives: you’ll prefer eco friendly solutions like citrus-based cleaners and soy or acetic natural solvents, diluted and ventilated, keeping pets away until surfaces fully dry and aired out.
How Long Before Repainting Can I Occupy the Room Again?
You can usually occupy the room after 24–48 hours; smaller windows might need 72. Use ventilation tips: run fans, open windows, and keep airflow until drying time’s complete to cut odors and speed cure.
