
What Is Paint Sealant for Walls and When Do You Actually Need It?
A paint sealant for walls is a clear protective layer you apply over cured paint to lock in the finish, block moisture and stains, and add scrub-resistant durability. You’ll want it in high-traffic zones, bathrooms, kitchens, over delicate or specialty finishes, or whenever you need easier cleaning and longer-lasting color. Choose water-based acrylics indoors and tougher solvent or silicone blends for damp or exterior spots. Keep going to see types, when to use them, and how to apply.
Who This Guide Is For (Homeowners, Pros, Renters)
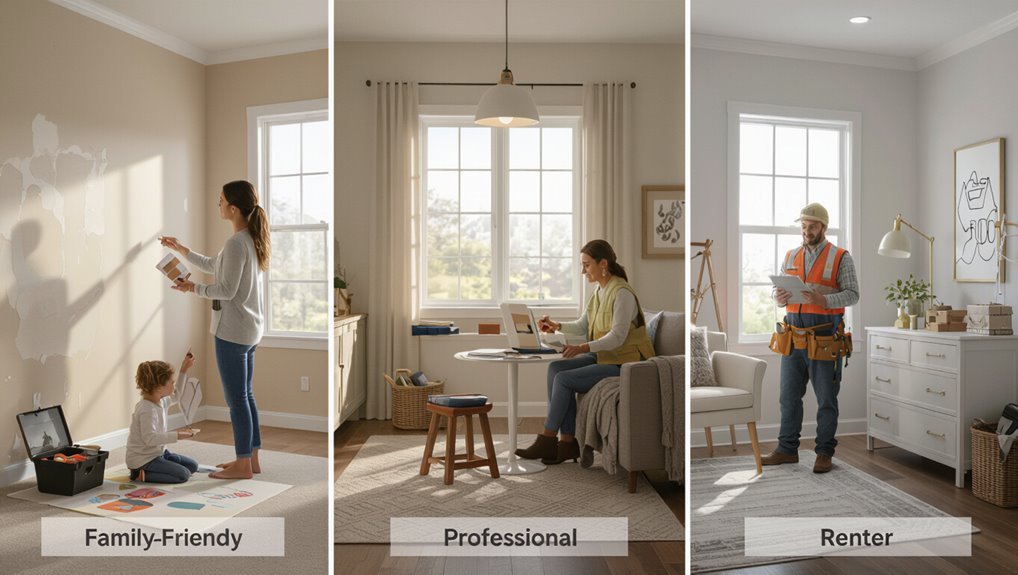
Wondering if this guide applies to you? You’ll find clear Homeowner concerns addressed—durability, stains, upkeep—and concise Maintenance tips for DIY routines.
If you’re a pro, you’ll get Professional applications aimed at longevity and client expectations.
Renters will appreciate Rental considerations like landlord approvals and temporary solutions. This section helps you decide whether sealant fits your property, schedule, and budget.
Quick Answer: When to Seal Painted Walls
Seal painted walls when they’re in high-traffic areas that see scuffs and frequent contact.
You’ll also want sealant in moisture-prone rooms like bathrooms and kitchens to prevent staining and mildew.
Apply it over specialty finishes—metallics, limewash, or textured paints—to protect their look and durability.
High-Traffic Areas
If your walls get a lot of contact—hallways, entryways, kids’ rooms, or home offices—you should consider applying a paint sealant soon after painting to protect against scuffs, stains, and frequent cleaning; doing so preserves finish and reduces how often you’ll need to repaint. Do a durability assessment, note traffic wear, follow maintenance tips, and schedule sealant application promptly.
| Area | Recommendation |
|---|---|
| Hallways | High |
| Kids’ rooms | Priority |
Moisture-Prone Rooms
High-traffic spots aren’t the only places that benefit from a sealant—rooms with high humidity or frequent water exposure need it even sooner.
You should seal painted walls in bathrooms, laundry rooms, and basements to improve moisture control and prevent staining, peeling, or mold.
A good sealant aids humidity regulation, simplifies cleaning, and prolongs paint life in consistently damp environments.
Specialty Finishes
Specialty finishes like metallics, glazes, and textured coatings look great but often need sealing sooner than flat latex—so you should plan to apply a clear sealant once the paint fully cures.
- Seal specialty textures to protect fragile decorative applications.
- Use compatible clear coats to avoid altering sheen or color.
- Test a small area to confirm adhesion and desired finish before sealing.
What a Wall Paint Sealant Is : Vs Primer/Topcoat
While a primer or topcoat prepares and finishes a painted surface, a wall paint sealant locks in and protects the paint film itself; you’ll use a sealant to create a durable, often moisture- and stain-resistant barrier that sits over the topcoat without replacing either primer or finish.
You’ll choose sealant benefits like durability and easy cleaning, and follow specific application techniques—roller, brush, or spray—for even coverage.
How Sealants Protect Color, Stains, and Wear
When you seal painted walls, you lock in pigments so colors stay truer and resist fading from sunlight.
The sealant also forms a protective layer that prevents spills and grime from penetrating, making stains easier to wipe away.
Finally, it adds abrasion resistance so routine contact and cleaning don’t wear the finish down.
Color Fade Prevention
You’ll notice paint looks fresher longer when a good sealant’s applied, because sealants form a protective layer that blocks UV rays, moisture, and surface abrasion—key culprits in fading, staining, and wear.
You’ll preserve color vibrancy maintenance and enjoy UV protection benefits that slow pigment breakdown, reduce chalking, and limit wear.
- Reduces UV-driven fade
- Limits abrasion
- Locks in pigments
Stain Barrier Protection
Think of a good paint sealant as an invisible apron for your walls: it repels spills, blocks oils and grime from soaking into pigments, and stops stains from setting so you can wipe them away before they cause permanent discoloration.
With proper sealant application you’ll get reliable stain prevention, easier cleaning, and longer-lasting color—just follow manufacturer prep and curing times for best results.
Surface Abrasion Resistance
Beyond keeping spills from setting, a good paint sealant also shields your wall surfaces from everyday abrasion—scratches from furniture, scuffs from shoes, and the slow wearing that comes from repeated cleaning.
You’ll boost surface durability and wear resistance by choosing the right sealant and using proper application techniques.
Maintenance tips include:
- Clean gently.
- Touch up promptly.
- Reapply periodically.
Common Sealant Types: Water-, Solvent-, Wax, Acrylic
Sealants come in several basic types—water-based, solvent-based, wax, and acrylic—each suited to different surfaces and performance needs. You’ll weigh water based options for low odor and easy cleanup, consider solvent based alternatives for tougher jobs, use wax seal benefits for gentle sheen, and choose acrylic seal durability for longevity.
| Type | Best use | Key trait |
|---|---|---|
| Water | Interiors | Low odor |
| Solvent | Exterior | Toughness |
Clear or Tinted? Choosing the Right Finish
Curious whether to go clear or tinted? You’ll weigh clear benefits against tinted options: clear benefits preserve original paint while tinted options offer color enhancement.
Consider finish durability and aesthetic choices during sealant application to match needs. Decide based on exposure, desired look, and maintenance.
- Preserve original color
- Boost or subtly shift hue
- Maximize longevity and protection
Interior vs Exterior Sealants: Performance Differences
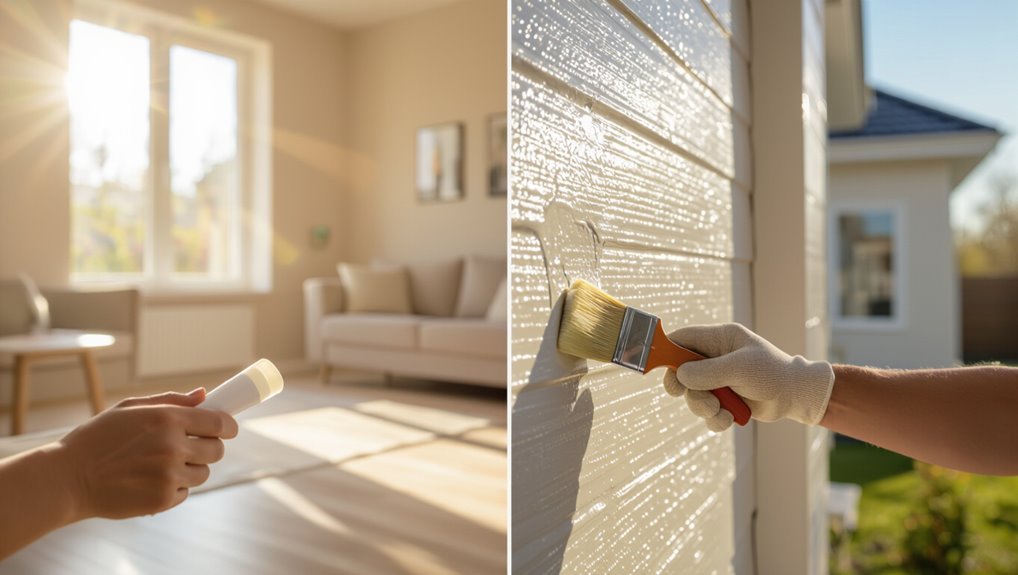
Having picked between clear or tinted finishes, you’ll next want to decide whether the sealant is designed for indoor or outdoor use, because interior and exterior formulations perform very differently.
For a concise performance comparison, weigh interior durability and aesthetic enhancement against exterior longevity and environmental factors.
Proper sealant application guarantees paint compatibility and surface protection, so choose based on exposure and planned maintenance.
Finishes That Benefit Most: Chalk, Limewash, Milk Paint, Matte
If you’re working with chalk, limewash, milk paint, or flat matte finishes, a sealant can protect those delicate surfaces without changing their look.
It helps enhance color depth and evens out subtle variations so pigments read truer. You’ll also cut down on dusting and chalk residue, keeping walls cleaner longer.
Protects Delicate Finishes
Because delicate finishes—like chalk, limewash, milk paint, and matte coatings—tend to be porous and easily scuffed, a clear paint sealant can be the difference between a fragile surface and a durable one.
You’ll gain durability benefits and should follow simple application techniques. Apply sealant thinly, allow proper curing, and avoid heavy abrasion.
- Prevents scuffs
- Eases cleaning
- Maintains texture
Enhances Color Depth
When you seal chalk, limewash, milk paint, or matte finishes, the clear coat brings out richer, deeper hues without changing the surface’s tactile feel.
You’ll notice immediate color enhancement that makes pigments look more saturated and consistent. That boost increases overall aesthetic appeal, helping muted or subtle finishes read bolder in varied light while preserving the original matte character and texture.
Reduces Dusting & Chalk
Along with deepening color, a clear sealant also locks down loose particles so your walls stop shedding powdery residue.
You’ll prevent dust accumulation on chalk, limewash, milk paint, and matte finishes, making cleaning easier and extending life.
Follow a simple maintenance schedule to spot-clean and reseal as needed.
- Inspect quarterly
- Spot-clean gently
- Reseal annually
Signs Your Painted Wall Needs a Sealant Now
If your painted walls are showing chips, peeling, or patchy discoloration, it’s a clear sign you should apply a sealant now; acting promptly prevents further damage and restores a uniform finish.
You’ll want sealant application to protect wall aesthetics, boost wall longevity, and aid paint maintenance.
Protective coatings improve surface durability and finish preservation against environmental factors, stopping minor issues from worsening.
Traffic Thresholds That Justify a Sealant
Noticing chips and peeling is a good prompt to act, but you should also consider how much foot traffic, touching, or moving furniture a wall endures before choosing a sealant.
Assess traffic patterns to decide if protective coating is worth it; sealant benefits include abrasion resistance and easier cleaning.
Assess traffic patterns before sealing—protective coatings add abrasion resistance and make walls far easier to clean.
- High-traffic hallways
- Children’s play areas
- Furniture-scraped walls
Moisture & Humidity: When Walls Need Added Protection
When your walls face frequent dampness, high indoor humidity, or occasional water exposure, adding a sealant can prevent staining, mold growth, and paint failure. You’ll identify moisture sources and humidity effects, then apply sealant benefits to boost wall longevity and resist deterioration.
| Issue | Response |
|---|---|
| Condensation | Sealant barrier |
| Leaks | Fast drying seal |
| Rising damp | Vapor control |
| High RH | Breathable coat |
Kitchens & Bathrooms: Where Sealant Improves Longevity
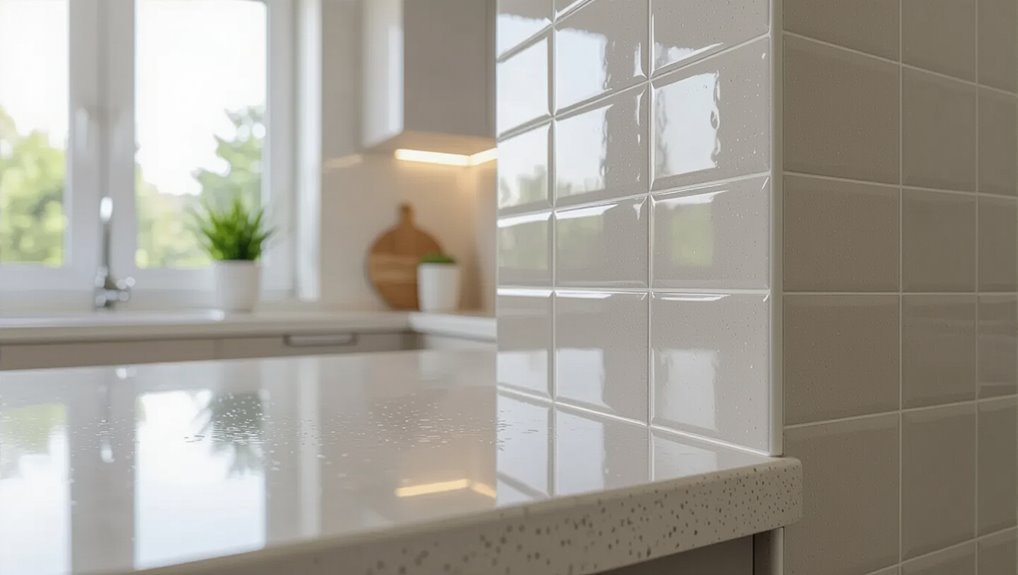
Because kitchens and bathrooms face frequent splashes, steam, and grease, you should seal walls there to prevent paint failure and mold growth.
Sealant protects kitchen finishes and boosts bathroom durability, letting you clean surfaces without stripping coatings.
Consider these targeted benefits:
- Water resistance for grout and paint edges.
- Stain and grease repellence.
- Easier cleaning and longer finish life.
High-Touch and Commercial Areas: Durability Use Cases
In high-touch and commercial areas you’ll want sealants that resist scuffs and abrasion to protect busy surfaces.
They make routine cleaning faster and less damaging by repelling stains and allowing gentle wipe-downs.
That durability cuts maintenance time and keeps walls looking professional longer.
High-Traffic Surface Protection
Many commercial and high-touch spaces endure constant contact, so you’ll want a wall paint sealant that stands up to daily wear, cleaning, and occasional scuffs.
You’ll protect finishes, reduce repair frequency, and simplify wall maintenance by choosing durable products that deliver clear sealant benefits.
- Impact resistance
- Moisture blocking
- Fade and stain control
Easy Cleaning And Maintenance
After choosing a sealant that resists impact, moisture, and fading, you’ll want one that makes everyday cleaning quick and effective.
You’ll get easy cleaning and practical maintenance tips: use gentle cleaning techniques, spot-treat stains, and follow wall care schedules.
Sealant benefits include stain resistance and easier paint upkeep.
Do routine checks and apply protective measures to extend durability in high-touch, commercial areas.
When You Can Skip a Sealant (Paints With Built-In Durability)
If your paint already advertises stain resistance, a durable acrylic formula, or a tough satin/semi-gloss finish, you often don’t need an extra sealant; those products are formulated to resist moisture, scuffs, and fading so a separate topcoat usually adds little benefit.
Consider durability comparison and paint longevity when deciding.
Weigh durability and expected paint lifespan before adding a sealant—sometimes the paint alone is enough.
- High-quality acrylics
- Washable/enhanced finishes
- Low-traffic rooms
How to Read Labels: Solids, VOCs, Abrasion Ratings
When you read a paint sealant label, focus first on solids percentage to know how much protective film you’ll actually get.
Check VOC levels to guarantee you’re meeting health and local environmental standards.
Finally, look for abrasion resistance ratings to see how well the finish will stand up to scrubbing and wear.
Solids Percentage Explained
Understanding the solids percentage gives you the clearest snapshot of what stays behind on your wall after a paint sealant dries: higher solids mean a thicker, more durable film, while lower solids indicate a thinner coating that relies more on carrier solvents.
Use solids percentage as a key performance metrics indicator when choosing sealants.
- Durability
- Coverage
- Finish
VOC Levels Decoded
Solids percentage tells you how much material stays on the wall, but you’ll also want to read labels for VOC content and abrasion ratings to get the full picture of performance and safety.
Check VOC regulations to guarantee compliance, note health impacts from off‑gassing, and weigh environmental considerations when choosing low‑VOC options.
Look for certified testing methods on the label to verify claims.
Abrasion Resistance Ratings
Because walls take a lot of physical wear, you’ll want to check a product’s abrasion resistance rating to know how well the finish will hold up to scrubbing, scuffs, and everyday contact.
You’ll read abridged abrasion testing results on labels; higher numbers mean better sealant performance.
Compare ratings for high-traffic rooms and choose accordingly.
- Kitchen
- Hallways
- Kids’ rooms
Surface Prep Before Sealing: Cleaning, Sanding, Repairs
Before you apply sealant, get the surface spotless, smooth, and structurally sound so the product can bond and perform as designed. You’ll use surface cleaning techniques, sanding for feathered edges, and repair methods for cracks or holes. Follow this quick checklist:
| Task | Tool | Tip |
|---|---|---|
| Clean | Degreaser | Rinse |
| Sand | 120–220 grit | Dust-off |
| Repair | Filler | Cure fully |
Primer → Paint → Sealant: The Correct Order
Think of the finishing system as a three-step assembly: primer, paint, then sealant—applied in that exact order so each layer bonds and protects the one beneath.
You’ll choose primer types to suit substrate and then apply paint considering paint finishes. Sealant goes last to lock protection and sheen.
Follow sequence for adhesion, durability, and consistent appearance.
- Prep
- Paint
- Seal
Choosing the Right Sealant for Your Paint Type and Finish
You should match your sealant to the paint base—water-based sealants work best with latex paints, while solvent-based options pair better with oil-based paints.
Also consider the finish and sheen, since a high-gloss sealant can amplify imperfections on eggshell or matte surfaces.
Choosing the right combo guarantees durability and the look you want.
Match Sealant To Paint
Because different paints cure and adhere differently, matching your wall sealant to the paint type and finish is key to lasting results.
You should check sealant types and paint compatibility before sealing so coatings bond, resist yellowing, and stay flexible.
Consider these quick checks:
- Verify manufacturer compatibility list.
- Match solvent or water base.
- Test adhesion on a small area.
Consider Finish And Sheen
When you’re choosing a sealant, match its sheen to your paint’s finish so the final look stays consistent and any imperfections don’t jump out; high-gloss paints handle tougher, glossier sealants while matte and eggshell finishes need low-sheen, breathable products to avoid shine and flaking.
You should review finish options and test sheen effects on a small area to guarantee adhesion, durability, and the look you want.
Matching Sheen: Keeping a Matte Look Under Sealant
Although a clear sealant can add durability, it can also change how matte paint looks, so you’ll need to choose products and techniques that preserve low sheen.
A clear sealant adds durability but can alter matte paint’s look—choose products and techniques that preserve low sheen.
You should test compatibility, gently apply sealant, and avoid gloss-boosting additives.
Consider:
- Matte finish-specific sealant
- Thin, even sealant application
- Surface testing before full coat
Tools You Need: Rollers, Brushes, Sprayers, PPE
Before you start sealing, make certain you’re geared up with proper personal protective equipment—gloves, goggles, and a respirator if you’re using solvent-based products.
You’ll also want to pick the right application tools for the job: rollers for large flat areas, brushes for edges and trim, and a sprayer if you need a smooth, fast finish.
Choosing the correct PPE and tools guarantees a safer job and a more even sealant application.
Proper Personal Protective Equipment
One essential set of tools you shouldn’t skip includes proper personal protective equipment alongside your rollers, brushes, and sprayers—PPE keeps you safe from fumes, splatter, and airborne particles while you work.
Follow safety protocols and pick equipment types suited to the job.
- Respirator (correct rating)
- Goggles and face shield
- Gloves and coveralls
Choosing Application Tools
Now that you’ve got the right PPE lined up, pick tools that match the sealant, surface, and scope of work.
For smooth walls use a foam roller; textured surfaces need nap rollers.
Use angled brushes for trim, and a HVLP sprayer for large or exterior areas.
Your tool selection dictates application techniques, finish uniformity, and efficiency—choose accordingly.
Step-by-Step: Brush, Roll, or Spray the Sealant
Choose the application method that fits your wall surface, sealant type, and comfort level—brush for edges and detail, a roller for large flat areas, or a sprayer for speed and smooth coverage.
Focus on surface preparation and sealant benefits. Use proper brush techniques, roll application, or spray methods.
Steps:
- Mask and clean.
- Apply evenly.
- Inspect and touch up.
How Many Coats to Apply and Wait Times Between Them
You’ll usually apply one to two coats of sealant for proper protection, though high-traffic areas may need a third.
Follow the manufacturer’s recommended drying time between coats—typically 1–4 hours for recoat and 24 hours for full cure.
Waiting the correct intervals guarantees each layer bonds and prevents tackiness or peeling.
Number Of Coats
Most walls need two coats of sealant for reliable protection and even sheen, though high-traffic areas or porous surfaces may benefit from a third.
You should consider substrate, gloss level, and recommended number of coats when planning application techniques. Apply thin, even layers and inspect coverage.
- Prep surface
- Use consistent strokes
- Feather edges and avoid pooling
Drying And Recoat Times
Because drying and recoat times determine both the number of coats you can apply and the final durability, plan your schedule around the manufacturer’s stated dry times and the room’s temperature and humidity; generally wait at least 2–4 hours between thin coats and 24 hours before heavy traffic or full cure, with porous surfaces or cool, damp conditions requiring longer. Choose drying techniques and recoat intervals wisely.
| Calm | Hope | Relief |
|---|---|---|
| Wait | Dry | Test |
| Patience | Air | Cure |
| Finish | Pride | Use |
Drying vs Curing: When Full Durability Is Reached
Although paint feels dry to the touch within hours, it hasn’t reached full strength until it cures. Understanding that difference helps you know when a wall can safely be cleaned, repainted, or exposed to wear.
You’ll judge drying vs. curing by surface feel versus molecular crosslinking; sealant durability depends on full cure time.
Consider:
- Light use
- Regular cleaning
- Heavy abrasion
How Sealants Affect Future Repainting and Adhesion
When you plan to repaint, check that the sealant you used is compatible with the new paint, because some formulations resist adhesion.
Over time sealants can change surface profile and chemical properties, affecting how well new coats bond.
Follow recoat timing guidelines and manufacturer instructions to guarantee proper adhesion and avoid peeling.
Surface Compatibility Concerns
If you plan to repaint later, consider how a wall sealant will change surface texture and paint adhesion.
You should check surface types and choose compatible sealing methods to avoid peeling or uneven finish. Test small areas and follow manufacturer’s prep.
- Porous masonry: use breathable sealants.
- Smooth drywall: light sanding recommended.
- Previously painted: confirm compatibility first.
Long-Term Adhesion Effects
Because sealants change a surface’s porosity and topography, they’ll affect how well future paint sticks and how often you’ll need to repaint.
You should evaluate sealant compatibility with your paint system to preserve adhesion longevity. Incompatible sealants can cause peeling, blistering or poor bond, while compatible products create stable substrates.
Test small areas and document products so future coats adhere predictably.
Recoat Timing Guidelines
As you plan future repainting, remember that sealants change drying and curing windows and will alter the wait time before you can safely recoat.
Check the manufacturer’s recommended open and recoat times, allow extra cure time for porous or previously unsealed substrates, and always test a small area to confirm adhesion and finish before proceeding with full coats.
- Track recoat frequency per product.
- Repaint in ideal conditions.
- Inspect adhesion before full coats.
Maintenance and Cleaning for Sealed Painted Walls
Regular maintenance keeps sealed painted walls looking fresh and protects your finish, so set a simple cleaning routine and stick to it.
For effective wall care, use mild cleaning products and gentle cleaning techniques to preserve surface durability and sealant longevity.
Schedule routine inspections, address spots promptly, and enjoy sealant benefits: improved aesthetic improvement, reliable wall protection, and reduced wall maintenance over time.
Troubleshooting: Clouding, Streaks, and Uneven Sheen
If you notice clouding, streaks, or an uneven sheen on your sealed walls, it’s usually caused by improper application, contamination, or moisture trapped under the finish.
You can often fix these issues by gently cleaning the surface, allowing the wall to fully dry, and lightly scuff-sanding before reapplying a thin, even coat of sealant.
If problems persist, test a small area or consult the product instructions to match the right technique and drying conditions.
Causes Of Clouding
When you see a cloudy, streaked, or patchy finish after applying a wall sealant, it usually points to specific causes you can identify and fix quickly; common culprits include improper surface prep, incompatible or poorly mixed products, and application in unsuitable environmental conditions.
You should diagnose clouding causes and follow prevention strategies:
- Contaminated or damp substrate.
- Wrong product pairing.
- High humidity or cold during cure.
Fixing Uneven Sheen
Clouding, streaks, and patchy gloss are symptoms you’ll want to correct quickly because they affect both appearance and protection.
Inspect for uneven texture, sanding lightly where needed. Clean surfaces, then apply thin, consistent sealant coats with a quality applicator to avoid lap marks.
For stubborn patches, use a targeted recoat and blend edges—this is proper sheen correction to restore uniform protection and look.
How to Remove or Reverse an Old Sealant
Start by evaluating the sealant’s condition and type—acrylic, silicone, or solvent-based—since that determines the safest removal method.
You’ll choose appropriate sealant removal techniques and aim at reversing sealant effects without damaging paint.
Follow steps:
- Test a small area with mild remover and scraper.
- Use stronger solvent only if needed.
- Clean residue, sand lightly, then repaint.
Health & Safety: Ventilation, PPE, and VOC Tips
Because many sealants and removers release fumes and particles, you should set up good ventilation and wear proper PPE before you begin.
Use ventilation strategies like cross-ventilation and exhaust fans, follow safety guidelines, and monitor air quality.
Address sealant hazards with workspace preparation, PPE essentials, protective gear (gloves, respirator, eye protection), and VOC awareness to minimize exposure and cleanup risks.
Cost Breakdown: Materials, Labor, and Long-Term Value
A clear cost breakdown helps you decide whether a paint sealant is worth the upfront spend: materials (sealant type, primers, tapes, brushes/rollers), labor (pro rates vs.
- Material types affect Cost comparison and Budget considerations.
- Labor expenses vary; factor hourly rates into Value assessment.
- Long term savings from durability can offset initial costs; weigh lifespan against replacement frequency.
DIY vs Hiring a Pro: When to Call a Contractor
Wondering whether you should tackle sealing your walls yourself or call in a contractor?
You can DIY smaller rooms to save money, but do a cost comparison including time and tools.
Hire pros for large projects, tricky surfaces, or warranty needs.
Check contractor qualifications, insurance, and references.
If results matter or risk’s high, getting a pro’s expertise pays off.
Recommended Sealant Products by Category
Choose sealants based on the surface, room conditions, and performance needs; below you’ll find trusted options grouped by category (interior walls, moisture-prone areas, exterior walls, primers and blockers, and specialty finishes).
Pick water-based acrylics for interiors, mildew-resistant silicone blends for bathrooms, and weatherproof elastomerics for exteriors.
Include eco-friendly options and follow correct sealant application.
- Evaluate surface
- Match conditions
- Test compatibility
Low‑VOC and Eco‑Friendly Sealant Choices
Because indoor air quality matters, you should prioritize low‑VOC and eco‑friendly sealants that cut harmful emissions without sacrificing durability or adhesion.
Choose products labeled eco friendly options or certified by reputable bodies, and weigh low VOC benefits like reduced odors and safer occupancy.
You’ll still check compatibility with your paint and room use, favoring water‑based formulations for easy cleanup and lower impact.
How to Test a Sealant on a Small Area (What to Watch)
Before you apply sealant across a whole wall, test it on a small, inconspicuous patch to confirm adhesion, finish, and compatibility with your paint and substrate.
Let it cure, then check for discoloration, tackiness, or peeling. Use these sealant application tips and testing methods to evaluate performance quickly.
- Visual inspection
- Adhesion pull
- Water resistance test
Case Study: Sealing a Kitchen Wall
When you’re sealing a kitchen wall, start by evaluating the surface—cleanliness, grease, and previous coatings will determine which sealant will bond and how you’ll prep.
Choose a product balancing kitchen aesthetics with grease resistance.
Prep by degreasing, sanding glossy spots, and patching.
Apply thin, even coats, allow full cure, then inspect for adhesion to guarantee improved wall durability without altering finish.
Case Study: Sealing a Busy Hallway
If your hallway sees constant foot traffic, scuffs, and occasional spills, sealing it calls for a tougher approach than quieter rooms: pick a durable, low-sheen sealant that resists abrasion, clean and repair high-contact areas thoroughly, and apply thin, even coats so the finish stays invisible but protective.
You’ll gain sealing benefits: easier cleaning, fewer touch-ups, and preserved paint under heavy hallway traffic.
- Durability
- Cleanability
- Subtle finish
Case Study: Sealing Exterior Stucco
Moving from a high-traffic interior hallway to exterior surfaces means you’ll face very different challenges: stucco is porous, textured, and exposed to sun, rain, and freeze-thaw cycles, so you need a sealant formulated for masonry that blocks moisture without trapping it. You’ll preserve stucco texture and gain sealing benefits: breathability, mildew resistance, and longer paint life.
| Benefit | Result |
|---|---|
| Breathability | Prevents trapped moisture |
| UV protection | Slows fading |
| Water resistance | Reduces seepage |
| Mildew control | Lowers growth risk |
Common Myths About Wall Sealants, Debunked
Although sealants promise a lot, you shouldn’t assume every product will solve every problem—let’s break down the common myths so you can choose the right one for your walls.
Although sealants promise much, don’t assume one product solves every issue—know the limits before you apply.
You’ll encounter myth misconceptions and sealant misunderstandings; here’s reality in brief:
- One coat fixes water intrusion.
- All sealants suit all surfaces.
- Sealants replace proper prep work.
Checklist: Decide Now If Your Walls Need a Sealant
Ready to decide whether your walls need a sealant? Use this quick checklist: assess stains, humidity, and wear. If you notice damage, follow wall maintenance tips and consult sealant application techniques.
| Concern | Action |
|---|---|
| Stains | Clean, test spot |
| Humidity | Measure, ventilate |
| Wear | Seal if fading |
Resources and Product Links for Buying and Research
When you’re shopping for a wall paint sealant, start with trusted brands and independent reviews so you can compare coverage, finish, and drying time quickly.
Use manufacturer pages, DIY forums, and retailer specs to weigh sealant benefits and recommended application techniques.
Check data sheets, safety info, and user photos before buying.
- Manufacturer sites
- Expert reviews
- Community forums
Frequently Asked Questions
Will a Sealant Change My Wall’s Fire Resistance Rating?
No, a typical paint sealant won’t change your wall’s fire resistance rating; you’ll still rely on structural materials and fire safety standards. Sealant benefits are cosmetic and moisture-related, not designed to improve fire performance.
Can Sealant Trap Lead or Asbestos in Old Paint Layers?
Yes — a proper sealant can lock in lead paint and reduce asbestos exposure risk temporarily, but you shouldn’t assume permanence; you’ll still need professional testing, encapsulation by specialists, or removal for long-term safety.
Do Sealants Interfere With Wall-Mounted Adhesives or Fasteners?
Yes — sealants can affect adhesives or fasteners. You’ll find different sealant types and application methods change surface texture and porosity, so test mounting methods first and choose compatible adhesives, anchors, or pilot-drilled fasteners.
Will Sealant Affect Acoustic or Thermal Insulation Properties?
No, sealant generally won’t noticeably reduce acoustic performance or thermal efficiency; you’ll still get the same insulation and sound-damping. It might slightly change surface reflection or seal tiny leaks, but overall impact is negligible.
Can Pets’ Saliva or Urine Degrade Sealed Paint Differently?
I’ve seen a puppy lick a wall until paint dulled; yes, pets’ saliva or urine can degrade sealed paint faster. If pet behavior’s frequent, paint durability drops—choose tougher sealants and clean spills promptly to protect surfaces.
