
Paint vs. Stain for Exterior Wood: Which One Protects Better Long-Term?
You’ll generally pick paint if you want the strongest long-term barrier against UV, moisture and surface wear, and stain if you prefer easier upkeep, breathability and letting wood show through. Paint seals and protects the surface but needs full repainting every 7–15 years; solid or semi-transparent stains penetrate and are simpler to recoat but may need more frequent touch-ups. Which is best depends on your climate, maintenance willingness and aesthetic goals — keep going to learn how to decide.
Quick Answer: Paint or Stain for Exterior Wood?
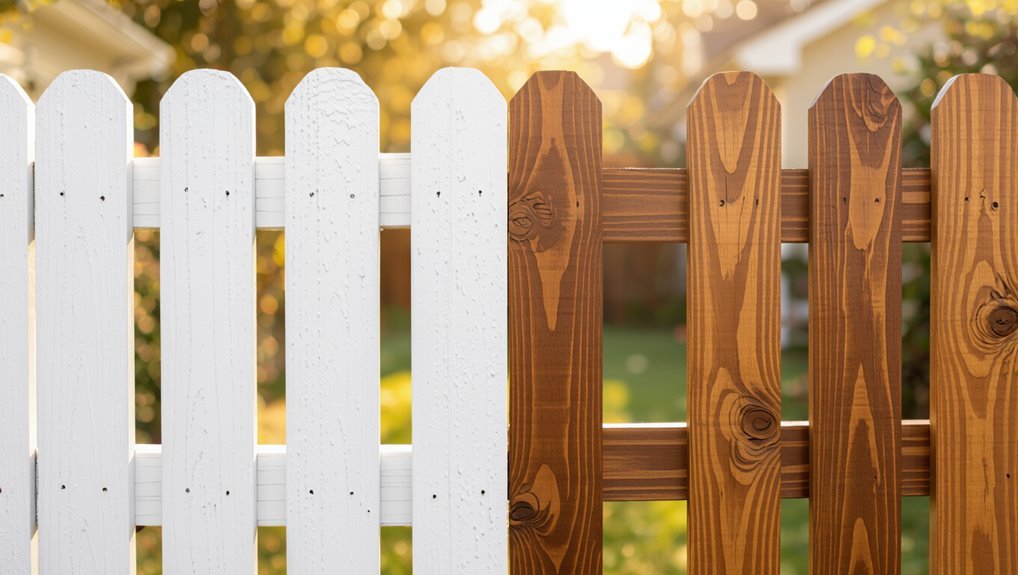
Wondering whether to paint or stain exterior wood?
You’ll pick paint for maximum color control and superior finish durability against UV and moisture, but you’ll commit to repainting.
You’ll choose stain for easier maintenance and better wood preservation with breathable protection, though color options are limited.
Choose stain for low-maintenance, breathable protection that preserves wood—just expect fewer color choices.
Both work long-term if you match product type to climate and maintenance willingness.
What This Guide Covers and How to Use It
This guide explains the pros and cons of paint and stain, surface prep, longevity, maintenance, and appearance so you can pick what fits your project.
You’ll get practical tips for different wood types and common exterior applications.
Use the comparison checklists and step-by-step recommendations to choose and apply the right finish.
What This Guide Covers
In this guide you’ll get straightforward help deciding between paint and stain for exterior wood, including pros and cons, durability and maintenance expectations, cost comparisons, and step-by-step application tips for common projects. You’ll find clear sections on Wood types, Finish durability, Application techniques, Cost analysis, Maintenance strategies, Environmental impact, Aesthetic preferences, and Longevity comparison.
| Topic | Quick tip | When to choose |
|---|---|---|
| Paint | hides grain | high durability |
| Stain | shows grain | easy upkeep |
| Sealant | protects | add for longevity |
How To Use It
Now that you know what the guide covers and how paint, stain, and sealant differ, here’s how to use it so you get straight answers fast:
Skim headings for scenarios (deck, siding, trim), then read matching sections for recommended application techniques and maintenance intervals.
Use comparison charts to weigh aesthetics versus finish longevity, follow step-by-step prep and drying times, and pick products matching climate and wood type.
Why People Search “Paint vs Stain” for Exterior Wood
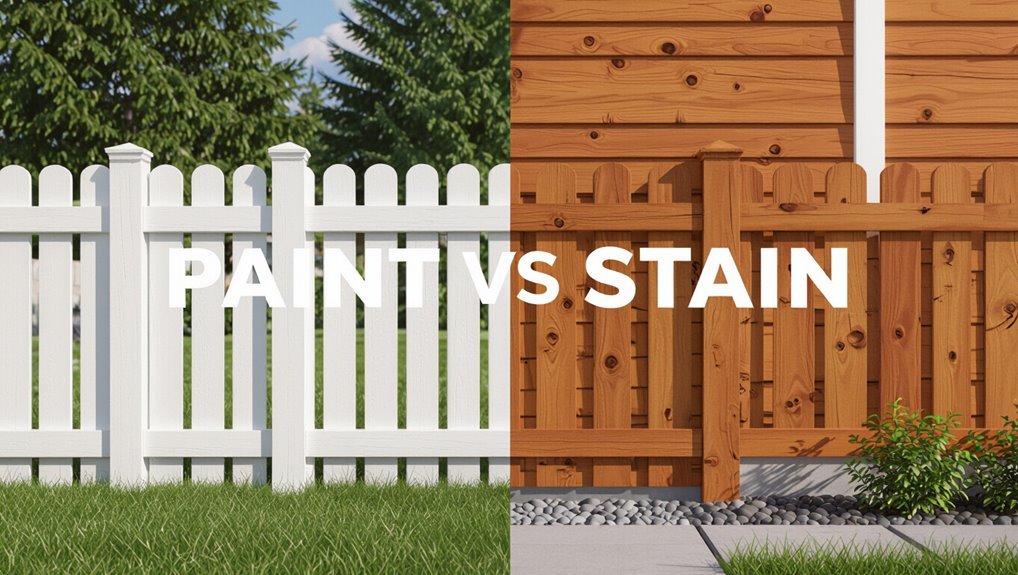
Why are so many homeowners and builders typing “paint vs stain” into search bars when they’re planning an exterior wood project?
You want clear wood finish comparison, cost, longevity, maintenance, and aesthetics. You’re weighing protection versus look, ease of application, and repair needs.
Searches focus on exterior wood care tips, real-world tradeoffs, and which option fits budgets, climates, and desired upkeep levels.
How Paint Protects Wood (Plain Terms)
When you paint exterior wood, it forms a tight surface seal that keeps out water and dirt.
That sealed layer also blocks a lot of UV rays, slowing the sun’s breakdown of the wood fibers.
Together, the seal and UV/moisture blocking help wood last longer and look better.
Surface Sealing Barrier
Because paint forms a continuous film over the wood, it acts like a surface seal that keeps water, dirt, and UV rays from reaching the fibers beneath.
You get clear benefits in surface durability and sealing effectiveness:
- Blocks pores, reducing moisture entry.
- Eases cleaning, limiting dirt buildup.
- Resists abrasion, extending finish life.
- Provides a replaceable barrier you can refresh.
UV And Moisture Blocking
Although paint sits on the surface, it does two key jobs: it reflects and absorbs UV rays so they don’t break down the wood fibers, and it keeps rain and humidity from penetrating the grain.
You get strong UV resistance and reduced moisture absorption when paint’s film is intact.
For longevity comparison, thicker coats and proper application techniques matter—apply evenly, prime, and maintain seals.
How Stain Protects Wood (Plain Terms)
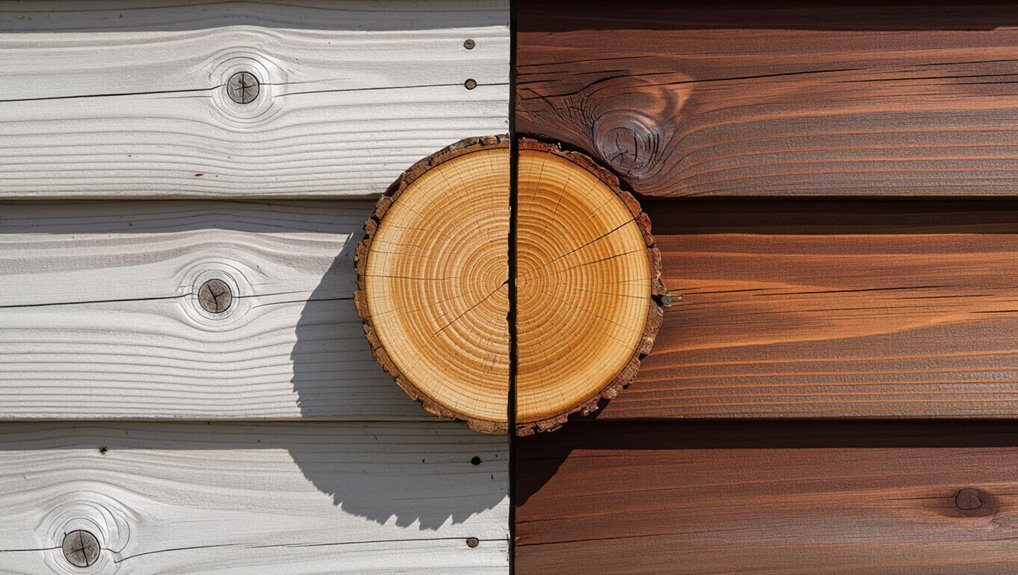
If you look at a stained board, you’ll see the finish doesn’t just sit on the surface—it soaks in and forms a barrier that keeps water out, blocks UV rays, and slows mildew and rot.
You get clear wood preservation and better finish durability by choosing the right stain.
Benefits include:
- Moisture shedding
- UV filtering
- Mildew resistance
- Grain protection
Paint vs Stain: Film vs Penetrating
Stain works by soaking into wood and protecting it from the inside out, but paint takes a very different approach: it creates a surface film that sits on top of the wood.
You’ll weigh film durability against penetrating depth: paint’s film shields surfaces but can chip, while stain soaks in, offering less surface protection but better penetrating depth.
Choose based on exposure and maintenance.
How Moisture Moves Through Painted Wood
When paint seals the wood surface, moisture still finds ways to move—mostly as vapor that diffuses through microscopic pores and along tiny cracks in the film.
Liquid water, however, can only penetrate where the paint is breached or poorly adhered.
Liquid water can only get in where the paint is broken or hasn’t properly stuck to the wood.
You should monitor moisture absorption and wood permeability because trapped vapor can cause blistering.
- Vapor diffusion
- Capillary movement under breaches
- Adhesion failure
- Permeability changes
How Moisture Moves Through Stained Wood
Because stains penetrate the wood instead of forming a thick film, moisture moves more freely as both vapor and liquid along the grain and through the untreated pores; you’ll see faster equilibration with changes in humidity and greater susceptibility to liquid uptake where the stain doesn’t repel water.
You should monitor moisture migration closely, since wood absorption varies by species, grain, and stain type, affecting dimensional stability.
UV Protection: Paint vs Stain
Although both coatings shield wood from sunlight, paint and stain do it in very different ways that affect how well UV damage is prevented and how repairs are handled.
- Paint forms a film, offering strong UV resistance.
- Solid stains add pigments but less film strength.
- Semi-transparent stains let some UV through, fading faster.
- You’ll choose based on desired look, longevity, and ease of spot repairs.
Mildew and Rot: Which Lasts Longer?
When you’re comparing paint and stain, start by looking at how each handles surface moisture management because trapped water invites problems.
Consider fungal growth resistance next — some paints block spores better, while certain stains include mildewcides that slow colonization.
Finally, weigh long-term wood breathability, since materials that let moisture escape tend to resist rot more effectively.
Surface Moisture Management
If you want your exterior wood to keep looking and performing well, managing surface moisture is the key battle between paint and stain—especially where mildew and rot are concerned.
You’ll control moisture retention and limit wood expansion by choosing and maintaining finishes.
Consider these steps:
- Guarantee proper drainage.
- Use breathable finishes.
- Recoat damaged areas promptly.
- Promote airflow and sun exposure.
Fungal Growth Resistance
Managing surface moisture lays the groundwork for resisting fungal growth, but mildew and rot respond differently to finishes and maintenance.
You’ll find paint offers strong fungal resistance by sealing surfaces and blocking spores, while penetrating stains aid wood preservation by reducing moisture uptake.
Regular cleaning and timely recoating matter more than product claims; neglect lets mildew persist and rot eventually set in.
Long-Term Wood Breathability
Although both mildew and rot thrive where moisture lingers, they behave differently over time: mildew shows up fast on damp surfaces and can be scrubbed away, while rot develops slowly inside the wood and keeps progressing once it takes hold.
You’ll weigh moisture exchange and breathability factors when choosing finish:
- Paint reduces moisture exchange.
- Stain allows better breathability.
- Rot resists limited airflow.
- Mildew favors surface dampness.
How Wood Species Change Finish Performance
Because different woods vary in grain, density, and extractives, the species you choose changes how paints and stains adhere, penetrate, and age.
You’ll notice wood species impact performance: oily cedars resist penetration, porous pine soaks stain.
That alters finish durability, required prep, and maintenance frequency.
Choose species-aware finishes and methods so coatings bond properly and last longer without unnecessary stripping or recoating.
How Climate Affects Paint and Stain Life
Where you live changes how long paint and stain will last: temperature extremes cause cracking and blistering, while high humidity and repeated wetting promote peeling and mildew.
You’ll also see faster color fade and surface breakdown on sun‑exposed sides from UV radiation.
Consider local climate when choosing products and maintenance schedules.
Temperature Extremes
When temperatures swing wildly from blazing summers to freezing winters, your choice of finish will face very different stresses: paint can crack and peel as wood expands and contracts, while stain may fade or break down more quickly under intense heat or UV exposure.
- temperature fluctuations drive thermal expansion and wood expansion.
- insulation impact alters heat resistance needs.
- seasonal changes demand climate adaptation.
- moisture retention interacts with cycles.
Humidity And Moisture
If your climate traps moisture against wood, paint and stain will respond very differently: paint forms a rigid barrier that can blister and peel as trapped water pushes against it, while stain soaks in and lets the wood breathe but offers less surface protection against prolonged dampness.
You’ll weigh moisture absorption, humidity effects and drying times; consider water resistance, wood expansion, finish durability, climate considerations and weather conditions.
Sunlight And UV
Sunlight—and specifically UV radiation—breaks down pigments and binders, so you’ll see paint and stain age very differently in sunny climates.
You should consider UV damage and sunlight exposure when choosing protective coatings to limit fading color and preserve wood durability.
Think about these long term effects:
- Oil-based stain: penetrates, reduces peeling
- Solid stain: resists UV, hides grain
- Paint: strongest barrier, chips
- Maintenance: frequent recoat prevents decay
Best Finishes for Hot, Sunny Climates
Because intense UV and heat speed wood degradation, you’ll want a finish that reflects rays, resists fading, and prevents moisture cycling that cracks and checks.
Choose high-pigment exterior paint or UV-stable solid stain for superior wood finish durability and color retention.
Look for ceramic or UV absorbers, flexible film-formers, and finishes rated for climate adaptability so seams and substrates stay protected under prolonged sun and heat.
Best Finishes for Cold, Wet Climates
When you’re dealing with cold, wet climates, pick finishes that block moisture, resist freeze–thaw cycling, and allow trapped vapor to escape so wood won’t rot or delaminate.
- Choose products with proven weather resistance and finish durability.
- Favor low moisture retention and strong surface adhesion.
- Prioritize flexibility for temperature fluctuations and wood expansion.
- Note application techniques, color longevity, environmental impact, and maintenance frequency.
Paint Lifespans by Product Type
Different paint types last very different lengths of time on exterior wood, so it’s worth matching the product to your climate and maintenance plan.
You’ll choose between acrylic, alkyd, and elastomeric formulas: acrylic balances product longevity and UV resistance, alkyd offers tough adhesion, and elastomeric maximizes finish durability over cracks.
Pick based on exposure, expected maintenance interval, and substrate movement.
Stain Lifespans by Opacity Level
If you’ve settled on stain instead of paint, the amount of pigment you choose will largely determine how long the finish protects wood.
You’ll want a clear picture of opacity levels for a practical lifespan comparison:
- Transparent — 1–2 years, shows grain.
- Semi-transparent — 2–4 years, moderate UV defense.
- Semi-solid — 4–7 years, more coverage.
- Solid — 7–10+ years, best protection.
How Color Choice Affects Protection
Because darker pigments absorb more UV and heat, choosing a deep color can extend how well a finish shields wood compared with pale tones.
You should balance color psychology and thermal effects: darker hues hide stains and age, boosting aesthetic durability, while lighter shades reflect heat and show wear sooner.
Pick tones that match climate, exposure, and your maintenance willingness.
Surface Prep Before Painting Exterior Wood
Start by evaluating and repairing the surface so paint can bond and last: remove loose or flaking finish, scrape and sand glossy areas to dull them, and replace any rotten or split wood before you prime.
- Follow proper sanding techniques.
- Use proven cleaning methods.
- Make primer selection based on wood and exposure.
- Check weather considerations and product recommendations for best results.
Surface Prep Before Staining Exterior Wood
You’ll prep exterior wood for stain a bit differently than for paint: instead of primer and hiding imperfections, your goal is to expose clean, sound wood so the stain can penetrate and highlight the grain.
Use proper sanding techniques, follow cleaning methods, respect drying times, and choose product selection wisely.
Note primer importance, check weather considerations, and prioritize finish durability; keep application tips simple.
Application Methods That Boost Longevity
When you apply stain or paint with the right methods, the finish lasts longer and protects wood more effectively.
- Follow preparation methods: clean, sand, and dry for better adhesion and product selection.
- Use proper application techniques and finishing touches to seal grain and repel moisture.
- Mind seasonal application and weather considerations to avoid poor curing.
- Consider environmental impacts and longevity factors when choosing materials.
Spotting Paint Failure: Common Signs
A bubbling patch or flaking edge is usually the first clue that paint’s protecting power has failed. You’ll spot paint peeling, chalky surfaces from UV damage, and loss of color retention.
Check for cracks from wood expansion and seams permitting moisture intrusion. Poor application techniques and compromised weather resistance accelerate failure.
Inspect regularly so you can repair or repaint before structural harm occurs.
Spotting Stain Failure: Common Signs
If stain’s protective oils and pigments start to wash away, you’ll notice the wood looking dull, uneven, or gray where UV and moisture have taken hold.
- Fading across different stain types, losing color depth.
- Blotchy absorption where previous coats failed.
- Surface roughness, raised grain from moisture.
- Mildew or flaking that undermines stain, reducing paint durability elsewhere.
Repainting vs Re-Staining: Maintenance Timeline
You’ll usually need to repaint every 5–10 years, while re-staining typically runs 2–7 years depending on product and exposure.
Your exact schedule will hinge on factors like sun, moisture, wood species, and how well the previous coat adhered.
Let’s compare typical intervals and the key variables that’ll shift your timing.
Repaint Frequency Estimate
Choosing between paint and stain affects how often you’ll need to refresh your exterior wood: paint typically demands full repainting every 7–15 years depending on exposure and prep, while penetrating stains usually need reapplication every 2–5 years for semi-transparent types and 4–8 years for solid-color stains.
- Check yearly for peeling.
- Clean surfaces before work.
- Sand and prime when needed.
- Track repaint frequency and maintenance tips.
Re-Stain Interval Guide
When comparing repainting and re-staining, think regarding how each finish wears and what prompts maintenance: you’ll typically re-stain frequency every 2–5 years for semi-transparent stains and 5–10 for solid stains, while paint often needs longer prep cycles.
Check fading, adhesion, and water beading.
Consider environmental impact—choose low-VOC products and dispose responsibly to reduce harm.
Factors Affecting Timing
While both paint and stain protect wood, several practical factors determine how soon you’ll need maintenance: climate exposure (sun, rain, humidity, freeze-thaw cycles), the type and quality of the coating, surface prep and application technique, and the wood species and its porosity.
- Consider environmental factors and seasonal impacts.
- Plan application timing, preparation timing, and drying times.
- Track curing duration and weather conditions.
- Use finish longevity to set maintenance timing and timing considerations.
5–15 Year Cost Comparison: Paint Vs Stain
Over a 5–15 year span you’ll spend more than just upfront material costs—labor, maintenance cycles, and eventual recoating all add up and change which option is cheaper.
Do a cost analysis comparing paint’s higher initial price and repaint frequency to stain’s lower material cost but more frequent touchups.
Factor labor, warranty, and budget considerations to pick the long-term economical choice.
When to Choose Paint: Use Cases & Benefits
When you want the widest range of colors and finishes, paint gives you nearly unlimited options to match your style.
It also forms a tougher surface seal that blocks moisture and helps wood last longer.
And when scratches or stains happen, you’ll find paint easier to touch up and hide than most stains.
Maximum Color Options
If you want unlimited color choices and exact color matching, choose paint — it lets you pick from thousands of shades, tint to a specific formula, and reliably reproduce that color across trim, siding, and accents.
You’ll get color variety plus predictable finish longevity.
Consider these practical points:
- Match brand formulas
- Coordinate palettes
- Accent precision
- Repeatable touch-ups
Superior Surface Seal
Choosing paint for exact colors also gives you a stronger physical barrier against moisture, UV, and wear than most stains. You’ll gain superior surface durability and protective qualities across wood types, though product comparison should weigh environmental impact.
Consider application techniques and seasonal effects for ideal color longevity. Expect higher maintenance frequency but enhanced finish aesthetics when you prioritize long-term protection.
Easier Damage Coverage
1 clear advantage of paint is how easily you can hide chips, scratches, and mismatched repairs—brush or roll over problem spots and the uniform, opaque finish conceals flaws that stains would highlight.
You’ll appreciate paint for quick fixes, varied coverage options, and forgiving application techniques.
Consider damage types and repair methods with this list:
- Surface chips
- Scratch blending
- Patch repairs
- Spot repainting
When to Choose Stain: Use Cases & Benefits
When you want to highlight the grain, protect against moisture without masking natural character, and simplify future upkeep, stain is often the better choice for exterior wood. You’ll get stain longevity and improved wood preservation, easier maintenance, and a natural look.
| Benefit | Impact |
|---|---|
| Moisture resistance | Reduces rot risk |
| Low maintenance | Quicker recoat |
| Aesthetic warmth | Shows grain and texture |
Hybrid Approach: Paint Trim, Stain Siding/Decks
You can get the best of both worlds by painting trim for maximum durability and using stain on siding and decks to highlight wood grain and resist weathering.
This approach simplifies touch-ups—painted trim handles chips and wear while stained surfaces often need only periodic reapplication.
Let’s look at changeover details and maintenance tips so you know where to seal, overlap, and when to refresh each surface.
Paint For Trim Durability
A hybrid finish—painted trim with stained siding and decks—gives you the best balance of durability and low maintenance, since paint seals intricate trim profiles against moisture while stain lets wood breathe on larger surfaces.
- Choose trim materials suited for paint.
- Pick high-quality primers and topcoats.
- Consider color for UV resistance.
- Plan maintenance intervals and finish options.
Stain For Siding Benefits
Because stain soaks into the wood instead of forming a film on the surface, it preserves the natural grain and lets siding and decks breathe while still shedding moisture and sun damage.
You’ll boost siding durability without hiding texture, and a proper stain application penetrates and blocks UV.
Choose a quality product, follow drying times, and you’ll keep wood looking natural and protected longer.
Transition And Maintenance Strategies
When you want the natural warmth of stained siding and the crisp, durable look of painted trim, a hybrid approach gives you the best of both worlds: stain the siding and decks to preserve grain and breathability, and paint trim, fascia, and window casings to seal joints and simplify touch-ups.
- Plan changeover techniques at corners.
- Use compatible primers.
- Schedule maintenance tips yearly.
- Touch up paint quickly to protect seams.
Switching From Paint to Stain Safely
If you’re planning to switch from paint to stain, start by evaluating the existing finish and the wood’s condition so you know what prep is required.
Remove loose paint, sand glossy surfaces to reduce paint adhesion, and clean thoroughly.
Test a small area to confirm proper stain application and absorption.
Use appropriate primers or conditioners only if recommended for stubborn coatings or weathered wood.
Switching From Stain to Paint Safely
Before you paint over stained exterior wood, assess the wood’s condition for rot, loose fibers, or deep weathering so you know what repairs are needed.
Strip or sand off the old stain and clean the surface thoroughly to guarantee adhesion.
Finish with a compatible exterior primer formulated for previously stained wood before applying your topcoat.
Assess Wood Condition
Although stained wood often looks fine at a glance, you need to inspect it closely to decide whether painting is a safe move.
Do a thorough wood assessment and condition evaluation:
- Moisture testing for hidden damp spots and decay signs.
- Damage inspection focusing on structural integrity and wood durability.
- Surface grading to judge adhesion.
- Finish evaluation considering environmental factors.
Remove Old Stain
Now that you’ve assessed the wood, it’s time to remove the old stain so paint will adhere properly. Use striping techniques with application tools suited to grain; consider eco friendly options and follow safety precautions. Note drying times, weather considerations, and finish compatibility. Regular maintenance tips prevent failures.
| Task | Tool | Consideration |
|---|---|---|
| Striping | Scraper/sander | Drying times |
| Chemical | Eco option | Safety precautions |
| Clean | Brush/rinse | Weather considerations |
Apply Proper Primer
1 key step in switching from stain to paint is applying a primer formulated for stained exterior wood, because it creates a stable bonding layer and blocks residual tannins and dye bleed-through.
You should pick appropriate primer types and follow careful primer application to guarantee adhesion and stain-blocking.
- Clean surface
- Sand glossy spots
- Apply primer evenly
- Inspect before topcoat
Environmental & VOC Concerns for Exterior Finishes
When you choose an exterior finish, you’re also choosing how much volatile organic compounds (VOCs) and other pollutants you’ll release into the air and soil; paints and stains differ markedly in their environmental footprint.
Consider environmental impact: low-VOC or water-based stains and paints cut VOC emissions and runoff.
You should weigh product labels, lifecycle effects, and local disposal rules to minimize harm.
Pro-Recommended Paints, Stains, and Tools
Before you buy anything, decide whether durability, appearance, or maintenance matters most to you—each choice points to different products and tools.
Use pro paint recommendations and stain application tips; consider weather considerations and environmental impacts.
Follow surface preparation techniques and maintenance frequency guidelines. Essential tools matter. Finish durability comparisons guide selection.
- High-quality acrylic
- Semi-transparent stain
- Brushes & sprayer
- Prep scrubber
Top DIY Mistakes That Shorten Finish Life
You’ll get the longest life from paint or stain when you avoid a few common DIY mistakes that quietly undermine finishes: skipping proper surface prep, applying products in the wrong weather, using cheap materials, and neglecting maintenance intervals. You must fix DIY blunders by following preparation essentials, choosing product selection wisely, timing for seasonal factors, using correct application techniques, and scheduling maintenance tips for wood treatments.
| Mistake | Impact | Fix |
|---|---|---|
| Poor prep | Low finish durability | Scrape, clean |
| Wrong season | Peeling | Check forecasts |
| Cheap product | Short life | Pick quality |
Pro Techniques That Extend Finish Life
Start by making the surface right: you’ll repair cracks, replace rotten boards, and sand or strip old coatings so paint or stain can bond properly.
Time maintenance to the season and the finish—clean and recoat before failures appear, ideally in mild, dry weather.
Use the right techniques (gentle pressure washing, appropriate primers or sealers, and thin, even coats) to keep the finish lasting longer.
Prep And Surface Repair
A solid prep and thoughtful surface repair make the difference between a finish that peels in a season and one that protects for years.
You’ll do surface cleaning, a damage assessment, and targeted fixes before finishing. Follow these steps:
- Remove dirt, mildew, loose finish.
- Inspect and mark rot or gaps.
- Replace or splice damaged boards.
- Sand, fill, and prime seams.
Maintenance Timing And Techniques
Because weather and wood movement set the schedule, you should plan maintenance around seasonal cycles and obvious wear signs rather than fixed dates.
Use maintenance schedules with seasonal adjustments, combine inspection techniques and finish evaluation each spring and fall, and factor weather considerations.
Employ cleaning methods before repair, follow targeted touch up strategies, and keep long term planning records to maximize protection and lifespan.
Seasonal Inspection and Maintenance Checklist
When seasonal changes roll around, check your exterior wood systematically so you catch problems early and limit repairs.
Note seasonal trends and follow concise maintenance tips:
- Inspect paint/stain for cracking, blistering, mildew.
- Probe soft spots, check joints and flashing.
- Clean surfaces, remove debris and mold.
- Touch up or recoat worn areas and seal exposed end grain.
Case Study: When Paint Outperformed Stain
If you prefer long-term protection over showing natural grain, paint can outperform stain in real-world use: in this case study, a coastal homeowner switched from semi-transparent stain to a high-quality acrylic latex paint and saw markedly better moisture resistance, fewer maintenance cycles, and more uniform color retention over five years.
Your case study analysis shows a clear performance comparison favoring paint for harsh, moisture-prone sites.
Case Study: When Stain Outperformed Paint
The previous example showed paint winning on a wet, exposed coast, but stain can outperform paint in other real-world settings—especially where wood movement, ventilation, and UV exposure matter more than absolute moisture barriers.
On sun-drenched, ventilated wood, stain often beats paint—favored where movement, breathability, and UV resistance matter more than seals.
You’ll see this when:
- Sun-exposed decking favors stain durability.
- Natural fading’s preferable to peeling.
- Wood that breathes benefits from stain.
- You trade paint longevity for easier maintenance.
Decision Checklist: Which Finish Fits Your Project
You’ll want to weigh how much surface prep each option demands before you choose.
Consider that paint often needs more sanding and priming, while stain can be quicker but may require more frequent reapplication.
Also factor in long-term maintenance costs so the upfront savings don’t cost you more over time.
Surface Preparation Needs
Because exterior finishes only last as long as the prep underneath them, knowing what your surface needs up front saves time and money.
You’ll assess wood surface preparation, use proper cleaning techniques, pick sanding methods, and plan primer application to guarantee finish compatibility.
Consider weather considerations, tool selection, and the project timeline.
- Clean
- Sand
- Prime
- Check compatibility
Long-Term Maintenance Costs
When you compare long-term maintenance costs, factor in not just initial materials and labor but how often you’ll need touch-ups, recoats, and repairs over the life of the project.
For a clear cost comparison, weigh maintenance frequency, material costs, application expenses, and labor expenses against product durability and longevity factors.
Include repair needs, seasonal upkeep, and budget considerations when deciding which finish fits your project.
Next Steps: Choose and Apply the Right Finish
Now that you’ve weighed the trade-offs between paint and stain, it’s time to pick the finish that matches your goals and follow a clear plan for application.
Decide based on finish durability and desired look, then prep and apply with proper application techniques:
- Inspect and repair
- Clean and sand
- Prime or condition
- Apply finish and seal, follow drying times
Frequently Asked Questions
Can Paint or Stain Be Used on Previously Oil-Finished Wood?
Yes — you can, but you’ll need to prep: strip or degloss the oil finish, sand, and use a suitable primer for oil based compatibility so your new coating achieves proper adhesion and long-term finish durability.
How Do Insects and Termites Affect Finish Choice?
An ounce of prevention beats a pound of cure. You’ll choose finishes with insect resistance and termite prevention additives, favoring sealed, oil-based or treated products, and you’ll maintain coatings and wood to deter pests and rot.
Can Finishes Be Mixed in a Single Coat for Unique Effects?
Yes — you can mix finishes in a single coat for unique effects: you’ll achieve subtle color blending and texture variation, but test adhesion, durability, and compatibility first so the mix won’t peel, flake, or otherwise fail prematurely.
Do Warranties Cover Color Fading or Only Film Failure?
Mostly they cover film failure, not color fading; you’ll need to check warranty terms carefully. Color longevity is often excluded or limited to short periods, so document initial color and expect only limited protection for fading.
How Do Finishes Impact Indoor-Outdoor VOC Transfer?
About 30% of VOC emissions from finishes can migrate indoors; you’ll reduce indoor air quality impacts by choosing low-VOC products. That lowers environmental impact and health concerns, and you’ll limit VOC transfer between outdoor and indoor spaces.
