
Does Blu Tack Take Paint Off Walls? How to Remove It Safely
You can usually use Blu Tack on painted walls, but it can lift or dull softer, fresh, or matte paints, so test a small hidden spot first. Press briefly, wait, then peel gently with a plastic card or fingernail; apply mild heat to soften stubborn bits and dab residue with a mild solvent after a spot-test. Avoid long contact on porous or flat finishes, consider alternatives for valuable surfaces, and keep going to learn safe removal and repair tips.
What This Guide Covers
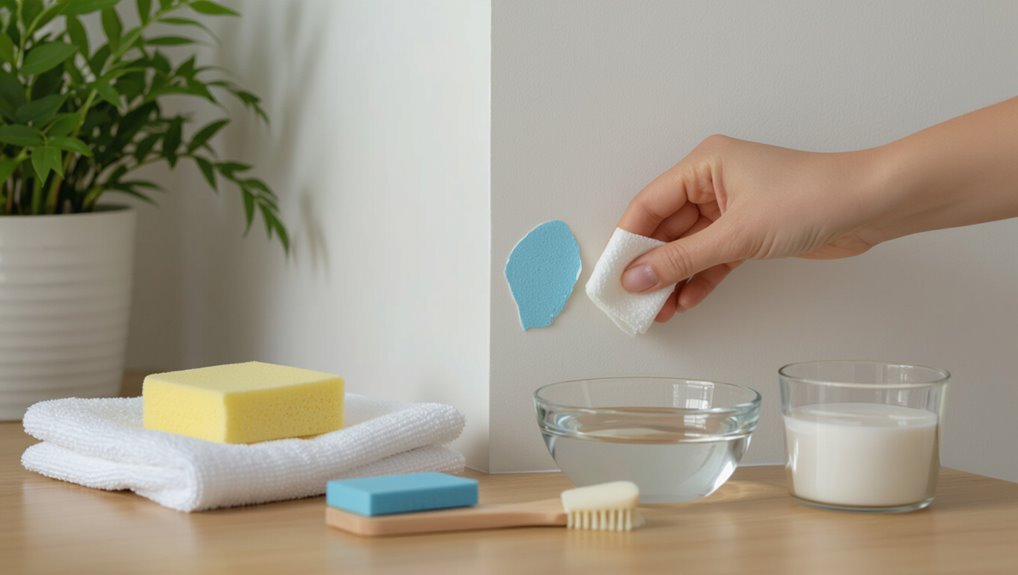
While removing Blu Tack from walls can seem challenging, this guide walks you through safe, effective steps and the tools you’ll need.
You’ll learn gentle removal techniques, testing methods, and cleanup tips that protect finish and aid paint preservation.
You’ll also see recommended Blu Tack alternatives for less-sticky mounting and when to call a pro, so you can act confidently and avoid damage.
Quick Answer: Does Blu Tack Remove Paint?
Now that you know how to remove Blu Tack safely, you’re probably wondering whether the putty can strip paint off your walls. It rarely removes well-adhered paint if you’re careful, but test first. Consider Blu Tack alternatives for fragile finishes to aid Paint preservation.
| Situation | Action |
|---|---|
| Fresh mark | Remove gently |
| Old residue | Soften first |
| Fragile paint | Avoid pressure |
| Test spot | Always try |
Which Paints Are Most Vulnerable to Blu Tack
Because some paints sit more lightly on surfaces, you should be careful with matte, flat, and porous finishes—these tend to lift when you peel Blu Tack off.
You’ll want to evaluate paint types and wall textures before applying.
- Matte/flat: high risk
- Eggshell: moderate risk on rough wall textures
- Semi-gloss/gloss: lowest risk, smoother adhesion
How Paint Age and Finish Affect Blu Tack Damage
If the paint’s still fresh, you’ll find Blu Tack can lift or peel wet or not-fully-cured layers more easily than older, fully cured paint.
Aged paint may resist peeling but can be brittle, so Blu Tack might pull off flakes instead of stretching the surface.
Also note that matte finishes grip tack more firmly while gloss or satin finishes are slicker and usually release it with less risk.
Fresh Vs. Aged Paint
When you press Blu Tack onto a newly painted wall, the soft, uncured surface can lift or peel paint more easily than older finishes; aged paint, by contrast, usually bonds harder and resists tearing but may crack if it’s brittle.
You should consider paint durability and color retention:
- Test a hidden spot first.
- Remove gently after short contact.
- Use solvent only if necessary.
Matte Vs. Gloss Finishes
Although matte and gloss paints both hold Blu Tack, they react differently: gloss finishes are harder and smoother so Blu Tack usually peels off cleanly, while matte finishes are softer and more porous, so the tack can stick into the texture and lift or leave residue. You’ll prefer gloss durability for frequent removals; matte advantages include hiding imperfections but risk residue.
| Finish | Impact |
|---|---|
| Gloss | Cleaner removal |
| Matte | More residue |
| Aged | More fragile |
How Contact Time Increases Paint Risk
Time increases the risk because Blu Tack slowly bonds to paint and absorbs oils, dirt, and moisture from the surface, making removal more likely to lift or stain the finish.
You should monitor contact duration and understand paint adhesion limits.
Follow these steps:
- Test a hidden spot first.
- Shorten contact time whenever possible.
- Use gentle removal and solvent if needed.
How Wall Condition and Prep Change the Risk
If your walls are freshly painted, damp, or already showing chips and weak adhesion, Blu Tack will pose a much higher risk of lifting or staining the finish.
You should consider wall texture and paint adhesion before applying tack. Smooth, well-cured surfaces tolerate Blu Tack better; porous, flaky, or poorly prepped walls increase removal damage.
Prep, cure time, and cleaning reduce risk.
How to Test a Small Spot Before Using Blu Tack
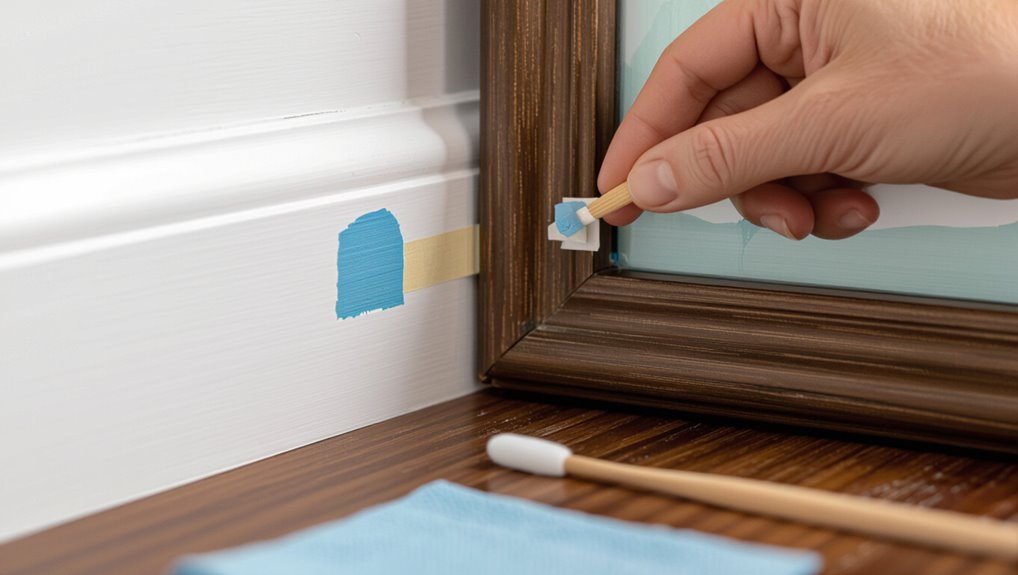
How should you check a spot before committing Blu Tack to a larger area? Use quick testing techniques and safe practices to avoid damage.
- Press a small wad on an inconspicuous corner for 10–15 seconds, then remove.
- Inspect for residue, sheen change, or paint lift under good light.
- Wait 24 hours; recheck for delayed effects before wider use.
Remove Fresh Blu Tack From Painted Walls
If you catch Blu Tack fresh on painted walls, act quickly and gently to avoid pushing it deeper into the paint.
Use soft tools like a plastic card or your fingernail to lift the tack without scraping.
If you need a solvent, test it on an inconspicuous spot first to make sure it won’t damage the finish.
Act Quickly And Gently
Because fresh Blu Tack hasn’t had time to bond with paint, you can usually lift it away with minimal fuss; work quickly, using gentle motions and a soft tool like a plastic card or your fingernail to peel it off without rubbing or scraping.
- Test a corner for safe removal.
- Peel slowly toward the wall.
- Wipe residue gently for paint preservation.
Use Soft Tools
Reach for soft, nonabrasive tools—like a plastic card, silicone spatula, or your fingernail—to lift fresh Blu Tack without scuffing paint.
Work slowly at the edges, easing the tack away in small lifts. Use soft tools and gentle approaches, keeping pressure minimal.
If residue remains, rub gently with a microfiber cloth; don’t scrape or tug aggressively.
Test Solvent First
After you’ve lifted as much tack as possible with soft tools, try any cleaning solvent on an inconspicuous spot of the painted wall before applying it to the residue.
Check solvent safety and paint compatibility first.
Then follow steps:
- Apply a drop, wait 30 seconds.
- Blot gently; look for finish change.
- If fine, treat residue carefully, rinsing and drying afterward.
Get Dried or Stubborn Blu Tack Off Gently
If the Blu Tack’s dried hard or won’t budge, soften it first so you don’t gouge the paint while prying; warm a cloth with a hair dryer or hold a warm, damp towel against the spot for a few minutes.
Then gently lift edges with a plastic card or your fingernail.
Use gentle removal techniques and work slowly, prioritizing surface protection to avoid scratches or paint lift.
Remove Sticky Residue Without Stripping Paint
Before using any solvent, test a small hidden area to make sure the paint won’t react.
Start with gentle options like warm soapy water or rubbing alcohol applied sparingly with a cloth.
If the test passes, work slowly and recheck frequently to avoid stripping the finish.
Test Small Hidden Area
Want to make sure your paint stays intact? You should always check a small hidden area first.
Use simple test methods on inconspicuous spots to confirm compatibility with paint types.
Try these steps:
- Press a tiny Blu Tack piece briefly.
- Peel slowly and inspect.
- Note any discoloration or lifting before treating larger areas.
Use Gentle Solvents
Reach for mild, paint-safe solvents to lift Blu Tack residue without stripping the finish. You can use isopropyl alcohol, diluted dish soap, or a dedicated adhesive remover labeled safe for painted surfaces.
Apply sparingly with a soft cloth, blotting gently until residue loosens. Test first, work slowly, and rinse the area.
These gentle solutions are practical, effective safe methods to protect paint.
When to Use Heat, Oil, or Solvents (And When Not To)
When deciding whether to use heat, oil, or solvents to remove Blu Tack, match the method to the surface and adhesive—heat loosens tack on painted walls but can damage delicate finishes.
Oils soften residue gently but may stain porous surfaces, and solvents dissolve stubborn bits yet risk stripping paint or varnish.
- Use heat application cautiously; test first.
- Try mild oil types on resilient paint.
- Reserve stronger solvents for small spots; weigh solvent risks and choose safe methods.
Tools That Will Damage Paint : Avoid These
1. Don’t grab metal scrapers, razor blades, or stiff wire brushes — they’ll gouge or peel paint. Avoid harsh scouring pads and abrasive powders that strip finishes.
For damage prevention, use soft plastic scrapers or a microfiber cloth instead. If you need something sticky, choose tested alternative adhesives like removable poster putty made for painted surfaces to reduce risk.
Repair Small Paint Lifts and Chips
Start by evaluating the size and depth of the lift or chip so you can choose the right fix; small surface lifts often re-adhere with gentle pressure, while chips that expose bare drywall or wood need filling and touch-up.
Use simple wall repair techniques and paint touch up steps:
- Press surface lifts gently.
- Fill small chips with spackle.
- Sand, prime, then touch up.
Matching Touch-Up Paint and Blending Repairs
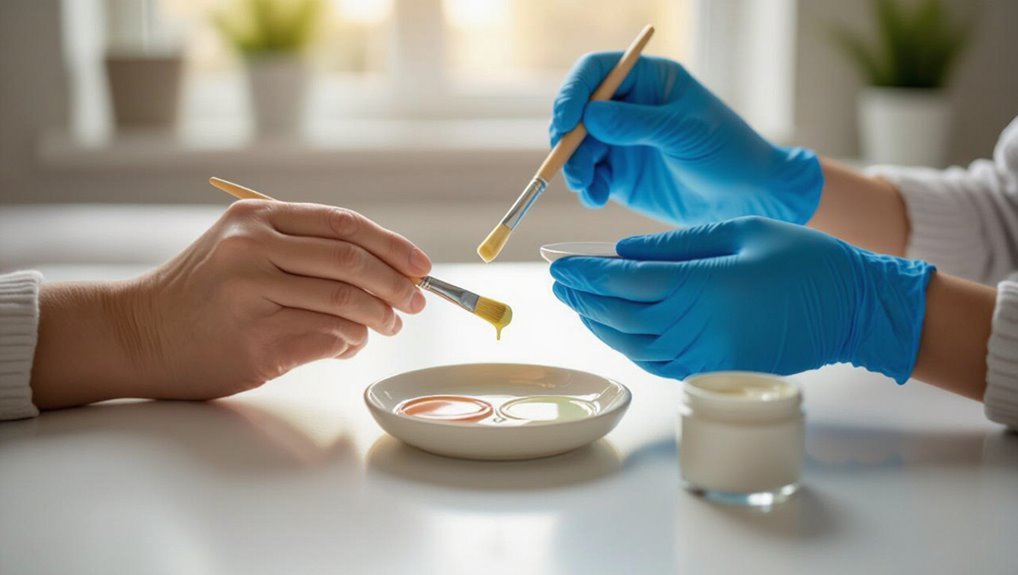
When you touch up spots, match the paint sheen so the repair doesn’t stand out under different lighting.
Feather the repair edges gently to blend new paint into the old surface.
If you can’t find an exact match, mix spot color samples until the hue and value align.
Matching Paint Sheen
Although the color may match perfectly, you’ll notice repairs immediately if the sheen doesn’t.
So matching gloss level is as important as matching hue; check the existing finish (flat, eggshell, satin, semi-gloss, or gloss) and use touch-up paint with the same sheen or blend the edges to minimize contrast.
Use a paint sheen comparison to evaluate sheen impact:
- Test small area
- Compare dry finish
- Adjust sheen accordingly
Feathering Repair Edges
If you want your touch-up to disappear, feather the repair edges so the new paint blends smoothly into the old surface; gently taper the paint outward with thin coats and a light brush or roller to avoid a hard line.
Use feathering techniques and subtle edge blending, working wet-on-wet and stepping back often to check shifts until the repair becomes invisible.
Spot Color Mixing
Match paint spot-on by starting with a careful color read: compare the wall under the same light it’ll be seen in, note undertones (warm, cool, gray), and bring a small sample or photo to the paint counter so you can mix a close base.
Use color theory and practical mixing techniques to match and blend edges.
- Test small patch
- Adjust tint
- Feather blend
Prevent Blu Tack Damage When Hanging Items
When you want to hang posters or lightweight decor with Blu Tack, take a moment to plan placement and prepare the wall so you won’t damage paint or plaster.
Use minimal Blu Tack, test a small hidden spot, and rotate locations occasionally.
Employ hanging techniques that distribute weight and add simple wall protection like small backing cards or painter’s tape under the tack to reduce adhesion.
Better Mounting Options Than Blu Tack
Although Blu Tack can be handy for temporary displays, you’ll get more reliable, damage-free results with alternatives designed for walls.
Use options suited to weight and surface:
- Command hooks and adhesive strips — ideal for lightweight items without drilling.
- Picture rails — great for flexible, damage-minimizing displays.
- Wall anchors — choose for heavier frames when secure fixing’s needed.
When to Call a Decorator or Conservator for Repairs
If the Blu Tack has caused structural damage or you spot crumbling plaster, call a decorator so the problem’s properly assessed and fixed.
For historic, listed, or valuable painted surfaces, don’t try improvised repairs yourself—contact a conservator who specializes in preservation.
They’ll advise whether stabilization, specialist cleaning, or careful restoration is needed.
When Damage Is Structural
Because small surface marks can usually be fixed with gentle cleaning or touch-up paint, you should call a decorator or conservator as soon as you spot damage that goes deeper than paint or plaster—cracks that run through the substrate, loose render, warped panels, or stains from damp that suggest leaks.
Assess structural integrity and original wall materials, then:
- Document damage.
- Stop leaks.
- Arrange specialist repair.
For Historic Or Valuable Surfaces
When a wall’s finish or substrate is original, rare, or carries historical value, call a conservator or specialist before attempting removals or repairs; you’ll avoid accidental loss of material, inappropriate treatments, and reduced heritage value. You should document damage, limit handling, and seek advice on historical preservation and conservation techniques.
| Action | Who to call |
|---|---|
| Document | Conservator |
| Stabilize | Specialist |
| Repair plan | Conservator |
Quick Checklist: Remove, Repair, Prevent
Start with a quick scan of the affected area to decide whether you’ll remove residue, make minor repairs, or take preventive steps to avoid future damage.
Use approved removal techniques gently, test first, and protect nearby trim for paint protection.
- Remove residue: soft tools, heat, or solvent test.
- Repair: touch-up or mild sanding.
- Prevent: use nonstick pads or alternate adhesives.
Frequently Asked Questions
Can Blu Tack Damage Wallpaper Seams or Patterns?
Yes. You can damage wallpaper seams or patterns if adhesive strength is high or the wallpaper type is delicate; you should test discreetly, use minimal Blu Tack, lift gently, and consider low-tack alternatives for fragile or textured wallpaper types.
Is Blu Tack Safe on Textured or Plastered Walls?
Imagine discovering ripped plaster adhesion after removing a poster — you’ll want caution. You shouldn’t trust Blu Tack on textured surfaces; it can pull at paint and finish, so test a small hidden patch first.
Will Blu Tack Affect Lead or Oil-Based Paint Surfaces?
Yes—you shouldn’t use Blu Tack on lead paint or oil based paint; it can pull loose flakes or weaken old surfaces. Test a hidden spot first, and use low-tack alternatives or adhesive strips designed for painted walls.
How Long Is Blu Tack Reusable After Wall Contact?
You can usually reuse Blu Tack for a few weeks to several months after wall contact, but its Blu Tack lifespan drops with dust, oils, and loss of tackiness; consider Blu Tack alternatives like reusable putty pads or adhesive tabs.
Can Blu Tack Cause Discoloration Under Sunlight Exposure?
Yes — Blu Tack discoloration can occur; sunlight effects often yellow or lighten spots where adhesive sat, so you’ll see faint patches over time. You’ll want to test, rotate positions, and avoid prolonged sun exposure.
