
How to Remove Latex Paint From Wood Molding Without Causing Damage
You can remove latex paint from wood molding without damage by working gently and testing first: gather gloves, safety glasses, a plastic scraper, fine sandpaper, a heat gun or citrus remover, and drop cloths, then try a small patch in an inconspicuous spot. Start with warm soapy water and a soft cloth, move to mineral spirits or a mild commercial remover for stubborn spots, and use light sanding or a plastic scraper to preserve edges—keep going and you’ll find step‑by‑step tips and troubleshooting.
Quick Answer: Safest Way to Remove Latex Paint From Wood Molding
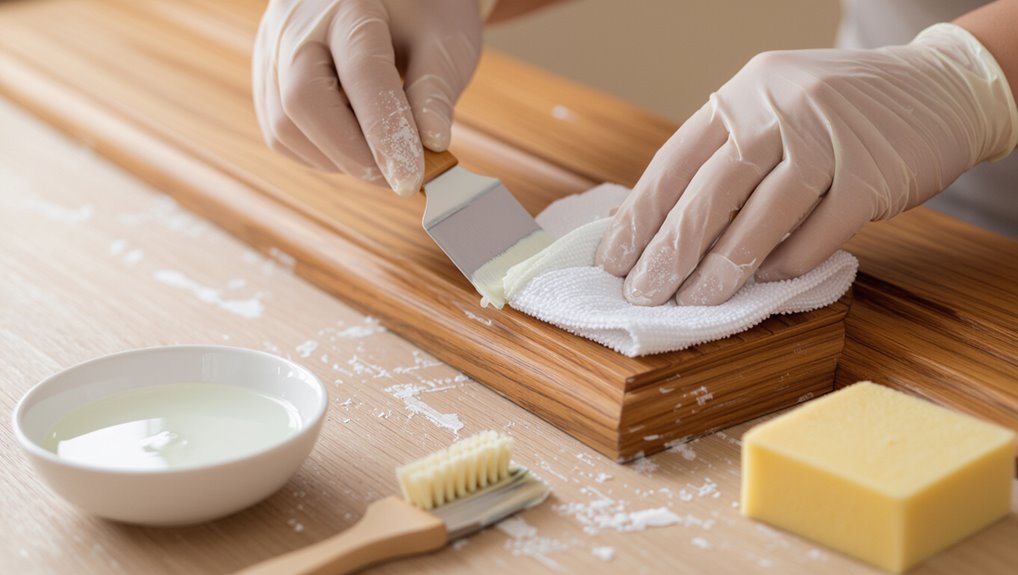
Start by softening the paint with a heat gun or warm, soapy water—both are gentle on wood and effective for fresh or thin latex layers.
Start by loosening the paint—use a heat gun or warm, soapy water for gentle, effective removal.
You’ll then scrape gently with a plastic scraper, follow grain direction, and use fine steel wool for residue.
For stubborn areas, apply a low‑odor latex paint removal gel briefly.
These wood molding techniques preserve profiles and minimize sanding.
Quick Checklist: Tools and Supplies to Gather
Before you start, gather the essential tools you’ll need like a putty knife, scraper, fine-grit sandpaper, and a heat gun or chemical remover.
Don’t forget protective supplies — gloves, safety glasses, a respirator, and drop cloths to protect floors.
Having everything ready will make the job faster and safer.
Essential Tools Needed
Gathering the right tools will save you time and prevent damage to the molding—collect a putty knife or paint scraper, fine-grit sandpaper, a chemical paint remover or citrus-based stripper, rags, painter’s tape, disposable gloves, a mask, and a small brush for crevices.
For tool selection, prioritize quality scrapers and a variety of sandpaper grits.
Good project preparation means organizing tools within reach.
Protective Supplies List
Safety gear is essential, so make sure you’ve got gloves, eye protection, and a respirator or dust mask rated for paint fumes and particulates.
Also gather drop cloths, painter’s tape, a plastic scraper, fine steel wool, disposable rags, and a soft-bristle brush.
Keep a mild, wood-safe solvent and a bucket of clean water handy for paint removal and cleanup to protect the molding.
How to Tell If Molding Is Finished or Bare Wood
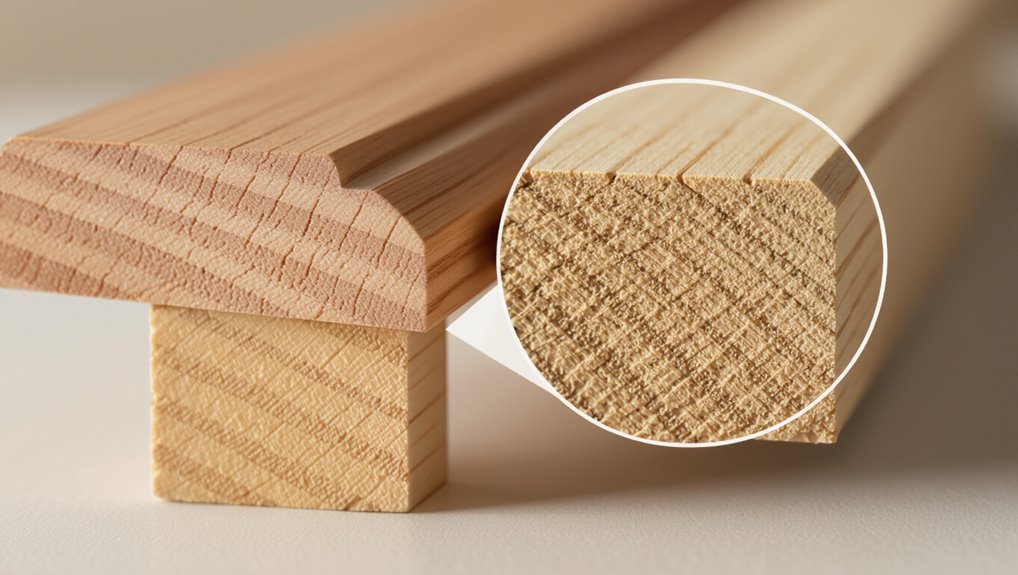
Look closely at the molding’s surface for sheen, grain visibility, or brush marks to spot a finish versus bare wood.
Run your fingers over it and feel for smoothness, tackiness, or raised grain that indicate a finish or unfinished lumber.
You can also test a small hidden area with a damp cloth—if the wood darkens or absorbs water, it’s likely bare.
Visual Surface Clues
When you inspect wood molding, pay attention to sheen, grain visibility, and how the surface feels under your fingertips—these clues quickly tell you if it’s been finished or left bare.
For visual inspection, note uniform gloss, film lines, or trapped brush marks indicating a finish.
In paint identification, look for color layering, brush texture, and edge build-up that betray prior coatings or bare wood beneath.
Touch And Test
After you’ve scanned for visual clues, run your fingers along the molding to feel for finish indicators: a smooth, glassy surface usually means it’s been sealed or varnished, while a dry, slightly rough grain points to bare or only lightly sanded wood.
Use simple touch techniques and test methods: press a fingernail for resistance, apply solvent on a hidden spot, and note sheen changes to confirm finish.
Test First: How to Perform a Small Patch Safely
Want to make sure your cleaning method won’t damage the molding? Do a small test patch in an inconspicuous spot first.
Use safe techniques: apply your chosen remover lightly, wait the recommended time, then blot gently.
Check for finish lifting, discoloration, or swelling. If the patch shows no harm, proceed cautiously; if it does, stop and try a gentler approach.
Household Method: Use Warm Soapy Water and a Soft Cloth
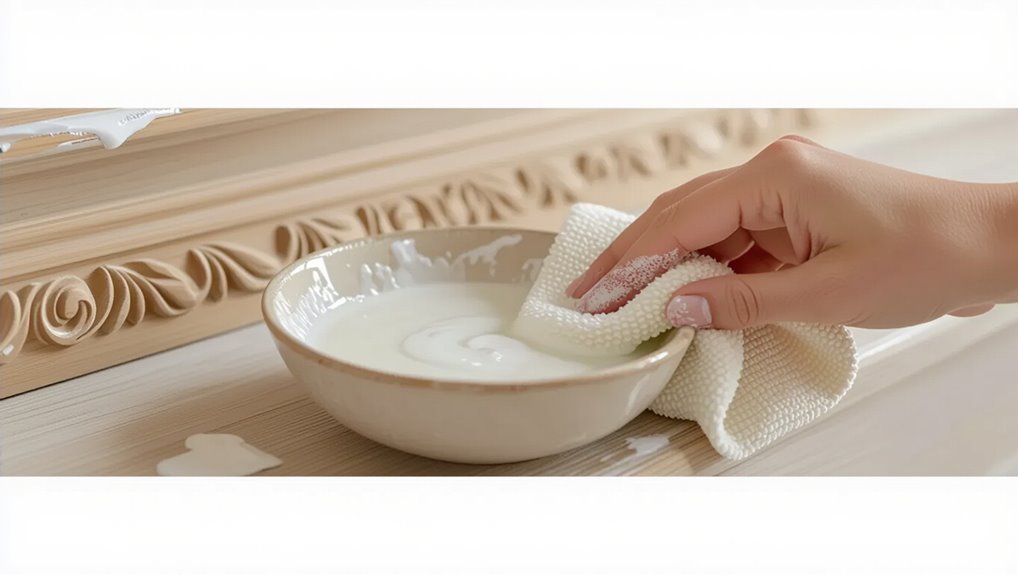
If your test patch showed the finish held up, try a gentle household method next: warm water mixed with a mild dish soap and a soft cloth.
Gently blot—don’t scrub—until paint softens, then wipe dry. Follow these steps:
- Dampen the soft cloth in warm water, wring until just damp.
- Blot paint gently, repeating as needed.
- Dry immediately to protect finish.
Natural Option: Vinegar and Baking Soda for Fresh Latex Drips
Try a simple, natural fix by combining white vinegar and baking soda to lift fresh latex drips without harsh chemicals.
Dampen a cloth with warm vinegar to soften the paint, then sprinkle a little baking soda and rub gently to trigger the baking soda reaction that aids lifting.
Rinse with a damp cloth, pat dry, and repeat sparingly to preserve the wood finish—vinegar effectiveness varies by paint age.
Low‑Odor Solvent: Use Mineral Spirits Safely
Reach for mineral spirits when vinegar doesn’t budge dried latex—this low‑odor solvent dissolves paint without the strong fumes of harsher chemicals.
You’ll use gentle rubbing, test an inconspicuous spot, and protect finishes with controlled, safe application.
- Ventilate and wear gloves.
- Dab, don’t soak, to avoid finish damage.
- Wipe residue quickly and refinish if needed.
Mild Commercial Remover: Choosing and Applying for Trim
Select a mild commercial paint remover formulated for latex on finished wood, and you’ll get faster results with less risk to trim than harsher strippers.
Read labels to compare commercial options, choose low‑odor, noncaustic formulas, and test in an inconspicuous spot.
Follow manufacturer application techniques: apply thin coats, wait recommended dwell time, blot residue with a soft cloth, then neutralize and dry before refinishing.
Gently Scrape: Plastic Tools and Razor‑Blade Technique
Pick a plastic scraper or putty knife that fits the molding profile so you won’t gouge the wood.
If you use a razor blade, hold it at a very low angle and push gently with short strokes to lift paint without cutting the surface.
Lay down a soft cloth or painter’s tape as a barrier to protect the finish while you work.
Choose The Right Tool
Start with the least aggressive option and work up only if it’s necessary: use plastic scrapers, putty knives, or a stiff nylon brush to lift softened latex without gouging the wood.
Reserve a razor‑blade held nearly flat for stubborn paint on smooth, level surfaces where you can keep a steady hand. Use proper paint removal techniques and observe tool safety.
- Test small area
- Match tool to grain
- Replace worn blades
Safe Razor Technique
Work slowly and keep the blade almost flat so you shave thin ribbons of softened latex without digging into the wood; use a plastic scraper for general lifting and switch to a single‑edged razor only on smooth, level sections where you can maintain a steady hand and consistent angle.
Practice razor blade safety, keep fingers behind the edge, change dull blades, and employ controlled scraping techniques for clean results.
Protect Wood Surface
Before you scrape, protect the wood by using plastic scrapers and keeping razor use minimal and precise; these tools remove softened latex without gouging the molding’s finish.
- Use gentle plastic scrapers — a primary wood protection method to avoid scratches.
- Reserve a sharp blade for tiny paint beads, angling shallowly.
- Finish with light sanding and mild cleaner — core surface preservation techniques.
Sanding Without Rounding Profiles: Tips and Shortcuts
Keep the edges crisp by sanding carefully around profiles instead of flattening them — use light pressure, the right grit progression, and tools that match the molding’s contours so you preserve sharp lines while removing paint.
Use targeted sanding techniques: folded sandpaper, small blocks, sanding sponges, and micro-detail files.
Work slowly, check progress frequently, and prioritize profile preservation over speed to avoid rounding edges.
Heat Method: Using a Heat Gun Safely on Trim
Use a heat gun to soften latex paint on trim, but do it deliberately and safely: hold the gun 6–8 inches from the surface, keep it moving to avoid scorching, and test a small, inconspicuous area first so you can judge heat settings and technique.
You’ll focus on controlled heat application and follow safety precautions.
- Move steadily.
- Scrape gently.
- Ventilate area.
Protect Surrounding Surfaces and Contain Mess
Before you start, protect the room by covering floors and furniture with drop cloths so paint chips and heat or solvent won’t cause damage.
Tape adjacent surfaces—walls, glass, and hardware—tight to the trim to prevent accidental scorch marks or smudges.
Position cloths strategically under your work area to catch debris and make cleanup simple.
Cover Floors And Furniture
Start by laying down a continuous drop cloth or heavy-duty plastic that extends at least 12 inches beyond the molding on all sides so paint splatters and drips never reach the floor or furniture.
Use reliable floor coverings and furniture protection, secure edges, and keep tools on a tray.
- Anchor edges
- Layer for high-traffic spots
- Protect vertical furniture surfaces
Tape Adjacent Surfaces
With the floor and furniture covered, tape the edges of the molding to keep paint off walls and trim you want to preserve.
Use painter’s tape with crisp edges and press firmly for reliable surface protection.
Apply tape techniques like overlapping small sections, running tape slightly onto the molding, and removing it while paint is tacky to avoid lifting or smudging adjacent finishes.
Use Drop Cloths Strategically
Lay down at least two layers of drop cloths and anchor them so paint drips and dust stay off your floors and nearby furniture.
You’ll focus on drop cloth positioning for paint protection, overlapping sheets and securing edges. Use low-adhesive tape on trim, weight corners, and fold cloths at doorways to contain mess.
- Overlap seams
- Tape edges
- Weight corners
Restore the Finish: Blending and Touch‑Up Steps
Now that the paint’s been removed and the surface prepped, you’ll focus on blending and touch‑ups to make the molding look seamless; matching grain, stain, and sheen is key to hiding repairs.
For finish restoration, use targeted blending techniques: lightly sand connections, apply matching stain with a cotton swab, feather clear coat layers, and buff to uniform sheen.
Inspect under good light and adjust sparingly.
Troubleshooting: Stubborn Paint, Stains, and Residue
If paint won’t come off with your initial method, don’t panic—you can try progressively stronger, targeted techniques to remove stubborn layers and stains without damaging the wood.
Work gently, test solvents, and address paint adhesion issues before sanding. Focus on residue removal and finish preservation.
Work gently, trial solvents, and fix adhesion issues first—prioritize removing residue while preserving the wood’s finish.
- Heat gun + plastic scraper for thin layers.
- Citrus solvent for spots.
- Fine sanding, feather edges.
When to Stop and Call a Professional
When your best efforts—heat, solvent, and careful sanding—aren’t restoring the molding or you start seeing gouges, severe discoloration, or evidence of old lead-based paint, stop and call a professional.
You should get a professional assessment for safety and restoration options.
Don’t risk further damage or exposure; complex situations need trained hands, proper containment, and specialized tools to preserve the wood.
Prevention: Painting Techniques to Avoid Future Drips
Because a little planning goes a long way, you can prevent most drips by using the right tools, techniques, and workspace setup before you touch the brush.
A bit of planning prevents most paint drips—set up your tools, technique, and workspace first.
You’ll reduce cleanup and protect trim with simple drip prevention and smart painting techniques.
- Use thin coats and proper brush size.
- Keep paint at room temperature.
- Work top-to-bottom, wiping drips immediately.
Cost and Tool Comparison for Removing Latex Paint From Trim
Compare costs and tools before you start so you can pick a method that fits your budget and the trim’s condition. Do a quick cost analysis: cheaper tools save money but may need more time; pricier options boost tool effectiveness and speed. Match method to paint thickness and wood.
| Tool | Typical cost |
|---|---|
| Scraper | $5–$15 |
| Heat gun | $25–$80 |
| Chemical stripper | $10–$30 |
Frequently Asked Questions
Can Latex Paint Removal Damage Antique or Veneered Molding?
Yes — you can damage antique or veneered molding if you’re careless. You’ll need gentle methods to protect antique preservation and veneered surfaces, and you should test solvents, avoid harsh scraping, and work slowly.
Will Paint Removers Affect Stain Color Under Finish?
Sure — paint remover effects can sometimes strip or soften the stain under a finish, so you’ll want cautious cleaning, small sampling, and stain preservation steps like neutralizing, gentle solvents, and refinishing to secure surface stability and color.
Can I Use Nail Polish Remover (Acetone) on Wood Trim?
You shouldn’t; acetone can damage finishes and soften some stains. Instead, try gentler paint remover alternatives like isopropyl alcohol, citrus-based strippers, or warm soapy water, and test first to protect wood trim care and finish.
How Long Should I Wait Before Re-Painting After Removal?
You should wait at least 24–48 hours before re painting techniques to guarantee proper drying time; if humidity’s high or wood’s dense, wait up to 72 hours, and lightly sand or tack before priming and repainting.
Are There Safe Methods for Painted Crown Molding Overhead?
Want safe cleaning techniques for overhead work? You’ll use ladder safety, gentler solvents, soft cloths, and small scrapers, and you’ll follow crown molding tips like masking, testing spots, and working slowly to avoid gouges or drips.
