
How to Prep Walls for Paint After Sanding: The Right Order Matters
After sanding, start by vacuuming and tack-clothing to remove all dust so paint will stick and finish smooth. Wipe with a damp microfiber, let surfaces dry fully, then inspect and fill dents or holes with spackle or joint compound, sanding smooth after it cures. Spot-prime repairs, then prime the whole wall for uniform absorption. Protect trim and floors, choose the right roller or brush, and follow drying times; keep going to learn tips for stains, adhesion, and curing.
What Search Intent This Guide Satisfies
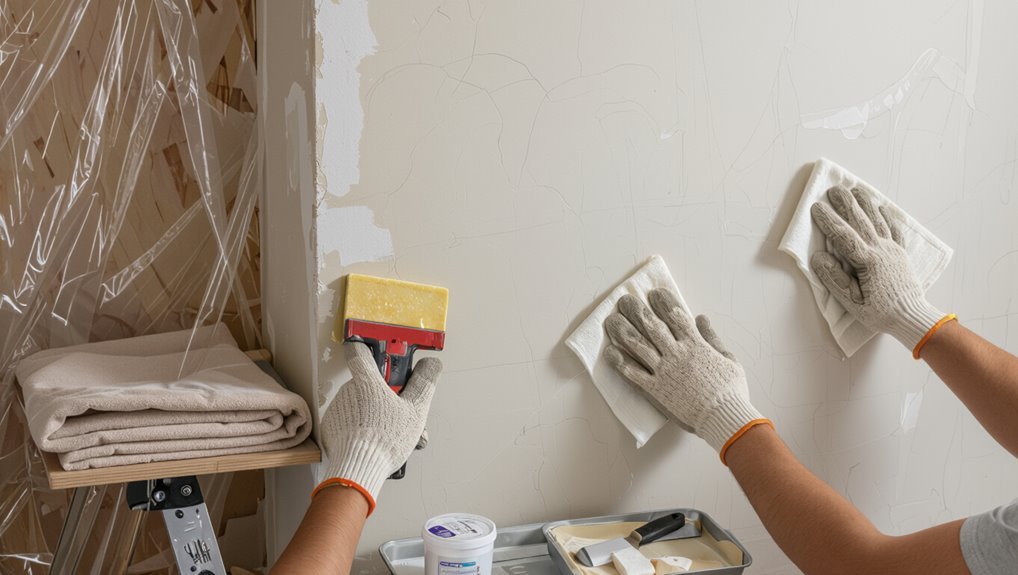
What’re you looking to accomplish with this guide?
You want clear answers to search queries about prepping walls after sanding, tailored to practical user motivations like preventing dust, ensuring adhesion, and saving time.
This guide helps you find concise steps, rationale, and troubleshooting so your next paint job succeeds without unnecessary steps or guesswork.
Quick Step-by-Step: What to Do Right After Sanding
Right after sanding, wipe the walls with a microfiber cloth or vacuum with a brush attachment to remove all dust so paint and patching compounds will adhere.
Check for holes or dents, then fill them with spackling and sand smooth once dry.
Finish by applying a suitable primer to patched areas (or the whole wall if needed) before you paint.
Remove Dust Thoroughly
1. You’ll remove dust thoroughly before any patching. Use dust removal techniques like a vacuum with brush attachment, microfiber cloths, and a slightly damp sponge to capture fine particles.
Work top to bottom and change cloths often. These ideal cleaning methods prevent paint adhesion problems and specks in finish.
Let surfaces dry fully before proceeding to the next step.
Patch And Prime
Now that the surface is clean and dry, patching and priming is your next move after sanding.
Inspect for dents, nail holes, and cracks, choose appropriate patch types (spackle, joint compound, or epoxy), sand smooth, then apply primer.
Primer benefits include improved adhesion, stain blocking, and uniform sheen, ensuring your topcoat goes on evenly and lasts longer—let it dry per manufacturer instructions.
Why Removing Dust First Matters
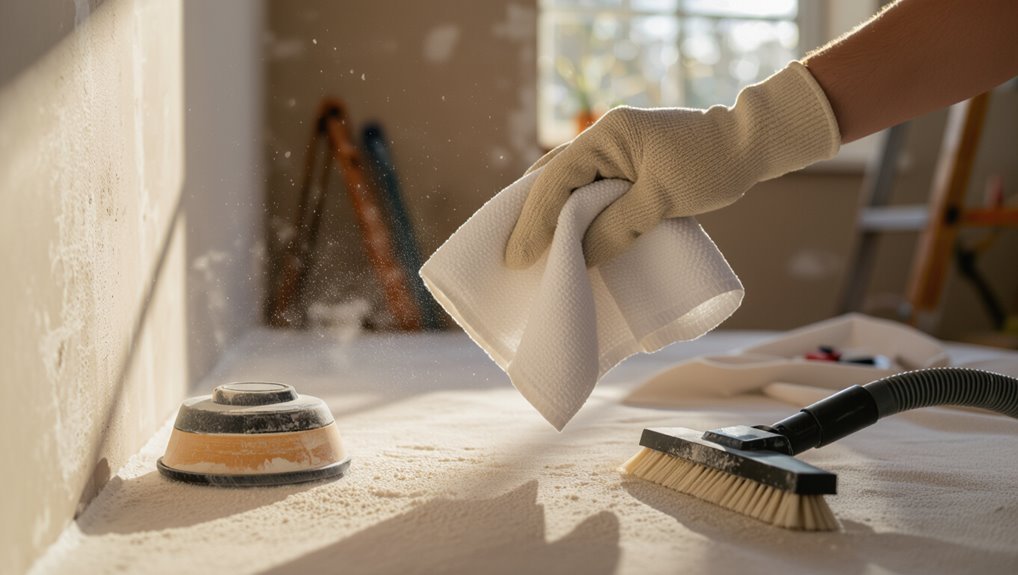
You should remove sanding dust before painting because loose particles prevent paint from properly sticking to the wall.
Skipping this step can leave a blotchy, uneven finish that shows through the topcoat.
Taking a few minutes to wipe or vacuum the surface gives you a smooth, professional-looking result.
Prevent Paint Adhesion Issues
If you skip removing dust before painting, the finish won’t stick properly and you’ll see peeling, flaking, or a gritty texture sooner than you’d expect.
You need clean surfaces for reliable adhesion: wipe, vacuum, or tack cloth to remove sanding residue.
Proper paint preparation prevents bond failure and reduces callbacks.
Regular wall maintenance before repainting saves time and guarantees coatings adhere as planned.
Improve Final Finish Quality
Start by removing dust thoroughly—anything left on the wall will show up under paint, dulling sheen and leaving a gritty texture that ruins smooth strokes. You’ll improve paint finish and preserve desired wall texture by wiping, vacuuming, and tack-clothing before priming. Clean surfaces guarantee even sheen, reduced imperfections, and better adhesion.
| Action | Benefit |
|---|---|
| Wipe | Removes fine dust |
| Vacuum | Clears loose debris |
| Tack cloth | Picks residual particles |
| Inspect | Guarantees smooth texture |
Best Tools for Removing Sanding Dust
When finishing sanding, grab a combination of tools to clear dust quickly and thoroughly: a tack cloth or microfiber cloth for light residues, a vacuum with a brush attachment for corners and baseboards, and a damp sponge or lint-free rag for final wipe-downs.
Use a high-efficiency vacuum during sanding techniques to reduce airborne particles, keep a soft brush for trim, and wear a mask for dust prevention.
Clean Painted Drywall: Methods That Work
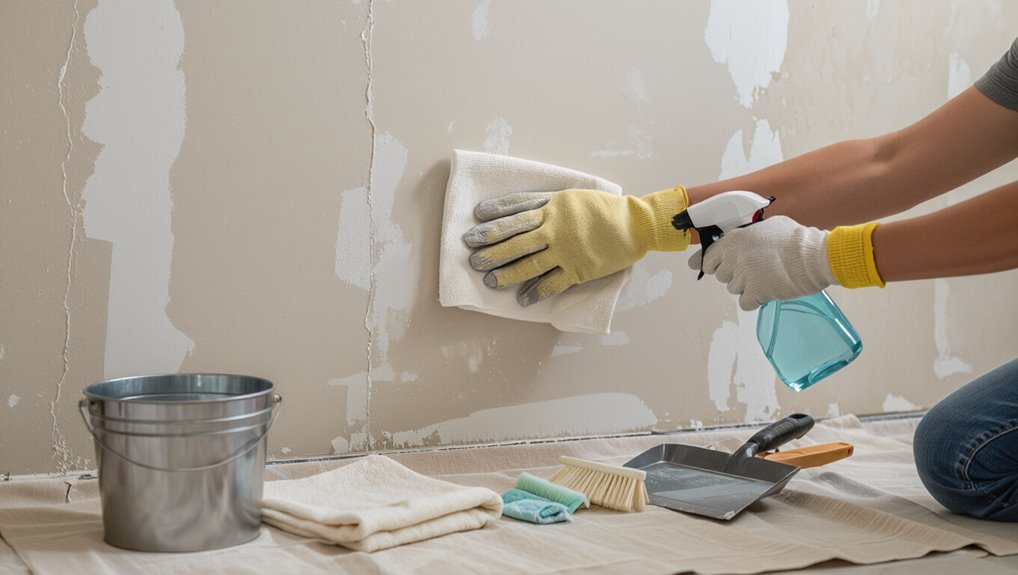
After removing sanding dust with cloths, a vacuum, and a damp wipe, you’ll want to clean the painted drywall itself to remove fingerprints, smudges, and grime that sanding won’t touch.
Use mild detergent solution, a soft sponge, and rinse water, working top to bottom.
Test a hidden spot first, adjust pressure for delicate finishes, and consider how sanding techniques affected surface sheen and subtle wall textures.
Clean Plaster and Textured Walls Safely
Plaster and textured walls need gentle, targeted cleaning to avoid damaging their delicate surfaces.
Plaster and textured walls require gentle, targeted cleaning to protect their delicate surfaces and finish
So gather soft brushes, a mild detergent solution, and a sponge before you begin.
Test cleaning solutions on a small area, work top to bottom, and scrub gently with a soft brush following wall textures.
Rinse with a damp sponge, let fully dry, and avoid abrasive tools or excess water.
Inspect and Document Nicks, Gouges, and Loose Paint
Start by walking the room and identifying every nick, gouge, and spot of loose paint you can find.
Photograph each problem area and mark them with painter’s tape or a pencil so you won’t miss anything later.
Keep a simple checklist or photo log to track what needs patching and where.
Identify All Surface Damage
Before you grab a roller, walk each wall and look for nicks, gouges, cracks, or areas where paint is peeling or loose—documenting what you find with a quick photo or note so nothing gets missed later.
Next, perform a focused surface assessment to catalog type, size, and severity.
Prioritize damage identification: note loose edges, substrate exposure, and any areas needing filler or primer before sanding.
Photograph And Mark Areas
Take clear photos of every nick, gouge, and area of loose paint, and mark each spot directly on the wall with a small, removable label or painter’s tape so you can match images to locations later.
You’ll use wall photography to catalog damage, note depth and size, and record notes. Effective area marking speeds repairs, prevents missed spots, and keeps your prep organized.
Decide: Patch or Skim-Coat?
When you’re prepping walls, decide whether to patch isolated flaws or skim-coat large areas: patching fixes small holes and cracks quickly, while skim-coating gives a uniform surface for widespread damage or texture issues. You’ll weigh patching techniques against skim coating tips, choose materials, and plan time.
| Option | Use when | Result |
|---|---|---|
| Patch | Small flaws | Quick repair |
| Skim | Large areas | Smooth finish |
| Hybrid | Mixed | Balanced approach |
Fill Small Holes and Nail Pops Correctly
Before you fill small holes or nail pops, clean and widen each defect so the patching compound will adhere.
You’ll press in compound, let it dry, then feather the edges and sand smooth so the repair disappears under paint.
Do a final wipe to remove dust before priming.
Prep Holes Properly
Start by locating and evaluating every blemish—small nail holes, dings, and nail pops—so you know what needs fixing and which method to use.
Use prep hole techniques: push out popped nails, reset or replace them, then fill with spackling for small holes or lightweight joint compound for larger voids.
Smooth excess, let dry fully, and inspect for solid, proper patching before priming.
Feather And Sand Smooth
Tuck your filler slightly below the wall surface and drag a clean putty knife outward to feather the edges so the patch blends with the surrounding paint; this minimizes sanding and prevents a visible hump once painted.
You’ll use precise sanding techniques during final surface preparation to achieve a seamless finish.
- Sand leveled filler with fine-grit.
- Blend edges gently.
- Dust before priming.
Repair Larger Gouges and Damaged Drywall
When you encounter large gouges or torn drywall, don’t try to skim over them—these need solid repair so paint adheres and walls stay structurally sound.
You’ll assess damage, remove loose paper, and choose between self-adhesive mesh or cut-out patches.
Apply joint compound in layers, embed tape or patch, and finish with feathered sanding.
Proper gouge repair and drywall patching prevent future cracks.
Sand Repairs Without Reintroducing Dust
When you sand repairs, don’t skip a proper respirator to keep dust out of your lungs.
Use tacky cloths to wipe down surfaces as you go, and follow up with a HEPA-equipped vacuum to capture the mess.
Those three steps stop dust from spreading and make your final finish smoother.
Wear Proper Respirator
Because sanding repair spots kicks up fine dust that can harm your lungs, always wear a proper respirator rather than just a paper mask or none at all.
Choose between respirator types and follow safety precautions:
- Use N95 for light dust; P100 for heavy or leaded material.
- Fit-test and seal-check each time.
- Replace cartridges per manufacturer guidelines.
Use Tacky Cloths
If you’ve finished sanding and want to remove loose dust without stirring it back into the air, reach for a tacky cloth.
You’ll wipe walls gently, capturing fine particles that brushes or rags miss. Tacky cloths benefits include quick pickup and reduced recontamination.
Use systematic, overlapping passes as part of dust removal techniques, changing cloths when saturated to keep surfaces clean for painting.
Vacuum With HEPA
Grab a HEPA-equipped vacuum to remove sanding dust and keep repairs from getting contaminated again.
Use focused vacuum techniques so dust doesn’t resettle; HEPA filters trap fine particles.
Follow this quick checklist:
- Vacuum edges and seams first to pull loose dust.
- Work top-down in overlapping passes for thorough removal.
- Replace or clean HEPA filters between major jobs to maintain suction.
How Long Cleaned Walls and Patches Need to Dry
How long cleaned walls and patched areas need to dry depends on the material, the room’s humidity, and the patch size; generally plan for at least 24 hours for cleaned surfaces and 48–72 hours for larger or deeper patches. You’ll check firmness before priming. Keep ventilation up to speed.
| Surface | Typical dry time |
|---|---|
| Cleaned drywall | 24 hrs |
| Small patch | 24–48 hrs |
| Large patch | 48–72 hrs |
| Plaster | 72+ hrs |
When to Use a Stain-Blocking Primer
When stains, tannins, smoke, water marks, mold stains, or heavy repairs show through the surface, use a stain-blocking primer before painting; it seals contaminants and prevents bleed-through so your topcoat goes on evenly and looks true to color.
- Note stain blocking benefits for longevity and color fidelity.
- Plan primer application after cleaning and drying.
- Spot-prime severe areas, then full-prime for uniform absorption.
Choose the Right Primer for Your Wall Type
Choosing the right primer depends on the wall material and the problems you’re trying to solve, so start by identifying what you’re priming—drywall, plaster, wood, metal, or previously painted surfaces—and match a primer formulated for that substrate.
You’ll choose between oil, latex, shellac, or specialty primer types based on adhesion, stain blocking, and wall compatibility to guarantee paint bonds and performs.
Spot-Prime Repairs vs. Priming the Whole Wall
If you’ve only patched a few small holes or sanded down minor stains, spot-priming those repairs can save time and paint;
but if the wall has widespread discoloration, multiple repairs, or a mix of old finishes, priming the whole surface gives you more consistent adhesion and color uniformity.
- Use spot prime benefits for tiny fixes.
- Choose whole wall considerations for uniform color.
- Match primer type to substrate and finish.
Protect Floors, Furniture, Trim, Outlets, and Fixtures
After priming decisions are made, protect the rest of the room so your work doesn’t create new problems.
Lay down sturdy floor protection—drop cloths or rosin paper taped at edges.
Move or wrap furniture; use furniture covering like plastic sheeting for quick jobs.
Mask trim, outlet covers, and light fixtures with painter’s tape and paper.
Remove switch plates when possible to avoid smudges and cleanup.
Pick Brushes, Rollers, and Sprayers
You’ll want the right brush for trim, corners, and cutting in—nylon for water‑based paints, natural bristles for oil‑based.
Match roller nap to your wall texture so you get even coverage without splatter.
If you’re covering large areas, consider airless or HVLP sprayers for speed and smoothness, weighing their setup and overspray.
Brush Types And Uses
When you’re choosing tools for a paint job, matching the right brush, roller, or sprayer to the surface and finish saves time and gives cleaner results.
- Use natural or synthetic brush materials for trim and varnish; adapt brush techniques for smooth strokes.
- Choose angled sash brushes for corners and edges.
- Reserve sprayers for large, even surfaces; practice overlap and distance control.
Roller Nap Selection
Think about nap as the texture mediator between your roller and the wall: it’s the fiber length that decides how much paint you’ll lay down and how smooth the finish will be.
Choose a short roller nap for smooth surfaces and a longer nap for textured walls.
Match nap to surface porosity and paint finish goals so coverage and texture stay consistent.
Sprayer Styles And Pros
A sprayer can speed up big jobs and reach nooks rollers and brushes miss, so pick the style that matches your project size, surface texture, and comfort level.
Choose sprayer types and balance pros with your application techniques.
- Airless: fast, ideal for large walls.
- HVLP: fine finish, good for cabinets.
- Handheld: portable, great for touch-ups.
Apply Primer for Even Coverage and Adhesion
Since primer seals stains and evens porosity, apply it before your topcoat so paint goes on smoothly and lasts longer.
Choose primer types based on surface and stains—latex for drywall, oil or shellac for tannin bleed.
Use proper application techniques: roll with nap suited to texture, backroll brushed areas, maintain wet edges, and follow drying times to guarantee even coverage and strong adhesion.
Find and Fix Surface Flaws After Priming
Walk the walls with good light and a fresh eye to spot imperfections the primer revealed: small bumps, runs, pinholes, or areas where texture shows through.
Do a careful surface inspection and quick flaw assessment, then address each issue promptly.
- Sand or scrape raised bumps smooth.
- Fill pinholes and patch dents; sand flat.
- Reprime repaired spots before final painting.
Choose Paint Sheen and Color After Prepping
Once you’re satisfied the surfaces are smooth and primed, pick the paint sheen and color that match the room’s function and lighting; your choices affect durability, hide flaws, and set the mood.
Consider color psychology to choose hues that support activity and ambiance.
Use sheen selection to balance washability and flaw concealment—flat hides imperfections, satin or eggshell cleans easier; gloss for trims.
Final Drying and Curing Times Before Topcoating
Allow painted and primed surfaces adequate time to dry and fully cure before you apply the topcoat—drying is when solvents evaporate and the surface feels dry, while curing is the chemical hardening that gives the film its full durability.
- Check manufacturer final drying and curing times on labels.
- Wait longer in cool or humid conditions.
- Lightly test adhesion before full topcoating.
Troubleshooting Common Sanding, Adhesion, and Finish Problems
If sanding, adhesion, or finish issues pop up, don’t panic—most problems have straightforward fixes you can handle before topcoating.
Check your sanding techniques for grazes or missed spots, re-sand lightly, and remove dust.
Test paint compatibility on a small patch; incompatible primers or finishes cause peeling.
Address blistering by sanding, cleaning, and spot-priming.
Recheck adhesion before final coats.
Aftercare: Maintain Newly Painted Walls
Keep your newly painted walls looking fresh by treating them gently for the first few weeks and using simple cleaning routines thereafter.
You’ll boost paint durability and simplify wall maintenance by avoiding harsh cleaners, wiping spills promptly, and keeping humidity steady.
Follow these steps:
- Use a soft cloth and mild soap for spot cleaning.
- Avoid abrasive scrubbing or harsh chemicals.
- Control moisture and ventilation.
Frequently Asked Questions
How Do I Prevent Pets From Tracking Sanding Dust Back Onto Walls?
Keep pets out of the sanding area, seal doors with tape and plastic, use dust containment like zipper barriers and air scrubbers, wipe paws before reentry, and schedule sessions when pets aren’t home for full pet precautions.
Can I Use a Tack Cloth on Painted Surfaces Before Priming?
Yes — you can use a tack cloth on painted surfaces before priming. You’ll remove dust and grit, enjoy tack cloth benefits for improved adhesion, and enhance overall surface preparation, but avoid oily or solvent residues beforehand.
Is It Safe to Sand Lead Paint Without Professional Testing?
No, you shouldn’t sand suspected lead paint without professional testing; lead paint safety requires precautions. You’ll risk contamination unless pros confirm it’s safe, use appropriate sanding techniques, containment, and HEPA filtration.
How Do Humidity and Temperature Affect Primer Curing Times?
By sundial standards, you’ll see humidity effects slow primer curing—high humidity prolongs tackiness and can cause blushing—while temperature impact speeds or stalls chemical reactions; warmer temps cure faster, cold temps considerably extend drying times.
Can I Paint Over Wallpaper Without Removing It First?
You can, but it depends: for smooth, firmly pasted vinyl or non-textured wallpaper, you’ll get better paint adhesion; for loose, textured, or peelable wallpaper types, you should remove it first to avoid bubbling and failure.
