
How to Fix Paint Roller Marks After Drying Without Repainting Everything
You can fix dried roller marks without repainting the whole wall by sanding ridges smooth, wiping away dust, and testing a tiny matched paint patch. Feather new paint with a mini foam roller or fine brush, using light overlapping strokes to blend texture and sheen. Let it fully dry and inspect under varied light, repeating sparingly until seamless. If problems persist, follow a few targeted troubleshooting steps to get a professional-looking finish.
Quick 5-Step Fix for Dried Roller Marks
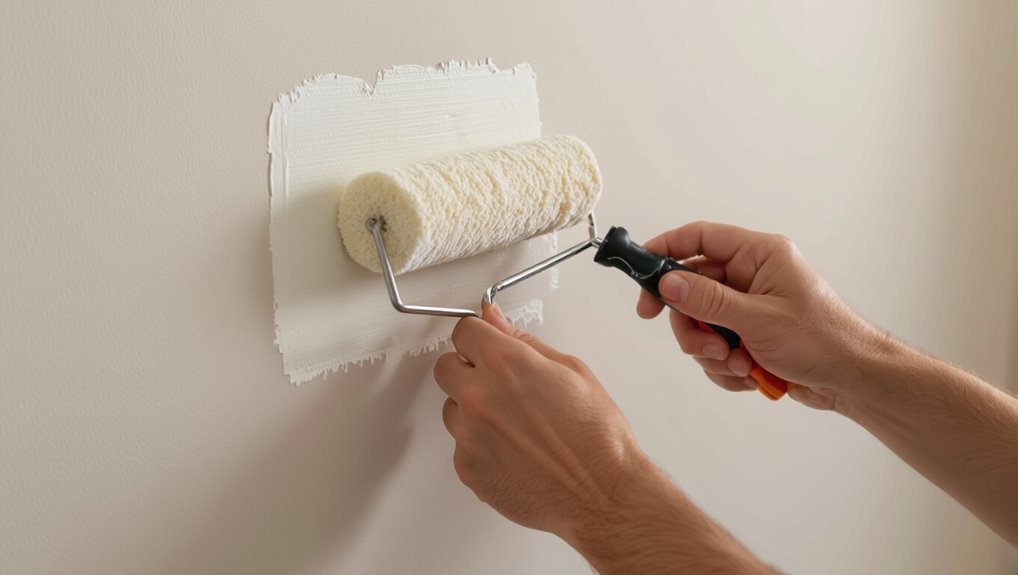
1. You’ll prep the area, gently sand ridges, and remove dust so paint application adheres.
Mix a small patch of matching finish, testing texture matching on scrap.
Mix a small amount of matching finish, then test on scrap to ensure texture and color match.
Lightly feather new paint with a fine roller, blending edges until seamless.
Let dry, inspect under varied light, and repeat thin layers if needed to fully hide dried roller marks.
When You Can Spot-Fix vs. Repaint
If the roller marks are small and isolated, you can usually spot-fix them without repainting the whole wall.
But if the texture issues are widespread or the finish looks uneven across a large area, you’ll need to repaint for a uniform result.
Below we’ll explain how to assess the extent of the problem and choose the right approach.
Small, Isolated Marks
When you spot a few small, isolated roller marks, you don’t always have to repaint the whole wall; assess size, texture, and finish first to decide whether a quick spot-fix will blend in or if a larger touch-up is needed.
For isolated fixes, clean and feather edges, use the same paint and roller nap, and prioritize texture matching so the patch disappears.
Widespread Texture Issues
Small isolated marks are one thing, but widespread texture problems call for a different approach: you’ll need to decide whether spot-fixing will blend or whether a full repaint is the safer bet.
- Assess extent and consistency.
- Test a small texture repair patch.
- Compare sheen and paint quality.
- If patches contrast, plan a full repaint for uniform finish.
What Causes Roller Marks After Paint Dries
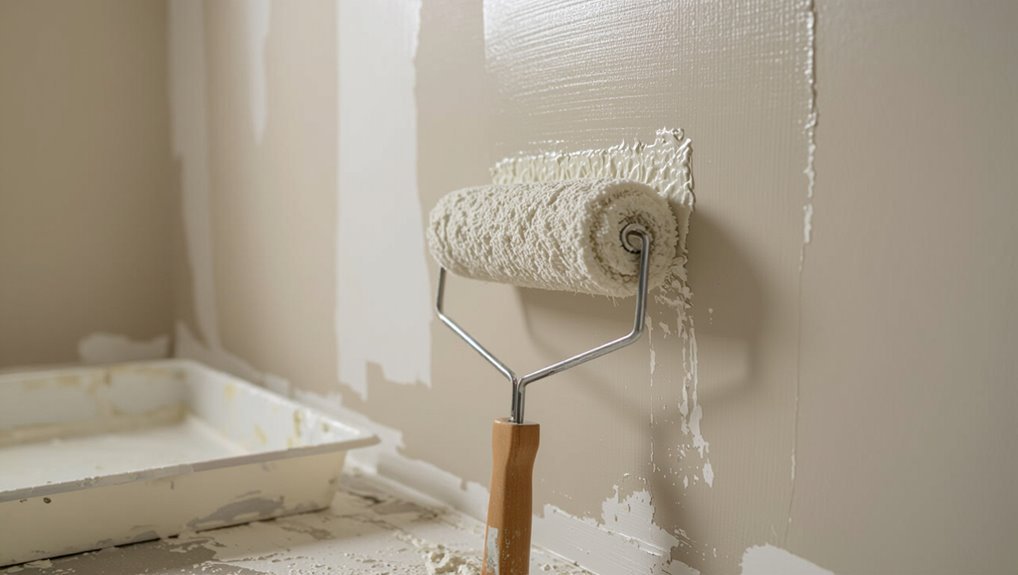
You’ll usually see roller marks when paint’s been applied unevenly, when the roller nap isn’t right for the surface, or when drying conditions interfere.
If you used too much or too little paint, missed blending, or a worn/too-thick nap, the finish won’t level properly.
And fast drying, high humidity, or temperature swings can lock in those marks before they smooth out.
Uneven Paint Application
Although roller marks often show up after paint dries, they usually come from a few predictable causes that you can fix.
- Inconsistent pressure causes uneven paint layering and visible seams.
- Overloading the roller leaves drips that dry irregularly.
- Thin spots reduce surface adhesion and show through.
- Rapid drying prevents proper leveling; work in smaller sections and maintain a wet edge.
Roller Nap Problems
1 key culprit behind post-dry roller marks is the wrong nap: using a roller cover that’s too short or too long for your surface leaves uneven texture, skipped fibers, and differing paint thicknesses that show once the paint dries.
You should learn roller nap types and make careful roller selection for smooth coverage, matching nap length to surface profile to prevent visible marks.
Drying Conditions Impact
When paint dries too fast or unevenly, roller marks can appear as streaks, lap lines, or raised texture where the coating set differently across the wall.
You’ll want to control drying temperature and humidity levels so drying time is consistent. Adjust air circulation and pick the right paint formulation to minimize contrast between sections.
- Monitor conditions
- Slow drying
- Improve ventilation
- Choose suitable paint
How to Assess Roller Mark Severity
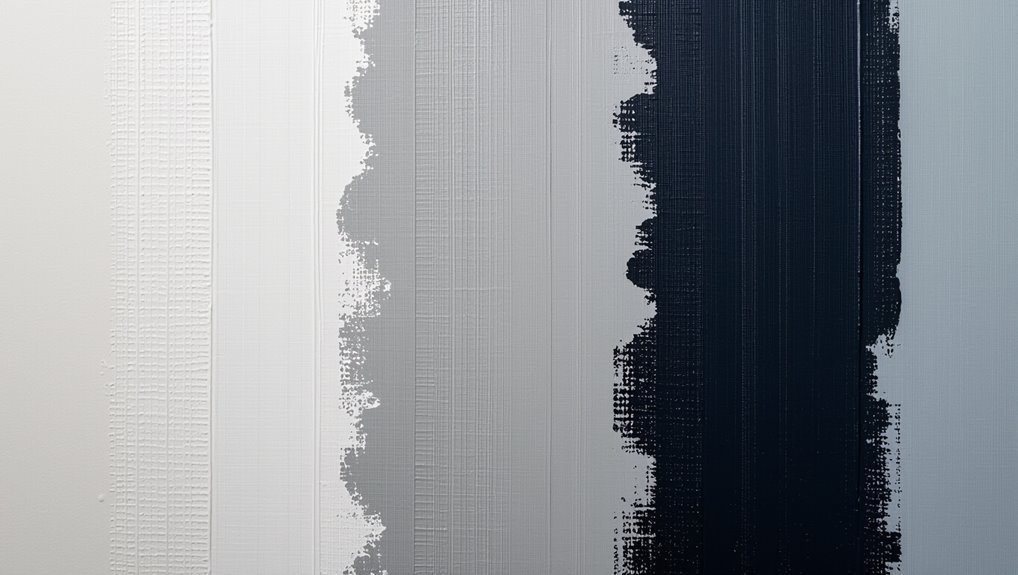
How bad are the roller marks, really?
You’ll inspect at different angles and light—natural, raking, and artificial—to judge sheen changes, texture ridges, and color shifts.
Compare affected areas to untouched wall sections. Note mark width, frequency, and depth to decide repair scope.
Record causes tied to roller mark prevention and paint application techniques so fixes target root issues.
Gather Tools for Touch-Up and Blending
Gather the right tools before you try any touch-ups so you can blend roller marks smoothly and avoid making the problem worse.
You’ll focus on precise tool selection and simple blending techniques to match texture and sheen.
- Fine synthetic brush
- Mini foam roller
- Feathering sponge
- Matching paint sample
Safety and Surface Prep Before Repair
Now that you’ve got the right tools, make safety and surface prep your first step before any repair. You’ll prioritize surface safety: ventilate, wear mask and eye protection, and protect floors. Use gentle cleaning and degreasing as prep techniques. Remove loose debris and tape edges.
| Task | Tool | Time |
|---|---|---|
| Ventilate | Window fan | 5 min |
| Clean | Mild detergent | 10 min |
| Protect | Drop cloth | 2 min |
| Tape | Painter’s tape | 3 min |
Light Sanding to Level Dried Roller Lines
Make sure the paint is fully dry and run your hand over the surface to check the texture before you start.
Pick a fine-grit sandpaper (220–320) to avoid cutting through the paint.
Sand very lightly with the grain until the roller lines are level.
Assess Dryness And Texture
Before you reach for sandpaper, check whether the paint is fully dry by touching an inconspicuous strip—if it feels tacky or leaves a mark, wait longer; once it’s hard and the texture shows raised roller lines, you can lightly sand to level them without cutting into the paint beneath.
Perform a quick paint finish texture assessment, then:
- Inspect gloss and uniformity.
- Feel for ridges.
- Mark problem areas.
- Test a small pass.
Choose Fine-Grit Sandpaper
Pick a fine-grit sandpaper (220–320 grit) to gently level dried roller lines without scuffing surrounding paint.
Choose a soft sanding block or folded paper for control. Use light pressure and short passes, testing on an inconspicuous spot first.
Focus on smoothing ridges, removing sheen differences, and maintaining even texture. This grit selection and basic sanding techniques prevent over-sanding and visible damage.
Sand Lightly With Grain
Start with a light touch and sand with the grain of the paint to avoid creating new scratches or uneven sheen.
You’ll gently level dried roller lines to restore a uniform paint finish. Work slowly, check progress, and stop before removing gloss.
Use fine-grit paper and a light block for even pressure.
- Test spot
- Sand with grain
- Wipe dust
- Inspect finish
Feather Edges With a High-Quality Brush
One simple way to soften roller marks is to feather the edges with a high-quality brush: load just enough paint to keep the bristles flexible, then gently stroke from the wet roller line outward in a light, tapering motion so the paint blends seamlessly into the surrounding area.
Use a consistent feathering technique, prioritize brush quality to minimize streaks, and work quickly to match drying times.
Soften Lines With a Damp Sponge
Wet a clean sponge and wring it out until it’s just damp so you don’t lift more paint.
Then lightly rub along the roller marks in smooth, gentle strokes to blend the edges.
Keep rinsing and wringing the sponge so you’re always working with a clean, damp surface.
Prep The Sponge
Before you smooth out roller lines, grab a clean sponge and dampen it so it’s just slightly moist—too wet will smear paint.
Use proper sponge preparation and a controlled dampening technique to avoid lifting finish. Keep edges clean and test on scrap.
Follow these steps:
- Wring sponge until barely damp
- Blot excess on cloth
- Maintain light pressure
- Rinse and repeat as needed
Lightly Rub Lines
Gently rub the damp sponge over the roller lines in smooth, overlapping strokes so the ridges soften without removing paint.
Use light pressure and a consistent motion, working from one end to the other.
Check your progress often; if lines persist, rewet the sponge lightly and repeat.
Finish by blotting gently with a clean, dry cloth to remove excess moisture and even the sheen.
When to Use a Light Scuff Pad
If your surface has light roller texture, run a light scuff pad over it to knock down raised fibers and tiny ridges without cutting into the paint, and do it after the paint has cured enough to resist smearing.
Use light scuffing techniques for subtle blending and enjoy scuff pad benefits like reduced sheen and improved smoothness.
- Test inconspicuously
- Work with grain
- Use gentle pressure
- Clean residue promptly
Use a Thin Glaze to Mask Texture Differences
When roller marks or slight texture mismatches catch the light, apply a thin glazing medium mixed with your paint to even out the surface without rebuilding it; the glaze fills and softens ridges so you can feather shifts and reduce contrast while keeping the finish uniform.
For glaze application, work small areas, use a soft brush or microfibre pad, and focus on subtle texture blending until marks vanish.
How to Roll a Small Patch to Match Texture
Start by cutting a patch area slightly larger than the blemish and feathering the edges of the old paint with fine sandpaper so your new roller strokes can blend seamlessly.
You’ll want to match the original nap length, pressure, and stroke pattern exactly, so load the roller evenly, remove excess by rolling on a tray, and work from the center outward with light overlapping passes until the patch texture aligns with the surrounding wall.
- Assess surface
- Choose roller technique
- Load evenly
- Blend edges for texture matching
Choose the Right Roller Nap for Touch-Ups
When doing touch-ups, match the roller nap thickness to the nap you used on the original job so the texture blends smoothly.
If your wall has a subtle texture, use a short nap; for rougher surfaces, choose a thicker nap.
Picking the right nap keeps the patch from standing out.
Match Roller Nap Thickness
Although it might seem minor, matching the roller nap to your wall texture is essential for touch-ups because a different nap will leave obvious ridges or smooth spots. You should prioritize roller nap selection and perform a quick nap thickness comparison before starting.
Follow these steps:
- Inspect original nap visually.
- Test small patch.
- Blend edges with light pressure.
- Replace if mismatch persists.
Consider Surface Texture
Choose a roller nap that matches your wall’s texture so the repair blends seamlessly; smoother walls need short naps (1/4″–3/8″) while lightly textured surfaces work best with 3/8″–1/2″ and heavily textured walls require 3/4″ or thicker. You’ll improve paint application and surface preparation, avoiding mismatched texture.
| Feel | Nap | Result |
|---|---|---|
| Smooth | 1/4″ | Invisible |
| Light | 3/8″ | Natural |
| Heavy | 3/4″+ | Uniform |
| Fix | Match | Success |
Match Paint Color and Sheen for Invisible Repairs
Because even a perfect texture match will stand out against the wrong finish, match both the paint color and sheen to make repairs disappear.
Even flawless texture fails if the finish is wrong—match both color and sheen so repairs vanish seamlessly.
You’ll verify color matching with small swatches and natural light, and use careful sheen selection to mimic gloss level.
Follow steps to blend edges, feather strokes, and check drying under different lighting.
- Test swatches
- Compare light
- Match gloss
- Blend edges
How to Thin Paint for Seamless Spot Blending
When you’re blending a small repair, thin the paint slightly—usually 5–10% water for latex or the manufacturer’s reducer for oil-based—to match the flow of the surrounding finish.
Load your brush or mini-roller sparingly and use feathering strokes from the repair edge outward to avoid hard lines.
Check the wet edge and adjust the thinness or stroke pressure until the patch disappears into the existing texture.
Thin Paint Ratios
Thinning your paint to the right ratio is the single most important step for seamless spot blending; too thick and you’ll see brush or roller marks, too thin and the color won’t cover evenly.
- Test small mixes to match paint viscosity.
- Add water or reducer in 5% increments.
- Stir thoroughly between tests.
- Confirm smooth roller application for even coverage.
Feathering Application Technique
Begin by loading your roller or brush with a slightly thinned mix and working outward from the repair’s center in light, overlapping strokes so the paint tapers into the surrounding finish; this feathering motion minimizes ridges and helps the patch vanish into the wall.
You’ll use a feathering technique, keeping pressure light and stroke length short to blend edges smoothly without lap marks.
Drying Times and When to Recheck Repairs
Because paint needs time to cure, you should wait the full recommended drying window on the can before judging roller marks or sanding repairs.
You’ll follow drying times, then inspect in stages so you don’t overwork the surface. Recheck repairs after the paint reaches touch-dry and again after full cure to confirm adhesion and sheen.
- Wait touch-dry
- Light inspection
- Recheck repairs
- Final cure check
Blend Large Streaked Areas With Feathered Rolling
When you have a large streaked patch, use a feathered rolling technique to blend the edges into the surrounding finish so the repair disappears.
Lightly reload a dry roller with thin paint, work from the center outward, and use feathering techniques to soften shifts.
Match nap and pressure, overlap slightly, and employ proven blending methods until the streaks vanish and the texture reads uniform.
Fix High-Contrast Marks on Trim and Corners
Trim and corners show contrast more than flat surfaces, so you’ll need targeted fixes that respect both the edge and the surrounding wall.
Use careful touch-ups and blending to minimize trim contrast and improve corner blending.
- Lightly sand edges to remove ridges.
- Feather new paint from trim onto wall.
- Use a fine brush for precision.
- Blend with a damp sponge before drying.
Repair Marks on Glossy or Semi-Gloss Finishes
Glossy and semi-gloss finishes show roller marks more readily, so you’ll need a careful, low-pressure approach to repair them without creating new flaws. Use fine sandpaper, tack cloth, and light touch; blend edges with matching sheen using semi gloss techniques and a soft brush.
| Step | Tool | Tip |
|---|---|---|
| 1 | 220 sandpaper | Light strokes |
| 2 | Tack cloth | Remove dust |
| 3 | Soft brush | Feather edges |
Fix Roller Marks on Textured or Popcorn Walls
When you spot roller marks on textured or popcorn walls, your goal is to blend the texture so repairs disappear.
Use a lightweight drywall compound to fill low spots and skim over marked areas, then recreate the texture while the compound is wet.
Match the original pattern carefully and feather the edges so the patch reads as part of the wall.
Blend Texture Seamlessly
Although textured and popcorn walls hide a lot, roller marks stand out quickly if you don’t blend the texture as you paint.
You can fix marks by matching stipple and feathering edges for texture blending and seamless finishes. Follow these steps:
- Lightly mist the spot.
- Gently stipple with a small brush.
- Feather edges with a damp sponge.
- Let dry and inspect.
Use Drywall Compound
Mix a small batch of drywall compound to a workable, peanut-butter–like consistency and use it to blend roller marks into the surrounding texture on popcorn or textured walls.
You’ll perform a careful drywall application, feathering edges with a knife to match peaks and valleys.
Let compound consistency set, sand lightly when dry, then spot-prime and touch up paint for an invisible repair.
Quick Fixes for Small Isolated Roller Lines
If you spot a few isolated roller lines, you can usually fix them quickly without repainting the whole wall.
Address lines by blending, focusing on roller application techniques and paint consistency to match sheen and thickness.
Try these steps:
- Lightly sand the line.
- Feather edges with a damp brush.
- Thin a small touch-up and roll sparingly.
- Buff gently after drying.
When to Repaint a Whole Section Instead
When roller marks cover a large area, run continuously across a panel, or don’t blend after touch-ups, you’ll save time and get a better result by repainting the whole section; repainting guarantees even sheen, consistent texture, and proper paint thickness so the patch doesn’t stand out.
Do a quick section evaluation, weigh repaint considerations like lighting and finish, then repaint methodically for uniform results.
Prevent Roller Marks: Pro Rolling Tips
Repainting a whole section solves visible patches, but preventing roller marks in the first place saves time and yields a more professional finish.
Use consistent roller technique and even paint application. Roll lightly, maintain a wet edge, and back-roll for texture uniformity.
Follow these steps:
- Load roller evenly
- Maintain wet edge
- Use long, overlapping strokes
- Back-roll for blend
How Climate and Humidity Affect Finishes
Because paint cures through evaporation and chemical reactions, the climate you’re working in directly changes drying time, sheen, and how the film levels out.
You’ll notice climate impact when cold slows curing and heat speeds it, altering flow.
Humidity effects are essential: high moisture prolongs tackiness and raises texture, low humidity can cause blushing or rapid skinning.
Humidity matters: moisture keeps paint tacky and textured, while dryness can cause blushing or rapid skinning.
Adjust timing and ventilation accordingly.
Common Mistakes That Make Marks Worse
If you rush, skip prep, or use the wrong tools, you’ll almost always make roller marks worse. You should follow proper common application steps and proven drying techniques, but avoid these errors:
- Overloading the roller — causes drips and uneven texture.
- Re-rolling tacky paint — drags partially dried film.
- Skipping surface cleaning — traps debris under finish.
- Using cheap rollers — leaves nap lines and lint.
Troubleshoot Stubborn Marks That Won’t Blend
1 straightforward approach when marks refuse to blend is to stop and assess the problem before adding more paint.
Check sheen differences, dryness, and texture. Lightly sand raised edges, remove dust, then try targeted roller mark remedies like feathering with a damp roller or soft brush.
Use subtle blending techniques—short overlap strokes and minimal pressure—until the patch visually matches surrounding finish.
Final Checklist for a Smooth, Professional Finish
After you’ve smoothed out stubborn marks and feathered the repair to blend with the surrounding finish, walk through a final checklist to guarantee a professional result.
- Inspect under varied light for texture or sheen differences.
- Lightly sand any high spots, keeping edges feathered.
- Clean residue, then apply subtle touch-ups using professional techniques.
- Step back, confirm final touches match surrounding areas before declaring the job complete.
Frequently Asked Questions
Can Roller Marks Cause Long-Term Paint Adhesion Problems?
Yes — roller marks can affect paint adhesion and cause long term effects if they trap solvent or create uneven film thickness; you’ll likely see premature wear, peeling, or gloss variations where the film’s integrity was compromised.
Will Rollers Leave Marks on Newly Primed Drywall?
Yes — you can get roller texture on newly primed drywall if your primer thickness is uneven or the roller nap is wrong; you’ll avoid marks by using proper nap, consistent primer thickness, and light, even rolling.
Can Wallpapered Walls Show Roller Marks Through Wallpaper?
Yes—you can see roller texture through thin or translucent wallpaper if wallpaper adhesion isn’t perfect; it’ll highlight bumps or ridges. You should smooth surfaces, improve adhesion, or use heavier wallpaper to mask roller marks.
Do Cleaning Products Remove Roller Marks Without Paint?
You’ll find most cleaning products won’t remove cured roller marks; you’ll test mild cleaning methods first, but paint finishes usually resist solvents, so only scuffing, spot sanding, or touch-up with matching paint truly fixes visible texture.
Can Rollers Transfer Allergens or Dust Into the Paint Finish?
Yes — if your roller quality is poor or dirty, it can transfer dust, pollen, or allergens into the paint finish, altering paint texture and trapping particles; you should use clean, high-quality rollers and proper prep to avoid contamination.
