
How to Remove Paint Blisters and Stop Them From Coming Back
You can stop paint blisters by finding and fixing the moisture or adhesion issue, then stripping loose paint and prepping the surface properly. Scrape and sand to expose sound substrate, dry damp areas, clean and prime with a compatible, breathable primer, then repaint with a moisture-tolerant topcoat. Check plumbing, ventilation, and flashing to prevent recurrence, and avoid painting in high humidity or direct sun. Keep going for step-by-step fixes, tools, and prevention tips.
Identify the Type of Paint Blister You’re Seeing?
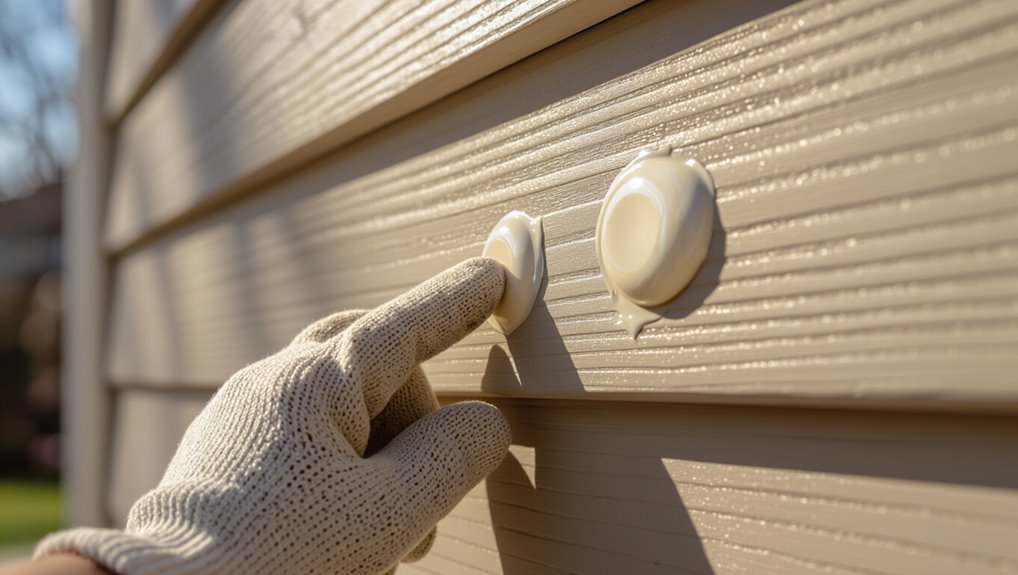
Curious what kind of blister you’re looking at? You’ll scan surfaces for blister types: pinholes, large domes, or peeling sheets.
Look for identifying signs like raised paint, trapped liquid, cracking edges, or color changes beneath the film.
Note location—metal, wood, or plaster—and whether the layer separates easily. That quick assessment guides your next removal and repair steps.
Paint Blister Causes: Moisture, Heat, and Adhesion
Now that you’ve identified the type of blister, you’ll want to understand why it formed so you can fix the root cause rather than just the surface.
Blisters often come from moisture sources like leaks, trapped humidity, or damp substrates.
Blisters commonly stem from moisture—leaks, trapped humidity, or damp surfaces beneath the coating.
Heat effects accelerate blistering by expanding moisture and weakening adhesion.
Poor surface prep or incompatible coatings also reduce adhesion, letting blisters grow and lift paint.
Quick 5-Step Diagnosis to Find the Root Cause
Before you start scraping, run a quick 5-step check to pinpoint why the paint blistered.
First test for surface moisture, then inspect adhesion and prep like sanding, cleaning, and primer.
That way you’ll know which fix—drying, stripping, or re-prepping—will actually work.
Surface Moisture Check
If paint is blistering, check for surface moisture first — it’s a common hidden cause that undermines adhesion and ruins repairs.
You’ll perform a quick surface inspection: tape down a plastic sheet for 24–48 hours to spot condensation, use a moisture meter on suspect areas, and note leaks or high humidity.
Address moisture control before repainting to prevent recurrence.
Adhesion And Prep
Because poor adhesion is the most common cause of recurring blisters, start with a focused 5-step diagnosis to pinpoint what’s failing and why.
You’ll test paint adhesion and surface preparation quickly:
- Probe blister edges
- Check substrate moisture
- Scratch adhesion tape test
- Inspect previous coating compatibility
Use findings to strip, clean, sand, and prime so blisters don’t return.
Can You DIY This: or Should You Call a Pro?
Wondering whether you should tackle paint blisters yourself or call a pro?
You can handle small, localized blisters with DIY Tips like sanding, cleaning, and patching, provided you’re comfortable and have time.
Seek Professional Help for widespread blistering, recurring issues, or suspected moisture or structural problems.
A pro guarantees proper diagnosis, lasting repairs, and saves you time and potential rework.
Tools and Materials to Have Before You Start
Before you start scraping and sanding, gather the right tools and materials so the job goes faster and the repair lasts.
You’ll need gear for paint removal and proper surface cleaning. Pack these:
- Putty knife, scraper
- Sandpaper, sanding block
- Cleaner, degreaser, rags
- Primer, compatible paint
Wear gloves, mask, and goggles for safety.
How to Remove Loose Paint and Expose Blisters
Start by scraping away any loose, flaking paint with a putty knife or scraper, working from the edges of the peeling area toward the center so you don’t tear remaining sound paint.
Remove all detaching layers until blisters are fully exposed.
Sand feathered edges, clean dust, and inspect substrate for damage.
Proper prep prevents future blister formation and restores paint adhesion before priming and repainting.
How to Dry Wet Walls Fast (DIY and Pro Options)
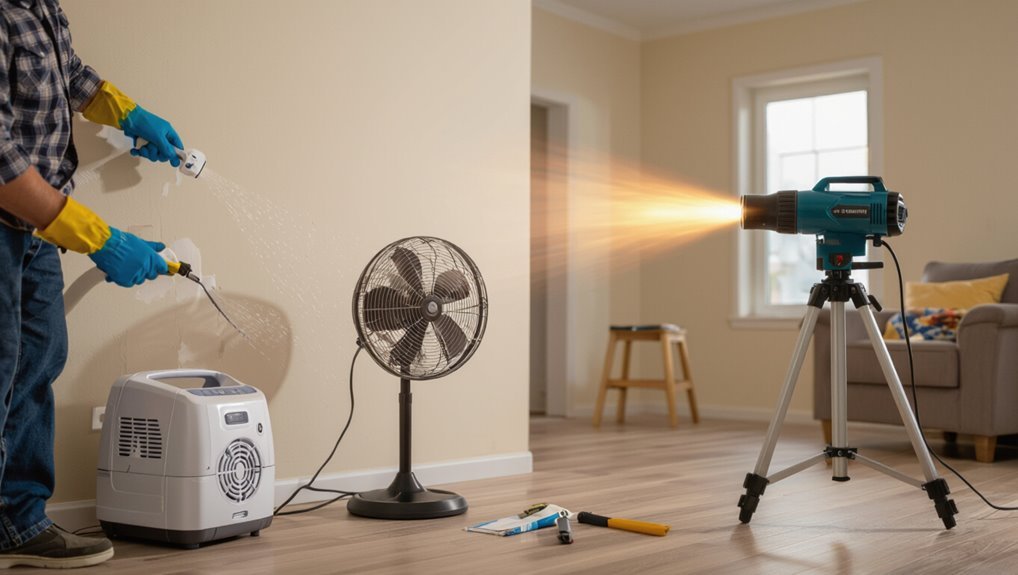
If walls are damp from a leak or high humidity, act quickly to prevent mold and further paint failure; you can speed drying with simple DIY steps or call pros for heavy-duty equipment.
Use targeted drying techniques and moisture management:
- Open windows, run fans.
- Dehumidifier in affected rooms.
- Heat gently with space heaters.
- Rent commercial air movers for severe cases.
Repairing Surface Damage and Prepping for Primer
Start by evaluating the blistered area and removing any loose or flaking paint until you reach a solid edge.
Then sand and fill dents or gouges so the surface is smooth and even.
Finally, clean the area thoroughly to remove dust, grease, and debris before you apply primer.
Assess And Remove Damaged Paint
Inspect the damaged area closely to determine how far the blistering and underlying corrosion or rot extend so you know what to remove and what can stay.
You’ll assess paint types and surface conditions, then remove loose material.
Visualize tools and steps:
- Scrape blisters and flaking paint
- Sand rough edges to sound substrate
- Cut out rotten wood or rust
- Vacuum and tack before priming
Smooth And Clean Surface
Once you’ve removed loose paint and addressed any rot or rust, smooth and clean the surface so primer can bond properly. You’ll sand edges, fill pits, wipe dust with solvent, and rinse. Proper surface preparation guarantees strong paint adhesion and prevents future blisters.
| Tool | Purpose |
|---|---|
| Sandpaper | Feather edges |
| Filler | Repair pits |
| Solvent | Remove oils |
| Rinse | Remove residue |
| Primer | Promote adhesion |
Choose the Right Primer and Paint for Blister-Prone Surfaces
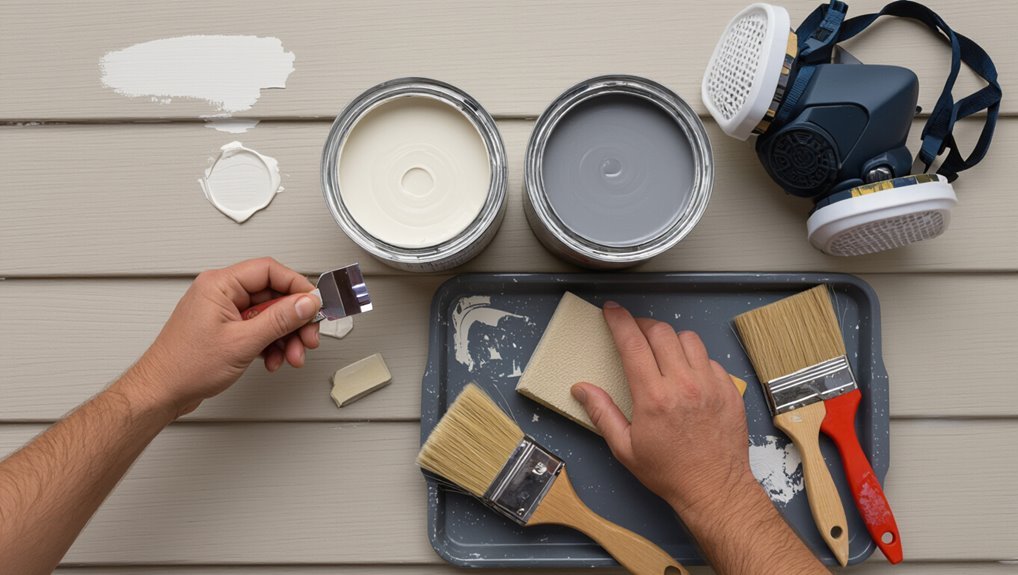
Because blister-prone surfaces need breathable, flexible coatings, choose primers and paints formulated to handle trapped moisture and movement.
For blister-prone surfaces, use breathable primers and flexible, moisture-tolerant paints that accommodate movement.
You’ll focus on choosing primers and paint compatibility with surface type. Consider environmental factors, application techniques, drying time, finish options, and product recommendations.
- breathable primer
- flexible topcoat
- moisture-tolerant formula
- compatible sheen and cure-time
Apply Primer and Paint to Stop Re-Blistering
Start by thoroughly prepping the surface—clean, sand, and remove any loose paint so the primer can bond.
Pick a primer formulated for your substrate and the trouble you’d (moisture, tannin bleed, or adhesion issues).
Once the primer’s cured, apply compatible paint in recommended coats to help prevent re-blistering.
Surface Prep First
Before you repaint, get the surface ready so new primer and paint can actually bond and keep blisters from coming back.
Do focused surface cleaning, repair, and choose proper paint selection.
Then follow these steps to visualize prep:
- Scrape loose paint
- Sand edges smooth
- Wash and degrease
- Let dry completely before priming and painting
Choose Right Primer
Primer choice matters: pick one that bonds to the exposed substrate and blocks moisture so your new paint won’t lift and re-blister.
You’ll select primer types based on substrate—bonding primers for glossy surfaces, oil-based or shellac for staining, and moisture-blocking alkyd or epoxy for damp areas.
Follow recommended application techniques: clean surface, thin coats, proper drying times, and sanding between layers for lasting adhesion.
Special Fixes for Wood, Metal, and Masonry Blisters
When you tackle blisters on wood, metal, or masonry, you’ll use different tools and prep techniques because each surface responds differently to moisture and heat; wood needs gentle sanding and moisture control, metal requires rust removal and a good etch, and masonry calls for deeper cleaning and compatible patching compounds.
You should focus on wood treatment, metal sealing, masonry coating, surface protection, and paint selection.
- Sand and dry wood
- Remove rust, etch metal
- Clean, patch masonry
- Prime, choose compatible paint
Handling Large or Recurring Blister Outbreaks
If blisters keep appearing or cover a large area, you’ll need to step back and diagnose root causes rather than patching surface symptoms; assess moisture sources, substrate failure, and application problems.
Then decide whether spot repairs will do or a full-strip and recoating is required. Investigate plumbing, flashing, and ventilation.
Prioritize blister prevention strategies and adapt coatings for proven environmental factors to prevent recurrence.
Seasonal and Environmental Prevention Tips for Paint Blisters
Because seasonal shifts and local weather drive most blistering, you should align your prep and coating choices with temperature, humidity, and sun exposure to cut risk.
Because seasonal shifts drive blistering, align prep and coatings with temperature, humidity, and sun exposure to reduce risk.
Match timing to weather conditions and seasonal changes; control humidity levels and account for temperature fluctuations to limit blister triggers from environmental factors and surface exposure.
- Avoid painting in high humidity.
- Shield from direct sun.
- Wait after rain.
- Use flexible primers.
Simple Maintenance Checks to Catch Blisters Early
Although blisters can start small, a quick monthly inspection lets you spot trouble before it spreads.
Check painted surfaces for bubbling, lifting, or discoloration near joints, trim, and moisture sources. Use a flashlight and run your hand for texture changes.
Document locations and dates for preventive maintenance. Prompt early detection lets you repair small areas before they require major scraping or repainting.
Common Mistakes That Make Blisters Return
If you skip proper surface prep, you’ll leave dust, old paint, or loose material that lets blisters come back.
Trapping moisture under a primer or undercoat will force new bubbles to form as it tries to escape.
And using the wrong paint type for the substrate or environment guarantees a poor bond and recurring blisters.
Poor Surface Preparation
Mistakes in surface prep are the most common reason paint blisters come back, because contaminants, loose coatings, or trapped moisture keep new paint from bonding properly.
You must remove surface contaminants and follow proven preparation techniques to guarantee adhesion.
Visualize the process:
- Scrape loose paint
- Sand to sound edges
- Degrease and wash
- Prime bare areas
Trapping Moisture Undercoat
One common reason blisters return is that moisture gets trapped beneath the new coat, so you’ll see bubbles form even after you’ve scraped, sanded, and primed. You must remove damp, test for moisture, and avoid sealing in wet wood. Use breathable moisture barriers and proper paint undercoating to let vapor escape; otherwise blisters will recur.
| Step | Check | Action |
|---|---|---|
| 1 | Moisture | Measure |
| 2 | Barrier | Replace |
| 3 | Undercoat | Apply |
Using Wrong Paint Type
Because paint chemistry matters, choosing the wrong type can undo all your prep and let blisters come back quickly. You must match paint compatibility to surface types, or adhesion fails.
Visualize failures:
- Peeling film on wood grain
- Bubbling on glossy enamel
- Flaking on masonry
- Blisters on damp drywall
Pick compatible systems and follow manufacturer recommendations to prevent recurrence.
Frequently Asked Questions
Can Paint Blisters Cause Structural Damage to Walls or Just Cosmetic Issues?
They can cause both cosmetic issues and structural problems if moisture control’s ignored; you’ll see peeling, rot or mold beneath paint. Proper surface preparation and fixing leaks prevents deeper damage and recurrent blistering.
Will Blistered Paint Release Harmful Fumes or VOCS Into My Home?
Blistered paint itself won’t usually emit new VOCs, but degrading paint composition can release odors and particles that harm indoor air quality, so you should remove damaged layers and ventilate while repairing to minimize risks.
Can Wallpaper Over Blistered Paint Prevent Future Issues?
Yes — you can wallpaper over blistered paint, but don’t expect a miracle: wallpaper benefits include hiding flaws and boosting aesthetics, yet poor paint adhesion will keep causing problems, so repair and prime first for lasting results.
Do Different Paint Brands Vary Widely in Blister Resistance?
Yes — you’ll see differences: paint composition and formulation affect blister resistance, and proper application techniques, surface prep, and moisture control matter more than brand alone, so choose quality products and apply them correctly.
Is It Safe to Use Heat Guns to Remove Large Paint Blisters?
Yes, you can use heat guns cautiously to remove large paint blisters; you’ll need heat gun safety practices, steady temperature control, gloves and ventilation, keep the gun moving, and avoid overheating substrate or causing fumes and burns.
