
Where to Start When Painting a Wall: The Correct Order Every Time
Start by preparing the room and protecting floors, furniture, and trim, then inspect the walls for cracks, holes, or moisture and mark repairs. Patch, sand, and prime bare or patched areas for even adhesion. Remove or mask fixtures and outlets, cut in edges with a brush, then roll wall sections in consistent “W” patterns. Let coats dry before reapplying, remove tape carefully, touch up flaws, clean tools, and store paint — keep going to learn timing and tool tips.
Quick: Painting a Wall – The Full Sequence at a Glance
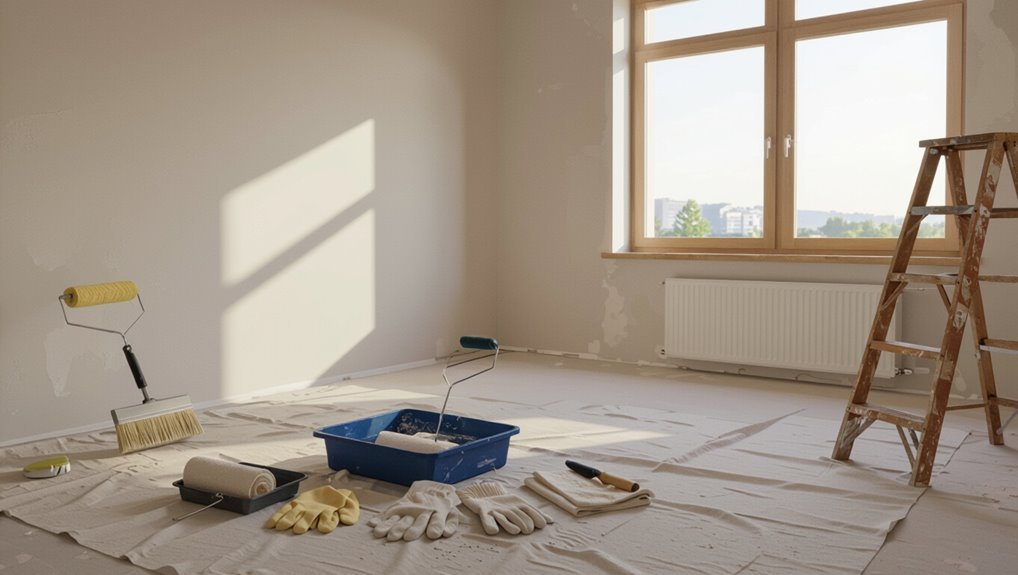
Start by laying out the full sequence so you can move through the job without backtracking: prepare the room, protect floors and trim, patch and sand imperfections, prime if needed, cut in edges with a brush, roll the main surfaces, inspect and touch up, then clean up tools and remove masking.
You’ll assess wall textures and choose appropriate paint types, plan timing, and follow each step efficiently.
Choose Paint Color and Finish
Start by picking a color palette that fits the room’s mood and lighting.
Decide on the paint sheen—flat, eggshell, satin, or semi-gloss—based on durability and how much light you want reflected.
Always test a small sample on the wall to see the true color and finish before committing.
Pick A Color Palette
Wondering which color and finish will make your room sing? You’ll use color psychology to set mood and color harmony to balance accents. Pick a dominant, secondary, and accent hue, test swatches in different light, and imagine furniture.
| Dominant | Secondary | Accent |
|---|---|---|
| Base wall | Trim | Pillows |
| Large area | Furniture | Art |
| Neutral | Complement | Bold |
Decide On Sheen
Once you pick your hue, decide on a sheen—matte, eggshell, satin, semi-gloss, or gloss—because finish affects durability, light reflection, and how flaws show up.
You’ll weigh sheen types by room use: matte hides flaws, satin balances sheen effects and cleanability, semi-gloss and gloss boost sheen durability and moisture resistance.
Consider sheen maintenance needs before you commit.
Test Small Sample
Now that you’ve chosen a sheen, try a small sample on the wall to see how the color and finish behave in the room’s real light and at different times of day.
Apply sample techniques: brush, roller, and a taped square of the real paint.
Observe at morning, midday, evening.
Take notes on undertones, sheen depth, and overall results during your color testing.
Inspect the Wall and Mark Damage
Before you paint, walk the wall and check for any structural issues like cracks, bulges, or moisture that need fixing first.
Mark each spot with a pencil or painter’s tape and measure the size of holes or damaged areas so you know what repair materials and time you’ll need.
That way you’ll avoid surprises and get a smooth, lasting finish.
Check For Structural Issues
Although a fresh coat of paint can hide stains, it won’t fix cracks or rot, so inspect the wall thoroughly and mark any damage you find.
During wall inspection, check studs, sills, and corners for rot, loose plaster, or bowed framing.
Assess structural integrity, probe soft spots, and note areas needing repair or a pro’s evaluation before you paint.
Mark And Measure Damage
After you’ve flagged any structural problems, take a methodical pass to mark and measure every area that needs attention so repairs won’t be missed during prep.
Walk the room, noting dents, cracks, and holes; measure widths and depths, label locations on a sketch, and list materials needed.
This damage assessment guides efficient wall preparation and prevents surprises during repair and painting.
Remove Fixtures and Hardware (Or Protect Them)
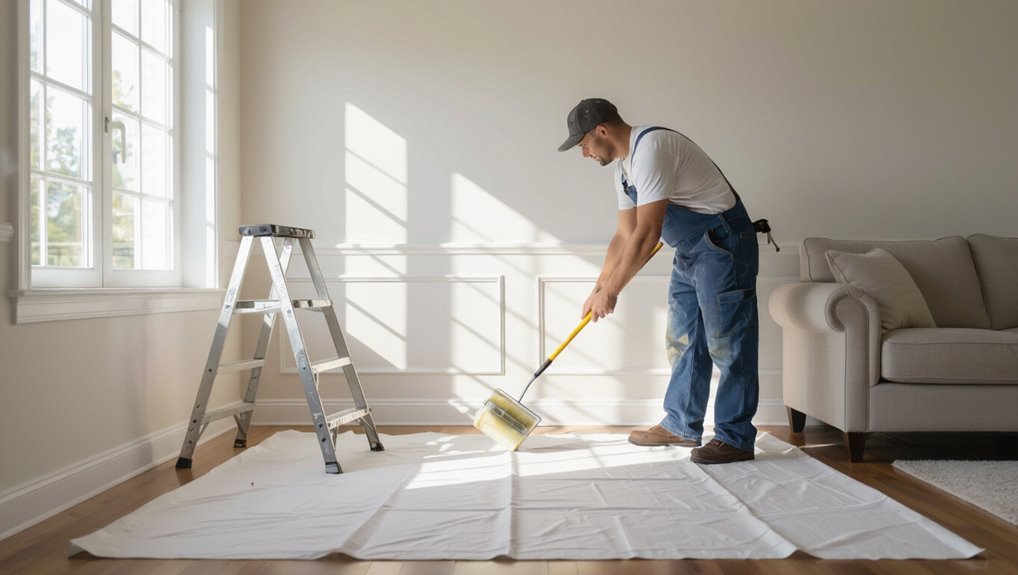
Start by taking down anything that can come off the wall—switch plates, outlet covers, curtain rods, shelves, towel bars, and light fixtures—so you get clean edges and won’t risk paint on hardware.
Then focus on fixture removal and hardware protection: label parts, bag screws, and wrap remaining items.
Then remove fixtures, label each part, bag the screws, and wrap remaining hardware to protect it during painting.
- Label parts.
- Bag screws.
- Wrap fixtures.
Mask Trim, Outlets, and Adjacent Surfaces
With fixtures labeled, screws bagged, and remaining hardware wrapped, you’ll want to protect the surfaces that stay in place. Use masking techniques for crisp edges, apply trim protection tape, cover outlets, and shield adjacent surfaces before painting.
| Item | Action |
|---|---|
| Trim | Tape edges |
| Outlets | Cover plates |
| Baseboards | Protect |
| Windows | Mask |
| Floors | Drop cloths |
Clean Walls for Good Paint Adhesion
Before you pick up a brush, clean the walls thoroughly so paint will stick and look even; grease, dust, and chalky residues can cause peeling or uneven coverage.
- Use mild detergent and warm water for general cleaning—basic cleaning techniques.
- Degrease kitchen areas with trisodium phosphate substitute.
- Rinse, let dry completely, and dust again as part of wall preparation.
Patch Holes, Sand, and Smooth Surfaces
Next, you’ll locate and fill any holes or cracks with spackling or patching compound so the surface is even.
After the filler dries, sand the patches and surrounding area smooth to blend them into the wall.
Finally, wipe away dust and apply primer to guarantee a uniform finish before painting.
Identify And Fill Holes
Start by walking the wall to spot nail holes, dings, and cracks so you know what needs filling.
Decide on hole types and select patch materials appropriate for size and substrate. Clean debris, apply filler, and let it cure.
Then:
- Small holes: use spackle.
- Medium holes: use patching compound.
- Large holes: use mesh patch and joint compound.
Sand For Smoothness
Grab a sanding block or pole sander and smooth every patched area until it blends with the surrounding wall—this guarantees paint won’t highlight imperfections.
Use firm, even strokes and progress from coarse to fine grit to feather edges.
Focus on consistent texture; test by running your hand over the surface.
Proper sanding techniques are essential for reliable surface preparation before any finishing steps.
Clean And Prime Surface
Clean the wall thoroughly and prime any repaired areas before you paint so the finish looks uniform and lasts.
You’ll patch holes, sand smooth, and use proper surface preparation to guarantee adhesion.
Apply primer to patched spots, let it dry, and inspect for imperfections.
Use effective cleaning techniques to remove dust and grease before painting.
- Patch holes
- Sand smooth
- Prime spots
Fix Big Damage and Address Moisture
Before you paint, repair any large damage and fix moisture sources so your finish will last.
Inspect for leaks, mold, and soft spots, then dry areas thoroughly. Use appropriate repair techniques for plaster, drywall, or trim and install moisture barriers where needed.
Sand and smooth patches, remove mildew, and confirm repairs are stable before proceeding to priming and painting.
Prime Bare Drywall, Repairs, and High-Contrast Areas
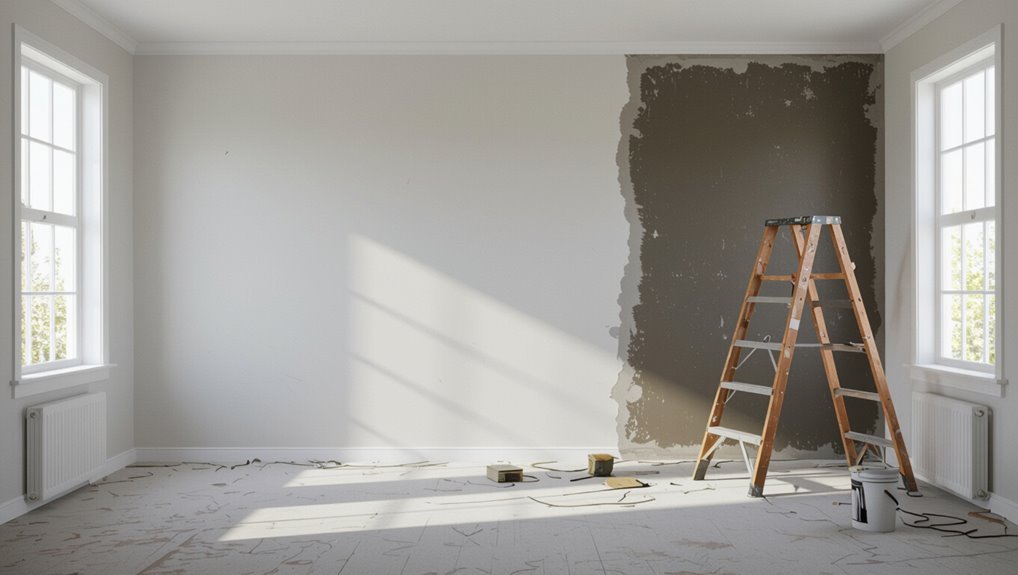
Before you paint, prime any bare drywall so the finish soaks in evenly and your topcoat won’t blotch.
Patch holes and sand repairs smooth, then prime those spots to hide texture differences.
For high-contrast areas—like dark walls being painted light—use a blocking primer to stop the old color from bleeding through.
Prime Bare Drywall
Start by priming any bare drywall you’re painting—unprimed gypsum soaks up paint unevenly, leaving blotchy color and wasted finish.
You’ll choose primers based on drywall types and follow priming techniques that seal, improve adhesion, and equalize porosity.
Apply evenly and allow full drying before paint.
- Use a drywall primer suited to gypsum.
- Roll then back-brush.
- Check for missed spots.
Patch And Repair
Once your drywall primer’s dry, patch any holes, dents, or high-contrast stains so the finish looks smooth and uniform. Use appropriate patch techniques and repair materials: spackle for small dings, joint compound for larger repairs, and sanding between coats. Test for levelness before painting.
| Task | Tool |
|---|---|
| Small holes | Spackle |
| Large repairs | Joint compound |
| Sanding | Sandpaper |
Block High-Contrast Areas
Prime any bare drywall, fresh repairs, and high-contrast stains so your topcoat goes on evenly and hides old colors.
Use block techniques to seal edges and strong stains, reducing color contrast before full painting. Apply primer thinly and let it dry fully.
- Spot-block stains
- Feather primer at seams
- Reinspect after drying and touch as needed
Choose Brushes, Rollers, and Other Tools
Choosing the right brushes, rollers, and tools makes the job easier and the finish cleaner, so pick quality items that match your paint, surface, and technique.
You’ll select brush types for edges and trim, roller options for texture and coverage, and necessary paint accessories like trays and extension poles.
Practice tool maintenance—cleaning and storing properly—to prolong life and guarantee consistent results.
Mix Paint and Set Up Your Station
After you’ve picked your brushes and rollers, get the paint ready and arrange your station so everything’s within reach.
You’ll mix paint thoroughly, strain if needed, and position trays, rags, and stir sticks for quick access.
Keep lids closed, use a stable table, and maintain clean paths to avoid spills.
- Stir and strain
- Organize tools
- Secure lids and paths
Cut In Edges and Corners First
Before you roll the main surfaces, cut in the edges and corners so you get clean lines and prevent lap marks.
Use proper cutting techniques and corner tools with appropriate brush types for edge precision. Control paint overlap, maintain consistent edge coverage, and use tape application only where needed.
Follow simple cleaning methods for brushes and tools between cuts to keep lines sharp and work efficient.
Roll Wall Areas in the Right Pattern
Start by working in a manageable section—about 3×3 feet—and roll in a consistent “W” or “M” pattern. Then fill it in without lifting the roller.
Use steady pressure so roller patterns blend and avoid lap marks. These wall techniques keep coverage even and edges soft.
- Maintain rhythm
- Overlap strokes
- Feather edges
When to Apply a Second Coat
Wondering when to lay down a second coat? You’ll wait until the first feels dry to the touch and shows no tackiness — that’s key for proper second coat timing. Check edges and low spots; temperatures and humidity affect paint drying.
| Condition | Action |
|---|---|
| Dry to touch | Apply second coat |
| Tacky/wet | Wait and recheck |
| Uneven coverage | Spot prime then coat |
Remove Tape, Touch Up, and Finish
Once the paint on that second coat feels dry to the touch and shows no tackiness, it’s time to remove the tape and finish up.
Use careful tape removal techniques, inspect seams, and address small flaws. Follow these touch up tips for clean edges and consistent sheen as you apply final finishing touches while monitoring paint drying.
Remove tape carefully, inspect seams, and touch up small flaws for clean edges and consistent sheen.
- Peel tape slowly at 45°
- Fill pinholes promptly
- Feather edges gently
Clean Tools, Store Paint, and Prevent Problems
After the last touch-up, clean your brushes and rollers right away and store leftover paint properly so tools last longer and you avoid future headaches.
Rinse thoroughly, reshape bristles, and let items dry fully to prevent mildew.
Label cans with date and color for paint storage, seal lids tightly, and keep cans cool.
Regular tool maintenance saves time and money.
Frequently Asked Questions
Can I Paint Over Wallpaper Without Removing It First?
Yes — you can often paint over wallpaper, but it depends on wallpaper types and paint adhesion. You’ll need to prep glossy or loose seams, use primer or adhesive promoter, and test a small area first to guarantee success.
How Long Should I Wait Between Priming and Painting?
You should wait until the primer’s tack-free and fully cured—typically 1–4 hours for fast-dry primers, 24 hours for oil-based; check primer types and paint drying recommendations, and you’ll avoid adhesion or finish problems.
What’s the Best Way to Paint Textured Walls?
You should use thick-nap rollers, flexible brushes for crevices, and spray if possible; textured finishes need multiple painting techniques—back-rolling, stippling, and light sanding—so you’ll build even coverage without losing texture depth.
Can I Paint in High Humidity or Cold Temperatures?
Slow and steady wins the race: you shouldn’t paint in high humidity or extreme cold because humidity effects slow drying and temperature guidelines usually require 50–85°F; wait for proper conditions, or paint failure and longer cure times’ll follow.
How Do I Safely Dispose of Leftover Paint and Solvents?
You should dry leftover paint, take it and solvents to a household hazardous waste facility or paint recycling center, and use eco friendly disposal methods; don’t pour solvents down drains, and follow local regulations for safe recycling.
