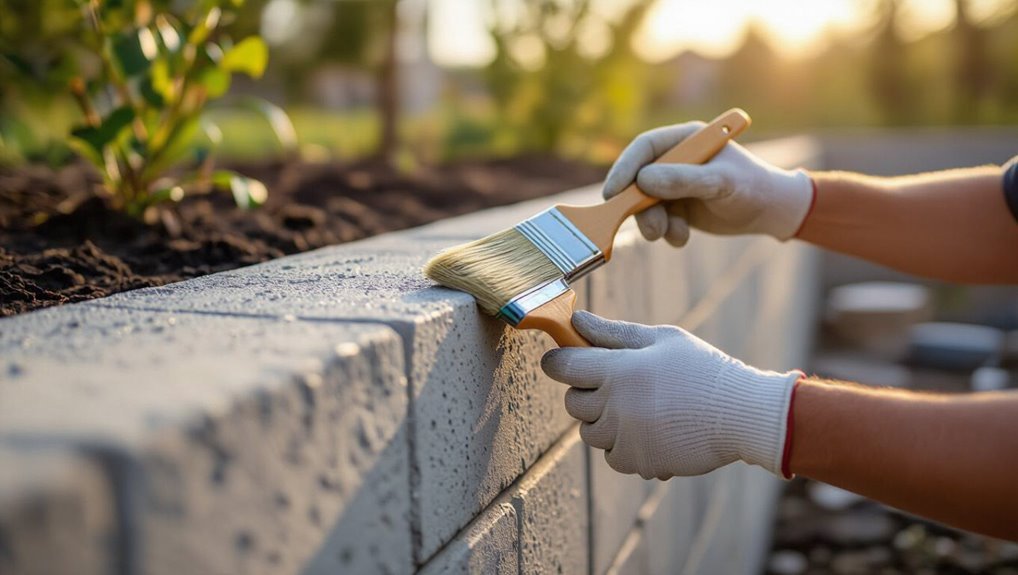
Can You Paint Retaining Wall Blocks? Step-By-Step Guide
Yes—you can paint concrete retaining wall blocks if you first confirm they’re dry, sound, and free of active water intrusion. Inspect drainage, clear weep holes, and treat efflorescence or chalky areas. Clean or etch the surface, repair cracks and mortar, then apply a masonry or bonding primer before two coats of exterior masonry paint. Work in mild, dry weather and allow full cure between coats. Keep up inspections and maintenance, and the guide ahead shows how to do each step.
Can You Paint Concrete Retaining Wall Blocks? Quick Answer & When to Do It
Wondering if you can paint concrete retaining wall blocks? Yes—you can, and it’s worth doing when blocks are clean, dry, and structurally sound.
You’ll pick finishes based on color selection and exposure: lighter hues reflect heat; darker hide stains. Use masonry primer and exterior paint for paint longevity.
Timing matters—choose mild, dry weather for best adhesion and curing.
Inspect First: Check Moisture, Drainage, and Structural Issues
Before you paint, check for water intrusion behind and through the blocks so moisture won’t trap paint or cause peeling.
Walk the site to assess drainage paths and make sure run-off and weep holes are clear.
Also inspect the wall’s structural integrity—look for bulges, cracks, or settling that should be fixed before any coating.
Check For Water Intrusion
Because water is the chief enemy of painted retaining wall blocks, start by inspecting the wall for moisture, drainage problems, and any structural issues that could let water in.
Look for staining, efflorescence, soft mortar, or concealed water damage.
Probe joints and behind blocks, verify existing moisture barriers, and note leaks so you can repair or upgrade them before painting to prevent paint failure.
Assess Drainage Paths
If you want your painted retaining wall to last, start by tracing where water travels around and through the wall: follow surface run-off, check the outlets of any drainpipes or weep holes, and note low spots where water pools.
Map flow paths, then plan drainage solutions like directing runoff away or adding French drains.
Factor landscape considerations to prevent future saturation and paint failure.
Inspect Structural Integrity
Now that you’ve mapped water flow and spotted trouble spots, turn your attention to the wall’s structural integrity.
Inspect for cracks, leaning, bulges, mortar loss, and erosion at the base.
Check for trapped moisture and clogged drainage that undermine stability.
Document findings, prioritize repairs, and plan a structural assessment with a pro if needed to guarantee long term durability before painting.
Spot Efflorescence & Chalk: How to Treat It Before Painting
When you’re preparing to paint retaining wall blocks, check for white, powdery deposits or a chalky film—those are signs of efflorescence and soluble salts that can ruin paint adhesion. For efflorescence treatment and chalk removal, brush dry residue, apply a diluted vinegar or commercial salt remover, rinse, and let dry before priming.
| Issue | Action |
|---|---|
| White powder | Brush off |
| Stains | Apply remover |
| Residue | Rinse well |
| Ready | Dry fully |
Clean and Etch Blocks for Paint Adhesion (Pressure Wash & Alternatives)
You’ll want to prep the surface thoroughly by removing dirt, loose material, and any remaining efflorescence so paint can grip.
Etching the blocks or using a masonry primer improves bond on smooth or dense surfaces.
If you can’t pressure wash, scrub with a stiff brush and a masonry cleaner or use a nozzle-sprayer and detergent as effective alternatives.
Prep Surface Thoroughly
1 essential step before painting retaining wall blocks is preparing the surface so paint will stick and last.
You’ll do thorough surface cleaning—remove dirt, efflorescence, and loose mortar with a stiff brush or pressure washer.
Check for mold and repair cracks as part of block maintenance.
Let the wall dry fully before priming.
Proper prep prevents peeling and guarantees long-term adhesion.
Etch For Better Bond
Boost adhesion by etching the block surface so primer and paint can grip properly. You’ll remove laitance and open pores using etching techniques, then apply compatible bonding agents for lasting adhesion.
Work methodically, rinse residue, and let dry before priming.
- Test a small area first for compatibility.
- Follow product instructions for dwell time.
- Wear protection and ventilate the area.
Pressure Wash Alternatives
If you don’t have a pressure washer, several effective alternatives can clean and etch retaining wall blocks so primer and paint will adhere: scrub with stiff brushes and trisodium phosphate or diluted muriatic acid to etch, use vinegar and baking soda for milder cleaning methods, or try eco friendly options like biodegradable cleaners and steam cleaning.
Rinse thoroughly and let blocks dry before priming.
Repair Cracks, Gaps, and Crumbling Mortar : Step-by-Step
Start by clearing loose debris and dust from the cracks and crumbling mortar so you can see the full extent of the damage; you’ll work faster and get better adhesion when the area’s clean and dry.
For crack repair and mortar restoration, follow these concise steps:
- Remove loose mortar, widen hairline cracks, and vacuum debris.
- Mix repair mortar or epoxy per instructions.
- Trowel, tool joints, cure, then sand or finish to match surrounding blocks.
Do You Need a Primer? How to Choose One for Concrete Block Walls
You’ll usually need a primer on concrete block walls if the surface is porous, chalky, or patched, because primer seals and evens out suction for topcoats.
Choose a masonry or concrete-specific primer—acrylic or latex for most exterior blocks, epoxy or bonding primers for dense or problematic surfaces.
Match the primer to your paint type and the wall’s condition to guarantee adhesion and long-lasting results.
When Primer Is Necessary
Because concrete block is porous and alkaline, you’ll usually need a primer to get paint to adhere and last; choosing the right one depends on the block’s condition, moisture issues, and whether you’re using latex or masonry paint.
You should prime when blocks are bare, repaired, or stained. Consider primer types and application techniques for proper sealing and adhesion.
- Bare or new blocks
- Salt or efflorescence present
- Recent repairs or patching
Choosing The Right Primer
1 key decision when prepping concrete block walls is whether you really need a primer—and which type will perform best.
You’ll usually use a masonry or bonding primer for porous blocks; sealed or stain-blocking primers suit problem areas.
Consider primer types and follow recommended application techniques—roller for texture, brush for joints, or sprayer for speed.
Let it cure fully before topcoating.
Best Paints & Primers for Concrete Block Retaining Walls
Choosing the right paint and primer makes the difference between a lasting finish and one that flakes off your concrete block retaining wall within a season.
You’ll want products that boost paint durability and support color selection. Use masonry primer, elastomeric acrylic paint, and breathable masonry sealers to lock adhesion and resist moisture.
- Masonry bonding primer
- Elastomeric acrylic paint
- Breathable masonry sealer
Choosing Colors & Finishes That Hide Flaws and Last
Want a finish that masks imperfections and stays good-looking for years? Choose mid-tone, textured colors—earthy neutrals hide stains and uneven block better than stark whites.
Use color psychology to pick tones that suit your landscape and mood. Opt for coatings known for finish durability, like elastomeric or masonry acrylics, and test samples in sunlight to confirm coverage and long-term appearance.
Step-by-Step Painting Process: Tools, Technique, and Safety
Now that you’ve picked a color and a durable finish that hides imperfections, it’s time to prepare, protect, and paint your retaining wall step by step.
You’ll clean, patch, prime, and use proper tools for safe paint application while wearing PPE. Focus on even strokes, overlap, and ventilation.
- Pressure wash and repair cracks
- Use masonry primer and quality roller
- Wear mask, gloves, and eye protection
Coats, Dry Times, and Coverage Estimates
Once you’ve primed and smoothed the surface, plan on applying at least two coats of masonry paint for durable, even coverage; the first coat seals and bonds, and the second evens out color and fills any thin spots. Expect 2–3 hours dry time between coats; total coats application may need touchups.
| Coat | Dry Time | Coverage |
|---|---|---|
| 1st | 2–3 hr | 100 sq ft |
| 2nd | 2–3 hr | 100 sq ft |
| Touch | 4–6 hr | spot fix |
Prevent Peeling: Breathable Sealers, Caulks, and Maintenance Tips
After your coats have dried, protecting that finish against moisture and movement will keep paint from peeling.
Use a breathable sealer so trapped moisture can escape; caulk joints to stop water intrusion and allow slight block movement.
Stick to simple maintenance routines to catch issues early and avoid repainting.
- Inspect seals annually.
- Re-caulk flexible gaps as needed.
- Clean mildew promptly.
Cost, Time, When to Hire a Pro, and Troubleshooting Common Problems
Although painting retaining wall blocks can be a fairly affordable weekend project, the real cost and time depend on the wall’s size, condition, and the prep work required.
So you should budget for materials, sealers, tools, and a few hours (or days) of labor per hundred square feet.
Get cost estimates, compare DIY time versus professional services, hire pros for structural issues, and troubleshoot peeling, efflorescence, or uneven coverage promptly.
Frequently Asked Questions
Will Painting Retaining Wall Blocks Affect Plants or Soil pH Nearby?
Yes — if you use non-toxic, masonry-safe paints and sealants, you won’t harm soil health or hinder plant growth. Avoid solvent-heavy or flaking coatings, let them cure fully, and monitor nearby plants for changes.
Can I Use Spray Paint or Graffiti Paint for Quick Touch-Ups?
You can, but you shouldn’t rely on spray paint durability alone; graffiti paint adhesion might be good short-term, yet both can peel on porous blocks. Use masonry primer, test a small area, and apply protective sealer.
Are There Eco-Friendly or Low-Voc Paint Options Safe for Wildlife?
By Jove, you can choose green paint options with low-VOC, water-based acrylics and natural lime washes; they’re gentler on wildlife, promote wildlife safety, and won’t off-gas like solvent paints—so you’ll protect critters nearby.
How Do I Handle Painting Walls With Integrated Lighting or Electrical Fixtures?
You’ll shut power, remove or mask integrated lighting and electrical fixtures, label wiring, paint around junctions with small brushes, reinstall covers or fixtures after drying, and test circuits to verify safe, watertight seals and proper operation.
Can Painted Retaining Walls Be Resurfaced With Stucco or Stone Veneer Later?
Yes — you can. Like repainting a weathered ship before re‑planking, you’ll use resurfacing techniques and check paint adhesion, strip or sand loose paint, prime properly, then apply stucco or stone veneer for a lasting finish.
Conclusion
You can definitely paint concrete retaining wall blocks, but only after you inspect for moisture, fix drainage and structural issues, and prep the surface properly. For example, a neighbor painted their 20-foot backyard wall after treating efflorescence, pressure washing, repairing cracks, and using a masonry primer—result: a durable, even finish that lasted years with seasonal maintenance. Follow breathable sealers, caulk joints, and recheck drainage to prevent peeling and moisture damage.