How to Dry Cabinet Doors After Painting Faster
Remove doors, wipe off excess, and prop them elevated for 360° airflow; use fans and a dehumidifier and keep the room around 65–75°F with 40–50% RH. Apply thin, fast-dry coats (waterborne alkyds or quick-flash acrylics), sand lightly between coats, and use gentle heat if needed. Test tackiness on an inconspicuous spot before rehanging. Follow these steps and you’ll cut cure time dramatically — keep going for tips on paints, ratios, and troubleshooting.
Fast, Safe Checklist: Get Cabinet Doors Dry Quickly
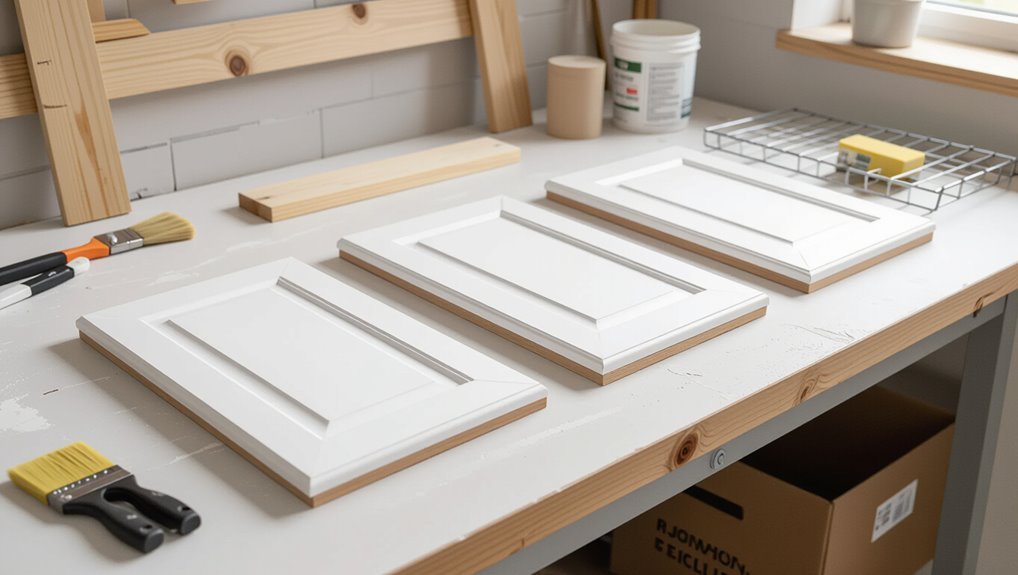
If your cabinet doors got wet, act fast to prevent warping and mold: start by removing them if possible, wipe off excess water with a microfiber cloth, and prop them on sawhorses or secure blocks so air can circulate on both sides.
Use ventilation tips like fans and dehumidifiers, rotate doors periodically, and apply gentle drying techniques—avoid heat guns and direct sunlight to prevent finish damage.
When Can You Rehang Cabinet Doors? Tackiness Tests by Paint Type
Before rehanging, you’ll want to run a few quick tackiness checks specific to the paint type: a gentle tactile tacky test, confirming dry-to-touch times, and noting any lingering smell or uneven sheen.
Use a light fingertip press in an inconspicuous spot to judge tack, compare that to the expected dry-to-touch window for your finish, and sniff for solvent odor that signals incomplete cure.
If the surface feels firm, matches the normal sheen, and has little to no solvent smell, it’s usually safe to rehang.
Tactile Tacky Test
Wondering when you can safely rehange your cabinet doors? Use a tactile tacky test: lightly press a clean fingertip on an inconspicuous edge.
If you feel tackiness indicators — slight stickiness or residue — wait longer to protect paint adhesion. No stickiness means curing progressed enough to rehange gently.
Repeat across finishes and avoid heavy pressure that could mar the surface.
Dry-To-Touch Times
After the tactile tacky test tells you which surfaces feel ready, you’ll want to know specific dry-to-touch times for different paint types so you can rehange doors without risking damage.
Use proper drying techniques to protect paint adhesion.
- Latex: 1–2 hours
- Alkyd: 6–8 hours
- Oil-based: 8–12 hours
- Enamel: 4–6 hours
Smell And Sheen
Test by touch and sniff, noting smell control steps used and sheen effects from different paint types.
Best Fast-Dry Paints & Topcoats for Cabinet Doors (Brand Picks)
When you need cabinets dry fast, choosing the right fast-dry paint—like waterborne alkyds or quick-flash acrylics—makes a big difference.
Pair those with a durable topcoat, such as a polyurethane or conversion varnish, to resist scratches and moisture.
I’ll highlight specific brand picks and their drying times so you can pick the fastest, toughest combo for your doors.
Fast-Dry Paint Types
Because you want cabinets back in use quickly, choosing a fast-dry paint and compatible topcoat makes all the difference—these products cut cure time without sacrificing durability or finish quality.
You’ll prefer fast dry formulas and quick drying techniques. Consider types:
- Waterborne alkyds
- Acrylic enamels
- Lacquers
- Catalyzed urethanes
Pick by sheen, odor, and equipment needs.
Durable Topcoat Options
Though fast-dry paints get your cabinets back in service quickly, the topcoat is what really protects against chips, stains, and frequent use; choose one that dries fast yet builds a hard, resilient film.
You’ll favor water-based polyurethane, conversion varnish, or catalyzed lacquer for durable finishes. In topcoat selection, pick low-VOC, quick-curing formulas and follow manufacturer recoat times for best results.
Thin Paint to Reduce Cabinet Door Drying Time (How-To Ratios)
If you want cabinet doors to dry faster, thin your paint slightly so it lays down in a thinner, more even film that sheds solvent quicker and cures sooner.
Use proper paint thinning and follow recommended drying ratios.
- Start with manufacturer ratio.
- Add solvent sparingly.
- Test spray or brush sample.
- Adjust for humidity and temp.
Prep Cabinet Surfaces to Promote Even Drying and Adhesion
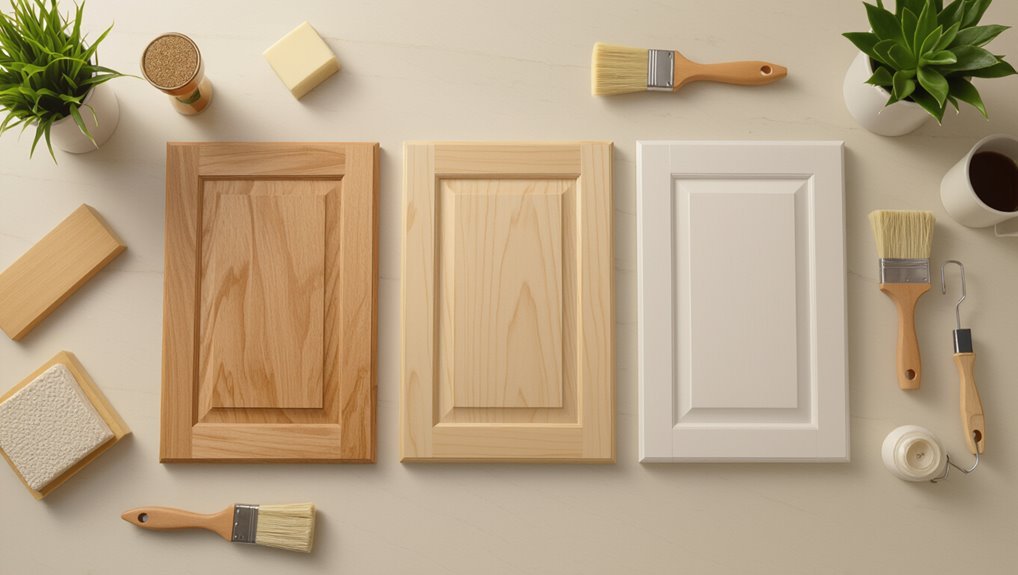
Prep the cabinet surfaces thoroughly so paint adheres evenly and dries without problems.
You’ll clean grease, sand glossy areas, and remove dust to create a consistent profile.
Use appropriate surface preparation: deglossers or fine grit, tack cloths, and primer spots on bare wood.
Apply adhesion techniques like bonding primers and light scuffing to guarantee uniform cure and prevent peeling.
Choose How to Apply Paint: Spray, Brush, or Roll on Doors
You’ll choose spray for the smoothest, most even coverage that also speeds drying by laying on thinner coats.
A brush gives control for edges and details, while a roller covers flats quickly but can leave texture.
Weigh your skill, finish desired, and drying time when picking a method.
Spray For Even Coverage
Choose the application method that matches your skill, budget, and the finish you want: spraying gives the smoothest, fastest coverage; brushing is forgiving on edges and cheaper; rolling balances speed and texture control.
Use spray techniques and coverage tips to:
- Thin paint per sprayer instructions.
- Keep 6–8″ distance.
- Overlap passes 50%.
- Dry between coats.
Brush Or Roll Tradeoffs
When you’re deciding between a brush and a roller for cabinet doors, think about control versus speed: brushes let you work edges and detail without lifting, while rollers cover flat panels faster but can leave a slight texture that needs back-brushing.
Choose brush techniques for trim, glazing, and smoothing drips; use roller benefits on broad panels, then back-brush to blend and speed drying.
Ideal Temperature Range for Faster, Safe Curing of Painted Doors
If you want painted cabinet doors to cure faster without risking runs, tackiness, or film defects, aim for a controlled workspace temperature between about 65°F and 75°F (18°C–24°C).
You’ll manage temperature effects and create ideal conditions by following:
- Preheat room before painting.
- Keep doors off cool surfaces.
- Use gentle air circulation.
- Avoid direct heat sources that blister paint.
How Humidity Changes Dry Time and How to Control It
High humidity slows solvent evaporation and can tack up your paint, so you’ll notice longer dry times on damp days.
To speed curing, lower indoor moisture by increasing ventilation, running exhaust fans, or opening windows when weather permits.
If you’re serious about consistent results, use a properly sized dehumidifier and position it to pull moist air away from the cabinets.
High Humidity Effects
Because humid air holds more moisture, you’ll notice cabinet doors take noticeably longer to dry in muggy conditions.
You’ll face humidity impact and drying challenges that slow film formation and tack-free time.
Tips to manage effects:
- Increase airflow with fans.
- Use warmer, ventilated spaces.
- Apply thinner coats.
- Allow extra cure time and inspect for tackiness.
Lowering Indoor Moisture
You’ve seen how humid conditions slow drying; now focus on ways to lower indoor moisture so your cabinet doors cure faster.
Open windows and use fans to boost airflow, vent bathrooms and kitchens during use, fix leaks, and run HVAC systems on a moderate setting.
These practical humidity control steps promote moisture reduction, accelerating paint cure without complex equipment.
Using Dehumidifiers Properly
When moisture lingers in the air, a dehumidifier can cut drying time considerably by pulling excess water vapor out of the room; place it near your cabinets, set it to maintain relative humidity around 40–50%, and run it continuously while coatings cure.
- Check dehumidifier placement.
- Use 40–50% humidity settings.
- Monitor with a hygrometer.
- Empty reservoir or use drain hose.
Use Fans & Placement to Speed Cabinet Door Drying
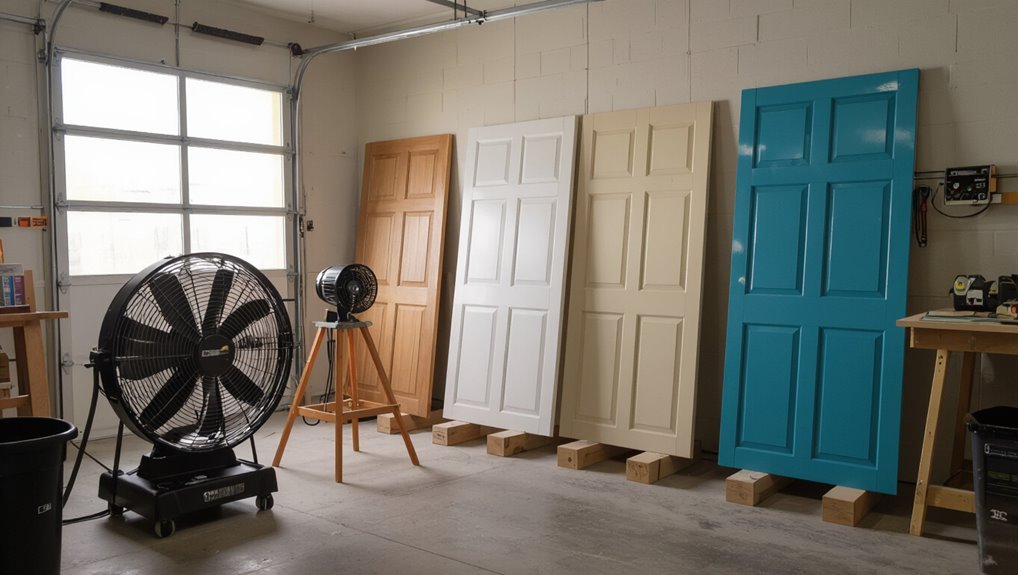
With a couple of strategically placed fans and the right positioning, you can cut drying time for cabinet doors dramatically.
Aim fan placement to push air along painted surfaces, not directly at edges to avoid dust. Turn fans low to moderate for steady airflow direction that promotes even drying.
Elevate doors slightly for 360-degree circulation and rotate them periodically for uniform cure.
Gentle Heat Sources That Speed Drying Without Warping Doors
Although applying heat speeds paint and finish drying, you should use low, even warmth to avoid warping or blistering; gentle sources like warm air from a space heater set on low, radiant panels placed several feet away, or heated drying racks let you raise surface temperature slowly and uniformly.
- Use gentle heat
- Keep even spacing
- Monitor temps closely
- Combine with airflow and other drying techniques
Safe Use of Dehumidifiers and Heaters Together for Faster Curing
When you run a dehumidifier and a heater together, you’ll need to balance temperature and humidity so the finish cures evenly without cracking.
Check the combined electrical load and use proper outlets or a licensed electrician to avoid overloads.
Also keep the room ventilated to remove moisture and prevent condensation on the doors.
Balance Temperature And Humidity
If you want cabinet doors to cure faster without warping or finish problems, balance temperature and humidity by using a dehumidifier and heater together in a controlled way.
You’ll use temperature control and humidity management to speed curing safely.
Steps:
- Set stable temp (65–75°F).
- Run dehumidifier to 40–50% RH.
- Avoid rapid swings.
- Monitor hourly for consistency.
Safe Electrical Load Management
Because you’ll be running both a dehumidifier and a heater, plan your electrical load to prevent tripped breakers, overheating cords, or fire hazards.
Check circuit ratings, add appliances to separate circuits when possible, and use grounded, heavy-duty extension cords.
Practice load balancing to avoid overloads, label breakers, and never daisy-chain outlets.
Prioritize circuit safety and unplug devices when not actively drying.
Ventilation And Moisture Control
Planning your electrical load sets the stage for how you’ll manage air and moisture during curing: pairing a dehumidifier with a heater speeds drying but demands coordinated ventilation to avoid trapped humidity, overheating, or uneven curing.
- Balance heater and dehumidifier wattage.
- Use airflow techniques: fans creating cross-ventilation.
- Monitor humidity and temperature continuously.
- Vent moist exhaust outside for effective moisture management.
Quick-Dry Primers & Undercoats: When They Help (And When They Don’t)
When you need doors back on their hinges fast, quick-dry primers and undercoats can shave hours off wait times without sacrificing adhesion—but they’re not a universal fix.
You’ll get quick dry benefits on thin coats and low-humidity days, speeding tack-free time.
Still, note primer limitations: heavy build, incompatible topcoats, and porous surfaces can slow curing or cause adhesion issues, so choose wisely.
Best Practices for Drying Cabinet Doors Off the Hinges
If you’re removing cabinet doors to speed drying, set up a dedicated, dust-free workspace and lay out a clear workflow so each piece moves quickly from prep to finish without rehandling.
You’ll control cabinet door ventilation and optimize drying rack placement by following steps:
- Label and number doors.
- Use a slotted drying rack.
- Angle doors for airflow.
- Maintain steady temperature and low humidity.
How to Avoid Runs, Tacky Spots, and Uneven Cure on Doors
Once the doors are off the hinges and drying setup is in place, you’ll want to prevent runs, tacky spots, and uneven cure by controlling application and environmental factors. Keep paint consistency thin, use proper application techniques, guarantee surface preparation, and manage drying conditions: ventilation strategies, humidity control, temperature effects, paint additives, and drying aids.
| Paint consistency | Ventilation strategies | Drying aids |
|---|---|---|
| Application techniques | Humidity control | Temperature effects |
When and How to Recoat Faster : Safe Timing & Sanding Tips
Although you want to speed the job, you’ve got to respect safe recoat windows and proper sanding so coats bond without trapping solvent or lifting the previous layer.
Follow recoat timing and sanding techniques precisely:
- Wait manufacturer’s minimum cure.
- Lightly sand between coats.
- Remove dust with tack cloth.
- Test adhesion before full recoating.
You’ll preserve finish integrity while working faster.
Fast-Cure Strategies for High-Traffic Kitchen Cabinets
Speeding up recoating and sanding is only part of the picture when you’re working on high-traffic kitchen cabinets; you also need strategies that get finishes to full cure faster without sacrificing durability.
Use controlled ventilation techniques—fans and filtered airflow—to reduce humidity and speed solvent off-gassing.
Employ drying racks to separate doors, rotate pieces for even exposure, and choose fast-cure clears or catalysts for tougher, quicker cures.
Troubleshooting Slow Drying or Sticky Paint on Cabinet Doors
If paint on your cabinet doors feels tacky or takes forever to dry, check the basics first: temperature, humidity, and ventilation all dictate how finishes cure, and even the right product can misbehave under bad conditions.
Troubleshoot sticky surfaces and poor paint adhesion with quick checks:
- Raise temperature moderately.
- Lower humidity.
- Improve airflow.
- Avoid heavy coats; sand and recoat if needed.
Tools and Products Worth Buying to Speed Cabinet Door Drying
When you want cabinet doors to dry faster without risking the finish, invest in a few targeted tools and products that control temperature, airflow, and moisture and protect the paint while it cures.
Use a heater, fan, and dehumidifier for steady conditions.
Buy drying aids like quick-dry solvents or low-VOC paint additives, tack cloths, and silicone-free protective film to speed curing and prevent dust.
Frequently Asked Questions
Can I Use Hair Dryers on Painted Cabinet Edges Safely?
Yes — you can use hair dryers on painted cabinet edges, but follow hair dryer safety and paint drying techniques: keep the dryer moving, use low heat, hold several inches away, and avoid overheating to prevent blistering or tackiness.
Will Sunlight Speed Drying Without Damaging Finish?
Yes — sunlight speeds drying, like turbo ovens for paint, but don’t overdo it: sunlight effects can harden surfaces faster yet risk bubbling, fading, or compromised finish integrity, so use indirect sun and moderate exposure.
Are Oil-Based and Water-Based Clear Coats Compatible for Fast Cures?
No, you shouldn’t mix oil-based and water-based clear coats; compatibility concerns can cause adhesion failure, clouding, or wrinkling. They cure at different rates, so mismatched curing times will likely ruin the finish.
How Long Before Touching Hardware Like Knobs and Pulls?
Quickly: wait 24–48 hours before touching paint; ideally let finishes cure 7–30 days for full hardness. You’ll protect hardware safety by using clean gloves, gentle handling, and avoiding pressure until coatings fully stabilize.
Can Painted Cabinet Interiors Be Stacked During Drying?
You can stack painted cabinet interiors only if you avoid contact points, guarantee full drying times, and maintain airflow; otherwise you risk compromised paint adhesion, smudges, or tackiness, so use spacers and monitor drying closely.
Conclusion
You’ve learned fast, safe tricks—thin your paint, pick quick-dry formulas, prep well, and use heat or airflow—so your cabinet doors can be rehung sooner. Coincidentally, the same steps that speed drying also improve finish durability, so rushing doesn’t mean sacrificing quality. Follow tackiness tests, sand lightly between coats, and use a fast-curing topcoat for high-traffic kitchens. Do that, and your refreshed cabinets will look great and stand up to daily use.