How to Fill a Hole in the Wall Before Painting Properly
You can make a patched wall disappear by cleaning the hole, removing loose material, and choosing the right filler—spackle for small nail holes, setting compound or a patch for larger openings—then apply with a putty knife and smooth flush. Let it dry, sand lightly, wipe dust, prime the repair, and match the wall texture and paint sheen so the spot blends. Follow these steps and keep going to learn detailed tips and fixes for tricky problems.
Quick Fix: Patch a Small Nail Hole Before Painting
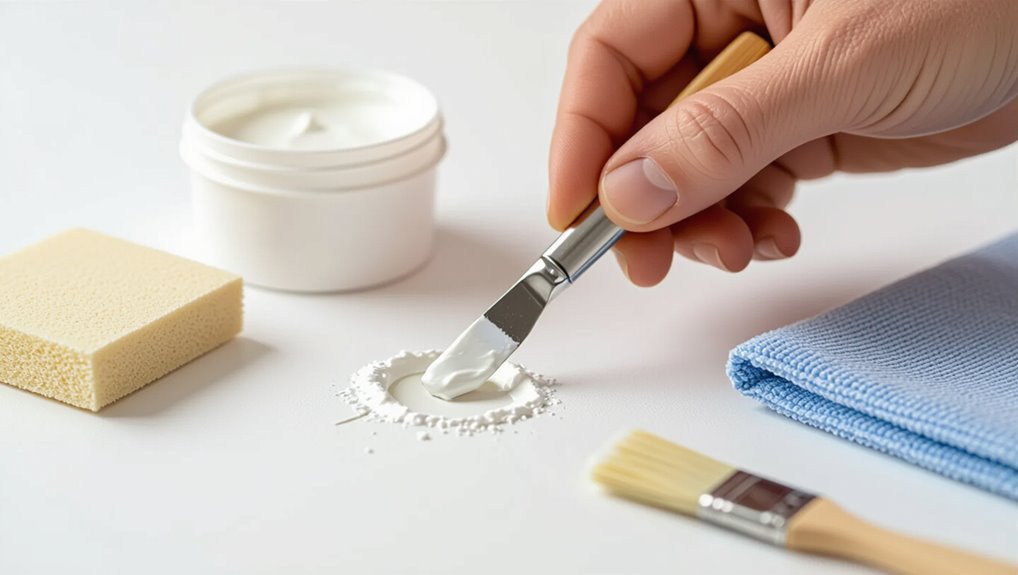
Grab a putty knife and some spackling — patching a small nail hole is quick and simple.
You’ll apply spackle, smooth it flush, let it dry, then sand lightly. For a neat finish, dust away debris before painting.
This quick patch hides imperfections fast, keeps the wall smooth, and prevents paint from revealing the repair once you repaint the area.
Tools & Materials Checklist for Patching Holes
You’ll want a compact set of reliable tools and materials before you start so the repair goes smoothly and finishes clean.
Gather a few reliable tools and materials so your repair goes smoothly and looks clean and finished.
For a concise tools overview and essential materials checklist, gather what lets you prep, apply, and sand efficiently without extra clutter.
- Putty knife, sanding block, utility knife
- Spackle or joint compound, patch mesh, primer
- Drop cloth, painter’s tape, gloves
Inspect Damage: Choose Spackle, Joint Compound, or Patch
Before you pick a product, inspect the hole’s size, depth, and surrounding drywall so you can match the repair method to the damage.
Small nail holes call for lightweight spackle; larger dents or gouges may need heavier spackle types or joint compound.
For holes over an inch, plan a patch with backing.
Match drying time and sandability to your skill and schedule.
Clean and Remove Loose Material
Start by clearing away any loose drywall paper, crumbling gypsum, and flaking paint around the hole so the patch will bond to solid material.
Clear away loose paper, crumbling gypsum, and flaking paint so the patch bonds to solid material.
You’ll do a quick hole assessment, remove debris with a utility knife or brush, and vacuum dust for proper wall preparation.
- Scrape loose edges
- Brush and vacuum dust
- Wipe with damp cloth
When (And How) to Enlarge a Tiny Hole for a Better Patch
Once the edges are clean and solid, check the hole’s shape and surrounding gypsum—tiny, ragged openings often won’t hold a patch well.
If the rim crumbles, enlarge smoothly with a utility knife or round file until firm perimeter exists. You’ll improve adhesion and alignment.
Use proper enlarging holes judgment, follow basic patching techniques, and remove dust before applying your chosen repair.
Which Filler to Use for Each Hole Size
Choose your filler based on hole size and wall type: small nail and screw holes take spackling or lightweight joint compound.
Medium holes (up to about 2 inches) do best with setting-type joint compound or a patch kit with mesh or a backing.
For medium holes (up to ~2″), use a setting-type joint compound or a mesh/backing patch kit for best results.
Larger openings need a backing support plus joint compound or fast-setting patching plaster for strength.
- Match filler types to hole sizes
- Use backing for large holes
- Pick setting compounds for medium repairs
Using Spackling Paste for Small Dents and Holes
For small nail holes, dings, and hairline dents, spackling paste is your quickest fix and will blend smoothly with minimal sanding.
You’ll apply a fingertip or putty knife, press firmly, and wipe excess away. Let it dry fully, sand lightly, and prime.
Learn spackling techniques to avoid common spackling mistakes like overfilling or sanding too soon for a seamless paint finish.
Applying Joint Compound for Medium Holes
Trowel a generous layer of joint compound into medium holes (about 1/2″ to 2″) so the repair fills the cavity and bonds to the surrounding drywall; press the compound firmly, feather the edges with a drywall knife, then let it dry completely before sanding and applying a second coat if needed.
Use joint compound techniques and medium hole preparation for clean results.
- Smooth edges
- Sand between coats
- Prime before painting
Repairing Large Holes With a Patch Kit or Drywall Piece
Patch large holes by either installing a drywall patch kit or cutting and fitting a new piece of drywall into the opening so the repair has solid backing and matches the wall plane.
Choose patch kit options based on hole size and finish. Trim the replacement drywall to fit snugly, screw it to backing, tape seams, and apply compound smoothly for seamless drywall installation before sanding and priming.
How to Anchor a Backing for Big Punctures
When you’re dealing with a big puncture, the key is to give the new drywall something solid to grab onto; otherwise the repair will sag or crack.
You’ll install backing behind the hole using a choice based on hole sizes and backing types. Use screws or adhesive, center the backing, and test stability before proceeding.
- Wooden cleat
- Metal brace
- Adhesive-backed panel
Step-by-Step: Apply Filler and Smooth Edges
Start by pressing joint compound into the hole, filling it just past the surrounding drywall surface so you can feather the edges later. You’ll perform a careful filler application, then scrape excess with a drywall knife. For edge smoothing, sand lightly when dry and wipe dust before priming.
| Tool | Action | Tip |
|---|---|---|
| Knife | Apply | Firm stroke |
| Sponge | Clean | Damp wipe |
| Sandpaper | Smooth | Fine grit |
| Cloth | Dust | Lint-free |
Feathering Technique for Invisible Transitions
After your filler has dried and been sanded smooth, feathering the edges will make the repair vanish into the surrounding wall.
You’ll use thin, light passes with a wide putty knife, blend with fine-grit sanding, and match paint profiles to achieve seamless changes.
Practice feathering techniques on scrap drywall to refine pressure and angle for invisible results.
- Use a wide knife
- Sand lightly
- Test on scrap
Proper Drying Times and Safe Ways to Speed Them Up
Although drying times vary by compound, temperature, and humidity, you’ll typically wait anywhere from 30 minutes for fast-setting fillers to 24 hours for standard joint compound before sanding and repainting.
Check dryness by touch and color; use a fan, dehumidifier, or gentle heat to accelerate drying techniques safely.
Monitor temperature effects to avoid cracking or trapped moisture; don’t rush the cure.
Sanding Tips for a Perfectly Smooth Surface
Sanding is where your repair goes from visible to seamless, so work deliberately with the right grit and pressure to avoid gouges or uneven spots.
You’ll use progressive sanding techniques for smooth shifts, keep dust low, and check angles to match surrounding texture. Good surface preparation guarantees paint adhesion and a flawless finish.
- Start with medium then fine grit
- Sand with light, even pressure
- Wipe and inspect continuously
When and How to Prime Patched Areas Before Painting
When the patched area is fully dry and smoothly sanded, prime it before you paint so the finish will look uniform and the paint will adhere properly.
Use a stain-blocking or drywall primer, apply thin even coats with a brush or roller, and let each coat dry per instructions.
Proper priming techniques are part of patch preparation to guarantee consistent sheen and coverage.
Matching Wall Texture to Blend Patches
Before you start, take a close look at the existing wall texture so you know what you’re matching.
Pick the material and tools that replicate that texture—joint compound, spray texture, or a specific roller or brush.
Apply the texture carefully and feather the edges so the patch blends seamlessly with the surrounding wall.
Assess Existing Wall Texture
If you want your patch to disappear, start by closely studying the surrounding texture so you can recreate its pattern, depth, and rhythm.
You’ll note common texture types and inspect wall finishes for gloss, grain, and scale. Measure relief, photograph details, and feel the surface to match tactile character.
- Note pattern repeat
- Check sheen and porosity
- Record scale and depth
Choose Matching Materials
Now that you’ve documented the texture, pick materials that recreate that look and behavior.
Choose spackles, joint compound, or pre-mixed texture based on material types and wall substrate.
Select a primer and paint for matching colors after patching.
Buy small test samples to confirm adhesion and finish.
Keep tool choices simple—knives, brushes, or texture applicators—so patches integrate smoothly.
Apply And Blend Texture
Once you’ve got matching materials and tools, apply the texture in thin, controlled layers so it builds to the surrounding surface without obvious ridges.
You’ll practice texture blending, try spray techniques for fine mist, use sponge application for subtle pitting, or the roller method for stipple. For a knockdown finish, lightly drag or knock down peaks; refine with stencil patterns if needed.
- Practice spray techniques
- Try sponge application
- Use roller method
Paint Touch-Ups That Hide Patched Areas
When you touch up paint, feather the edges so the new coat blends smoothly into the old.
Check the paint sheen and use the same finish—matte, eggshell, or satin—to avoid obvious patches.
If the sheen matches and the edges are feathered, the repair will be nearly invisible.
Feathering The Edges
Although the patch may be smooth, your touch-up will stand out unless you feather the paint into the surrounding surface; feathering softens edges and blends color so the repair disappears.
Use gentle strokes and thin coats, practicing feathering techniques to avoid ridges and guarantee blending finishes.
Try these steps:
- Lightly brush outward from the patch
- Thin coats, multiple passes
- Blend until edges vanish
Matching Paint Sheen
Wondering why a perfectly patched wall still looks off? Check your paint finish: patched areas often reflect light differently.
Match sheen types—eggshell, satin, semi-gloss—to the surrounding surface. Test a small swatch after the patch cures, using the same brand and sheen.
If necessary, dull glossier areas or repaint the whole panel for uniform reflection and an invisible repair.
Common Mistakes That Make Patches Visible (And How to Avoid Them)
If you rush the job or skip steps, your patch will stand out no matter how neatly you apply compound.
You’ll cause patch visibility problems by over-sanding, mismatching sheen, or leaving edges sharp. Use proper blending techniques and thin coats to hide repairs.
- Over-sanding edges
- Thick compound layers
- Ignoring feathered blends
Troubleshooting Cracks, Sinking, and Adhesion Issues
When your patch cracks, sinks, or won’t stick, you’ll need to diagnose the cause before redoing the repair.
Check substrate movement, moisture, and improper prep.
Use crack prevention by reinforcing with mesh tape for hairline fractures.
Fix sinking by removing loose filler and layering thin coats.
Improve adhesion techniques: clean, prime, and use compatible patching compounds for a durable, paint-ready finish.
Time and Cost Estimates: And When to Call a Pro
Expect most small wall repairs to take 30 minutes to a few hours and cost under $50 in materials.
Larger or textured patches can take a day or more and run $100–$300 or higher.
You should do a quick cost analysis, weigh your skills, and call professional services when damage is structural, extensive, or you lack tools.
- Minor holes: DIY
- Textured/large: consider pro
- Structural: hire immediately
Frequently Asked Questions
Can I Patch Holes in Plaster Walls the Same Way as Drywall?
No — you shouldn’t treat them identically. You’ll need to match plaster types and use appropriate patching techniques like bonding agent, plaster washers, and setting or topping plaster for large holes; thin coat repairs differ from drywall methods.
Will Patched Areas Hold Heavy Wall Hooks or Shelves?
Yes — but don’t assume; like testing a bridge, you’ll match hook weight to patch durability, reinforce with anchors or backing, and use proper patching technique so your repaired wall confidently carries shelves or heavy hooks.
Can I Paint Over Wallpaper After Patching Holes?
You can paint over wallpaper after patching holes, but it’ll often compromise paint adhesion unless the wallpaper’s firmly glued and smooth; for best results you’ll remove wallpaper, repair seams, then prime to guarantee durable paint adhesion.
Are Any Fillers Safe to Use Around Babies or Pets?
Yes — you can use non toxic fillers and baby safe materials; you’ll want low-VOC, water-based spackle, follow drying times, keep pets and infants away until cured, and read labels for allergy and ingestion warnings.
How Do I Repair Holes on Exterior Walls Exposed to Weather?
You use exterior patching products designed for weather resistance: clean and dry the area, apply a flexible patch or exterior-grade filler, seal with primer and weatherproof paint, and caulk edges so moisture won’t penetrate.
Conclusion
You’ve fixed the tiny imperfection and the wall looks smooth, but remember: quick patch, careful finish. You can celebrate the instant improvement while knowing small steps—cleaning, choosing the right filler, sanding—make the difference between obvious repair and invisible craft. Don’t rush the dry time; patience yields perfection. If the patch still shows, call a pro instead of forcing a cover-up; subtle pride beats stubborn, glaring flaws every time.