How to Fix Ripped Paint on Wall Without Repainting Everything
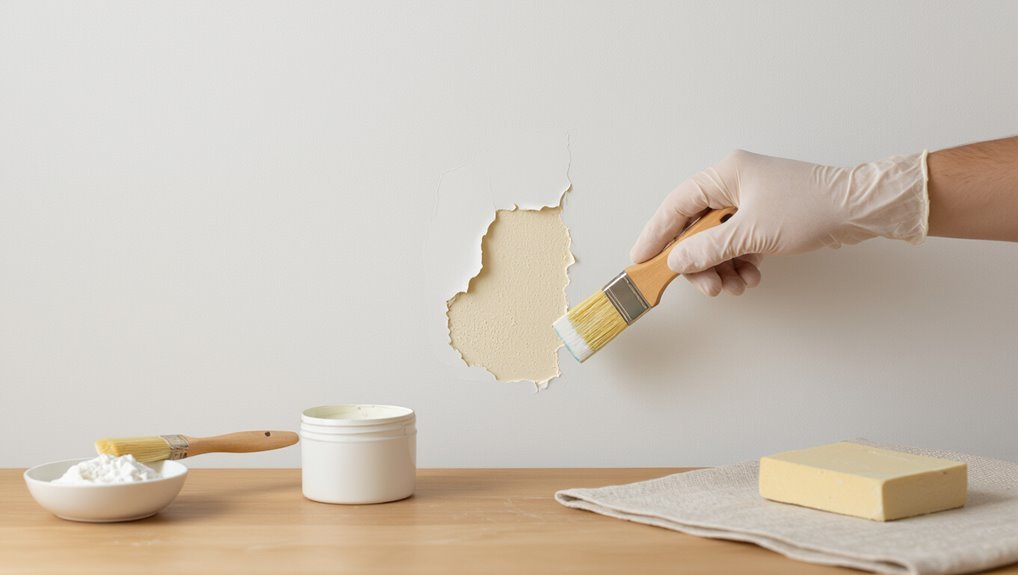
You can fix ripped paint without repainting the whole wall by securing loose edges with adhesive, cleaning the area, and trimming any flaking paint; then fill with lightweight spackle or the right patching compound for drywall, plaster, or wood, feathering thin layers and sanding between coats to match texture. Prime bare spots, match paint sheen and color, and use a small brush with stippling to blend the touch‑up until seamless. Keep going to learn step‑by‑step tips.
Can You Avoid Repainting the Whole Wall?
Do you have to repaint the entire wall when paint peels or rips? You often don’t.
If damage is localized, you can match paint color and use targeted repair techniques—clean, sand, fill, prime, and touch up.
Blend edges and feather strokes to hide changes. Only repaint larger areas when texture or fading prevents a seamless match; small fixes save time and materials.
Assess Damage and Mark the Repair Area
If the peeling is small and you’ve decided to spot-repair, the next step is to assess the damage and mark the repair area so you know exactly what to fix.
Start damage assessment by cleaning loose paint, tapping edges, and measuring extents.
Outline a slightly larger patch than needed with pencil or painter’s tape. This guides repair techniques and prevents missed spots.
Tools & Materials for Small Paint Repair
Gathering the right tools and materials before you start will make a small paint repair faster and neater.
Gather paint repair tools like a small putty knife, fine-grit sandpaper, a utility knife, and a damp cloth.
Choose essential materials: lightweight spackling, primer touch-up, matching paint, and painter’s tape.
Keep a small tray and a disposable stirrer handy for neat application.
Secure Loose Paint Edges Without Stripping
Start by inspecting the ripped area and gently tapping around the edges to find any loose paint that could peel further.
Clean the surface of dust and grease, let it dry, then apply a primer to help new coatings bond.
Use a suitable adhesive or paintable caulk under the loose edges, press them down, and wipe away excess before the primer fully sets.
Assess Loose Paint Edges
Before you do any repairs, closely inspect the ripped area to find where paint is lifting and how far the looseness extends.
Run your fingernail or a putty knife edge gently along the border to feel for flakes that still cling versus sections that’ll peel away.
Note substrate damage, moisture signs, and edges needing stabilization.
Choose repair techniques that restore paint adhesion and prevent further peeling.
Clean And Prime Surface
1 simple cleaning step will make the difference: gently remove dust, grease, and loose particles from the ripped area so primer can bond without you stripping every edge.
After cleaning, choose a primer compatible with your paint types and lightly scuff glossy spots for better adhesion.
Proper surface preparation guarantees primer seals the patch, prevents peeling, and readies the spot for minimal touch-up.
Secure Edges With Adhesive
When you find paint lifting around a rip, don’t strip every loose edge—instead apply a thin, compatible adhesive underneath the curled paint and press it down so the surrounding surface stays intact.
Choose adhesive types suited to your paint and wall (PVA, clear craft glue, or conservation adhesive).
After bonding, smooth edges with minimal edge treatment, wipe excess, and allow full cure before touching up.
Choose Patching Compound: Drywall, Plaster, or Wood
Choosing the right patching compound matters because each material—drywall joint compound, plaster patch, or wood filler—behaves differently and needs a matching approach.
Choosing the right patching compound matters: drywall, plaster, or wood filler each behave differently and require matching techniques.
You’ll pick based on substrate and desired finish; know basic patching techniques and material options.
- Drywall: smooth, sandable.
- Plaster: bonds, sets firmer.
- Wood: fills grain, sands neat.
Fill Ripped Paint and Damaged Substrate Correctly
First check how deep and wide the damage runs so you know whether you’re dealing with loose paint, gouged drywall, or crumbling plaster.
Use the right filler for the substrate and apply it in thin layers, pressing into gaps and feathering the edges for a smooth repair.
Sand lightly between coats and finish with a final skim that matches the wall’s texture before priming and painting.
Assess Surface Damage
Before you reach for filler or paint, take a close look at the ripped area to determine whether you’re dealing with loose paint, surface chips, or deeper substrate damage like plaster or drywall paper tear.
You’ll then assess texture and paint types to choose prep steps:
- Loose paint: scrape and sand edges.
- Surface chips: clean and prime.
- Substrate tear: repair backing first.
Proper Filling Technique
Prep the damaged area carefully so your filler bonds and the repair stays smooth. Remove loose paint, sand edges, and clean dust.
Choose repair materials suited to substrate—spackling for drywall, epoxy for deep gouges.
Apply in thin layers, let each cure, then sand flush. Use proper filling techniques to avoid shrinkage and guarantee a seamless, paint-ready surface.
Sand and Feather to Blend the Patch
Grab a sanding block and start smoothing the dried patch so its edges taper into the surrounding wall — this “feathering” removes ridges and helps paint sit evenly.
Use careful patch techniques and blending methods to avoid uneven texture.
- Sand with medium, then fine grit.
- Lightly wipe dust away.
- Check by touch; repeat where needed.
Prime Patched Spots for Reliable Adhesion
Before you prime, make sure the patched area is clean and dust-free so the primer can bond properly.
Choose a quality primer suited to your wall and let it dry fully.
Feather the primer out over the edges so the repair blends seamlessly with the surrounding paint.
Surface Cleaning First
Start by wiping the patched area with a damp cloth to remove dust, sanding residue, and any loose particles that would prevent primer from bonding.
You’ll follow basic surface preparation and proven cleaning techniques before priming.
- Degrease with mild detergent.
- Rinse and dry thoroughly.
- Inspect for missed debris; repeat if needed.
Use Quality Primer
Once you’ve cleaned and sanded the patched area, apply a high-quality primer to guarantee the patch bonds and hides differences in texture and porosity.
Use primer benefits to seal porous filler, prevent flash, and create uniform sheen.
Follow simple application techniques: thin, even coats with a brush or roller, allow full drying between coats, and sand lightly if needed before painting.
Feather Edges Smoothly
Feather the patch edges so the repaired area blends seamlessly with the surrounding wall and the primer can adhere evenly.
You’ll use feathering techniques and blending methods to sand, taper joint compound, and avoid hard ridges.
Follow this simple numeric checklist:
- Sand edges smooth.
- Thin compound toward the wall.
- Prime lightly, then finish painting for uniform texture.
Match Paint Color and Sheen for an Invisible Repair
Although matching paint color and sheen can feel tricky, getting them right is the key to an invisible repair.
You’ll check existing wall paint in daylight, use a sample swatch for color matching, and test small patches to spot sheen variation.
If sheen differs, use the same finish or gently sand and recoat the area so the repair blends seamlessly with surrounding paint.
Small Paint Repair: Touch-Up Brush, Stippling, Blending
When you’re ready to patch a small tear in the paint, pick a fine-tipped touch-up brush that matches the size of the damaged area and load it sparingly so you don’t create drips.
Apply the paint in short, controlled strokes, working from the edges of the repair toward the center to avoid raised ridges.
Work from the repair edges inward with short, controlled strokes to prevent raised ridges and ensure a smooth finish
- Use gentle stippling to texture.
- Feather edges with light strokes.
- Compare finish, repeat touch up techniques and blending methods until seamless.
Drying Times, Re-Sanding, and Final Inspection
After you’ve blended the touch-up and matched the texture, let the paint cure fully before deciding on any sanding or additional coats; drying times vary with paint type, humidity, and temperature, so check the manufacturer’s recommended wait and feel the surface gently to confirm it’s no longer tacky. Use proper drying techniques and gentle sanding methods, then inspect for seamless coverage.
| Step | Action |
|---|---|
| 1 | Wait per label |
| 2 | Test tack |
| 3 | Light sand |
| 4 | Final check |
Troubleshooting: Bubbling, Seams, and Flaking
If you spot bubbling, visible seams, or flaking, address them before repainting so the repair holds and looks smooth.
- Scrape bubbling paint and sand to sound substrate; primer restores paint adhesion.
- Open and re-tape seam issues, fill gaps, sand flush to prevent ridges.
- Remove flaking paint, feather edges, prime bare areas so new paint bonds properly.
Prevent Future Rips and Make Repairs Last
Now that you’ve fixed bubbling, seams, and flaking, focus on steps that keep the repair intact over time.
Use preventative measures like controlling humidity, avoiding direct impact, and choosing proper primers.
Clean gently and schedule regular paint maintenance checks.
Touch up chips promptly, re-seal edges with caulk when needed, and teach household members to treat walls carefully to prevent recurrence.
Frequently Asked Questions
Can Humidity Cause Paint to Rip Later After a Successful Repair?
Yes — humidity effects can make paint peel again if moisture penetrates the repaired area. You should use proper repair techniques, like drying thoroughly, using moisture-resistant primer, and sealing edges so the fix holds long-term.
Will Wall Texture Differences Show Under Different Lighting Conditions?
Yes — subtle shadows spotlight surface shifts: lighting effects amplify texture variations, making bumps, brushstrokes, and repairs more noticeable. You’ll want to check finishes under varied angles and brightness to guarantee seamless sightlines.
Can Pets or Kids Cause Repaired Spots to Fail Sooner?
Yes — pets and kids can make repaired spots fail sooner. You’ll prevent problems by addressing pet behavior and kid activity, using proper repair techniques and thorough surface preparation, and choosing durable materials and protective measures.
Are There Health Risks From Sanding Old Paint (Lead Concern)?
Yes — sanding old paint can release lead dust, so you should do lead testing first. If positive, avoid dry sanding; use wet or HEPA-equipped methods, proper PPE, and professional paint removal to reduce health risks.
Can Seasonal Temperature Changes Affect Paint Adhesion?
Yes — ironically, your paint’s like a sunbathing lizard: temperature fluctuations make paint expand and contract, weakening paint durability so it peels or cracks; you’ll notice adhesion failures after repeated seasonal swings, especially on exterior surfaces.
Conclusion
You can usually avoid repainting the whole wall if you act fast and patch only the damaged area. Did you know the EPA estimates that proper maintenance can extend paint life by up to 50%? Tackle loose edges, choose the right compound for drywall, plaster, or wood, and use a small touch-up brush with stippling to blend. Let layers fully dry, sand lightly, and inspect—this keeps repairs nearly invisible and prevents repeat damage.