
How to Make Wall Texture Match Existing Surfaces Like a Pro
You’ll match new wall texture like a pro by first identifying the pattern and substrate, then practicing on scrap panels to dial in compound consistency, tool choice, and application timing; clean, repair, and mask the area, adjust mix in small increments, test spray or stomp, let it dry, sand and feather edges, prime, and paint to blend. Take photos and notes so you can repeat the process, and keep going to learn the fine tweaks that perfect the finish.
How to Match New Wall Texture to Existing Surfaces Quickly (Quick Answer)
The fastest reliable approach is to replicate the texture with a skim coat and matching finish coat, then feather the edges to blend into the surrounding wall.
You can handle small patches or simple knockdown/orange peel textures yourself if you’re comfortable with mud and a few test patches.
Call a pro for large areas, complex textures, or when the wall has structural issues you can’t fix.
One-sentence summary of the fastest reliable approach
When you need the fastest reliable way to match new wall texture to existing surfaces, feather in a small skim coat of joint compound.
Replicate the pattern with the appropriate tool (trowel, brush, sponge, or roller), and blend the edges before sanding and painting.
To make wall repairs seamless, practice the exact motion, adjust compound consistency, match paint sheen, and work quickly to keep edges workable.
When to DIY vs. call a pro
If you’ve practiced the skim coat and patterning steps enough to get consistent results, you can handle many small repairs yourself; but if the area is large, the texture is complex, or the finish must be flawless (like on a customer job or open wall), call a pro.
You should DIY for quick patches; hire for scale or match risk.
- small chips and nail pops
- limited visible areas
- simple orange peel or knockdown
- tight timelines or warranty needs
- high-visibility or textured blends
Understanding Wall Texture Basics
You’ll want to know what wall texture is and why matching it matters before you start any repairs.
Common residential finishes include smooth, orange peel, knockdown, stomp, skip trowel, and popcorn, and each needs a different approach.
Typical materials and tools are drywall compound, primer, sprayers, trowels, knives, and brushes.
What wall texture is and why matching matters
Texture is the subtle pattern of raised and recessed areas on a wall’s surface, and matching it matters because your eye instantly notices inconsistencies that reveal repairs or renovations.
You’ll want to match texture to preserve visual continuity, hide fixes, and maintain value. Proper matching improves paint adhesion and light reflection, so take time to analyze scale, depth, and direction before you begin.
Common residential textures (smooth, orange peel, knockdown, stomp, skip trowel, popcorn)
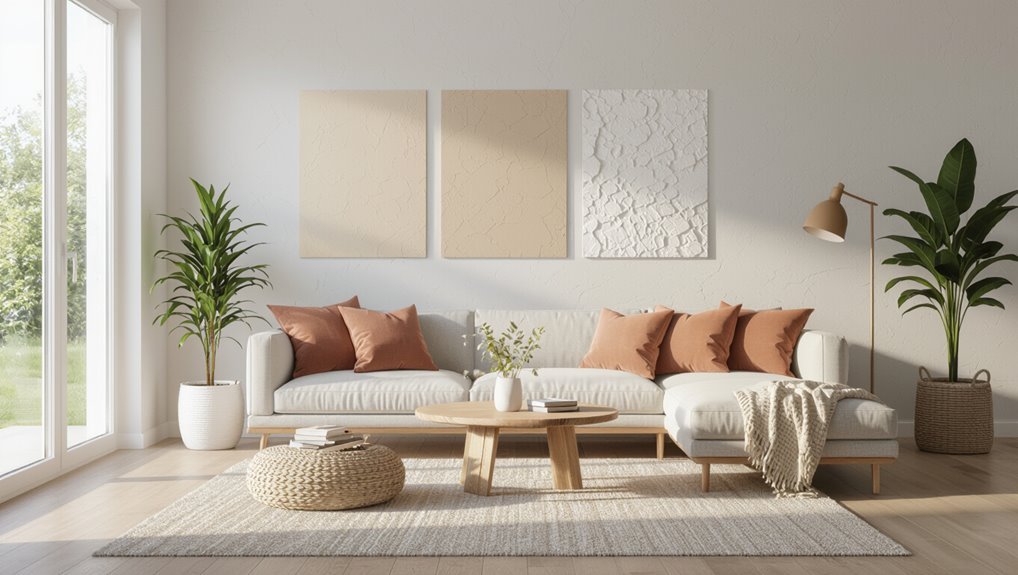
Because walls can carry very different looks and hides, it helps to know the common residential textures you’ll encounter: smooth, orange peel, knockdown, stomp, skip trowel, and popcorn.
You’ll learn to identify each by surface scale, pattern, and finish so you can match repairs. Consider these quick cues:
- Smooth: flat, no texture
- Orange peel: fine, dimpled
- Knockdown: flattened peaks
- Stomp: raised patterns
- Popcorn: coarse, bumpy
Materials and tools used in texturing (drywall compound, primer, sprayer, trowel, knives, brushes)
Now that you can spot common textures, you’ll want the right materials and tools to recreate them accurately.
You’ll use joint compound, primers, texture sprayers or hopper guns, trowels and knives, and various brushes or stompers.
Match compound viscosity and primer type to substrate, practice spray settings, and keep tools clean for consistent results.
- Joint compound
- Primer
- Texture sprayer
- Trowel/knives
- Brushes/stompers
Assessing the Existing Surface
Start by identifying the texture type step-by-step—compare touch, visual characteristics, and common application methods to narrow the match.
Check the substrate, existing paint, and lighting conditions so you can choose compatible materials and finish.
Finally, measure the texture’s scale and any pattern repeat to replicate the look precisely.
How to identify texture type step-by-step
When you’re evaluating an existing wall texture, take a systematic approach so you can match it accurately: inspect from different angles, feel the surface with your hand, and note the scale and pattern of the texture.
Then follow these steps to identify it quickly:
- Observe pattern repetition and size
- Run your hand to sense depth
- Tap for hollow or solid feel
- Compare to common types
- Photograph for reference
Inspecting substrate condition, paint, and lighting for accurate matching
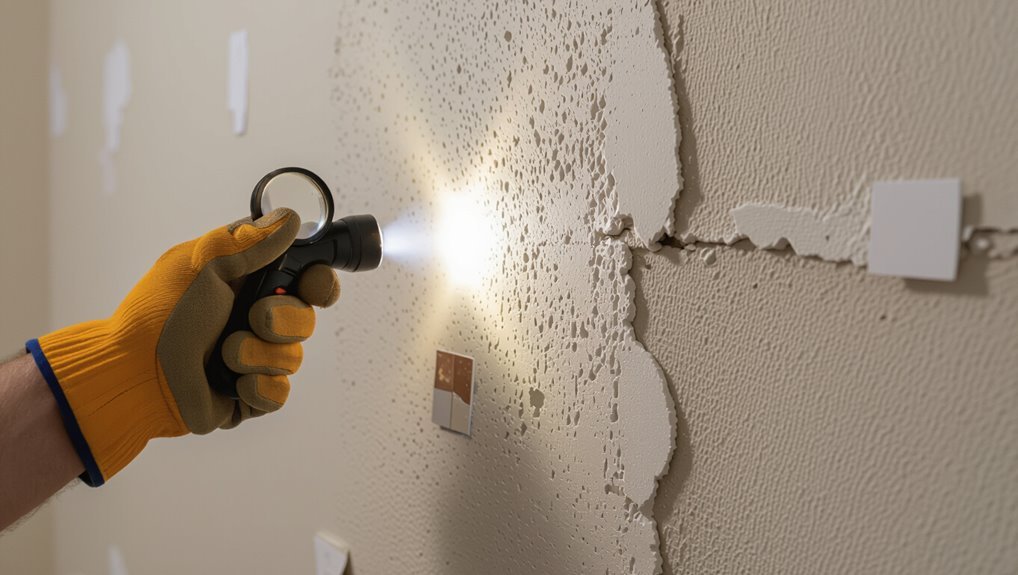
Before you match texture, inspect the substrate, paint, and lighting carefully so you’ll know what’s affecting how the surface looks and accepts new material.
Check for cracks, loose drywall, moisture stains, and previous patchwork. Note sheen, color fading, and undertones.
Observe lighting direction and intensity at various times. Document issues, correct structural problems, and choose compatible primers and repair methods before texturing.
Measuring scale and pattern repeat for pattern replication
Now that you’ve inspected substrate, paint, and lighting, move on to measuring the texture’s scale and pattern repeat so you can replicate it accurately.
Use a ruler or caliper to record peak-to-peak heights and horizontal repeat distances. Photograph a reference area with a scale.
Note directional flow, overlap, and irregularities. Translate measurements into tool settings and mock up samples until alignment is seamless.
Quick Preparation Checklist Before Texturing
Before you start texturing, make sure the surface is clean, repaired, and sanded, and that seams and holes are properly filled.
Mask off trim and furniture, confirm the matching paint color and sheen, and check that ventilation and safety gear are ready.
These quick checks save time and help the new texture blend with the existing wall.
Surface prep: cleaning, repair, sanding, masking
Start by giving the area a thorough once-over so you can spot dirt, loose material, and damage that’ll affect how the new texture bonds and looks.
Clean with a mild detergent, rinse, and let dry.
Repair cracks and gouges with joint compound, sand feathered edges smooth, and remove dust.
Mask trim, outlets, and floors tightly so texture stays contained and lines stay crisp.
Matching paint and sheen considerations
1 easy check you’ll want to do is match both the color and the sheen of the existing wall before you texture, since texture can change how paint reads and a mismatched gloss will make repairs obvious.
Test paint samples on the textured area, view them in different light, and pick the sheen—flat, eggshell, satin, semi-gloss—that blends best.
Safety and ventilation requirements
Matching paint and sheen helps the repair blend visually, but you also need to control the air and hazards while you work.
Open windows, run a fan to exhaust dust, and seal doorways with plastic. Wear a respirator rated for dust/solvents, safety goggles, and gloves.
Keep a fire extinguisher nearby if using flammable primers or solvents. Don’t rush—ventilation prevents health risks.
Step-by-Step Process to Replicate Common Textures
Start by creating a test patch on a scrap panel so you can confirm materials, setup, and drying time before touching the wall.
Mix and thin your compound to match the texture’s viscosity, then use the appropriate application technique for that texture type.
Finish by letting it dry, sanding and blending the edges, then prime, paint, and inspect the result.
Step 1 Create a test patch (materials, panel setup, drying time)
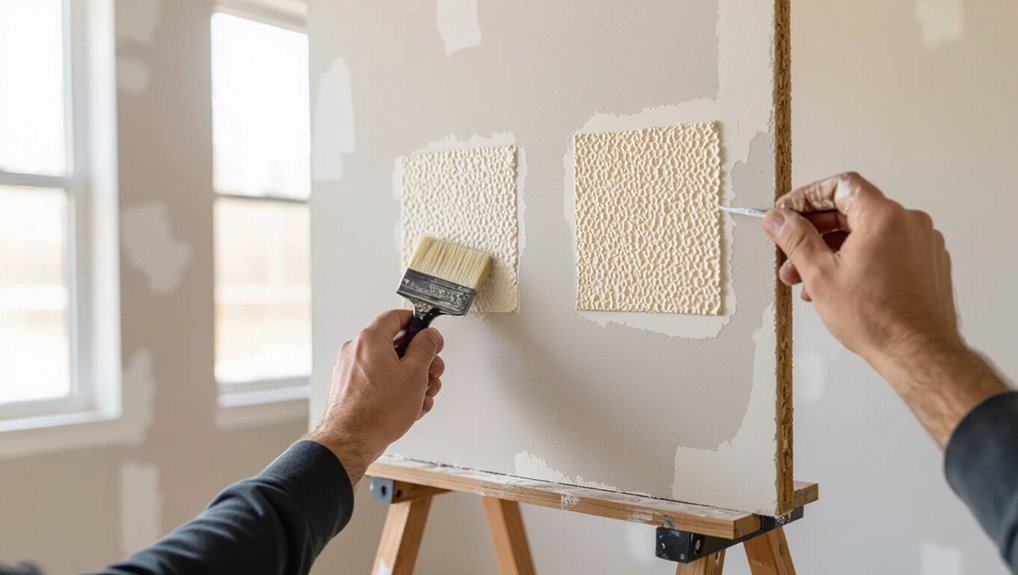
Before you commit to a full repair, make a small test patch so you can confirm the exact materials, application technique, and drying time that match the existing texture.
Choose a removable panel, gather supplies, and note conditions. Test multiple approaches, photograph results, and time drying to match sheen and adhesion.
- panel size and location
- compound brand
- tool choice
- drying time
- lighting comparison
Step 2 Mix and thin compound to match texture viscosity (ratios, tips)
With your test patch confirming which compound and tool work best, you’ll need to adjust the mix so its viscosity mirrors the existing texture.
Start with manufacturer water-to-compound ratios, then thin in small increments. Aim for consistency that holds peaks or levels smoothly.
Stir thoroughly, let slake a few minutes, re-stir, and retest on scrap until the flow and heft match the original surface.
Step 3 Apply technique per texture type
Now you’ll match the specific texture by adjusting tools and timing for each style.
For orange peel use the right sprayer pressure and nozzle.
For knockdown time your spray-to-knife pass precisely.
For stomp or skip work steady rhythms and pressure with your tool.
For skip trowel focus on angle and feathering.
For painted-over areas concentrate on smooth finishing.
Orange peel sprayer settings and nozzle choice
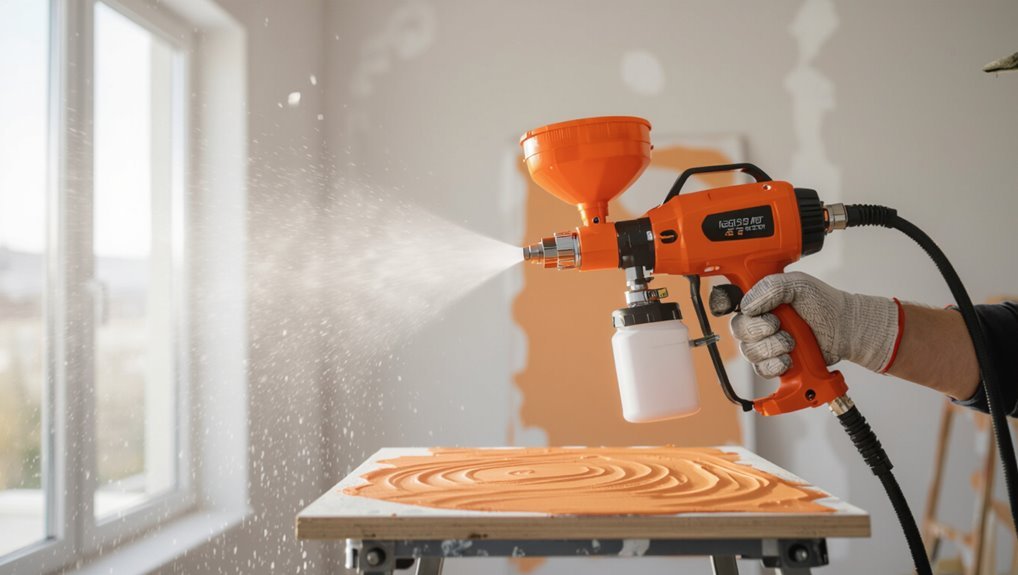
When you dial in an orange peel finish, focus first on matching droplet size and spray pattern: choose a nozzle that produces a medium fan and a tip size around .015–.021 inches for HVLP systems, then set pressure low enough to create fine droplets without overspray.
Test on scrap, adjust air and material flow to refine texture, and keep consistent distance and speed for uniform coverage.
Knockdown spray then flatten timing and knife technique
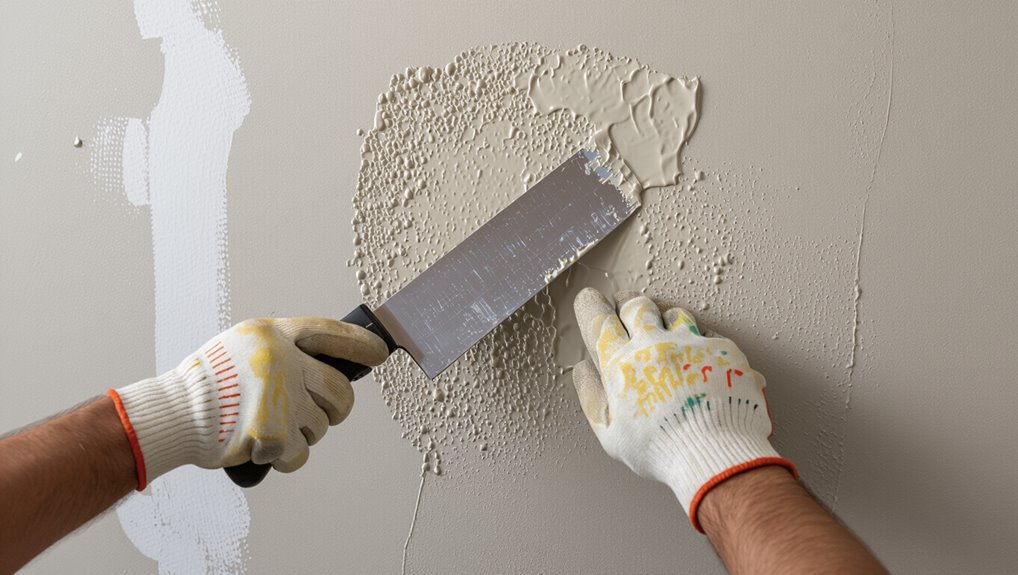
Start by spraying a consistent knockdown texture. Then wait just long enough for the peaks to set before you flatten them with a broad knife.
Hold the knife at a shallow angle, glide smoothly, and use overlapping passes. Keep pressure even to avoid gouges.
If edges dry, re-wet lightly and rework quickly. Match flattening speed to material set time.
Stomp/skip trowel brush/stomp tool rhythms and pressure
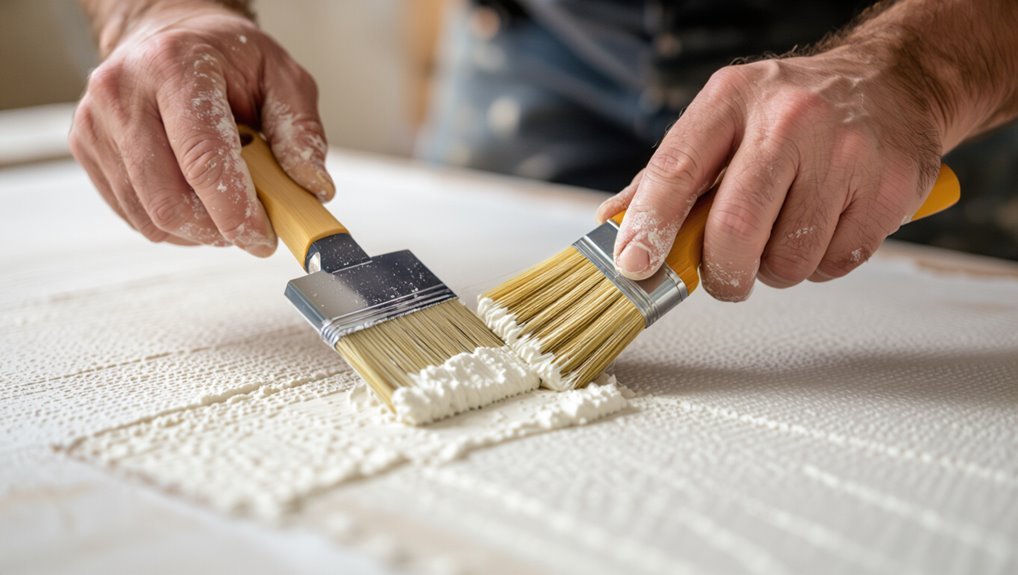
Choose the right tool rhythm and pressure to get a consistent stomp, skip, or trowel texture.
Practice steady, even strikes with your stomp brush or tool, keeping wrist motion controlled. Vary pressure lightly to match depth, and maintain a uniform tempo across the wall.
Work in small sections, step back frequently, and adjust pressure to blend with the existing texture seamlessly.
Skip trowel/Spanish skip trowel angle and feathering tips
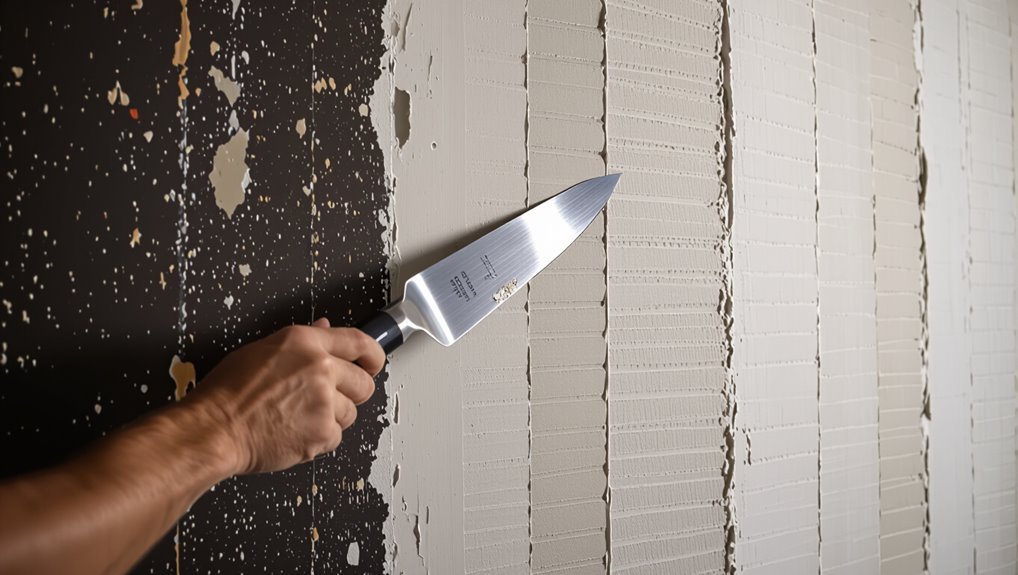
Tilt your trowel at about a 30–45° angle and use light, sweeping strokes to create the characteristic skimmed arcs of a skip trowel finish; feather each pass by easing pressure at the ends so the texture blends into the surrounding wall without hard ridges.
Work in small sections, overlap slightly, vary arc length for natural randomness, and keep mud consistency thin enough to avoid tearing.
Smooth finishing for painted-over textures
Because painted-over textures can hide subtle contours, you’ll need to prep and finish with a gentler touch than you’d on raw drywall.
Lightly sand glossy paint, clean dust, and scuff to promote adhesion.
Apply thin skim coats of joint compound, feather edges with a wide knife, and sand between coats with fine grit.
Prime before repainting for seamless, smooth results.
Step 4 Drying, sanding, and blending edges to existing surface
Let the patch dry fully before you touch it—moisture trapped under the surface will ruin your sanding and blending efforts.
Once dry, sand lightly with a fine-grit block, feathering edges into the existing surface. Work patiently, checking texture match frequently.
Use small adjustments—skim with joint compound or texture sprayer as needed—then re-sand to eliminate ridges and achieve a seamless shift.
Step 5 Prime, paint, and final inspection
Seal the repaired area with a quality primer before you paint so the finish will match the surrounding surface.
Let it dry fully, then apply matching paint in thin, even coats, feathering into existing texture.
After each coat dries, inspect under varied light, touch up low spots, and confirm texture continuity.
Clean tools and document paint batch for future repairs.
Tools, Sprayer Settings and Material Mix Chart
You’ll want the right tools for each texture—knives and brushes for hand-applied finishes, a hopper gun for sprayed textures.
I’ll cover typical compound mix ratios and which additives improve flow and open time.
Use the sprayer settings chart to match nozzle size, air pressure, and mix viscosity for consistent results.
Recommended tools for each texture (hand tools vs. hopper gun)
Choose the right tools and settings before you mix or spray—matching texture comes down to tool selection, material consistency, and nozzle choice. Use hand tools (knives, brushes, stompers) for small repairs and subtle patterns; use a hopper gun for large areas and stipple textures. Match nozzle size to particle size and practice spray distance.
| Texture | Recommended Tool |
|---|---|
| Fine Orange Peel | Hopper gun |
| Knockdown | Hand knife |
| Stomp | Stomper |
| Large Spray | Hopper gun |
Typical compound mix ratios and additives for workability
When you mix texture compounds, aim for a consistency that flows through your chosen tool without sagging or clogging—thin enough to atomize in a hopper gun, yet thick enough to hold peaks for hand-applied stomp or knockdown finishes. Use 3:1 pre-mixed to water for spray, 2:1 for hand work, add latex primer for adhesion, and a surfactant drop for flow.
| Mix | Use |
|---|---|
| 3:1 | Hopper gun |
| 2:1 | Hand tools |
Troubleshooting Common Problems and Mistakes
If the texture reads too heavy or too light you’ll need simple fixes like thinning or adding compound and adjusting spray distance or knife pressure.
When seams, mismatched edges, paint sheen shifts, or patch flaking appear, check surface prep, feathering technique, and drying times to correct blending and finish.
I’ll walk you through root causes and step-by-step remedies so your repairs disappear into the existing surface.
Texture looks too heavy or too light fixes
Although small tweaks can fix most mismatches, you’ll need to diagnose whether the texture is too heavy or too light before making adjustments.
Compare lighting and viewing distance, then adjust compound consistency: thin it slightly for a lighter, softer texture; thicken or add extra knockdown for heavier texture.
Test on scrap, match application tool and pressure, and feather into surrounding surface until it reads consistently.
Visible seams or mismatched edges blending solutions
Because seams and mismatched edges catch the eye, you’ll want to approach blending with deliberate steps to make shifts invisible: feather joint compound beyond the repair, use a damp sponge to soften ridges, and texture-match with light taps or spritzes.
Blend pattern direction, let layers dry fully, then sand very lightly. Check changes in different light angles before finishing.
Paint sheen differences after texturing correction steps
When you correct texture, mismatched paint sheen can still betray the repair, so check gloss levels before you finish—matte, eggshell, satin, and semi-gloss reflect light differently and will make new areas stand out.
Test your chosen sheen on a small, inconspicuous patch, let it cure, then view from various angles and lighting.
Recoat full area if reflection differs.
When patching causes flaking or cracking root causes and remedies
If your patch starts flaking or cracking after it dries, it’s usually a sign that something beneath the repair isn’t compatible or properly prepared.
Check for dust, loose paint, moisture, or oil contamination.
Remove failed material, dry and clean the area, sand to sound substrate, use appropriate primer or bonding agent, and apply a compatible patch compound.
Cure fully before texturing and painting.
Best Practices and Professional Tips
Before you start matching a texture, practice on templates and sample boards so you know the pattern and timing.
Use pro techniques—feathering, varied pressure, and strategic repair patches—to hide imperfections, and save time with rollers, sprayers, or working in zones for large walls and ceilings.
If the pattern is complex, the damage extensive, or the ceiling’s involved, call a pro; keep simpler patchwork and small blends as DIY.
How to practice textures effectively (templates, sample boards)
Start by creating a dedicated practice setup so you can reproduce textures reliably: use scrap drywall or backer board mounted to a stud or plywood.
Label each sample with the compound mix, nozzle or trowel size, pressure settings, and drying time.
Keep several panels for testing different tools and variations.
Create templates and guides, photograph results, note drying conditions, and store boards for future reference.
Techniques pros use to disguise imperfections
Mask imperfections by blending them into the texture’s rhythm—pros rely on layering, feathering, and selective smoothing to make repairs disappear.
You’ll match grain and direction, apply thin successive coats, and feather edges with a damp sponge or brush.
Spot-sand only after dry, avoid overworking, and texture slightly heavier near repair edges.
Finish with consistent priming and feathered paint to unify appearance.
Time-saving tips for large areas and ceilings
When you’re tackling large walls or ceilings, work in predictable sections and use tools that cover more area—wide nap rollers, extension poles, and hopper sprayers cut time dramatically while keeping texture consistent.
Plan workflow so you finish one wet edge at a time, keep material mixed and thinned uniformly, use staging or scaffolding for safety, and clean nozzles often to avoid clogs and uneven sprays.
When to call a professional vs. acceptable DIY limits
If the texture mismatch is minor and you have steady hands and the right tools, you can fix most small areas yourself; however, call a professional when the repair spans complex patterns, large surfaces, or when matching texture precisely affects resale value or structural elements.
You should DIY for quick spot fixes or paintable skim coats, but hire pros for whole walls, ceilings, moisture damage, or invisible seams.
Cost, Time and Material Estimates
For a small patch you can often finish in an hour or two. A single room might take a day, and a whole-house job could span several days to a week depending on prep and drying times.
You’ll usually pay much less for patches than full-room work, so get quotes for each scope to compare labor and materials.
To estimate supplies, measure surface area, add a 10–20% waste factor for mud, tape, and texture, and factor in primer and touch-up paint.
Typical time and cost for small patch vs. room vs. whole house
A small patch will usually take you 30–90 minutes and a few dollars in materials. A single room often needs 4–8 hours, $30–$200 for compound, primer, and texture tools. A whole house can take days and $300–$2,000 depending on size and finish; hire pros for speed.
| Scope | Typical time/cost |
|---|---|
| Patch | 30–90 min / $5–$20 |
| Room/House | 4 hr–days / $30–$2,000 |
How to estimate materials and waste
Start by measuring the area you’ll texture and calculating compound and primer needs from square footage so you don’t overbuy or run short.
Add 10–20% for waste on small jobs, 5–10% for larger areas. Factor in patch depth (more compound), tool wear, and touch-up paint.
Price materials, labor hours, and contingency to create a reliable estimate.
FAQ Matching Wall Texture
You’ll want quick answers to common concerns like whether your texture was sprayed or hand-applied and if you can texture over wallpaper.
We’ll cover whether paint hides small mismatches, how long to wait before painting, and whether you can replicate vintage or unusual textures without special tools.
Read on for practical, field-tested tips you can use right away.
How can I tell if my texture was sprayed or hand-applied?
How can you tell whether the texture on your wall was sprayed or trowel‑applied?
Look closely: sprayed textures show uniform patterns, fine overspray, and feathered edges; hand‑applied (trowel) textures have tool marks, variable thickness, and directional strokes.
Tap the surface—spray feels lighter and more even; trowel feels denser with ridges.
Lighting at a low angle reveals application differences clearly.
Can I match texture over wallpaper or must I remove it first?
Can you match a wall texture over existing wallpaper, or do you need to strip it first?
You can sometimes texture over tightly adhered, smooth wallpaper, but it’s risky: seams, patterns, and adhesive may telegraph through.
For reliable, long-lasting results remove wallpaper, repair substrate, and prime.
If you must leave it, test a small area, use a bonding primer, and expect limitations.
Will paint hide small texture mismatches?
Leaving wallpaper in place can affect more than adhesion and seams—it also changes how paint reads over texture.
Small mismatches often soften once painted, especially with flat or eggshell finishes and consistent sheen.
However, paint won’t erase depth differences or sharp ridges. You’ll want light sanding, feathering, or skim-coating to minimize shadows before painting for the cleanest, least noticeable result.
How long should I wait between texturing and painting?
After you apply the texture, wait until it’s fully dry and cured before painting—typically 24 to 72 hours depending on the product and conditions.
Check manufacturer instructions and touch the surface; it should feel dry and firm. High humidity or thick applications need longer.
Sand lightly if needed, remove dust, then prime.
Painting too soon risks peeling, bubbling, or visible shrinkage lines.
Can I replicate vintage or unusual textures without special tools?
Once the texture is fully cured and primed, you can try recreating vintage or oddball finishes without buying specialty gear.
Use household items—brushes, rags, sponges, combs, even crumpled paper—to mimic patterns.
Practice on scrap board, adjust compound thickness and tool pressure, feather edges, and layer thin glazes for patina.
Match scale, not perfection; subtle variation sells authenticity.
Final Checklist Before Calling It Done
Before you call the job finished, do a room walk-through to check texture consistency, feathering at seams, and paint coverage in different light.
Take clear, close-up photos of any touch-up areas and wider shots of the whole wall for future reference.
Label and store those images with the date and room so repairs later will be faster and more accurate.
Walk-through inspection items
When you’re ready for the final walk-through, use a concise checklist to scan for texture continuity, feathered seams, paint overlap, and any shadowing that reveals mismatched finishes.
Inspect under natural and artificial light, touch for uniform feel, and note areas needing minor blends before declaring finish.
- Check seam feathering
- Verify texture depth
- Look for paint bleed
- Inspect shadow lines
- Feel for rough spots
Photo documentation tips for future repairs
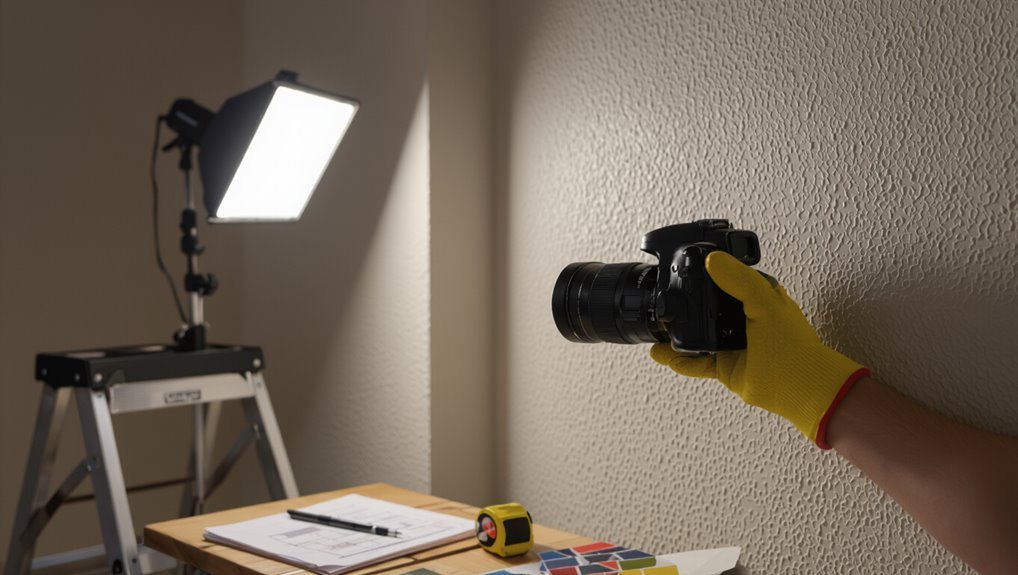
If you want future repairs to match seamlessly, photograph the finished walls systematically so anyone returning to the job can see exactly what you saw.
Capture wide shots, close texture details, lighting angles, and surrounding reference points. Label files with date, room, and spot. Store backups.
- wide shot for context
- close-up texture
- oblique lighting
- reference measurements
- dated, labeled backups
