
How to Paint a Dry Erase Wall That Actually Works Like a Whiteboard
You can turn a smooth wall into a reliable whiteboard by choosing the right coating, prepping properly, and following curing times. Pick a quality water-, solvent-, or two-part dry-erase system for your traffic level, prime porous surfaces, fill and sand imperfections, then apply thin, even coats with a high-density roller. Keep temperature and humidity controlled while it cures, clean gently, and refresh as needed. Keep going to learn practical step-by-step tips and product choices.
Quick Answer Can You Paint a Dry Erase Wall That Works Like a Whiteboard?
Yes — you can paint a dry erase wall that works like a whiteboard, and it’s great for large, flexible writing areas in classrooms, home offices, or creative spaces.
Choose paint when you want a seamless, cost-effective surface that covers big walls; pick whiteboard panels when you need the smoothest, most durable finish or want to replace sections easily.
We’ll compare performance, cost, and best-use scenarios to help you decide.
Short verdict and ideal use cases
If you want a wall that erases cleanly and feels like a traditional whiteboard, you can get good results with the right dry-erase paint and proper prep.
Short verdict: painted surfaces can work well for light-to-moderate use if you follow how to paint a dry erase wall precisely.
Ideal for home offices, classrooms, or meeting nooks—avoid heavy daily use where commercial boards perform better.
When to choose paint vs. whiteboard panels
When you need a writable surface that behaves exactly like a whiteboard—smooth, easy to erase, and durable—choose commercial whiteboard panels; when your priority is a seamless, wall-sized writing area or a lower-cost DIY option, dry-erase paint can work well for light-to-moderate use.
Choose panels for heavy daily use, frequent erasing, or mounting flexibility. Pick paint for budget, large areas, and occasional use.
Basic Understanding What Is Dry Erase Paint and How It Works
You’ll want to know the main types of dry erase coatings—water-based, solvent-based, and two-component—because each behaves differently during application and curing.
The secret is surface chemistry: durable, nonporous resins create a slick finish that resists marker pigments, while softer or porous films let ink penetrate and ghost.
Understanding those differences helps you pick the right product and prep your wall for easy erasing.
Types of dry erase coatings (water-based, solvent-based, two-component)
There are three common types of dry erase coatings—water-based, solvent-based, and two-component systems—each offering different durability, finish, and application needs.
You’ll choose water-based for low odor and easy cleanup, solvent-based for tougher surfaces and faster curing, or two-component for factory-level hardness and longevity.
Match coating to traffic, substrate, and maintenance expectations for best results.
Surface chemistry: why some paints erase and others ghost
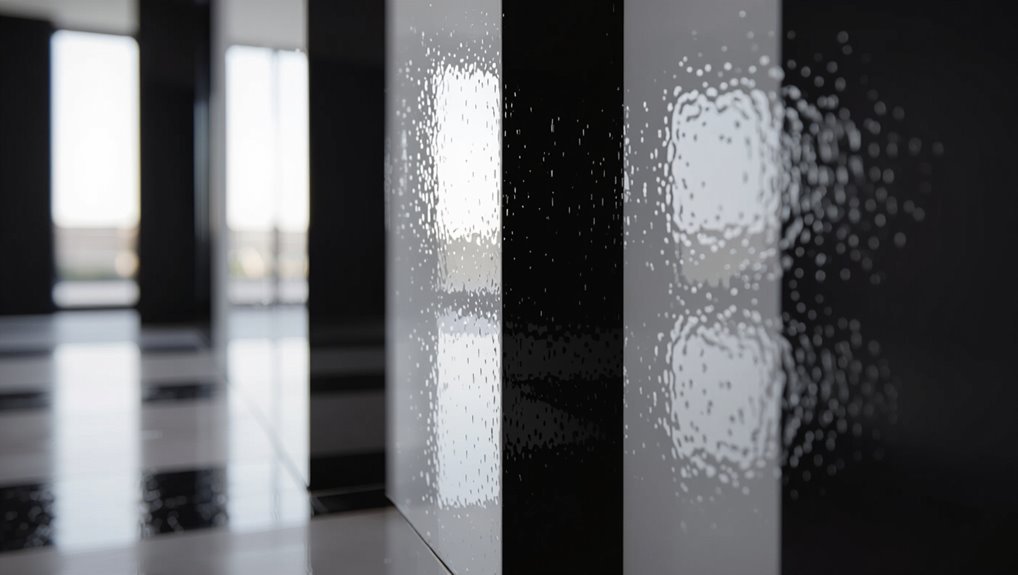
Because the ability to erase marker cleanly comes down to chemistry, you’ll want to know what’s happening at the surface: You need a hard, nonporous, low-energy finish so ink sits on top instead of soaking in.
Crosslinked resins and smooth polymers resist staining; softer, porous, or high-energy coatings let dye bind and ghost.
Choose formulations with demonstrated release and durability for clean erasing.
Materials and Tools You’ll Need
You’ll want to choose a proven dry erase paint or brand and decide whether a primer, clear topcoat, or epoxy alternative fits your wall and budget.
Gather the right tools—rollers, brushes, sandpaper, painter’s tape, a respirator, and any mixing kits the product requires.
I’ll walk you through which products work best and how to use each tool safely and effectively.
Recommended dry erase paints and brands
When picking a dry erase paint, focus on durability, ease of cleaning, and compatibility with your surface; the right product saves you time and keeps markers from ghosting.
Choose proven brands like Rust-Oleum Specialty Dry Erase Coating, IdeaPaint (white/clear options), and Tempera or Jotun alternatives where available.
Match product specs to wall material, follow manufacturer coverage, and buy enough for two coats plus touch-ups.
Primer, topcoats, and clear epoxy alternatives
Now that you’ve picked a dry erase coating, get the supporting materials right: primers, compatible topcoats, and clear epoxy alternatives affect adhesion, finish, and longevity.
Use a high-adhesion, low-VOC primer if your wall’s porous or previously painted.
Match topcoat chemistry to the dry erase product.
For clearer, durable surfaces without epoxy, consider polyurethane or acrylic clear coats rated for marker cleanup.
Tools: rollers, brushes, sandpaper, tape, respirator, mixing kits
Gather a compact kit of quality tools before you start: a medium-nap roller and tray for even coverage, a set of natural- or synthetic-bristle brushes for edges and touch-ups, 120–220 grit sandpaper (and a sanding block) for surface prep, painter’s tape to protect trim, a respirator rated for paints/solvents, and any mixing kits or stirring equipment specified by your dry-erase product.
- Clean cloths
- Drop cloths
- Stir sticks
- Mixing cups
Use each tool as designed, work methodically, and replace worn rollers or clogged brushes to keep the finish smooth and consistent.
Prepping the Wall The Foundation of a Successful Dry Erase Surface
Before you grab paint, inspect the wall for type and condition — drywall, plaster, or previously painted surfaces — and note any cracks, dents, or peeling.
You’ll need to clean, sand, and patch holes so the surface is smooth and free of dust.
Finally, pick the right primer for the substrate and topcoat, since primer adhesion and stain-blocking make the dry erase finish work properly.
Assessing wall condition: drywall, plaster, painted surfaces, imperfections
A solid dry erase finish starts with a careful inspection of your wall—check whether it’s drywall, plaster, or already painted, and note any dents, cracks, peeling paint, or texture variations that will affect adhesion and smoothness.
Determine substrate stability, previous finishes (latex, oil, gloss), and areas prone to moisture or movement so you can choose appropriate primers, products, and techniques for a durable, even dry erase surface.
Cleaning, sanding, and patching holes
Start by removing dust, grease, and loose paint so your patching and sanding will actually stick; use a vacuum or damp microfiber to lift particles, a degreaser or trisodium phosphate for greasy spots, and a paint scraper for flaking edges.
Fill holes with lightweight spackle or joint compound, sand smooth when dry, recheck for imperfections, and wipe away residue before moving on.
Priming types and why primer choice matters
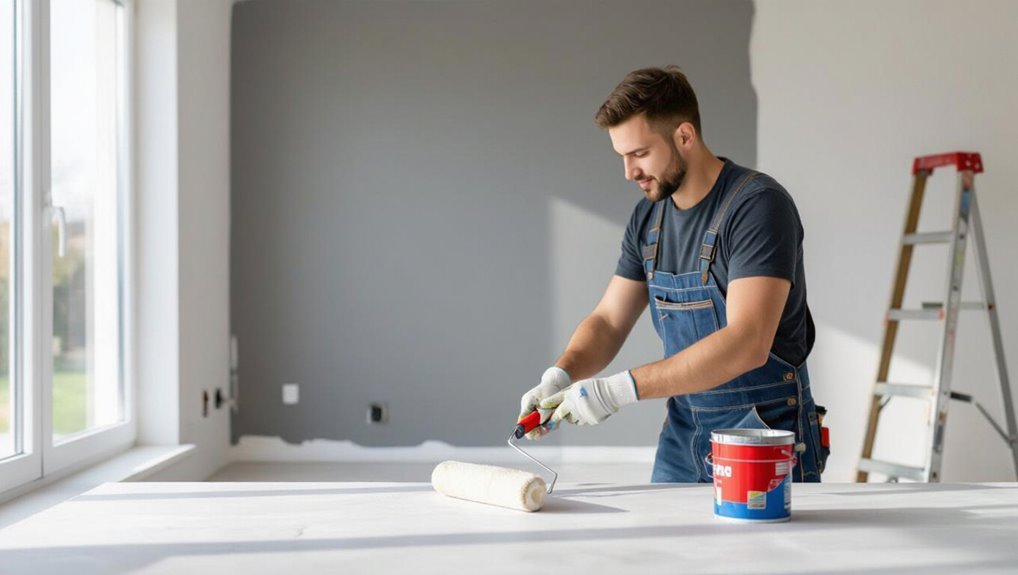
Because primer bonds the wall and controls porosity, choosing the right type shapes how well your dry-erase finish will lay down and last.
Use a high-quality acrylic or stain-blocking primer on drywall; oil-based primers help seal knots, stains, and glossy surfaces.
For previously painted or patched areas, pick a bonding primer.
Match primer to substrate to guarantee adhesion, uniform sheen, and marker erasability.
Step-by-Step Application Guide
Start by measuring and masking the area so you get clean edges and the right coverage.
Then apply primer evenly, mix the dry erase paint per instructions, and roll on the recommended number of coats with proper drying times between them.
Finally, follow the specified curing time in the right environmental conditions and consider an optional clear coat or epoxy for high-use areas.
Step 1 Measuring and masking the area
Before you touch any paint, measure and mask the wall so your finished surface is straight and protected.
Use a tape measure and level to mark precise boundaries, accounting for outlets and trim.
Apply painter’s tape along lines, press edges firmly, and cover floors and furniture with drop cloths.
Double-check measurements and tape alignment before proceeding to the next step.
Step 2 Applying primer evenly
Gather your primer, roller, brush, and a clean mixing stick—then work in smooth, overlapping strokes so the primer lays down uniformly and seals the surface for the dry-erase coating.
Start at one corner, maintain a wet edge, and back-roll thinly to avoid drips. Cut in edges with a brush, inspect for missed spots, and let the primer cure per product instructions.
Step 3 Mixing and applying the dry erase paint (technique, coats, drying times)
Mix the dry-erase coating thoroughly according to the manufacturer’s ratios—usually by pouring the resin and activator into the provided container and stirring for the recommended time—to guarantee consistent curing;
then pour a manageable amount into a paint tray and apply with a high-density foam roller in thin, even coats, keeping a wet edge and back-rolling to eliminate bubbles and streaks while you work across the wall.
Apply two thin coats, allowing manufacturer-specified tack-free intervals between coats.
Step 4 Curing time and environmental conditions to follow
Once your final thin coat is down and looks even, don’t rush the cure—proper curing and stable conditions make the dry-erase surface durable and glossy.
Keep temperature 65–80°F (18–27°C), humidity under 50%, and avoid drafts or direct sunlight.
Wait manufacturer’s recommended time (often 72 hours to 7 days) before heavy use; light handling can start after 24–48 hours.
Step 5 Optional clear coat or epoxy for high-use areas
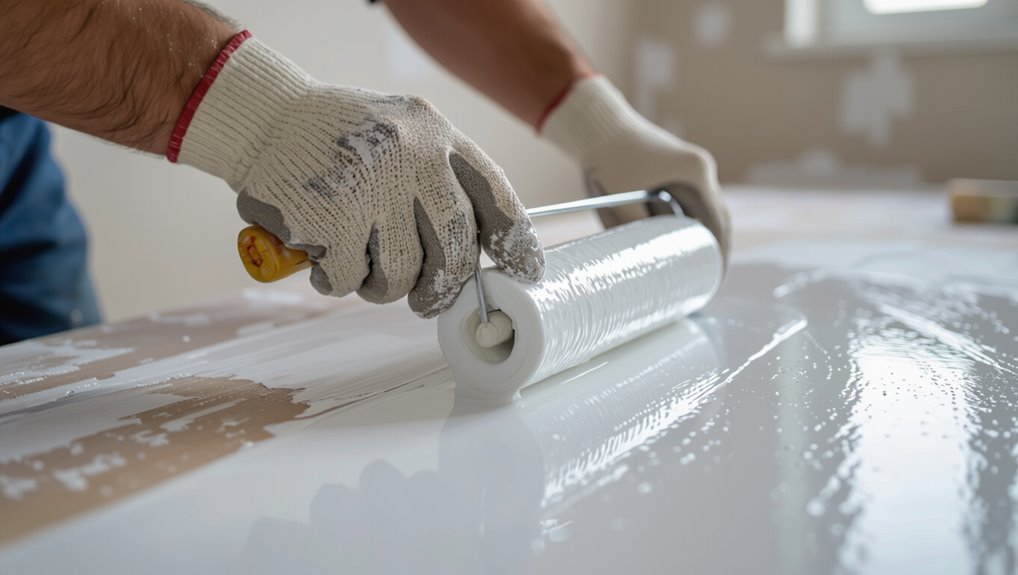
If you expect heavy daily use or want extra gloss and protection, consider adding a clear coat or thin epoxy layer over your cured dry-erase paint.
You’ll boost durability, chemical resistance, and erasability. Prep by scuff-sanding, cleaning, and testing compatibility.
Apply thin, even coats and allow full cure.
- Scuff sand first
- Use compatible product
- Apply thin coats
- Full cure time
Testing and Verifying Performance
Now that the wall’s cured, you’ll want to test erasability, ghosting, and which markers work best.
Do simple field tests—write, erase, leave markings for a day—and check for residue or staining.
If you spot immediate issues like smudging or uneven finish, follow quick troubleshooting steps such as re-cleaning, using a different marker, or spot-sealing affected areas.
How to test erasability, ghosting, and marker compatibility
Before you call the job finished, test the surface with the markers and routines you’ll actually use so you’ll know how it performs over time.
Write, draw, and erase immediately and after 24–72 hours. Check for ghosting by repeating cycles and using different ink colors.
Note which markers clean fully, which leave residue, and whether a mild cleaner restores the surface without dulling the finish.
Simple field tests to confirm a true whiteboard-like finish
When you’re ready to confirm the wall behaves like a true whiteboard, run a few quick, repeatable field tests that mimic real use: write with the markers you’ll rely on, let some marks sit for 24–72 hours, erase immediately and after the delay, and repeat cycles across different spots and ink colors to check for consistent erasability, ghosting, and surface reaction.
Note any staining, residue, or uneven wiping, document results, and mark problem areas for future attention.
Troubleshooting common immediate issues after application
If something looks off or the markers don’t erase cleanly right after the coat dries, don’t panic—start with quick, targeted checks to isolate the cause.
Verify full cure time, test different marker brands, clean with isopropyl alcohol, and inspect for dust, uneven sheen, or missed primer.
Recoat thinly if needed and allow proper cure before retesting to confirm true whiteboard performance.
Common Mistakes and How to Avoid Them
Don’t rush the coating—too thin leaves ghosting while too thick can crack, so follow the manufacturer’s recommended film thickness.
You’ll want a proper primer and clean, sanded surface, compatible markers and cleaners, and stable temperature and humidity during curing.
Addressing these common mistakes up front will save you time and keep the wall performing like new.
Applying too thin/thick coats
One coat that’s too thin won’t give you the smooth, erasable surface you want, while a coat that’s too thick will sag, wrinkle, or take forever to cure.
Apply consistent, medium-thickness coats per manufacturer instructions. Use smooth, even strokes and avoid reworking wet areas.
Allow proper flash and cure times between coats; inspect for drips or texture and sand lightly if needed before the next layer.
Skipping primer or inadequate surface prep
You’ve just got your coats applied, but proper surface prep and primer are what make that finish work long-term.
Don’t skip sanding, cleaning, or a compatible primer: they guarantee adhesion, smoothness, and stain blocking.
Patch holes, remove grease, and sand gloss to dullness.
Without these steps the dry-erase coating can peel, ghost, or fail prematurely—so prep thoroughly before painting.
Using incompatible markers or cleaners
When markers or cleaners aren’t compatible with your dry-erase finish, they can leave stubborn ghosting, stain the surface, or even dissolve the coating.
Poor curing conditions (temperature/humidity)
Even if you’ve chosen the right markers and cleaners, the paint itself can fail if it didn’t cure under proper temperature and humidity.
You’ll get ghosting, tacky surfaces, or adhesion loss if you paint in too-cold, hot, or humid conditions.
Follow the manufacturer’s cure-range, control room climate with HVAC or dehumidifiers, and wait the full cure time before heavy use to guarantee a reliable dry-erase surface.
Maintenance, Cleaning, and Longevity
To keep your dry erase wall looking and performing its best, you should follow simple daily and weekly cleaning routines that prevent buildup and staining.
Use gentle, non-abrasive cleaners or isopropyl alcohol and avoid harsh solvents or scrubbing pads that can damage the surface.
If you get ghosting, treat it with a stronger cleaner or a dedicated restorer and then maintain regular cleaning to prevent recurrence.
Daily and weekly cleaning routines for longevity
If you want your dry-erase wall to stay smooth and ghost-free, stick to a simple daily and weekly cleaning routine that prevents buildup and preserves the finish.
Daily: erase thoroughly after use and wipe with a soft microfiber cloth.
Weekly: remove faint residue with a damp cloth, dry fully, inspect for stains, and touch up problem areas quickly to avoid permanent marks.
Best cleaners and what to avoid (solvents, abrasives)
When choosing cleaners, pick gentle, nonabrasive solutions designed for whiteboards or glass and avoid solvents and scrubbing pads that can dull the finish.
Use isopropyl wipes (70% or less) or dedicated whiteboard sprays sparingly.
Don’t use acetone, alcohol overuse, bleach, steel wool, or abrasive powders.
Test any new product on a small corner first and dry with a soft microfiber cloth.
How to remove ghosting and restore surface
Restore your wall’s clean slate by tackling ghosting with targeted, gentle methods that won’t damage the dry-erase finish.
Use these steps: wipe with a microfiber cloth, apply isopropyl alcohol for stubborn marks, rub gently in a circular motion, then condition the surface with a dedicated cleaner.
Tips:
- Test in a hidden spot first
- Avoid abrasive pads
- Reapply only when needed
- Keep markers fresh
Comparison Painted Dry Erase Wall vs. Traditional Whiteboard and Panels
When you’re choosing between a painted dry-erase wall, sheet whiteboards, or glass boards, consider durability, cost, aesthetics, and install time to match the space and usage.
Painted walls are cost-effective and seamless for large areas but may show wear faster than glass, while sheet boards are a middle ground and glass is the most durable and premium-looking.
Pick paint for flexible, budget-friendly coverage, sheets for quick, affordable panels, and glass when you want longevity and a high-end finish.
Durability, cost, aesthetics, and install time
Although painted dry erase walls can offer a seamless, custom look, you’ll trade easy repairs and proven longevity for flexibility and lower upfront cost compared with traditional whiteboards or glass panels. You’ll weigh durability, aesthetic fit, price, and install time: painted walls cost less and install fast but scratch sooner; panels last longer and look sleeker but cost more and take longer.
| Attribute | Quick image |
|---|---|
| Durability | scuffed wall |
| Cost | budget tag |
| Aesthetics | seamless finish |
| Install time | afternoon job |
When to choose paint, sheet whiteboards, or glass boards
Which option fits your space and budget best?
You’ll pick paint for full-wall coverage, low cost, and a seamless look, accepting moderate durability and careful maintenance.
Choose sheet whiteboards when you want quick install, affordable panels, and replaceability.
Opt for glass boards for premium durability, stain resistance, sleek aesthetics, and higher cost; they’re ideal for heavy daily use and professional settings.
Cost Breakdown and Time Estimates
You’ll want to budget for materials that range from basic kits to mid-tier coatings and premium professional-grade products.
Plan for a few hours of prep and multiple coats if you DIY, or a half- to full-day (plus curing time) if a pro handles it.
Consider labor costs and your comfort level with the work when choosing between DIY and professional installation.
Materials cost range (budget, mid, premium)
Expect to spend anywhere from about $40 for a basic DIY kit to $300 or more for premium products and extras; I’ll break that into budget, mid, and premium tiers and give time estimates so you can match cost to your needs.
Budget: $40–$70 (small kit, basic roll-on).
Mid: $80–$150 (better coating, primer, more coverage).
Premium: $160–$300+ (high-performance kits, extras).
Labor time and DIY vs. professional installation considerations
Those material tiers give you a baseline for supplies, but labor time and whether you do it yourself will shape the final price and schedule. You can DIY in a weekend if skilled; pros take a day but guarantee finish. Consider prep, curing, and touch-ups when comparing quotes and timelines.
| Task | DIY time | Pro time |
|---|---|---|
| Prep | 4–6 hrs | 2–3 hrs |
| Paint coats | 6–8 hrs | 3–4 hrs |
| Curing | 24–72 hrs | 24–48 hrs |
| Touch-ups | 1–2 hrs | 1 hr |
Real-World Use Cases and Design Tips
Think about where a dry erase wall will get the most use—offices for brainstorming, classrooms for lessons, home offices for planning, or playrooms for creative scribbling.
You’ll want to match paint finish and placement to your room’s layout and color scheme so the board feels intentional, not tacked on.
I’ll share practical layout tips and color-matching ideas to help you integrate the wall seamlessly.
Offices, classrooms, home offices, playrooms
1 smart dry-erase wall can transform offices, classrooms, home offices, or playrooms into interactive, writable spaces that boost collaboration, creativity, and organization.
In offices, use it for brainstorming and project tracking.
In classrooms, map lessons and group work.
In home offices, sketch ideas and to-do lists.
In playrooms, encourage drawing and learning.
Keep supplies nearby and set clear zones for use.
Integrating with color schemes and layout tips
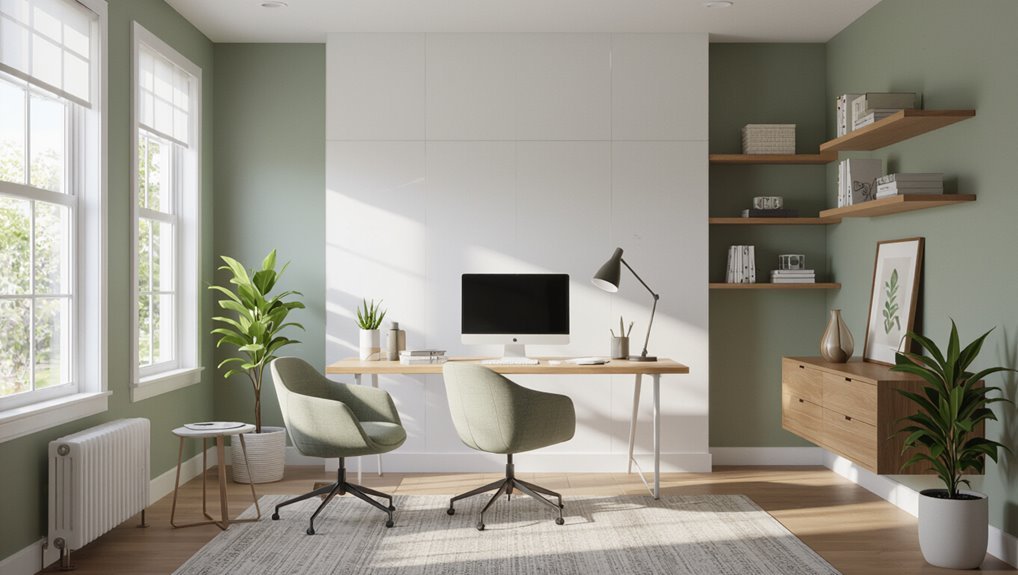
After you’ve decided where the dry-erase wall will live, consider how it will fit visually and functionally with the rest of the room.
Match surrounding hues or choose a contrasting frame color to define the board. Keep traffic flow clear, place furniture to allow standing and seated use, and use gridlines or subtle color bands for zones.
Coordinate markers and storage with the scheme.
FAQs
You’ll want clear answers to common questions like when you can write on the wall, whether permanent marker will ruin it, and which dry erase markers are safe to use.
I’ll also cover how often you might need to refresh the surface and whether painted dry erase is safe for homes with kids and pets.
Read on for concise, practical guidance.
How long before I can write on the painted wall?
Unless the manufacturer specifies otherwise, wait at least 24 to 72 hours before writing on your dry-erase painted wall so the film can fully cure; most kits recommend 48 hours as a safe middle ground.
After curing, test a small inconspicuous area with a dry-erase marker and eraser. If ink wipes clean without ghosting, you’re good to use the wall regularly.
Will permanent marker ruin a painted dry erase wall?
Waiting the full cure time helps prevent staining, but you still might worry about permanent markers — will they ruin a painted dry-erase wall?
You’ll usually be fine if you act fast: trace over the permanent ink with a dry-erase marker, then erase—it lifts many pigments.
For stubborn stains, use isopropyl alcohol or a whiteboard cleaner gently. Heavy, untreated marks may leave faint ghosting.
Can I use any dry erase marker on the painted surface?
Can you use any dry-erase marker on a painted dry‑erase wall?
Generally, stick to quality, low-odor dry-erase markers labeled for whiteboards. Cheap or solvent-based “wet-erase” or alcohol markers may ghost or damage the finish.
Test a new marker in an inconspicuous spot first. If ink’s hard to remove, clean promptly with a recommended whiteboard cleaner to avoid staining or buildup.
How often will I need to reapply or refresh the surface?
How long your dry‑erase wall stays fresh depends on how often you use it and how well you maintain it.
With normal daily use and regular cleaning, expect 1–3 years of peak performance. Heavy use or harsh cleaners shorten lifespan.
Recoat or apply a refresh kit when ghosting becomes noticeable or markers don’t wipe clean—typically every 1–2 years in busy spaces.
Is painted dry erase safe for homes with children and pets?
Because painted dry‑erase finishes are fundamentally specialized paints, you’ll want to check labels and follow precautions so they’re safe around kids and pets.
Choose low‑VOC or zero‑VOC products, cure fully per manufacturer instructions, ventilate during application, and keep children and animals away until dry.
Store supplies securely, clean marks with recommended cleaners, and contact poison control if ingestion or irritation occurs.
