How to Touch Up Wall Paint Chips for a Seamless Finish
Clean and dry the area, sand lightly, and remove dust so paint will stick. Match color and finish—bring a chip or use swatches—and test a small spot. Apply thin coats with a small brush or touch-up pen, feathering edges with light, overlapping strokes and letting each coat dry. Match texture with a stipple or mini roller if needed, then seal and let cure. Keep leftover paint and check later for wear; more tips follow below.
Quick-Action: Fix a Paint Chip in 10 Minutes
Grab a small brush and the matching paint—fixing a tiny wall chip can really be that quick.
You’ll clean the spot, feather edges, apply thin coats, and blot excess for seamless blending.
Use quick solutions like premixed touch-up pens or small sample pots, and rely on basic paint techniques: thin layers, drying between coats, and matching sheen to restore the surface.
Decide: Touch Up or Repaint the Whole Wall
First, look at how big and clustered the chips are to decide if a spot touch-up will blend or if a full wall repaint is smarter.
Next, test a paint swatch to see if you can match the color and sheen closely enough for repairs.
Finally, check the wall’s texture—if it’s textured, you may need skim-coating or repainting to hide fixes.
Assess Damage Size
Start by stepping back and scanning the damage to see whether you’re dealing with a few small chips or a larger, patchy area that needs more work.
For accurate damage assessment, note chip identification: count chips, measure cluster size, and check surrounding texture and primer exposure.
If chips are isolated and under a few square inches, touch-up will suffice; larger, uneven zones usually mean repainting.
Match Paint Color
When deciding whether to touch up chips or repaint the whole wall, compare the existing color and finish to what you can realistically match; if the hue, sheen, or age-related fading is obvious, repainting the entire wall will give a uniform result, but if the chip area is small and the paint matches closely, a touch-up can be seamless.
| Tool | Use |
|---|---|
| color swatches | narrow shade variations |
| paint samples | test online matching, local store color tools |
Use color mixing, color wheel, paint chips and color psychology to decide.
Consider Wall Texture
Because texture affects how touch-ups blend, check whether the chip area matches the wall’s pattern — smooth, orange peel, knockdown, or heavy stipple — before you decide to patch or repaint.
You’ll assess texture types, pick proper texture tools, and match wall finishes.
For small chips use targeted repair techniques; for mismatched texture or widespread damage, repaint the whole wall for a seamless, consistent result.
Identify Paint Finish (Flat, Eggshell, Satin) and Base (Latex vs Oil)
Paint finish and base determine how a touch-up will blend, so you’ll want to identify them before you buy materials. You’ll check paint types and finish differences: flat hides, eggshell soft sheen, satin reflects more. Also confirm latex vs oil—cleaning and drying differ. Use this quick guide:
| Finish | Effect |
|---|---|
| Flat | Hides flaws |
| Eggshell | Subtle sheen |
| Satin | More durable |
Match Paint Color Without a Sample (Fast Tips)
Not sure how to match the color without a scrap of paint? Start by inspecting the wall under the same lighting effects it usually sees; natural and artificial light change color temperature dramatically.
Hold a small paint card or swatch near the area, compare at different times of day, and tweak by eye. If unsure, photograph the spot and compare printed swatches for a quick reference.
Tools and Supplies for Seamless Touch-Ups
Now that you’ve matched the color, gather the right tools and materials to make the repair invisible.
You’ll want small brushes or a touch-up pen, a mini roller or sponge for texture, and the correct paint plus primer and thin-putty for filling chips.
Having these essentials on hand keeps the process quick and professional.
Essential Painting Tools
A few well-chosen tools will make touch-ups faster and nearly invisible, so gather a small kit before you start.
Include angled brushes, small rollers, fine-grit sandpaper, a putty knife, microfiber cloths, and painter’s tape.
Understand paint types and basic color theory to match sheen and hue.
Keep tools clean and organized so application stays smooth and precise.
Paints And Materials
Choose paints and materials that match both sheen and formulation, since even the right color will stand out if the finish or base differs; use the original paint (leftover can) when possible, or bring a chip to the store for a precise match.
Pick quality brushes, small rollers, and primer appropriate for substrate.
Consider eco friendly paints but don’t sacrifice paint durability for low VOCs; balance both.
Prep a Paint Chip for Touch-Up
Start by cleaning the chipped area so paint will adhere properly.
You’ll assess surface preparation, choose compatible paint types, and consider color theory for a good match.
Lightly sand and remove dust, then prep edges for texture matching.
Select repair methods that suit wall finishes and plan blending techniques while noting brush techniques for later application.
- Clean
- Sand
- Match
- Prime
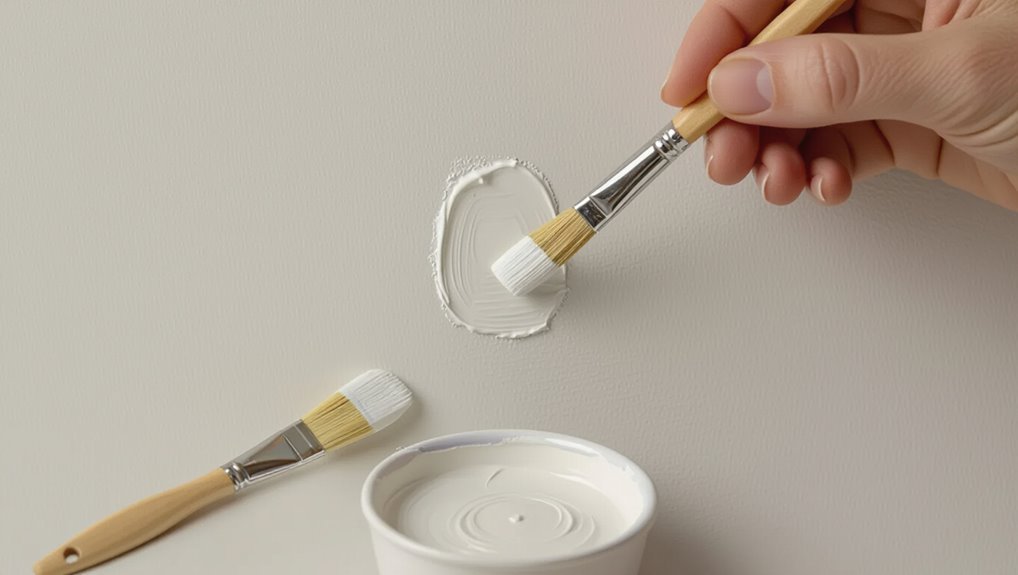
Apply Touch-Up Paint Without Visible Brush Strokes
When you’re ready to paint, work quickly and confidently so each stroke lays down a thin, even coat that blends into the surrounding finish; use small brushes, feather edges, and minimal paint to avoid ridges. Focus on brush techniques and smooth paint application, then lightly smooth with a dry brush.
| Tool | Tip |
|---|---|
| Small brush | Thin coats |
| Dry brush | Feather edges |
| Light pressure | Blend seamlessly |
Replicate Wall Texture for a Perfect Blend
Before you paint, match the room’s existing texture so the repair won’t stick out.
Use the right texture tools—brushes, rollers, or spray—matched to the original pattern.
Feather and blend the edges into the surrounding wall for an invisible finish.
Match Existing Texture
Matching the existing wall texture is the step that makes a touch-up invisible; getting the surface pattern, depth, and direction right lets the paint sit and reflect light the same way as the surrounding area.
Use texture techniques and blending methods to match grain and sheen.
- Observe closely
- Practice on scrap
- Adjust pressure
- Feather edges
Use Texture Tools
If you want the repair to disappear, use the right texture tools to recreate the wall’s pattern precisely.
Select texture brushes for fine stipple, try sponge techniques for random pitting, employ stencil patterns for repeatable motifs, use combing methods for linear textures, choose roller application for uniform knockdown, and apply spray techniques when a feathered, speckled finish matches the existing wall.
Feather And Blend
Feathering the paint helps the repair disappear into the surrounding wall, so work outward from the patched area with light, overlapping strokes that taper the new paint into the old.
Use these steps to replicate texture using feathering techniques and blending methods:
- Thin paint slightly
- Use a soft brush
- Light, overlapping strokes
- Blend edges with a dry brush
Feather Edges and Blend Multiple Touch-Ups
When you’re repairing several chips near one another, soften each patch’s hard edge so the new paint fades into the old; this prevents visible rings and creates a seamless finish.
Use the feather technique: thin coats feathered outward with a brush or sponge. Alternate light strokes and let each layer dry.
Try blending methods—overlap slightly and match texture—to hide joins and unify the surface.
Troubleshooting: Bubbling, Sheen Mismatch, Flaking
Softening edges and blending touch-ups helps a lot, but sometimes problems still pop up: bubbling, sheen mismatch, or flaking can betray even careful work.
You’ll diagnose and fix with clear steps:
- Pop and sand bubbling issues, let dry.
- Match sheen problems with samples.
- Remove loose flaking paint, prime bare spots.
- Apply refined touch up techniques and feather edges.
Maintain and Protect Touch-Ups for Long-Term Invisibility
If you want your touch-ups to stay invisible, protect the repaired area and reduce wear around it: let paint cure fully, seal with the right finish, and limit abrasion by adding bumpers or repositioning furniture.
For long term care, clean gently, avoid harsh chemicals, and apply suitable protective coatings where needed.
Inspect periodically and refresh thin spots promptly to keep repairs seamless.
Frequently Asked Questions
How Do Temperature and Humidity Affect Paint Touch-Up Drying and Adhesion?
You might worry it’s unavoidable, but you can control conditions: temperature impact speeds paint curing, and high humidity levels slow drying and cause adhesion issues; keep moderate temps and low humidity for proper curing and strong adhesion.
Can Touch-Ups Be Done on Wallpapered or Textured Accent Walls?
Yes — you can touch up wallpapered or textured accent walls, but you’ll need wallpaper repair techniques and careful texture matching; you’ll replace or patch paper, blend paint, and feather edges so repairs won’t stand out.
Is It Safe to Use Leftover Paint Stored Longer Than a Year?
Yes — but only sometimes. If paint longevity hasn’t turned it into tar, and storage conditions were cool, sealed, and upright, you’ll still get usable paint; otherwise it’ll be gloopy, separated, or smell off, so discard.
How to Touch up Painted Trim and Baseboards Matching Wall Color?
You’ll match color matching by comparing small samples under same light, adjusting tint if needed, then prep trim, sand lightly, and use thin, even paint application with a brush or mini-roller for smooth coverage and crisp edges.
Are There Eco-Friendly or Low-Voc Touch-Up Paint Options?
Yes — you can use eco friendly options and low VOC alternatives like water-based touch-up paints and sample pots; don’t worry about durability, they’ll perform well if you prep properly, apply thin coats, and let them cure.
Conclusion
You’ve got this — think of a paint chip like a tiny pothole on a smooth road: fix it right and no one will suspect it was ever there. Match finish and color, feather the edges, mimic texture, and seal with patience rather than panic. Take your time on prep and blending; small, careful strokes turn jarring spots into invisible memories. Keep touch-ups clean and dry, and the wall will stay confidently whole.