Is Painting a Wall Hard? What to Expect as a First-Timer
You can handle painting a wall as a first-timer with basic prep, the right tools, and patience; it’s more time and technique than raw skill. You’ll clear and protect the room, clean and patch surfaces, prime if needed, cut in edges with a brush, then roll in overlapping strokes for even coverage. Expect 1–2 coats, some touch-ups, and a day or two for a small room. Keep going and you’ll pick up tips and troubleshooting next.
Quick Answer Is Painting a Wall Hard for a First-Timer?
Yes—you can handle painting a wall as a first-timer; it’s straightforward if you follow basic steps.
Expect to spend a weekend on a typical small room, with a few hours for prep, a couple of hours per coat for painting, and drying time in between.
With simple tools and attention to edges, the effort is moderate and manageable.
Direct, concise verdict
If you follow basic prep steps—cleaning, taping, priming where needed—and use the right tools, painting a wall isn’t hard for a first-timer; it’s mostly about patience and technique, not talent.
You’ll learn quick methods for cutting in, rolling, and fixing drips. Expect modest effort, a few mistakes you can correct, and a satisfying result if you work deliberately and follow simple steps.
Time and effort summary for a typical small room
For a typical small room (10×12 ft), plan on about a full weekend if you’re a first-timer:
- Prep (move furniture, tape, patch): 2–3 hours.
- Priming (if needed) and drying: 2–4 hours.
- Cutting in and rolling two coats: 4–6 hours.
- Cleanup and touch-ups: 1–2 hours.
You’ll spend 9–15 hours total, depending on drying and detail.
Basic Understanding What Painting a Wall Involves
You’ll start by prepping the room, priming where needed, cutting in edges, rolling the main surfaces, and finishing with cleanup.
Gather the right tools—brushes, rollers, trays, drop cloths, painter’s tape—and pick paints and finishes that suit the room and your skill level.
Some paints and sheens (like glossy finishes) show flaws and take more care, while matte or satin paints are generally more forgiving.
Key tasks at a glance (prep, priming, cutting in, rolling, cleanup)
Start by breaking the job into five clear steps: prep, priming, cutting in, rolling, and cleanup.
You’ll tackle each methodically: fix surfaces, apply primer where needed, paint edges precisely, roll large areas, and tidy up.
Think sequence and pacing. Practical moments:
- Patch and tape edges
- Prime stained spots
- Cut in around trim
- Roll center sections and remove drips
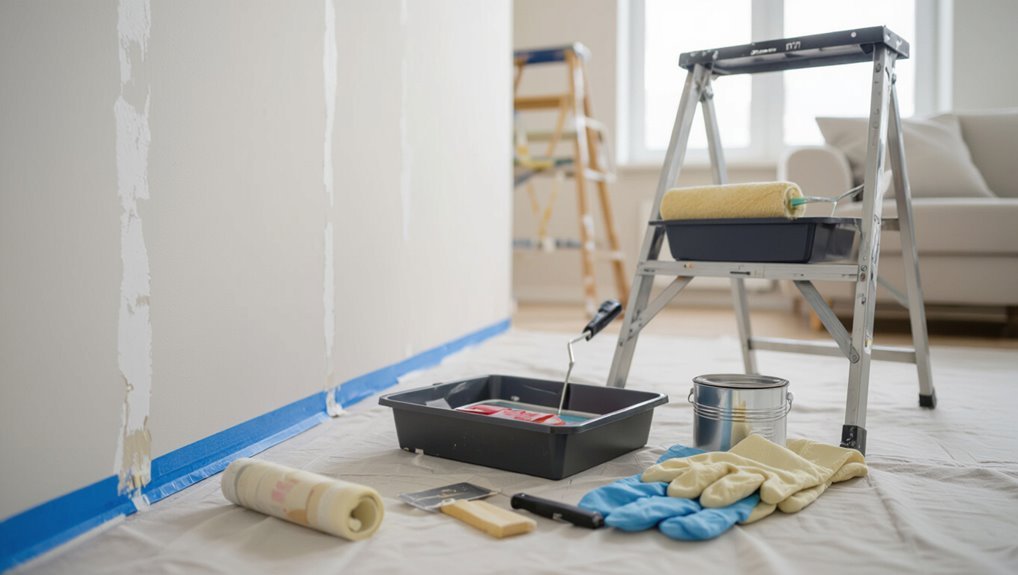
Materials and tools overview
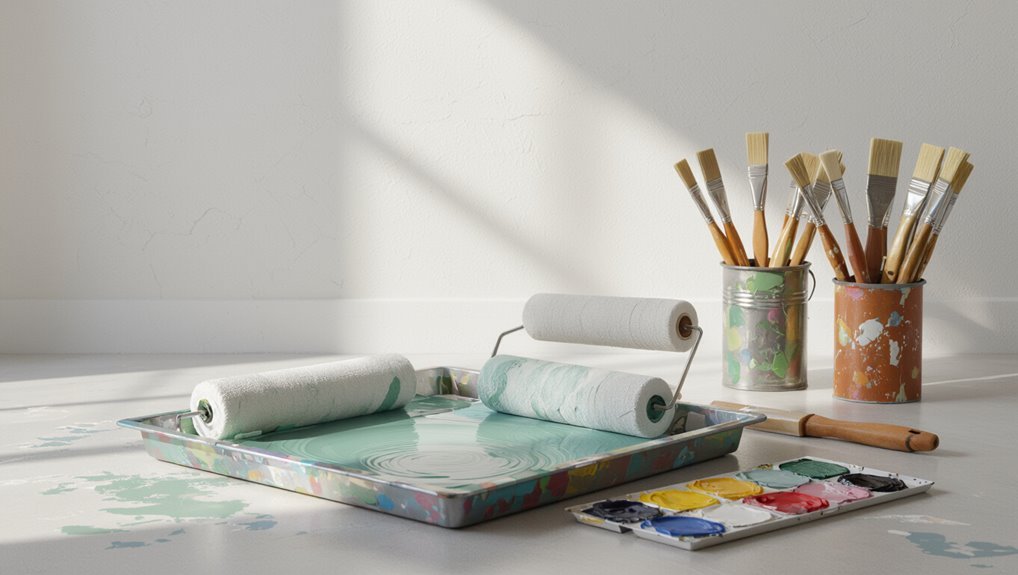
Tools and materials make the difference between a messy job and a smooth one, so collect them before you begin:
- Drop cloths, painter’s tape, and plastic sheeting.
- Sandpaper, spackle, putty knife, and cleaning supplies.
- Roller frame, roller covers, angled brush, and extension pole.
- Paint tray, stir sticks, buckets, gloves, and rags.
You’ll save time and avoid frustration by having these ready.
Common types of paint and finishes and how they affect difficulty
When choosing paint, the type and finish you pick will shape how easy the job is, since some formulations cover better, dry faster, or show imperfections more readily. You’ll prefer eggshell or satin indoors for forgiving looks; flat hides flaws but’s less washable; gloss shows every brushstroke and needs steady technique.
| Finish | Difficulty |
|---|---|
| Flat | Low coverage, easy touch-up |
| Eggshell | Moderate, forgiving |
| Satin | Moderate, washable |
| Gloss | High precision needed |
What to Expect Step-by-Step (First-Timer Walkthrough)
You’ll start by checking the wall for damage, texture, and old coatings so you know what fixes and products you’ll need.
Next you’ll gather paint, brushes, rollers, tape, and the right quantities, then clear and protect the room and furniture.
Finally you’ll prepare the surface—cleaning, patching, sanding—and decide if and how to prime before you paint.
Step 1 Assessing the wall (damage, texture, previous coatings)
Start by giving the wall a careful once-over: look for cracks, holes, peeling paint, and uneven texture, and note what kind of finish is already on there (glossy, flat, or oil-based).
You’ll then prioritize fixes and prep. Consider these observations:
- Small nail holes or hairline cracks
- Larger cracks or water damage
- Flaking or bubbling paint
- Rough or textured surfaces
Step 2 Gathering tools and choosing paint (quantities, brushes, rollers, tape)
1 thing you should do next is gather the right tools and pick paint that fits the room and your skill level. Decide quantities, finish, and quality. Choose simple tools if it’s your first time.
- Roller
- Brush
- Tray
- Painter’s tape
| Item | Purpose |
|---|---|
| Roller | Coverage |
| Brush | Edges |
| Tray | Load paint |
| Tape | Clean lines |
| Paint | Finish |
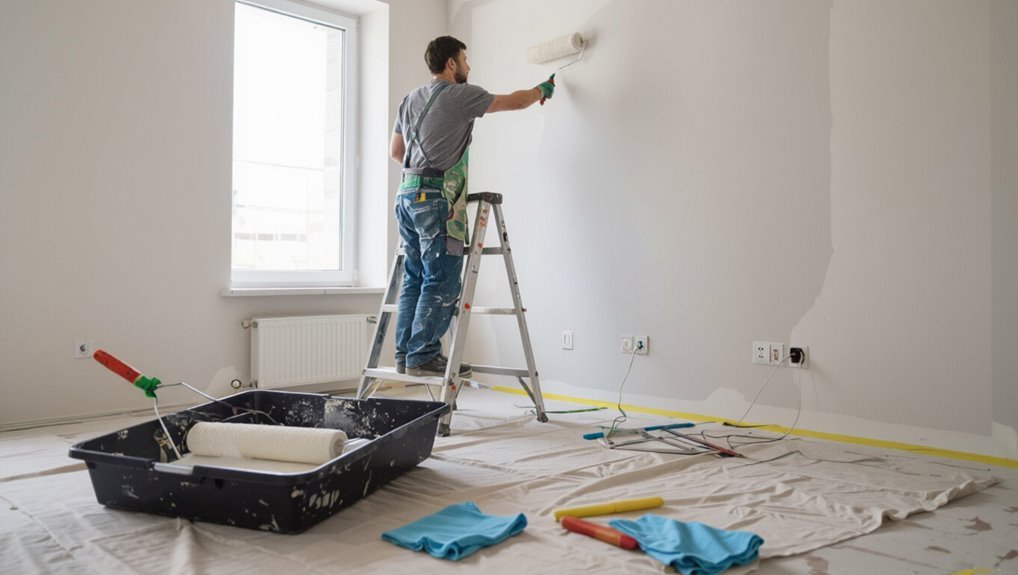
Step 3 Preparing the room (furniture, masking, floor protection)
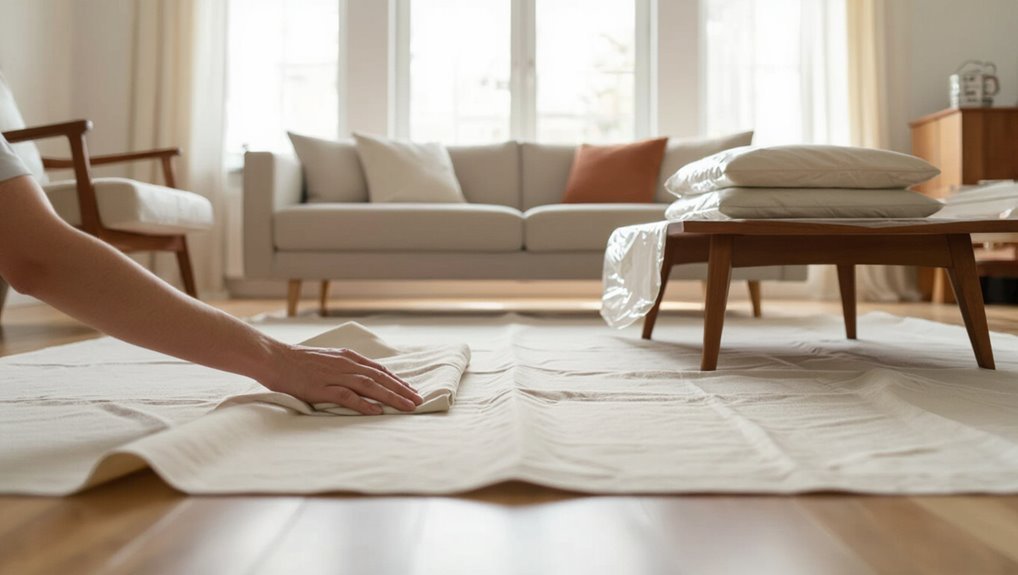
Before you paint, clear and protect the room so nothing gets damaged or smeared with paint: move furniture to the center or out, wrap or cover pieces with drop cloths or plastic, tape baseboards and trim, and lay down floor protection that won’t shift while you work.
- Remove small items and curtains.
- Cover large furniture.
- Mask trim and outlets.
- Secure floor protection tightly.
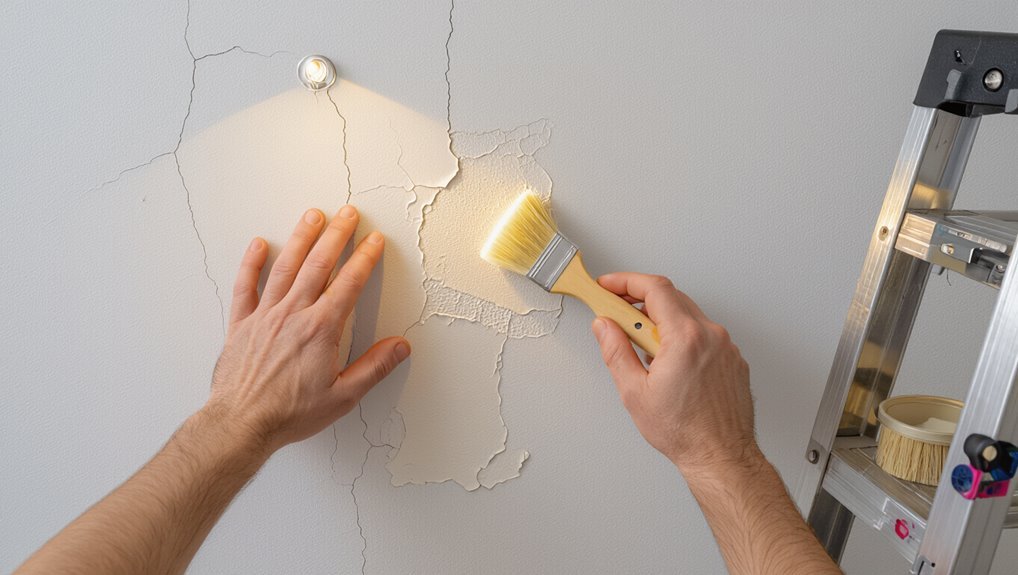
Step 4 Surface prep (cleaning, patching holes, sanding)
Now you’ll get the wall ready to accept paint: clean the surface, fill dents and nail holes, and sand smooth so the finish looks even.
You’ll pick supplies, remove dust, and repair flaws before painting.
- Wipe with mild detergent
- Scrape loose paint
- Apply patching compound
- Sand and dust off thoroughly
Step 5 Priming when and how to apply primer
Wondering when to prime? You’ll prime after repairs and sanding, before color.
Primer evens porosity, hides stains, guarantees adhesion. Apply with roller for broad areas and brush for edges (don’t overwork). Let dry fully between coats.
- Stir primer well
- Cut edges lightly first
- Roll in W-patterns
- Wait recommended dry time
Step 6 Cutting in edges and corners (technique and tips)
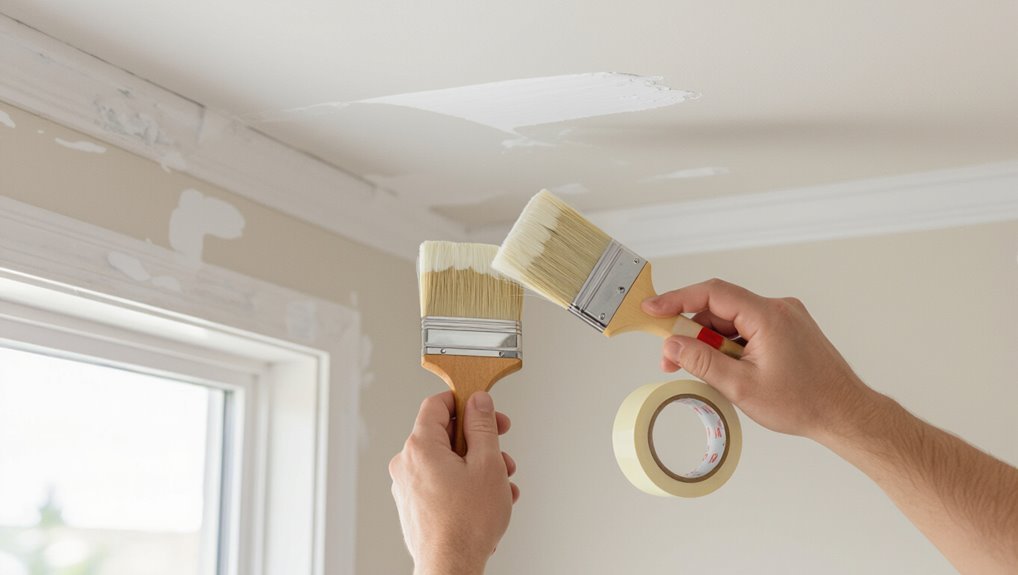
When you move from priming to cutting in, you’ll focus on painting clean lines where walls meet trim, ceilings, and corners so rollers don’t smear those edges; use a steady hand, a quality angled brush, and moderate paint load.
Work in short, controlled strokes, feather the paint slightly toward the wall, maintain a wet edge, and tidy corners by overlapping strokes carefully for crisp joins.
Step 7 Rolling the main wall area (patterns, overlap, maintaining a wet edge)
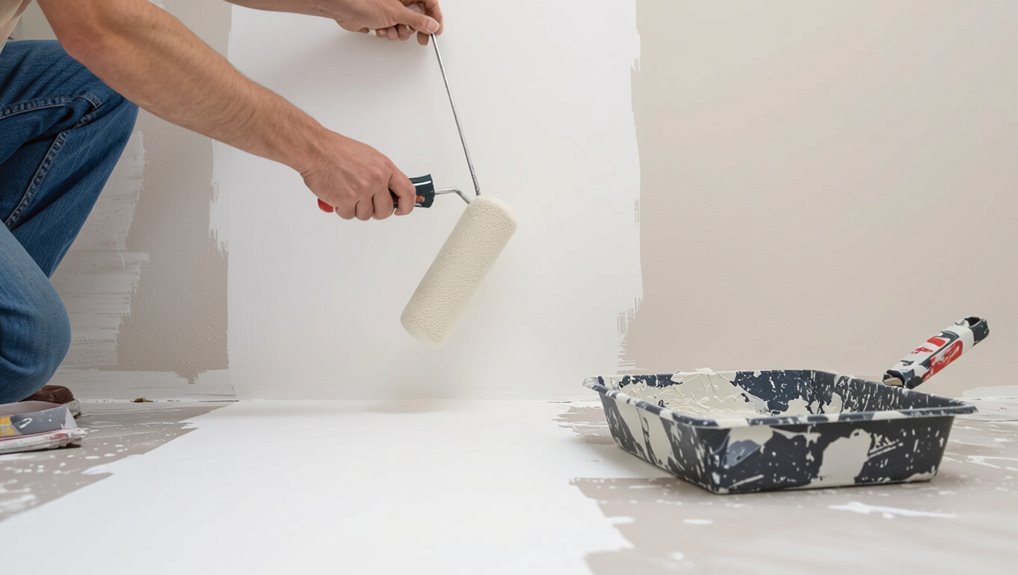
Grab your roller and start working the wall in overlapping vertical or “W” patterns so paint lays down evenly and you keep a wet edge; load the roller moderately, roll from top to bottom in short sections, then go back over each section with light, even passes to blend seams and avoid lap marks.
Keep a steady pace, maintain overlap, watch for drips, and feather edges as you finish each area.
Step 8 Second coats and touch-ups (timing, feathering edges)
Once the first coat has dried to the touch—usually a couple hours, but check the paint can for exact recoat times—you’ll assess coverage and start your second coat where needed; work in the same order as before, keeping a wet edge and feathering each pass so the new layer blends into surrounding areas without obvious overlap lines.
- Recoat edges first
- Light pressure on roller
- Feather into dry areas
- Spot-tackle thin patches
Step 9 Cleanup and removing tape (best order and disposal)
Finish cleaning up in a calm, methodical way so the room looks as good as the paint job. You’ll remove tape, wash tools, and dispose of waste properly.
Follow this order:
- Peel tape slowly at 45° while paint’s tacky.
- Clean brushes and rollers with warm water or solvent.
- Fold drop cloths inward; shake outside.
- Bag trash, label leftover paint, store or recycle.
Time, Cost, and Effort Estimates
You’ll want to estimate how long the job will take based on room size and surface complexity—a single accent wall can be done in an afternoon, while a whole house takes days.
Compare material costs for DIY (paint, tape, rollers) with professional quotes to see if hiring someone makes financial sense.
Also consider the physical effort and skill needed: simple rolling is manageable for beginners, but prep, cutting in, and high ceilings require more stamina and experience.
Typical time required by room size and complexity
A small bedroom with one coat of paint will usually take you 2–4 hours from setup to cleanup. Larger rooms, high ceilings, or lots of trim add time; plan half to a full day. Complex prep or textured walls can push it to multiple days.
| Room size | Complexity | Time |
|---|---|---|
| Small | Low | 2–4 hrs |
| Medium | Moderate | 4–8 hrs |
| Large/High | High | 1–2 days |
Estimated material costs for DIY vs hiring a pro
Comparing DIY versus hiring a pro comes down to material costs, labor, and the effort you’re willing to invest. You’ll pay for paint, primer, tape, rollers, and drop cloths; pros bundle materials into labor rates. Balance upfront purchases against convenience and speed when deciding.
| DIY Cost | Pro Cost |
|---|---|
| $30–$150 | $200–$600 |
| Tools buy once | Included |
| Small savings | Time saved |
Physical effort and skill level required
Beyond material costs and convenience, think about what painting will actually demand from you: time, physical work, and a bit of skill.
You’ll stand, climb ladders, reach overhead, and move ladders or furniture. Expect several hours for prep, cutting in, and rolling.
You don’t need pro-level talent, but steady hands, patience, and basic technique make the finish look clean and even.
Common Problems First-Timers Face
You’ll run into a few predictable problems when you paint your first wall, like uneven coverage and streaks that need correct technique or a second coat.
Watch for drips, splatters, roller marks, tape bleed, and rough edges, and use proper loading, smoothing, and clean taping to prevent them.
If paint won’t stick or you see bubbling, check surface prep, moisture, and old finishes so you can sand, prime, or fix the substrate before repainting.
Uneven coverage and streaks causes and fixes
When your new paint looks patchy or shows brush and roller lines, it’s usually because of thin coats, uneven application, or problems with the surface and paint itself.
Sand rough spots, prime bare or glossy areas, and use quality paint thinned per instructions.
Apply even, full coats with proper nap rollers or brushes, maintain a wet edge, and allow full drying before recoat.
Drips, splatters, and roller marks prevention and correction
A few careless strokes can leave drips, splatters, and telltale roller marks that ruin a fresh paint job, but you can prevent and fix them with simple habits and quick touch-ups.
Work with a loaded-but-not-saturated roller, use even pressure, and keep a wet edge.
Catch drips immediately with a brush, sand dried roller marks lightly, and feather in fresh paint for a seamless finish.
Tape bleed and rough edges how to avoid
Even after fixing drips and roller marks, sharp paint lines can still look messy if tape bleeds or edges go rough.
Press tape edges firmly, use quality painter’s tape, and seal with a thin coat of base color before cutting in.
Remove tape while paint’s tacky, pull at a 45° angle, and touch up tiny imperfections with a small brush.
Paint adhesion issues and bubbling diagnosis and remedies
If paint peels, chips, or bubbles, you’ll usually find the cause in surface contamination, moisture, or improper priming; diagnosing it quickly saves time and money.
Check for dampness, loose old paint, or oily residues.
Scrape and sand affected areas, wash with TSP or mild detergent, prime with appropriate sealer, then repaint.
For moisture, fix leaks and dry fully before repainting.
Tips, Best Practices and Tricks to Make It Easier
You’ll get better results faster by using a few smart shortcuts for prep, like quick-cleaning walls and taping only where it matters.
Invest in a good roller, angled brush, and extension pole—those tool upgrades really pay off.
Follow a couple pro techniques (cutting in, back-rolling) and prioritize ventilation and basic PPE so the job’s easier and safer.
Prep shortcuts that save time without sacrificing quality
When you’re short on time but want a professional finish, smart prep shortcuts let you move faster without cutting corners:
- Wipe walls with a damp microfiber cloth to remove dust quickly.
- Use painter’s tape in long strips for crisp edges.
- Fill major holes only, sand lightly.
- Roll on a tinted primer to cover flaws and reduce coats.
Tool upgrades worth the investment
A few strategic tool upgrades can cut your work time, improve finish quality, and make the job feel easier—think a high-quality roller and extension pole, a good angled brush, and a reliable paint sprayer if you’ll tackle large areas.
Upgrade these:
- High-nap roller for textured walls
- Telescoping extension pole
- 2.5–3″ angled sash brush
- Electric or handheld paint sprayer
Techniques pros use that beginners can apply
Upgrading your tools sets you up for smoother work, but technique makes the biggest difference.
You’ll learn to cut in confidently, keep a wet edge, and roll with even pressure. Apply these pro tips:
- Load the brush moderately, feather edges.
- Use a “W” roll, then fill in.
- Maintain consistent pressure and angle.
- Back-roll for uniform sheen.
Safety and ventilation tips
Although painting can seem straightforward, you should prioritize safety and ventilation from the first brushstroke to protect your health and your home.
Open windows, run fans to exhaust fumes, and use low-VOC paint when possible. Wear gloves, goggles, and a mask if ventilation’s limited.
Cover floors and furniture, keep a clear exit, and store solvents sealed and away from heat or children.
When to DIY vs When to Hire a Professional
Decide whether to tackle the paint job yourself by running through a quick project checklist—size, surface prep, tricky heights, and time constraints.
We’ll compare costs and likely outcomes for DIY versus hiring so you can see which option actually saves money or stress in common scenarios.
If you opt to hire, I’ll list the key questions to ask and how to vet a pro so you don’t get stuck with a bad result.
Project complexity checklist for hiring
When you’re weighing whether to tackle a paint job yourself or hire a pro, use a short, practical checklist to size up the project: assess surface condition, structural repairs, height and access, prep and cleanup time, specialty finishes, and your own skill and schedule.
If walls need patching, scaffolding, moisture remediation, complex trim, or fast turnaround, hire a pro; otherwise plan a DIY with realistic time and tools.
Cost-benefit comparison and scenarios
You’ve checked surface condition, access, and time—now weigh costs and benefits to pick DIY or hire a pro. If budget’s tight and scope’s small, DIY saves money; if finish quality or speed matters, hire pros. Consider safety, tools, and warranty when deciding.
| Scenario | Recommendation |
|---|---|
| Small room, simple walls | DIY |
| Large job, high finish | Hire pro |
| Limited time/safety risks | Hire pro |
| Tight budget, skillable | DIY |
How to vet and hire a painter (questions to ask)
How will you know a painter is the right fit?
Ask about licensing, insurance, and references; verify recent photos of similar jobs.
Confirm timeline, written estimate, surface prep, paint brands, warranty, and cleanup.
Discuss problem spots, color matching, and touch-up policy.
Request a written contract, payment schedule, and clear communication preferences before you commit.
Quick Troubleshooting Guide (Problem → Immediate Fix)
If your first coat shows poor coverage, you’ll usually need a proper primer or a second coat with better technique.
When roller lines show up after drying, smooth them by re-rolling with a light, even pressure while the paint is still tacky.
If paint starts peeling within weeks, strip the loose areas, prep the surface properly, and use a compatible primer and paint to prevent it from coming back.
Poor coverage after first coat
Poor coverage after the first coat usually means the paint’s pigment or surface prep wasn’t enough, so check for thin application, glossy patches, or staining before you start a second pass.
Sand glossy spots, spot-prime stains or bare drywall with a quality primer, then apply a full, even coat with proper nap and technique.
Allow full drying before evaluating.
Visible roller lines after drying
When roller lines show up after the paint dries, you’ll want to act quickly to blend them before doing more work; light sanding with a fine-grit pad followed by a thin skim of matching paint often removes the ridge and evens the sheen.
Work small, feather edges into surrounding areas, use consistent pressure, and avoid overworking wet paint.
If lines persist, wait and recoat evenly.
Paint peeling within weeks
Because paint that peels within weeks usually signals a surface or adhesion problem, act fast to prevent further damage and rework.
Scrape loose paint, sand to sound edges, and clean with a TSP substitute.
Prime with a bonding primer, choose compatible paint (latex over latex, oil over oil or use proper primer), and maintain recommended dry times and humidity controls to guarantee proper adhesion.
Frequently Asked Questions
You’ll find answers to common worries like how long paint needs to dry and cure before you move furniture back, whether you always need primer, and which finish is easiest for beginners.
You’ll also learn how to estimate how much paint a standard room needs and whether you can paint over wallpaper or should remove it first.
Read on for quick, practical answers so you can plan your project with confidence.
How long does paint take to dry and cure before furniture can go back?
How long should you wait before moving furniture back into a freshly painted room?
Generally, paint feels dry to the touch in 1–2 hours (latex) or 6–8 hours (oil), but full curing takes longer.
Wait at least 24–48 hours for light furniture, and 7 days before heavy or pressed items.
Guarantee good ventilation and follow manufacturer cure times for best results.
Do I need primer every time I paint a wall?
Do you always need primer before painting a wall? Not always.
You should prime when covering dark colors, stained or repaired areas, raw drywall, or glossy surfaces.
Primer promotes adhesion, evens porosity, and blocks stains so topcoat looks and lasts better.
For same-or-similar light colors on sound, previously painted walls, you can often skip primer and use paint-and-primer products.
What’s the easiest paint finish for a beginner?
Which paint finish is easiest for a beginner? You’ll likely want eggshell or satin.
They hide minor imperfections, clean reasonably well, and aren’t as shiny as semi-gloss, so touch-ups blend easier.
Flat/matte hides flaws best but cleans poorly.
Choose eggshell for living areas and satin for kitchens or bathrooms where moisture and scrubbability matter.
How much paint do I need for a standard room?
Wondering how much paint you’ll need for a standard room?
Measure wall area: (length + width) × height, subtract windows/doors.
One gallon typically covers 350–400 sq ft per coat. Most rooms need two coats, so double coverage.
For a 12×12×8 room, expect about 2 gallons.
Buy a bit extra for touch-ups and texture.
Can I paint over wallpaper or should it be removed?
Can you paint over wallpaper, or should you strip it first? You can paint some intact, well-adhered wallpaper with a primer-sealer, but seams, peeling, or textured patterns will telegraph through paint.
For durable, long-term results, remove paper, repair the wall, and prime. Stripping takes effort, but it prevents bubbling, adhesion failures, and a lumpy finish—worth it for a professional look.
Closing Checklist Ready-to-Paint Cheat Sheet
Before you pick up the brush, use this ready-to-paint cheat sheet to confirm the room’s sealed, surfaces are prepped, and all tools and safety gear are at hand so you won’t interrupt the job once it starts.
Check quickly, then follow the steps below:
- Cover floors/furniture and tape edges.
- Repair holes and sand smooth.
- Wipe dust and prime as needed.
- Arrange rollers, brushes, tray, ladder, mask.