How to Paint an Exterior Fiberglass Door Easily
You can refresh a fiberglass exterior door in a weekend by prepping, priming, and painting with the right products. Start by cleaning, sanding glossy spots, and repairing dents or gaps. Use a fiberglass-bonding primer, then apply exterior acrylic paint in thin, even coats with a brush and foam roller or sprayer. Work in mild, low-humidity weather and let each coat cure. Follow-safe reinstallation and touch-up tips below if you want full step-by-step guidance.
Why Paint Your Fiberglass Exterior Door?
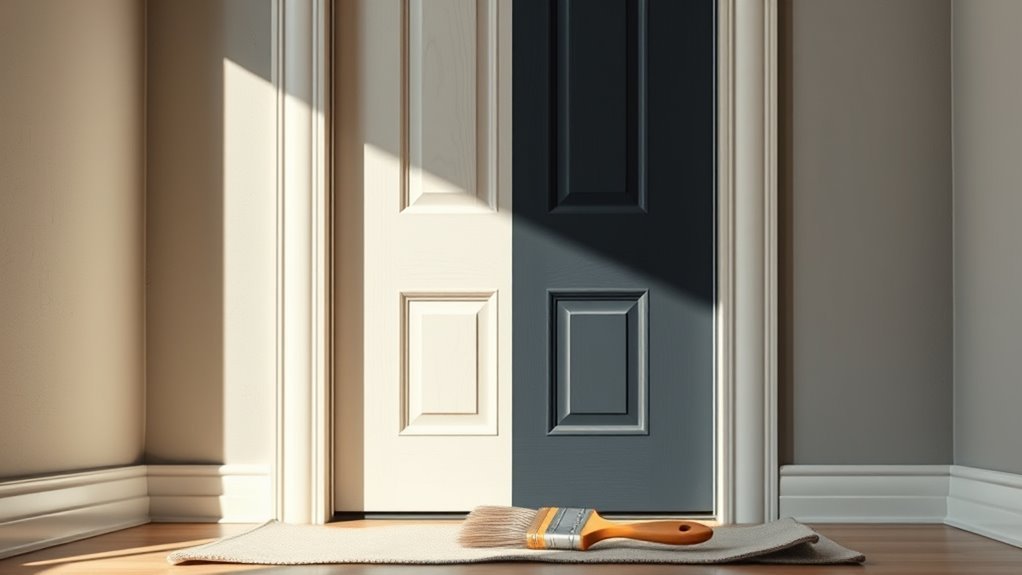
Even though fiberglass resists rot and warping, painting your exterior door can refresh its look, boost curb appeal, and protect it from UV fade and weathering. You’ll change the home’s personality instantly, align with current paint color trends, and tie entryway accents into cohesive door decor.
A new coat hides scuffs, evens out discoloration, and adds a protective barrier against moisture and sun. You’ll also increase perceived value when selling and express personal style without major renovation.
Choosing a durable exterior paint and proper prep means your effort pays off with long-lasting results and low maintenance.
Assess Your Door: What to Check First
Before you pick up a brush, take a close look at the door’s condition so you know what prep it needs. Check for cracks, peeling finish, dents and swollen edges. Note hardware and Door accessories—locks, kickplates, trim—that may need removal or masking. Consider color psychology: darker hues hide stains but show scratches; lighter shades brighten entryways. Test a small patch for adhesion.
| Issue | Severity | Action |
|---|---|---|
| Cracks | Low–High | Fill/sand |
| Peeling | Medium | Strip/sand |
| Hardware | Variable | Remove/mask |
| Finish test | Any | Prime if needed |
Tools and Materials You’ll Need
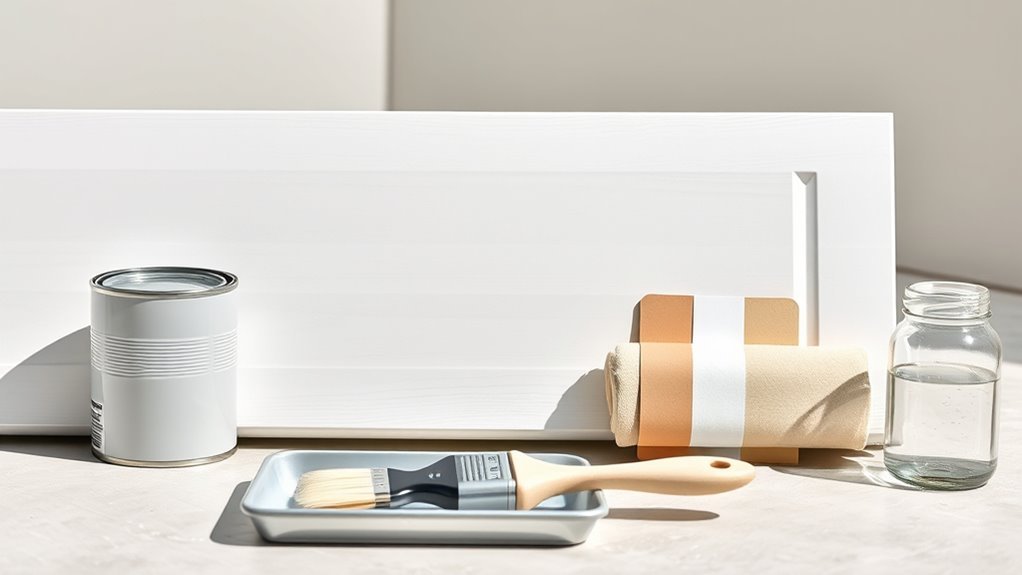
You’ll want a few essential painting tools—brushes, rollers, drop cloths, and painter’s tape—to get a clean, even finish.
Prep materials like sandpaper, a degreaser, and a tack cloth will help the new paint adhere properly.
Choose a high-quality exterior primer and paint or a paint-and-primer in one formulated for fiberglass and the finish you want.
Essential Painting Tools
What tools do you need to get a clean, long-lasting finish on a fiberglass door? Gather a high-quality synthetic-bristle brush, foam roller (¼” nap), angled sash brush for panels, a small trim brush, and a paint tray.
Use a rust-resistant screwdriver and adjustable wrench for hardware removal. Have painter’s tape, drop cloths to protect garden decor and interior accents, and a respirator or dust mask.
Keep a bucket for mild cleaner, lint-free rags, and tack cloths for final dust removal. Choose exterior-grade primer and paint formulated for fiberglass and a small paint can opener and stirring stick for mixing.
Surface Prep Materials
Now that your tools are ready, get the surface materials together so prep goes quickly and correctly. You’ll need items that clean, scuff, protect, and mask the door without harming fiberglass.
Consider the historical context of material choices and cultural significance of preservation when selecting gentle cleaners and long-lasting tapes.
- Mild detergent or TSP substitute and clean rags
- 220–320 grit sandpaper or a scuff pad
- High-quality painter’s tape and plastic sheeting
- Rust-free screwdrivers, drop cloths, and tack cloth
Gather these so you can prep efficiently, avoid contamination, and respect the door’s finish.
Paint And Finishes
Before you pick up a brush or roller, decide on paint type and finish so your choice matches fiberglass durability and weather exposure. Choose a high-quality exterior acrylic latex or urethane-modified enamel for adhesion and UV resistance.
Pick a satin or semi-gloss finish for easy cleaning and moisture shedding. Consider color psychology—light hues reflect heat, bold tones add curb appeal—and test swatches in sunlight.
Gather primer rated for fiberglass, rust-resistant hardware primer if needed, a good brush, foam roller, drop cloths, and fine-grit sandpaper.
For consistent results, do careful paint mixing and strain before application.
Choosing Paint for a Fiberglass Exterior Door
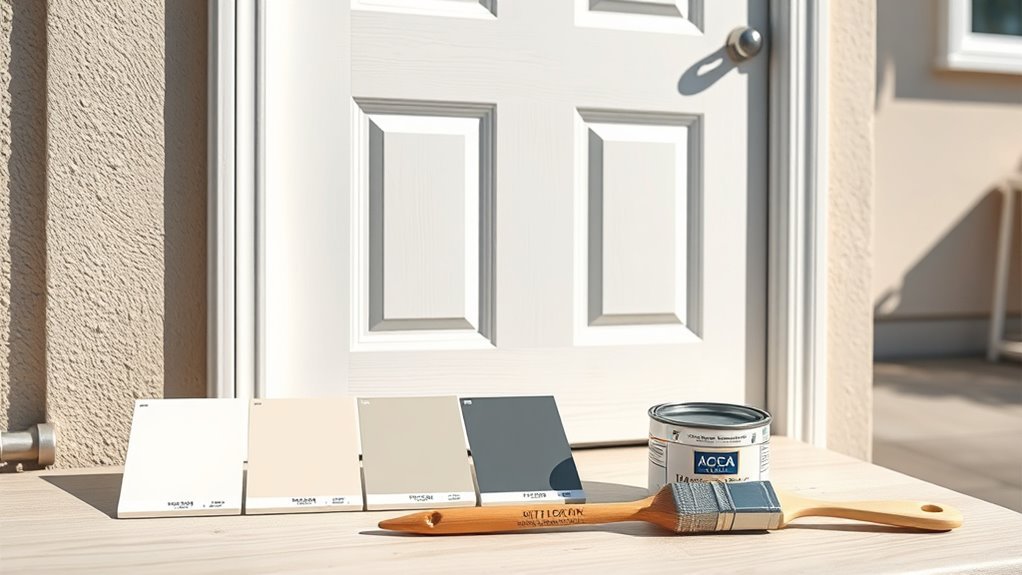
When picking paint for your fiberglass exterior door, choose a product formulated for plastic or labeled for exterior use so it adheres and resists weathering.
Opt for a durable finish—satin or semi-gloss—to hide imperfections and make cleaning easier.
Prioritize paints with UV resistance and good flexibility to prevent cracking and fading over time.
Paint Type Selection
Which paint will hold up best on your fiberglass exterior door? Pick an exterior-grade acrylic latex or 100% acrylic for flexibility and adhesion, considering color psychology to set mood. You can echo historical styles with traditional gloss or choose modern eggshell.
- Acrylic latex: easy cleanup, resists yellowing.
- 100% acrylic: superior adhesion, good for temperature swings.
- Alkyd (oil-based): smoother finish, needs longer cure and mineral spirits.
- Specialty fiberglass paint: formulated for plastic adhesion when listed.
Test a small swatch, follow manufacturer prep instructions, and match sheen to style—no guesses.
Finish And Durability
Now that you’ve narrowed down paint types and sheens, think about how the finish will stand up to weather, wear, and cleaning over time. Choose a high-quality exterior acrylic or polyurethane blend for UV resistance and flexibility; these resist chalking and cracking better than basic latex.
Satin or semi-gloss works well for cleaning and complements interior decor when the door’s visible from inside. Pick a topcoat rated for exterior use if you want extra abrasion resistance.
Consider how color and sheen fit garden landscaping and curb appeal, and factor in touch-up ease—durable finishes save time and keep your door looking fresh.
Best Primers for Fiberglass and Why
Because fiberglass has a nonporous, slick surface, you’ll need a primer designed to promote adhesion and resist moisture before you paint. Choose a bonding primer formulated for plastics or fiberglass; it grabs slick surfaces and prevents peeling.
Because fiberglass is slick and nonporous, use a bonding primer made for plastics to ensure adhesion and moisture resistance.
An oil-based primer seals and blocks stains if the door has existing finishes. Use a high-build acrylic primer for leveling and filling minor imperfections.
For longevity in varied climates, pick a mildew-resistant, exterior-rated primer.
- Bonding primers: adhesion specialist
- Oil-based: sealing power
- High-build acrylic: smooth finish
- Mildew-resistant exterior primer: durability
Also consider color psychology and historical styles when planning tinting.
Pick a Weatherproof Sheen and Color for Durability
After priming for adhesion and mildew resistance, pick a finish and color that stand up to weather and hide wear. Choose a semi-gloss or satin exterior enamel for durability and easy cleaning; they balance weather resistance with attractive reflection.
Select a color palette that hides dirt and scuffs—medium tones or deeper hues usually perform best. Test swatches in sunlight and shade to confirm appearance and heat absorption.
Use manufacturer-recommended exterior formulas labeled for fiberglass. Apply thin, even coats and follow cure times for maximum toughness.
Proper sheen and color choices extend life and keep your entry looking sharp.
Remove Hardware and Protect Glass Safely
Before you start painting, remove locks, handles, kick plates, and any other hardware so you get clean edges and avoid drips on metal. If a piece can’t be removed, loosen it and mask it carefully.
Remove locks, handles, and hardware before painting; if immovable, loosen and mask carefully for clean edges.
Next, focus on door hardware and glass protection to prevent scratches and paint stains. Follow these steps:
- Unscrew removable pieces, store screws in labeled bags.
- Cover glass with low-tack painter’s tape, then kraft paper or plastic.
- Loosen fixed hardware slightly and wrap edges with tape.
- Use a drop cloth to catch drips and protect surrounding trim.
Work methodically, checking tape adhesion before painting.
Clean a Fiberglass Door for Good Paint Adhesion
Start by knocking off loose dirt and cobwebs so you’ve got a clean surface to work on.
Then degrease the door with a cleaner or TSP substitute and rinse thoroughly to remove oils and residue.
Finish by lightly sanding any glossy areas and wiping them with a tack cloth so paint will stick.
Remove Dirt And Debris
Though it mightn’t look like much, dirt, grease, and old cobwebs will stop paint from sticking properly, so you need to clean the door thoroughly before you prime.
Start by removing loose debris with a soft brush so you don’t scratch the finish. Pay attention to edges, weatherstripping, and decorative panels—think of the door like garden furniture or interior accents that need gentle care.
- Sweep off cobwebs and dust with a soft brush.
- Vacuum crevices to lift trapped grit.
- Use a microfiber cloth for fingerprints.
- Remove loose flakes with a plastic scraper.
Degrease And Rinse Thoroughly
A good degrease makes the difference between paint that sticks and paint that peels, so you’ll want to remove oils, sunscreen, and road grime before priming.
Mix a mild cleaning solution with warm water or use a commercial degreaser labeled safe for fiberglass; avoid harsh solvents that can damage the surface.
Work a soft brush or microfiber cloth in overlapping strokes, paying attention to edges and hardware crevices.
Rinse thoroughly with clean water to remove residue from cleaning solutions, then dry completely with lint-free towels.
Proper degreasing guarantees the primer bonds evenly, aiding any subsequent paint mixing and application.
Sand And Wipe Smooth
Once the door’s degreased and dry, sand it lightly to scuff the glossy finish so primer and paint will grab; use 220–320 grit sandpaper and work in even, overlapping strokes, paying special attention to raised panels and edges. You’ll remove sheen without gouging, creating a consistent surface for color blending and primer adhesion.
Then wipe with a tack cloth or damp microfiber and let it dry fully before priming. Follow these steps:
- Sand flat areas first, then detail panels.
- Light pressure; check for smoothness.
- Wipe away dust with a tack cloth.
- Allow complete paint drying time after priming.
Sand Fiberglass Without Damaging the Finish
Because fiberglass has a tough gel coat, you’ll want to sand carefully to scuff the surface without cutting through the finish. Use 220–320 grit sandpaper, move lightly, and keep the motion even. Wear a mask, clean dust, and test a small area. Consider color psychology and historical styles when choosing primer and paint sheen to match your door’s character.
| Tool | Grit | Tip |
|---|---|---|
| Sandpaper | 220–320 | Light passes |
| Sanding block | — | Keep flat |
| Tack cloth | — | Remove dust |
| Mask | — | Protect lungs |
| Test patch | — | Check adhesion |
Repair Dents, Gouges, and Scratches
Before you paint, carefully assess any dents, gouges, or scratches to decide what needs filling and how deep the repairs are.
You’ll want to use a compatible fiberglass filler for deeper damage, then sand the patch smooth so it blends with the door surface.
Once everything’s even and clean, you’ll be ready to prime and paint.
Assess Damage Carefully
When you’re ready to paint, take a close, systematic look over the door for dents, gouges, and scratches so you can decide what needs repair and what can be left alone. Note areas near hardware and edges where damage hides.
Check color coordination with surrounding trim and test how fixes will affect hardware compatibility. Then list priorities:
- Deep gouges that reach core material.
- Surface scratches that catch your fingernail.
- Small dents and paint chips.
- Areas around lockset and hinges.
Mark each spot, photograph for reference, and plan repairs in order of visibility and exposure.
Fill And Sand Smooth
How do you turn dings and scratches into a smooth, paint-ready surface? You’ll clean the area, sand edges with fine-grit paper, and remove dust.
Mix a two-part epoxy or exterior-grade filler, apply it slightly over the defect, and let it cure per instructions. Sand flat, feathering into surrounding fiberglass so blending disappears.
Prime repaired spots to test adhesion and color. Consider how color schemes and decorative accents will interact with repaired areas; prime and sand until a uniform sheen prevents visible repairs under finish coats.
Proceed to final sanding, tack cloth, then paint for a seamless result.
Fill Seams and Gaps With Exterior Caulk
Since seams and gaps let moisture and drafts sneak in, you’ll want to seal them with a high-quality exterior caulk before painting. Remove loose paint around gaps during paint removal and loosen or remove door hardware if it blocks access. Prep surfaces clean and dry, then:
Seal seams and gaps with quality exterior caulk before painting—prep clean, remove loose paint, smooth the bead, and let cure.
- Cut the caulk tip to match gap width.
- Apply a steady bead into seams and joints.
- Smooth with a damp finger or tool for proper adhesion.
- Wipe excess promptly and let cure per manufacturer directions.
You’ll prevent water damage and improve finish longevity, creating a smooth surface ready for primer and topcoat.
Mask Trim, Thresholds, and Fixtures
Before you paint, protect the door trim with painter’s tape so you don’t get stray brush marks on the surrounding wood or siding.
Cover the threshold seam with tape or a strip of plastic to keep paint out of the gap and avoid trapping moisture.
Mask hardware like handles and mail slots carefully, or remove them if possible, so you get clean edges and don’t gum up moving parts.
Protect Door Trim
When you’re ready to paint, protect the trim, threshold, and hardware so you get clean lines and avoid cleanup headaches. Cover door hardware with painter’s tape and low-tack film; remove or loosen delicate pieces if needed. Mask trim edges with quality tape to prevent bleed. Secure drop cloths at the threshold to catch drips without smudging weatherproof finishes.
Follow this quick sequence:
- Clean surfaces and let dry.
- Tape around knob, hinges, and plate.
- Run tape along trim gaps for crisp edges.
- Lay and tape drop cloths, checking for movement.
Work steadily, removing tape while paint’s tacky for sharp lines.
Cover Threshold Seam
Want crisp paint lines at the bottom of the door? Start by taping a thin strip along the threshold seam, pressing tape into the crevice so paint can’t bleed under. Use a flexible painter’s tape that bonds to metal and concrete; trim any excess with a utility knife for a neat edge.
Cover adjacent trim and nearby door hardware lightly—don’t mask the hardware fully yet—so you can paint cleanly without leaving gaps. Remove tape while the paint is tacky to prevent lifting.
Check the seam afterward and touch up with a fine brush for a polished, weatherproof finish.
Mask Hardware Carefully
How do you protect doorknobs, hinges, thresholds, and trim without making painting harder? You’ll need careful hardware masking and attention to paint compatibility to avoid damage or adhesion issues. Follow precise steps so masking stays tidy and removable.
- Clean surfaces, then apply low-tack tape to hinges and trim edges.
- Saddle small pieces of foam or putty behind screws to prevent seepage.
- Mask thresholds with overlapping strips; press edges firmly for crisp lines.
- Remove tape within an hour of tack-free recoat to prevent peeling or residue.
Check paint compatibility labels before taping to avoid solvent reactions.
Brush, Roller, or Sprayer: Picking the Right Method
Although the right tool depends on your door’s profile and finish, choosing between a brush, roller, or sprayer comes down to control, speed, and surface detail.
You’ll pick a brush for trim, crevices, and areas where decorative stencils or precise edging matter; use a high-quality synthetic brush for smooth strokes.
A foam roller suits flat panels, giving even coverage quickly without texture.
A sprayer delivers the fastest, smoothest factory-like finish on complex or paneled doors but needs masking and practice.
Consider your color schemes, drying time, and cleanup when deciding—match method to door shape and your skill level.
How to Prime Your Fiberglass Door Without Streaks
Once you’ve picked your tool, prep and priming set the stage for a streak-free finish. Sand lightly, wipe dust, and mask edges. Choose primer suited for fiberglass and compatible with your paint color palettes to guarantee adhesion and correct undertone. Remember color psychology when picking primer tint—neutral or slightly warmed tints prevent show-through.
- Sand with fine grit, remove residue.
- Apply thin, even coats; avoid overload.
- Work along panels, keep wet edges.
- Lightly sand between coats for smoothness.
Let primer cure fully before painting. Proper priming reduces streaks and reveals true color.
Apply the First Coat Like a Pro
Before you start, make sure the primer is fully cured, the surface is clean, and your brush or roller is loaded properly so you lay down a smooth, even first coat without dragging or pooling.
Begin at the top and work downward in consistent strokes, keeping a wet edge to avoid lap marks. Paint around door hardware with a sash brush, masking tight spaces if needed.
Use light pressure on rollers to prevent orange peel. Stick to the chosen paint color and apply thin, even layers—it’s better to build coverage than to overload.
Inspect for runs and gently level them while wet.
Drying Times and Best Conditions Between Coats
After you’ve smoothed out the first coat, give the paint proper time to dry so the next layer bonds and the finish stays flawless. You’ll want ideal conditions to protect color matching and maximize paint durability. Check label times, but consider temperature and humidity adjustments.
After smoothing the first coat, let paint fully dry—follow label times and ideal temperature/humidity for best results.
- Temperature: 50–85°F speeds curing; avoid extremes.
- Humidity: under 60% prevents blushing and tackiness.
- Ventilation: circulate air gently to aid solvent release.
- Touch test: light tack means wait; fully dry feels firm.
Wait longer in cool or humid weather, and don’t rush recoating—patience preserves appearance and longevity.
Apply a Smooth Second Coat Without Brush Marks
Before you start the second coat, make sure the first coat is fully dry and the surface is flawless by lightly sanding any imperfections for a smooth base.
Use a high-quality brush or foam applicator and feather your strokes at the edges to blend each pass without hard lines.
Choose a paint with good flow or add the manufacturer-recommended conditioner so the finish levels out and hides brush marks.
Smooth Surface Prep
When you’ve sanded and wiped the door, take a calm, deliberate approach to apply the second coat so you don’t trap brush marks under a gloss finish. You’ll prep for a smooth result while considering color psychology and historical styles to choose the right sheen. Follow this sequence:
- Tack-cloth the surface to remove dust, then inspect under bright light.
- Thin the paint slightly per manufacturer instructions for better flow.
- Use a high-quality synthetic brush or foam roller, loading evenly and removing excess.
- Maintain wet edges and work in long, continuous strokes for a uniform finish.
Feathering And Flow
If you want a glassy, brush-mark–free finish, feathering and maintaining paint flow are the techniques that’ll get you there. Work while the first coat’s tacky: load a high-quality brush sparingly, drag the tip lightly outward, then lift to soften edges.
Keep a wet edge across panels and trim, blending overlapping strokes so lines disappear. Adjust thinner or extender for consistent flow in hot or cold weather.
Sand very lightly between coats to remove nibs, then wipe dust. Consider how color combinations and finish textures interact—gloss hides marks differently than satin—so test before committing.
Paint Panels and Recessed Areas Cleanly
As you tackle the panels and recessed areas, work with a steady hand and small tools so paint doesn’t pool or brush marks show. You’ll keep lines crisp and respect color psychology and historical styles by choosing tones and finishes that suit the door’s design. Follow these steps:
- Use a fine angled brush for corners and a foam brush for flats.
- Load the brush sparingly, wipe excess, and stroke with the grain.
- Smooth edges by lightly feathering from recess to face within minutes.
- Clean any drips immediately and sand slight bumps between thin coats.
Finish with consistent, thin layers for a professional look.
Two-Tone and Multi-Color Door Techniques
You can make your fiberglass door pop by using color blocking to separate the main field from panels or rails. Try painting the trim and accents in a contrasting shade to highlight architectural details and protect edges.
With crisp tape lines and high-quality exterior paint, you’ll get a professional two-tone or multi-color finish.
Color Blocking Basics
When you want to make a bold statement, color blocking lets you combine contrasting hues or complementary tones to create a clean, modern look on an exterior fiberglass door.
You’ll plan zones, tape crisp lines, and choose finishes that resist weather. Consider color mixing for custom shades and spray techniques for smooth coverage.
Follow these steps:
- Sketch your layout and measure panels.
- Sand lightly, clean, and prime each zone.
- Apply painter’s tape, sealing edges to prevent bleed.
- Spray or brush thin coats, remove tape carefully, and cure fully before rehanging.
Accent Trim Techniques
Because accent trim frames and defines the door, it’s a simple way to add polish or personality without repainting the whole surface. You’ll pick a contrasting trim color to highlight panels, match door hardware, or echo nearby garden decor. Use painter’s tape for crisp lines, sand lightly, and apply thin coats. For two-tone, choose one strong color and a neutral. For multi-color, limit to three shades so it stays cohesive. Seal with exterior-grade topcoat and check hinges/knobs before reinstalling.
| Technique | Tip |
|---|---|
| Two-Tone | Contrast with main field |
| Multi-Color | Limit to three shades |
| Accents | Match door hardware |
| Finish | Use exterior sealer |
When to Use a Clear Protective Topcoat on Fiberglass
If your fiberglass door still shows its original gelcoat and the finish feels smooth and glossy, you usually don’t need a clear topcoat; however, you should plan to apply one whenever the finish looks dull, chalky, scratched, or has been sanded for repainting.
You’ll add protection and improve color matching when paint layers are thin. Apply a clear if you want UV resistance or easier cleaning.
Consider these triggers:
- Surface feels chalky after weather exposure.
- Sanding removed the factory gloss.
- High-traffic areas show scratches.
- You’ve installed metallic hardware for rust prevention.
Reinstall Hardware Without Scratching the Finish
After you’ve finished sanding and painting, take your time reinstalling locks and hinges so you don’t nick the fresh finish. Use soft cloths under metal, align hardware to avoid forcing screws, and choose screws that match hardware styles and door color for a seamless look. Work slowly, hand-start screws, then snug with a driver. If parts rub painted edges, add thin felt pads. Keep removed hardware organized to prevent mixups.
| Step | Tip |
|---|---|
| Protect | Cloth or tape under plates |
| Align | Hand-start screws |
| Match | Screws match door color |
| Finish | Felt pads where needed |
Touch Up Chips and Scuffs Later
Now that the hardware’s back on and you’ve protected the finish during reinstallation, plan for minor chips and scuffs that will show over time. Keep a small touch-up kit handy so you can act fast when door hardware or daily use nick the paint.
Consider weather considerations—store touch-up paint indoors and avoid fixing damp or freezing surfaces.
Follow these quick steps:
- Clean the area with mild soap and dry completely.
- Lightly sand rough edges and wipe away dust.
- Apply thin coats of matching paint, letting each dry.
- Seal with a satin exterior clear coat for durability.
Common Painting Mistakes to Avoid
While a fresh coat can transform your fiberglass door, common painting mistakes can undo your work fast—so know what to watch for. Don’t skip cleaning; dirt and garden decor residue stop paint from bonding. Remove or mask door hardware to avoid drips. Avoid painting in extreme heat or humidity — the finish can sag or tack. Use proper primer for fiberglass and apply thin, even coats. Rush drying between coats, or using wrong brushes, causes visible brush marks.
| Mistake | Fix |
|---|---|
| Dirty surface | Clean thoroughly |
| Unmasked hardware | Remove/cover |
| Wrong primer | Use fiberglass primer |
| Thick coats | Thin, even coats |
Fixing Adhesion Problems and Peeling
If your paint is lifting or flaking, you can usually save the door without starting over—first identify whether poor prep, incompatible products, or moisture caused the problem. Remove loose paint, clean the surface, and sand feathered edges. Take off or mask door hardware to avoid gumming it up and reduce paint fumes exposure.
- Scrape and sand to solid edges.
- Clean with TSP or mild detergent; rinse well.
- Apply a compatible adhesion-promoting primer per label.
- Repaint with proper exterior paint, following cure times.
Test a small area first; if peeling returns, address underlying moisture or substrate issues.
Seasonal Maintenance for Painted Fiberglass Doors
After you’ve repaired peeling or adhesion issues, keep your painted fiberglass door looking its best by doing a few seasonal checks and light maintenance tasks.
Inspect seals and weatherstripping for gaps, replace as needed, and clean frames to prevent dirt buildup.
Wipe the surface with mild soap and water to remove grime without stripping paint color.
Check door hardware for loose screws, lubricate hinges and locks, and touch up chips with matching paint.
In spring and fall, look for moisture intrusion around edges and trim.
Regular, simple care preserves finish, prevents costly repairs, and keeps your entry welcoming year-round.
How Weather Affects Paint Choice and Timing
Wondering when to paint your fiberglass door and which product will hold up? You’ll want to plan around weather: rain delays can ruin curing, and temperature impact changes viscosity and adhesion. Pick exterior acrylic or oil-based paint rated for the temperature range. Follow these steps:
- Check forecast: avoid painting if rain delays are possible within 24–48 hours.
- Aim for temperatures between 50–85°F for proper drying and curing.
- Work in low-humidity conditions to prevent blistering and slow drying.
- Store paint and tools in stable temperatures to maintain consistency and performance.
Cost and Time Estimates for a DIY Door Job
When you tackle a DIY fiberglass door paint job, expect to spend roughly $40–$150 on materials and 3–6 hours from prep to finish, depending on door condition and whether you remove hardware. You’ll buy primer, paint, rollers, sandpaper, and masking supplies. Budget more for specialty colors or new hardware. Time splits between sanding, priming, two coats, and drying; plan breaks for ventilation. Consider coordinating color with your interior décor or porch plants—think gardening tips for curb appeal.
| Item | Estimate |
|---|---|
| Primer & Paint | $25–$80 |
| Tools | $10–$40 |
| Tape & Plastic | $5–$15 |
| Hardware | $0–$50 |
| Time | 3–6 hrs |
When to Call a Professional Painter?
If your door has deep gouges, warped edges, or old paint that keeps peeling despite sanding, call a professional—these issues often need specialist repair and a controlled environment to guarantee a durable finish.
You should also hire pros when:
- You want color-matching for complex exterior/interior decor transitions.
- The door requires structural repair or replacement of fiberglass sections.
- Weather or limited workspace prevents proper curing and finish quality.
- You prefer a showroom-quality result similar to professional furniture painting techniques.
A pro saves time, avoids costly mistakes, and guarantees longevity, so weigh complexity and budget before committing to DIY.
Final Checklist Before Revealing Your Door
Before you open the door to guests or reinstall hardware, run through a quick final checklist to guarantee the finish is flawless and the installation’s secure.
Check paint cure: no tackiness, even sheen, and no runs near edges.
Inspect trim and interior walls for stray splatters; wipe promptly if found.
Test weatherstripping and threshold alignment so the door seals and closes smoothly.
Reattach hardware carefully, confirming screws bite into the substrate without cracking the finish.
Clear nearby areas—move garden furniture and tools away.
Snap photos for reference, then slowly open and close the door several times to confirm everything’s perfect.
Frequently Asked Questions
Can I Paint a Fiberglass Door With Lead-Based Paint Underneath?
You can, but you shouldn’t; if lead paint removal is needed, you’ll follow strict precautions. For a safe job, use proper lead-safe methods, then complete thorough fiberglass surface prep before repainting to guarantee adhesion and safety.
How Long Will Painted Fiberglass Off-Gas VOCS Inside My Home?
Days to weeks, then months to taper — you’ll notice VOC emissions quickly, then faintly; you’ll protect indoor air quality by ventilating, using low-VOC paint, and waiting several weeks for off-gassing to drop substantially.
Are There Paint Colors That Void My Door’s Manufacturer Warranty?
Yes — you should check your warranty; some manufacturers restrict Door color options or require specific Paint durability and coatings. If you don’t follow their color or finish specs, you could void the warranty, so confirm requirements.
Can I Change a Textured Fiberglass Door to Smooth by Painting?
You can’t truly change door texture to smooth just by painting; paint smoothing can reduce visual roughness with fillers, sanding, and high-build primers, but you’ll need more intensive surface work or replacement for a completely smooth finish.
Will Insects or Mold Grow Under Fresh Exterior Door Paint?
No, insects or mold won’t magically burrow under fresh exterior paint if you prep properly; you’ll get excellent insect prevention and mold resistance by cleaning, using a primer, sealing edges, and choosing exterior-grade, mildew-resistant paint.
Conclusion
You’ve got this — painting your fiberglass door will refresh your home and boost curb appeal without breaking the bank. Take time to prep, pick the right primer and paint, and work when temperatures cooperate; a little care now saves headaches later. If things go sideways, call a pro. Step back, admire the new color, and smile — your door’s ready to welcome the world, bright and confident.