How to Spray Latex Paint With HVLP Sprayer Like a Pro
You can get pro results with an HVLP by picking a gun with strong airflow and a 1.8–2.5 mm tip, thinning latex about 10–20% (4:1–5:1) and straining it, then testing spray on cardboard to dial atomization and pressure. Keep 6–10 inches from the surface, overlap passes 50%, move at a steady speed, and apply several thin coats. Clean and maintain the sprayer after use; follow safety precautions and keep going to learn adjustments for cabinets, walls, and troubleshooting.
Quick HVLP + Latex Cheat Sheet (Settings & Ratios)
1 simple table of go-to settings makes spraying latex with an HVLP far less guesswork.
You’ll set pressure, flow, and overlap per surface, note spray patterns for edges versus flats, and mix latex to recommended viscosity.
Follow dry times and thin only when needed. That avoids common mistakes like overthinning, excessive overlap, or wrong spray patterns that cause runs and orange peel.
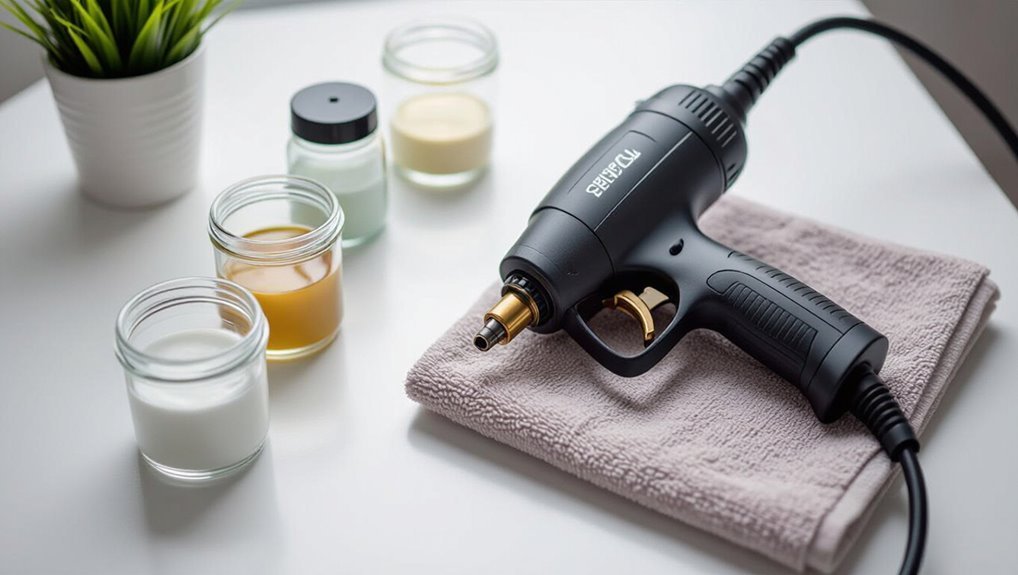
Choose the Right HVLP Gun and Tip for Latex
You’ll want an HVLP gun with enough airflow and output to handle thicker latex without spitting or clogging.
Pick a tip size around 1.8–2.5 mm for most interior latex paints, and go larger for high-build or unthinned formulas.
Test spray on cardboard first to confirm coverage and atomization.
Gun Airflow And Output
When spraying latex, pick an HVLP gun and tip that match the paint’s viscosity and the job’s scale—too little airflow clogs, too much oversprays. You’ll tune pressure settings and airflow adjustment for output consistency, and prioritize gun maintenance to avoid drips. Calibrate before starting, watch spray pattern, and adjust for even coverage.
| Setting | Purpose |
|---|---|
| Airflow | Control atomization |
| Pressure | Drive output |
| Maintenance | Guarantee reliability |
| Check | Balance pattern |
Tip Size For Latex
Choosing the right tip size for spraying latex with an HVLP gun matters because latex is thicker than many solvents-based paints and needs a wider orifice to atomize cleanly.
Pick a tip that matches the paint’s viscosity and the job—typically 1.8–2.5 mm for full-strength house latex, 1.2–1.8 mm for thinned or lighter latex and stains, and larger sizes for heavy-bodied texture paints.
Remember that running a tip too small will clog while one too large increases overspray and reduces finish control.
You should test spray, adjust thinning and tip size for even coverage, and use a coarser tip for textured or trim work to balance atomization and control.
Pick the Best Latex Paint and When to Thin
Before you load the cup, pick a latex formula that matches the job: water-based paints made for sprayers or labeled “sprayable” have the right viscosity and fewer binders that clog HVLP tips, while high-quality acrylic-latex blends give better flow, adhesion, and leveling for trim and cabinets.
Consider: latex paint types, paint finish options, color selection tips, environmental factors, surface compatibility.
- Smooth doors
- Textured walls
- Outdoor trim
- Cabinet faces
How to Thin Latex Paint for HVLP (Ratios + Test Sprays)
You’ll usually start by thinning latex to about 10–20% water (roughly 4:1 to 5:1 paint-to-water) and adjusting from there.
Strain the thinned paint to remove clumps, then do short test sprays on cardboard to check atomization and coverage.
If you see sputtering, runs, or orange peel, tweak the ratio and fluid/air settings until the spray lays down smoothly.
Paint-To-Water Ratios
When thinning latex for an HVLP sprayer, aim for a consistency that lets the paint atomize smoothly without running.
Too thick and you’ll get spatter and clogging, too thin and you’ll lose coverage. Control latex paint viscosity with measured thinning techniques.
Test ratios gradually:
- 10% water
- 15% water
- 20% water
- Adjust by feel and spray pattern
Strain And Thin Paint
Although it takes a little patience, you should always strain and thin latex paint before loading an HVLP sprayer to prevent clogs and confirm a smooth, even atomization.
Use a fine mesh filter for proper strain, then add water or thinner gradually to reach recommended paint viscosity.
Stir thoroughly, measure ratios, and recheck viscosity—don’t guess, verify consistent flow before you spray.
Test Spray Adjustment
Start with a small test panel and a clean cup of your thinned, strained latex so you can dial in the sprayer without wasting paint.
Adjust nozzle and pressure, watching spray pattern and coverage; check surface preparation first.
Test spray sequence:
- Light mist pass
- Overlap pass
- Edge feathering
- Full coat pass
Fine-tune ratios, wait, inspect, repeat.
Gather Tools, PPE, and Drop‑Cloths
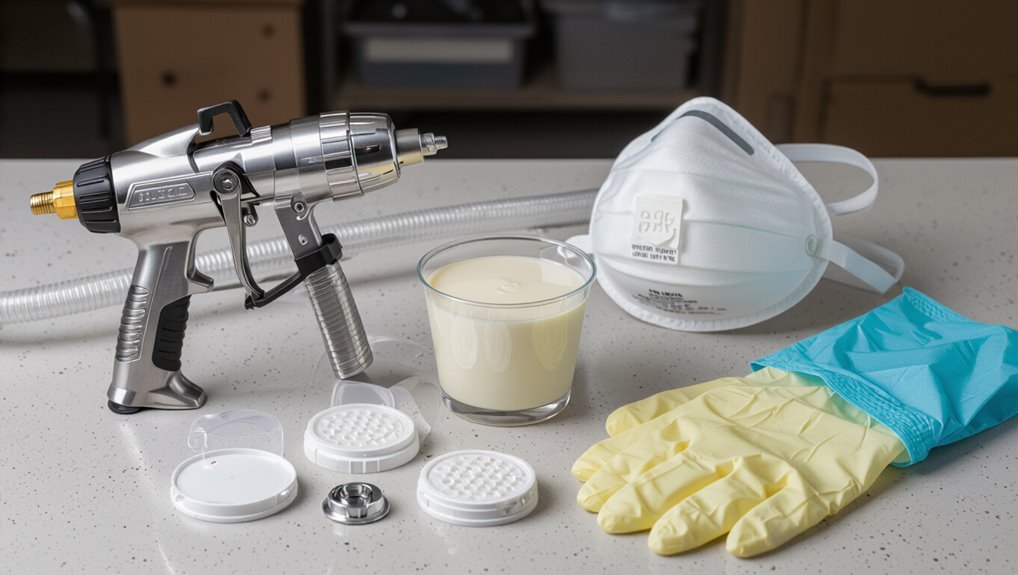
Gather the right tools, PPE, and drop-cloths before you mix a single cup of paint: a properly matched HVLP sprayer, extension and nozzle tips, a pressure regulator or turbine as needed, replacement filters, and a set of clean strainers.
You’ll also pack safety gear, plan surface preparation steps, secure paint storage, and lay generous drop-cloths to keep a clean workspace and protect floors.
Masking, Cleaning, Sanding, and Priming Surfaces
Before you spray, tape off edges, cover hardware and floors, and remove dust or grease so paint will adhere and finish evenly.
You’ll do surface preparation for adhesion improvement and finish durability.
Then:
- Wipe and de-grease surfaces.
- Sand glossy areas smooth.
- Vacuum and tack cloth.
- Apply appropriate primer before paint application.
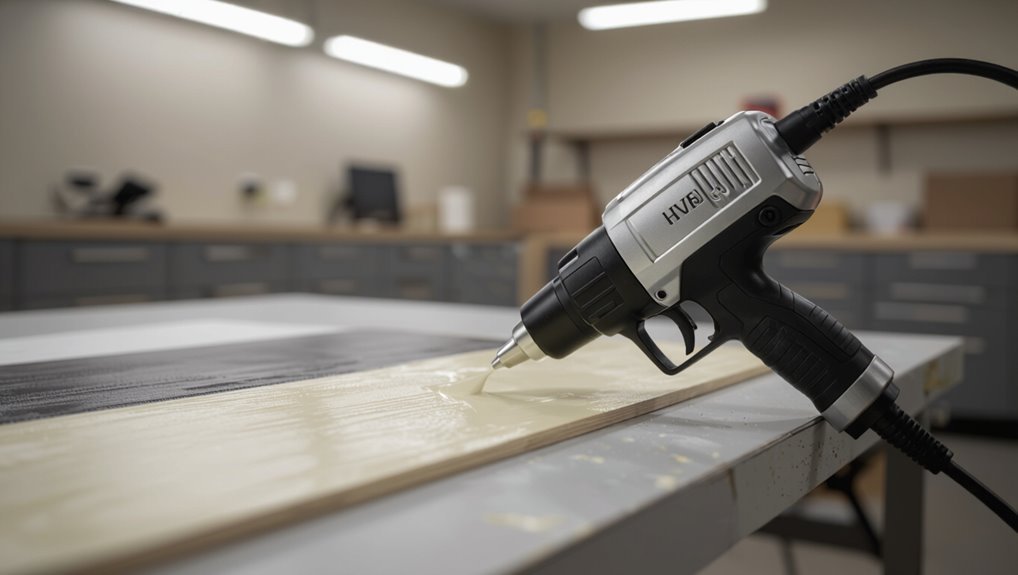
Set Up Your HVLP: Airflow, Pressure & Cup Tips
Once you’ve prepped the surface, set up the HVLP system so airflow, pressure, and cup size match the paint and project—adjust the air regulator to the manufacturer’s recommended PSI, choose a tip that fits the paint viscosity (smaller for thinner paints, larger for heavier latex), and secure the cup and hose to prevent leaks.
Proper starting settings cut overspray, improve atomization, and give you an even coat with fewer passes. Use airflow adjustment and pressure settings to fine-tune spray pattern, then test on cardboard.
HVLP Spray Technique: Distance, Speed, Overlap
Keep the gun about 6–10 inches from the surface to maintain ideal spray distance and a uniform finish.
Move at a steady, consistent trigger speed to avoid drips and uneven build-up.
Overlap each pass by about 50% so the coating blends smoothly without streaks.
Optimal Spray Distance
1 simple rule will make your HVLP spraying look professional: hold the gun at a consistent distance — typically 6–12 inches — from the surface, move at an even pace, and overlap each pass about 50% so you avoid runs and dry edges.
Use ideal distance and precise spray technique.
- Close: 6″
- Medium: 8–10″
- Far: 12″
- Adjust for contours
Consistent Trigger Speed
After you’ve locked in distance and overlap, focus on a steady trigger speed so each pass lays down the same amount of paint. You’ll develop trigger control and consistent pressure through practice technique and deliberate spray rhythm. Use proper hand positioning, watch spray patterns, create feedback loops, and build muscle memory to keep output uniform and reduce runs.
| Tip | Action | Result |
|---|---|---|
| 1 | Slow, steady pull | Even coat |
| 2 | Repeat drills | Muscle memory |
| 3 | Adjust pressure | Clean edges |
Proper Pass Overlap
Aim for about a 50% overlap on each pass so wet edges blend smoothly and you avoid stripes; hold the gun parallel to the surface, keep your stroke speed consistent with your trigger pull, and slightly feather the ends of each pass to stop buildup.
Use proper technique to match spray patterns and coverage.
- Even bands
- Soft edges
- Steady motion
- No drips
Spraying Furniture, Cabinets, and Walls : What to Adjust
When you switch between furniture, cabinets, and walls, you’ll need to tweak spray settings to match the surface size, detail, and finish requirements.
Switch spray settings when moving between furniture, cabinets, and walls to suit surface size, detail, and finish.
Adjust spray patterns for furniture finishes and cabinet prep—narrow for detail, wide for walls with varied wall texture.
Mind drying times and paint layering to avoid buildup.
Wear safety gear and use surface protection to catch overspray and protect surrounding areas.
Avoid & Fix Orange Peel, Runs, and Clogs (Quick Fixes)
Switching settings for different surfaces helps prevent problems, but you’ll still run into orange peel, runs, or clogs if your technique, thinning, or air settings aren’t right.
Adjust quickly:
- Thin to manufacturer specs for smooth spray consistency.
- Slow, overlapping passes stop orange peel.
- Light multiple coats aid run prevention.
- Blow out tip and strain paint for clog fixes.
Clean, Maintain, and Troubleshoot Your HVLP (When to Call a Pro)
1 clear maintenance routine will keep your HVLP sprayer reliable and extend its life, but you should also know basic troubleshooting steps and when a pro’s help is needed.
Follow maintenance tips: clean after each use, inspect seals, lubricate moving parts, and store dry.
Use this troubleshooting guide to diagnose common issues; seek professional help for electrical faults, persistent clogs, or major performance enhancement needs.
Frequently Asked Questions
Can I Spray Latex Outdoors in Humid or Windy Conditions?
Yes — but you’ll face problems: humidity effects slow drying and can cause runs or orange peel, while wind considerations increase overspray and uneven coverage. Wait for calmer, lower-humidity days or use shelters and slower coats.
Is HVLP Safe for Use on Food-Contact Surfaces?
No, you shouldn’t—HVLP-sprayed paints can transfer solvents and paint additives that compromise food safety; you’ll need FDA-approved, food-contact coatings and follow cure times and ventilation to guarantee surfaces stay safe for food use.
How Long Before Recoating Between Multiple Latex Layers?
You should wait about 2–4 hours for most latex drying time before recoating, though full cure takes weeks; guarantee paint adhesion by sanding lightly between coats and following the manufacturer’s recoat interval for best results.
Can I Tint Latex Paint After Thinning for Spraying?
Yes — you can tint latex paint after thinning, but you’ll want to recheck paint consistency and adjust for color mixing shifts. Test small batches first, because thinning can alter tint strength and spray performance, so tweak as needed.
Will HVLP Sprayers Work With Textured or High-Build Latex?
About 70% of users thin high-build coatings for sprayers; yes, you can use HVLP on textured surfaces and high build paint, but you’ll need larger tips, reduced viscosity, slower passes, and frequent tip cleaning to avoid clogging.
Conclusion
You’ve got the tools and know‑how—now finish like a pro. Think back to my neighbor who thinned latex 10% and cut dry time in half, turning a blotchy dresser into a smooth finish overnight; that quick win shows small tweaks deliver big results. Keep your gun clean, test sprays, and adjust distance and flow. With steady passes and patience, your HVLP’ll lay down factory‑look coats every time.