How to Tint Latex Paint at Home (DIY Color Mixing Guide)
You can tint latex paint at home by gathering quality water‑dispersible pigments, accurate measuring spoons or a digital scale, and clear mixing containers. Measure pigments precisely, add tiny increments, and stir thoroughly between additions. Test samples on a card under natural light, note ratios, and scale carefully when you mix gallons. Use a compatible base and consider finish effects to avoid streaks or fading. Keep records and proper storage so future matches stay consistent, and keep going to learn step‑by‑step tips.
Quick: Tint a Small Can in 10 Steps
If you’ve got a small can of latex paint and a color sample, you can tint it quickly at home with basic tools and a steady hand.
You’ll gather tinting pigments, measure precisely, add small increments, stir thoroughly, and test on a card.
Use proven color mixing and tint techniques, note ratios, adjust slowly, and record steps so you can replicate or correct the shade.
When to Tint Latex Paint Yourself vs Buy Premixed
Wondering whether to tint that can yourself or buy a premixed color? You’ll save money and enjoy tinting advantages when you need a custom hue or slight tweak.
Choose premixed for guaranteed consistency and time savings.
- DIY: budget control, custom mixing, flexible color matching.
- Premixed: reliable batch-to-batch uniformity.
- Hybrid: buy close, tweak slightly.
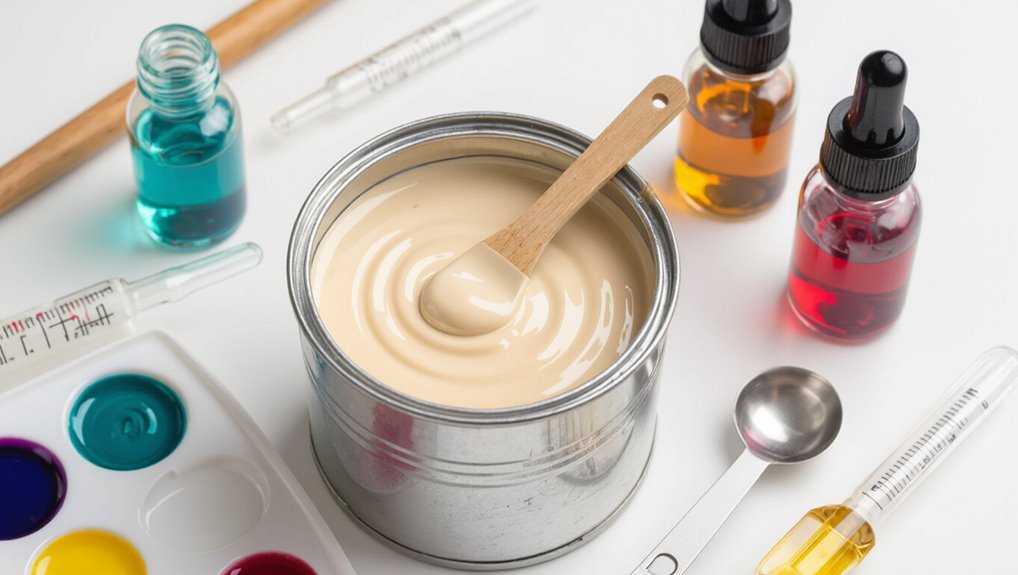
Tools and Supplies for Accurate DIY Tinting
Tools and supplies make the difference between a guessy tint and a repeatable color you’ll actually like. Gather accurate measuring spoons or a digital scale, clear mixing containers, stir sticks, sample pots, and labeled dropper bottles for pigments.
Use quality universal tints and plastic palettes. These tools support consistent color mixing and let you test tinting techniques, record ratios, and reproduce results reliably.
Best Base Paint for Tinting Latex
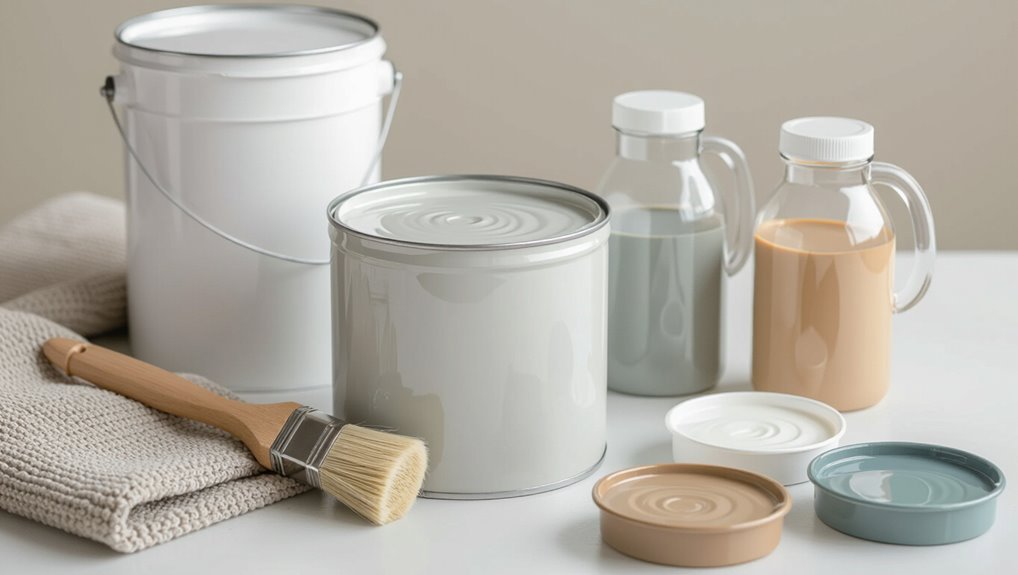
Choosing the right base paint matters because it sets the foundation for how your tints will look, behave, and hold up over time.
Pick a high-quality latex base designed for tinting to get consistent pigment dispersion and easier color matching. Use neutral bases for accurate tinting techniques and stronger bases for vivid hues.
- Universal tintable base
- Neutral/white base
- High-hide base
How Paint Finishes (Flat–Semi-Gloss) Affect Tint and Coverage
Once you’ve picked the right base, the paint’s finish will determine how that tint looks and how much coverage you’ll get.
You’ll notice finish effects: flat hides imperfections and boosts paint coverage but increases tint transparency, needing more coats for deep color.
Satin and semi-gloss raise gloss impact, reflect light, and make tints appear richer but can reveal flaws and need careful application.
Basic Color Theory Every DIY Tinter Needs
Because tinting is really about mixing light and pigment, you should start with the three basics: hue, value, and saturation.
Use the color wheel to explore primary colors and secondary colors, then test hue variations and saturation levels.
Balance color harmony with complementary colors; consider warm colors versus cool colors. Track mixing ratios.
- Learn wheel basics
- Test saturation
- Record ratios
Which Tinting Concentrates and Pigments Work With Latex Paint
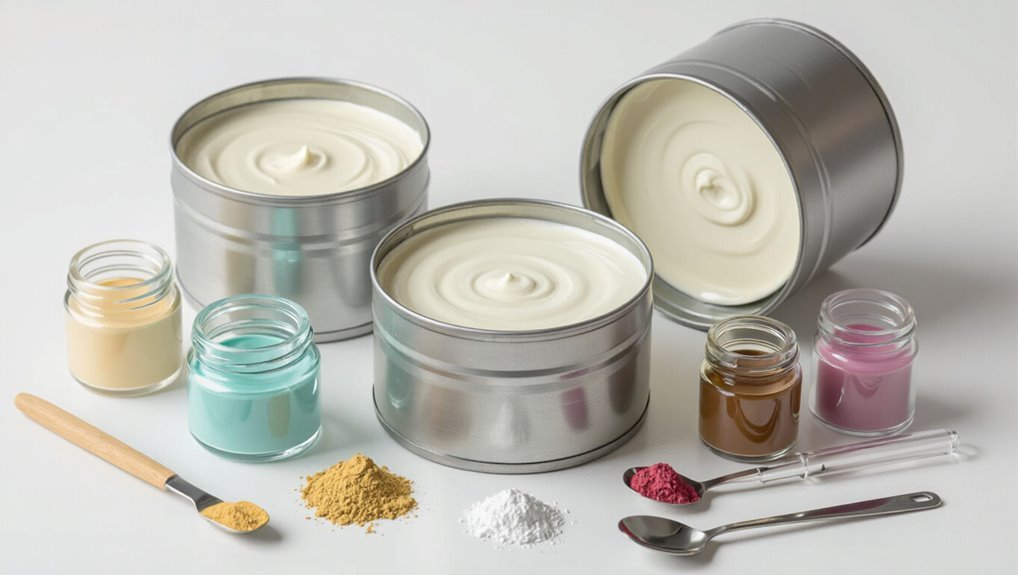
Now that you’ve practiced mixing hues, value, and saturation, you’ll need to pick the right concentrates and pigments to get predictable results with latex paint. Use high-quality tinting pigments for color accuracy; choose water-dispersible concentrates labeled for latex. Test small batches first.
| Type | Strength | Use |
|---|---|---|
| Universal | Medium | Walls |
| Acrylic | High | Trim |
| Organic | Low | Pastels |
Calculate Tint Ratios for Predictable Shades
When you want consistent results, calculate tint ratios before you mix so you can reproduce the color later; measure pigment and base by volume or weight, not by eye.
You’ll record ratios, track color blending steps, and plan shade adjustments to match samples reliably.
- Note base-to-tint ratio.
- Log pigment volumes.
- Adjust incrementally and retest.
Measure and Add Tint to a Paint Can : Step by Step
Before you add any color, clear and protect your workspace and make sure the paint can is clean and at room temperature.
Measure the tint precisely with a graduated syringe or measuring cup, then dispense it into the can slowly to match your calculated ratio.
Stir thoroughly between additions so you can check the color and stop when you reach the desired shade.
Prep Can And Workspace
Start by clearing a stable, level workspace and gathering your tools so you can measure and add tint without spills or mistakes.
You’ll prep the can, check label and shake base, and use tape to mark fill lines. Maintain paint safety and workspace organization to avoid contamination and accidents.
- Clean rim and lid
- Level on flat surface
- Lay down drop cloth
Measure And Dispense
Once your can sits level on the drop cloth and the rim’s clean, you’re ready to measure and dispense the tint. Use graduated syringes or measuring cups, add small increments, stir, and test under different light sources for accurate color matching.
| Tool | Use |
|---|---|
| Syringe | Precise drops |
| Cup | Larger volumes |
| Stir stick | Even mix |
Mix Latex Paint Thoroughly for Even Color
Mix the tinted latex thoroughly so the color’s uniform from top to bottom. You’ll use reliable mixing techniques to prevent streaks and balance color saturation.
Stir slowly, scrape the sides, and check consistency. Follow this quick routine:
- Use a flat paddle, mix 2–3 minutes.
- Scrape container walls and bottom.
- Stir again before pouring.
Make and Test Small Painted Samples Before You Commit
Before you commit to a full can, test your tint on the same surface you’ll be painting so texture and absorption match.
Mix small batches so you can adjust the tint without wasting paint.
Let samples dry fully and evaluate the true color under the room’s lighting before deciding.
Choose Test Surface
When you’re ready to test your tinted latex, pick a surface that matches the final application—drywall for walls, trim for baseboards, and so on—and paint small samples so you can see true color and finish in the right context.
Consider test surface options and proper surface preparation to guarantee accurate results.
- Prime and prep small drywall patches.
- Use actual trim material.
- Test on existing painted areas.
Mix Small Batches
After you’ve confirmed the color on your test surfaces, make only small batches of tinted latex so you don’t waste paint if the shade needs adjusting.
You’ll measure pigments precisely, record proportions, and mix thoroughly to guarantee consistency.
Use controlled color mixing and proven tinting techniques, stirring between additions and testing a single small swatch before committing to larger quantities.
Evaluate Dry Color
Why does the color look different once it’s dry? You’ll test small painted samples to check final hue, sheen, and uniformity.
Watch color perception shift as binders settle and lighting effects change appearance at different times and angles.
- Paint a 6×6″ sample on primer.
- Observe under morning, noon, and evening light.
- Note wet vs. dry differences.
If a Sample Is Off: How to Adjust Color Safely
If your sample doesn’t match what you expected, don’t panic—small tweaks can usually fix it without wasting paint. Test tiny mixes, note results, and use color correction by adding opposite tones. For safe tint adjustment, stir thoroughly and retest on a card.
| Step | Action | Note |
|---|---|---|
| 1 | Test small | Use sample cup |
| 2 | Adjust | Opposite tone |
| 3 | Record | Ratio & result |
Avoid Common Problems: Over-Tinting, Streaks, and Fading
When you’re tinting latex at home, pay attention to three common pitfalls—over-tinting, uneven streaks, and premature fading—and stop them before they start by measuring, mixing, and testing carefully.
- Measure pigments precisely to avoid over tinting issues and keep small test batches.
- Mix thoroughly and use proper rollers for streak prevention.
- Test lightfastness and apply UV-resistant topcoat to reduce fading.
Match an Existing Color or Color Chip Accurately
Matching an existing color or chip takes careful observation and a few simple tools, and you’ll save time by getting it right before you tint.
Hold the chip and sample under natural light, photograph it for reference, and compare against swatches.
Use gradual tinting techniques, note pigment formulas, and mix small test batches.
Adjust percentiles slowly until you achieve precise color matching.
Scale a Sample Recipe to Multiple Gallons Reliably
Because small-sample formulas don’t scale linearly, you’ll need to convert pigment amounts to consistent units and multiply carefully to keep color and sheen consistent across multiple gallons.
Follow these steps for reliable color scaling and ratio adjustments:
- Weigh pigments or use milliliter measures for precision.
- Multiply each component by total gallons, then recompute ratios.
- Test a small mixed batch, adjust, document final mix.
Storing Tinted Latex Paint and Keeping Color Consistent
Store tinted latex paint in a cool, dry place away from direct sunlight and temperature swings to preserve its quality.
Keep lids sealed tightly and label cans with batch details so you can match color later.
If you need more paint, mix from the same batch or record exact tint amounts to maintain consistent color.
Proper Storage Conditions
If you want your tinted latex paint to stay true, keep cans sealed, upright, and in a cool, dry place away from direct sunlight and freezing temperatures.
You’ll control ideal temperature and humidity levels to protect pigments and improve paint longevity. Use appropriate storage containers and label mixes.
- Keep temps stable (40–80°F).
- Maintain low humidity.
- Use airtight, opaque cans.
Maintaining Color Consistency
When you want the color you mixed to match every time, keep detailed records of the formula and always return cans to the same conditions they were mixed in; label each can with the brand, color code, date, and any measured additives so you can recreate the tint if you need more.
Control environmental factors and light exposure, use proper storage solutions, consistent mixing technique, and shake to prevent pigment settling to reduce shade variation, color fading, and guarantee tint longevity.
Frequently Asked Questions
How Do Pigments Affect VOC Levels and Indoor Air Quality?
Pigments affect VOC levels and indoor air quality by altering solvent needs; you’ll find organic pigment types can raise emissions while inorganic ones usually lower them, so follow VOC regulations to choose low-emission pigments and proper ventilation.
Can I Tint Latex Paint for Outdoor Use Differently Than Interior?
Yes — you can tint exterior latex differently; you’ll choose exterior color choices with more UV-stable pigments and add weather resistance by using exterior-grade tints or binders, ensuring durable color and reduced fading under sun, rain, and temperature changes.
Will Tinted Latex Paint Alter Voc-Compliant or Low-Voc Certification?
Mostly no—minor tints usually won’t. But be cautious: VOC regulations can change if tinting process adds solvents. You’ll want to test for color consistency and paint durability, and keep manufacturer documentation for compliance.
How Long Before Tinted Paint Freezes or Needs Thawing After Cold Storage?
Paint can start freezing after several hours to days in freezing temperatures; you’ll need to thaw fully before use. For paint storage, keep latex above 40°F to prevent freezing and maintain quality during cold spells.
Can Tinted Latex Paint Be Used on Plastic or Laminate Surfaces Without Primer?
Like tape on glass, it usually won’t stick well — you’ll need primer for reliable plastic adhesion and laminate compatibility. If you skip primer, expect peeling; prep and a bonding primer make the finish hold.
Conclusion
You’ve got the power to turn a plain can into your dream color—no wizardry required. Follow the steps, measure like a pro, and mix patiently, and you’ll nail the shade every time. Don’t overdo the tint, match samples carefully, and store leftovers right. With a little practice you’ll be tinting like a paint-shop pro at home—saving money, avoiding mistakes, and impressing everyone who thought DIY color was impossible.