How to Remove Paint From Bathtub Safely and Effectively
You can remove paint from a bathtub safely by first identifying the tub material and paint type, then protecting fixtures, ventilating the space, and wearing gloves, eye protection, and a respirator. Start with soap and warm water for fresh paint, use rubbing alcohol or a plastic scraper for stubborn spots, and match a gentle solvent or gel remover to the tub finish for cured paint, testing a hidden area first; minor chips can be filled or polished, and continuing will show detailed steps and tips.
Quick Method: Remove Paint From a Bathtub (Step‑by‑Step)
Start by protecting the area: lay down drop cloths, tape off fixtures, and open a window for ventilation.
You’ll test a small patch, choose a gentle paint remover or heat gun, scrape with a plastic putty knife, and rinse frequently.
Follow paint removal techniques cautiously, avoid harsh abrasives, and finish with bathtub maintenance tips like mild cleaner and regular inspections to preserve the surface.
Identify Your Tub Finish: Acrylic, Porcelain, Enamel, Fiberglass
First, figure out what material your tub is—acrylic, porcelain, enamel, or fiberglass—since each reacts differently to cleaners and tools.
Check how tough the finish is by looking for chips, gloss level, and any manufacturer markings so you pick a safe removal method.
Before applying any product, test it on a small, hidden area to confirm it won’t damage the surface.
Determine Surface Material
Before you remove any paint, identify what your tub is made of—acrylic, porcelain, enamel-coated steel, or fiberglass—because each finish reacts differently to solvents, scrapers, and abrasives.
Inspect seams, edges, and any chips to note surface types and material characteristics: acrylic feels warm and flexible, porcelain is glossy and hard, enamel-coated steel is thin and cool, fiberglass shows woven texture.
Check Finish Durability
Now that you know what material your tub’s made of, check how tough the finish is so you can pick safe removal methods.
You’ll assess finish types and perform simple durability testing to avoid damage.
Consider age, visible wear, gloss level, flexibility, and repair history before choosing tools or chemicals.
- Age
- Wear
- Gloss
- Flexibility
- Repairs
Test Small Area First
Because finishes can hide subtle weaknesses, test a small, inconspicuous area before tackling the whole tub to confirm how the surface reacts to your chosen method.
You’ll identify acrylic, porcelain, enamel, or fiberglass sensitivity by trying gentle test methods first. Apply cleaner or solvent to a small sample, wait, then inspect for discoloration, softening, or abrasion.
Proceed only if results are safe.
Identify the Paint: Water‑Based vs Oil‑Based and Why It Matters
Paint type matters because water‑based and oil‑based paints require different removers and techniques, so you’ll want to know which you’re dealing with before you start.
Identify paint types and note adhesion differences to choose safe solvents, tools, and protections.
- Water‑based: softer, easier to soften
- Oil‑based: tougher, needs stronger remover
- Consider ventilation
- Test compatibility
- Protect drains and fixtures
Quick Test to Tell If Paint Is Wet or Fully Cured
To tell if paint on your tub is still wet or fully cured, start by feeling the surface for tackiness or a smooth, hard finish.
If that’s inconclusive, rub a hidden spot with a cloth dampened with acetone—if paint softens or comes off, it’s not cured.
Also check color and sheen changes: wet paint often looks darker and glossier than cured paint.
Check Surface Tactile Feel
Surface feel gives you a quick clue about whether the coating’s still tacky or fully cured—lightly press an inconspicuous corner with a fingertip or a clean cotton swab; if it sticks, leaves a mark, or smears, it’s not ready for scraping or cleaning.
Use surface texture and tactile feedback to decide next steps.
- Test several spots
- Try gentle pressure
- Note residue
- Avoid solvents
- Wait if tacky
Use Acetone Spot Test
If you’re unsure whether the coating’s cured, do a quick acetone spot test on a hidden area to see if it softens or smears—this tells you whether it’s still wet, partially cured, or fully set.
Dab a cotton swab with acetone application, rub gently, and watch for transfer. If paint lifts or smears, wait or remove wet paint; if not, it’s cured and needs mechanical or chemical removal.
Observe Color And Sheen
Wondering whether that paint is still wet or fully cured? Check subtle shifts: wet paint looks darker and glossier; cured paint shows true hue.
Use color psychology to note mood changes and compare sheen types under light. Test small area gently.
- Inspect gloss change
- Feel for tackiness
- Compare adjacent patches
- Use bright, angled light
- Wait 24–48 hours
Safety First: PPE, Ventilation, and Protecting Fixtures
Because paint removers and scraping kick up fumes and particles, you should gear up before you touch the tub: wear chemical-resistant gloves, eye protection, a respirator rated for organic vapors or a mask with P100 filters, and long sleeves to protect your skin.
Use personal protective gear, set ventilation options (fans, open windows), cover faucets and drains for fixture protection, follow chemical safety rules, and plan workspace preparation.
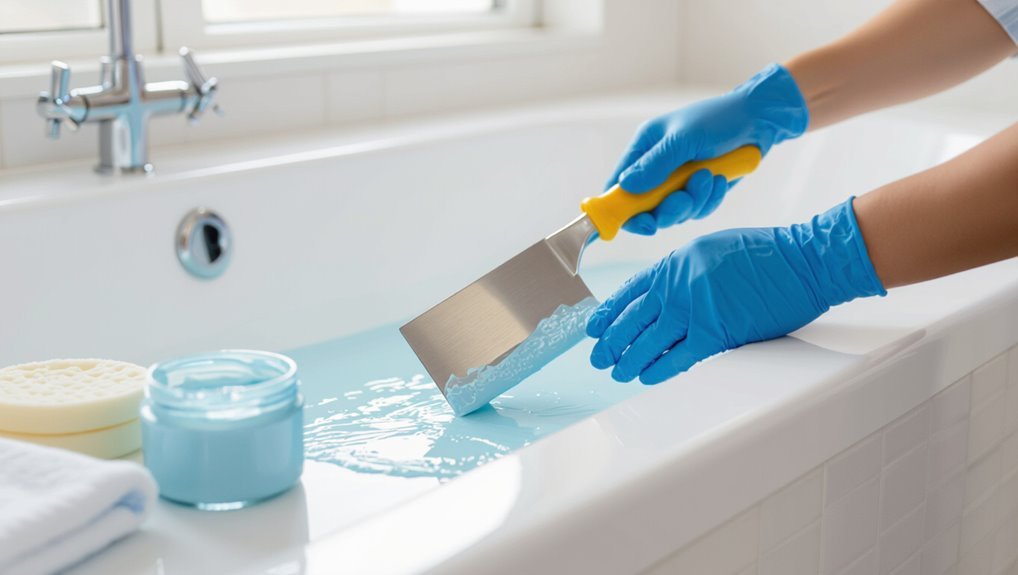
Remove Fresh Paint Without Chemicals: Peel, Scrape, and Soak
Now that you’re protected and your work area’s prepped, you can tackle fresh paint without solvents by relying on physical methods: peeling, scraping, and soaking.
Use gentle peeling techniques, plastic scrapers, and controlled soaking methods to lift paint without damage. Follow careful strokes, short soaks, and repeat as needed.
- Test a small area first
- Use plastic tools
- Warm water soaks
- Gentle peeling
- Rinse thoroughly
Remove Fresh Paint With Household Cleaners (Safe Options)
If the paint’s still fresh, you can often lift it with nothing harsher than gentle soap and warm water—start by softening the spot and rubbing with a soft cloth.
For slightly stubborn spots, dab rubbing alcohol on a cloth and gently work the paint loose, testing first in an inconspicuous area.
Both methods are safe for most tubs if you rinse thoroughly and avoid abrasive scrubbing.
Gentle Soap And Water
When paint is still wet, start with gentle soap and warm water to avoid scratching the tub’s finish and to keep cleanup simple.
You’ll use gentle cleansing and effective techniques: rinse, apply mild dish soap, let soak, wipe with a soft cloth, and repeat until paint lifts.
Stay patient and work gently to protect the surface.
- Rinse area first
- Use mild soap
- Soak briefly
- Soft cloth only
- Repeat as needed
Rubbing Alcohol Use
Reach for rubbing alcohol to tackle fresh paint that’s resisted soap and water; it dissolves many water-based and some latex paints without harsh abrasives. You’ll dampen a cloth, test a hidden spot, gently rub, and rinse. Use gloves and ventilate the room for safe paint removal.
| Tool | Action | Tip |
|---|---|---|
| Cloth | Dampen | Test first |
| Alcohol | Apply | Ventilate |
When to Use Commercial Paint Removers and Which Solvents
Because some paints won’t budge with scraping or gentle cleaners, you’ll need to know when a commercial remover or solvent is appropriate and which one to pick.
Use commercial products when paint is stubborn, cured, or covers large areas. Match solvent types to paint chemistry and tub material.
- Latex remover
- Oil-based solvent
- Citrus-based gel
- Acetone wipe
- Methylene chloride-free stripper
Use Chemical Strippers Safely on Each Tub Type
Pick a stripper that’s safe for your tub material—what works on porcelain can eat acrylic or fiberglass.
You’ll want to ventilate well and wear gloves, goggles, and a respirator if the product’s fumes are strong.
Test a small hidden spot first so you’re confident the cleaner won’t damage the finish.
Match Stripper To Surface
When choosing a paint stripper, match the product to your tub’s material—fiberglass, acrylic, porcelain-enamel, and cast iron all react differently to chemicals—so you don’t damage the surface while removing paint.
You’ll assess surface compatibility, review paint removal techniques, and test a small area. Choose gentler, acrylic-safe formulas for plastics and stronger gels for enamel or cast iron.
- Test a hidden spot
- Read label limits
- Use plastic-safe gel
- Neutralize residues
- Rinse thoroughly
Ventilate And Protect
Now that you’ve matched the stripper to your tub and tested a hidden spot, focus on ventilation and personal protection before applying chemicals.
Open windows, run exhaust fans, and use a box fan to direct fumes outdoors as ventilation methods.
Wear chemical-resistant gloves, goggles, a respirator rated for organic vapors, and long sleeves—your essential protective gear to prevent burns, inhalation, and skin irritation.
Essential Tools: Scrapers, Pads, Heat Guns, and Tips
You’ll need a few reliable tools to remove paint from a bathtub effectively: a plastic or metal scraper, abrasive pads or sanding sponges, a heat gun (or hair dryer for smaller jobs), and appropriate safety gear like gloves and goggles.
Use scraper selection advice, compare pad types, control heat application, and perform tool maintenance.
- Plastic scraper
- Metal scraper
- Abrasive pads
- Heat gun
- Safety gear
Avoid Scratches: Scraper Choices, Grit, and Pressure Technique
You’ve got the right tools, but choosing the wrong scraper or pressing too hard can leave permanent scratches in the tub finish.
Match scraper types to surface: plastic or nylon for acrylic, single-edge metal only for porcelain with care.
Start with low grit pads, increase gently if needed.
Control pressure application—light, steady strokes—and test inconspicuously before wider use.
Remove Stubborn Stains and Halo Discoloration
Stubborn stains and halo discoloration can linger long after the paint itself is gone, so tackle them with targeted cleaners and gentle agitation rather than brute force.
Tackle lingering stains and halo discoloration with targeted cleaners and gentle agitation, not harsh scrubbing.
Use mild abrasives, oxygen bleach, and soft brushes; test patches first. Combine halo removal techniques with routine maintenance to prevent recurrence and follow stain prevention strategies.
- Soft nylon brush
- Oxygen bleach paste
- Nonabrasive cleanser
- Microfiber buffing
- Test patch protocol
Rinse, Neutralize, and Dispose of Paint Residue Properly
1 simple rinse won’t finish the job: after loosening paint and stains, flush the surface thoroughly with warm water to remove residual particles, then neutralize any chemical cleaners per their instructions to stop reactions and protect the tub finish. Rinse again, dry, and follow local paint disposal rules for safe paint disposal and residue neutralization.
| Step | Action | Note |
|---|---|---|
| 1 | Rinse | Warm water |
| 2 | Neutralize | Follow label |
| 3 | Dry | Prevent stains |
| 4 | Dispose | Local rules |
Minor Repairs: Buffing, Polishing, and Filling Chips
Start by inspecting the tub closely to identify scratches, dull spots, and small chips so you can decide whether to buff, polish, or fill. Minor surface damage often responds well to light sanding and polishing, while deeper chips need a filler matched to your tub’s material and color.
Use proper buffing techniques and polishing materials, then:
- Clean area
- Sand lightly
- Apply filler
- Wet-sand smooth
- Polish to finish
When Resurfacing, Reglazing, or Hiring a Pro Is Necessary
If light buffing and spot filling won’t restore the finish—if the paint is peeling, the surface has widespread staining, or multiple deep chips and scratches remain—you’ll need to contemplate more extensive options like resurfacing or reglazing, or hiring a pro.
Evaluate resurfacing techniques versus reglaze scope, cost, and downtime.
Seek professional help for complex damage, adhesion issues, or warranty-backed work to guarantee durable results.
Prevent Paint Mishaps: Setup, Masking, and Cleanup Tips
Because prep makes the difference between a neat job and a disaster, take time to protect everything around the tub: tape off fixtures and trim, cover floors and nearby surfaces with drop cloths or plastic sheeting, and remove or shield drains, faucets, and hardware so paint can’t seep into crevices.
Use proper masking techniques and cleanup strategies to avoid stains.
- Tight tape edges
- Plastic sheeting
- Drop cloth weights
- Waste disposal plan
- Ready cleaning supplies
Troubleshooting: Quick Fixes for Common Problems
When things go wrong during painting—drips, uneven coverage, or paint on fixtures—you can usually correct them quickly with the right tools and steps.
Use paint removal tips like gentle scraping, solvent-soaked cloths, or a plastic razor for enamel. For stubborn spots, test a small area first.
Follow simple troubleshooting techniques: work patiently, ventilate, and wear gloves to avoid damage.
Frequently Asked Questions
Can Paint Fumes Damage Bathroom Fixtures Long-Term?
Yes — paint fumes can harm fixtures over time; you’ll face reduced fixture longevity from chemical exposure. Prioritize ventilation and low paint toxicity products, and you’ll protect finishes while minimizing corrosion, discoloration, and sealant degradation.
Will Paint Removal Void My Bathtub Warranty?
Possibly — you’ll void warranty clauses if you use incompatible paint types or nonapproved removal methods; check your manufacturer’s terms, contact them first, and use recommended cleaners or professionals to avoid breaching coverage.
Can I Use a Pressure Washer on an Indoor Tub?
You shouldn’t — pressure washer safety matters, and indoor tub precautions mean you’ll damage surfaces and cause water intrusion. Instead, use low-pressure tools and gentle cleaners; don’t risk voiding warranties or creating costly repairs.
How to Dispose of Paint-Soaked Rags Safely?
You should air-dry paint-soaked rags outdoors until stiff, then double-bag them and follow local hazardous waste rules for paint disposal; don’t toss oily rags in regular trash, and store safely to prevent unexpected combustion.
Can Mold Grow Under Leftover Paint After Removal?
Yes — mold can grow under leftover paint after removal if moisture’s present. You’ll prevent it by ensuring thorough paint removal, drying surfaces, improving ventilation, and using mold-prevention primers or sealants to block dampness and spores.
Conclusion
You’ve tackled paint like a tide receding—careful, deliberate, and a little brave. Whether you gently coaxed droplets from acrylic or stood firm against stubborn enamel, you’ve saved your tub from a painted past and restored its calm shine. Keep safety as your lighthouse, prep as your map, and call a pro when the waves get rough. With patience, your bathtub will sing clean again—ready for new beginnings.