
Can You Paint Exterior PVC Trim? Everything You Need to Know
Yes — you can paint exterior PVC trim if you prep and use the right products. Clean and lightly scuff the surface, use a plastic-bonding primer, then apply high-quality exterior acrylic or polyurethane paint in thin coats within the recommended temperature and humidity range. Avoid painting warped, PVC-coated, or heavily contaminated pieces, and check your warranty before you start. Follow proper cure times and maintenance for best longevity, and continue on to learn detailed prep, paint choices, and troubleshooting.
Can You Paint Exterior PVC Trim?
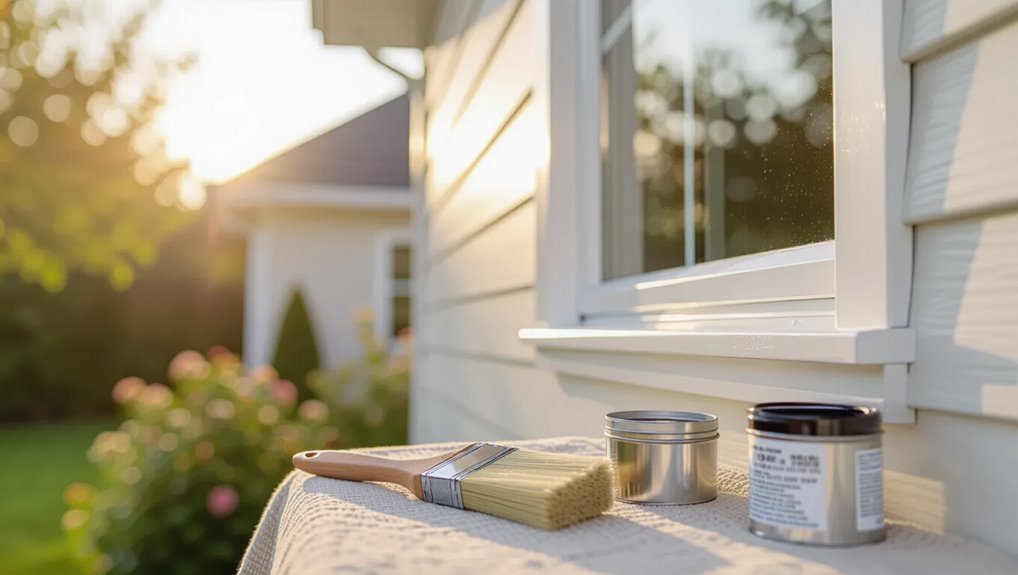
Can you paint exterior PVC trim? Yes—you can paint it if you prep and choose proper coatings.
You’ll preserve PVC durability by using primers designed for plastics and high-quality exterior acrylic latex or polyurethane paints. Proper preparation and paint selection enhance paint longevity and resist peeling, UV fade, and weathering.
Follow manufacturer instructions for adhesion and temperature limits to guarantee lasting results.
When to Paint PVC Trim
Now that you know PVC trim can be painted with the right prep and products, pick the timing to get the best adhesion and durability.
Paint when temperatures are within the paint’s recommended range and humidity is low.
Paint only when temperatures fall within the paint’s recommended range and humidity is low for best adhesion.
Consider color selection to avoid excessive heat absorption.
Schedule work in stable weather conditions, allowing proper cure time between coats and before exposure to rain or direct sun.
When to Avoid Painting PVC Trim
Unless conditions allow the paint to bond and cure properly, don’t start painting PVC trim; skip the job when temperatures fall outside the paint’s recommended range, humidity is high, or wet weather is imminent.
Also avoid painting if the trim is contaminated, warped, or vinyl-coated—choose paint alternatives or focus on trim maintenance instead, like cleaning, repairs, or replacement, until conditions and surface integrity are suitable.
How PVC Trim Differs From Wood and Composite Trim
PVC trim is made from vinyl-based polymers, not the fibrous cellulose you get with wood or the blended resins and wood flour in many composites, so it behaves differently when exposed to paint.
You’ll need to account for PVC’s smooth, low-energy surface, which makes paint adhesion more challenging than with rougher, absorbent wood or textured composite.
Knowing those material and adhesion differences lets you choose the right primer, paint, and prep methods for a lasting finish.
Material Composition Differences
Because it’s made from rigid polyvinyl chloride rather than cellular wood fibers or blended polymers, PVC trim behaves and accepts paint very differently than wood or composite alternatives.
You’ll notice superior material durability and resistance to rot, insect damage, and moisture swelling.
PVC’s smooth, nonporous surface also helps maintain color retention longer, but you’ll still need proper priming and paint selection for best results.
Paint Adhesion Challenges
When you paint PVC trim, you’ll quickly notice it doesn’t grab paint the same way wood or composite does—its hard, nonporous surface limits mechanical bite and makes relying solely on conventional primers risky.
You should use specific adhesion techniques and surface treatments: abrade lightly, clean with solvent, apply a bonding primer formulated for PVC, and choose flexible exterior paint to reduce peeling and cracking over time.
How to Inspect PVC Trim for Paintability
Before you start painting, look closely for cracks, gouges, heavy chalking, or glossy factory finishes that might prevent paint from sticking.
Try a quick adhesion test by scuffing a small area with fine sandpaper and applying a bit of primer and paint to see if it bonds.
If the paint flakes or the sanded spot shows problems, you’ll need repair or more aggressive prep before painting.
Visual Condition Check
Start by doing a close visual sweep of the PVC trim to spot cracks, gouges, warped sections, loose joints, and areas where the surface looks chalky or stained — these defects tell you whether the trim needs repair, deeper cleaning, or is ready for paint.
Use visual inspection to note damage, discoloration, and fastener issues; record a concise condition assessment before proceeding.
Surface Adhesion Test
After you’ve noted visible damage and staining, test how well paint will stick by performing a simple adhesion check. Clean a small area, score the surface lightly, apply primer, then paint a patch. Pull tape to inspect. Good adhesion means proceed; poor results need more surface preparation or replacement.
| Step | Action |
|---|---|
| 1 | Clean area |
| 2 | Score lightly |
| 3 | Prime |
| 4 | Tape test |
Cleaning PVC Trim: Remove Dirt, Oils, and Mold
Grab a soft brush, mild detergent, and a bucket — you’ll need them to clear away surface dirt, oils, and mold so paint will stick properly.
You should scrub with gentle cleaning products, rinse thoroughly, and dry completely.
Use safe mold removal techniques like diluted bleach or specialty cleaners for persistent spots, wearing gloves and eye protection, and test a small area before treating the whole trim.
How to Sand PVC Trim for Paint Adhesion
Lightly scuff the PVC with fine-grit sandpaper (220–320 grit) to give the paint something to bite into; you’re not trying to remove material, just roughen the surface.
Use consistent, light strokes and keep surfaces clean to optimize sanding techniques and paint adhesion.
- Sand along grain or profile
- Use a sanding block
- Remove dust with tack cloth
- Avoid deep gouges
- Wear a mask
Which Primers Bond to PVC and Why
Choose a primer formulated for non-porous plastics—specifically those labeled for PVC, vinyl, or multi-surface adhesion—because they contain chemicals that promote mechanical and chemical bonding to smooth PVC surfaces.
You’ll look for primer types with silane or specialty bonding agents; they improve surface compatibility and reduce delamination.
Understanding adhesion science helps you pick solvent- or acrylic-based primers designed to create durable paint bonds on PVC.
Priming PVC Trim: Application Tips
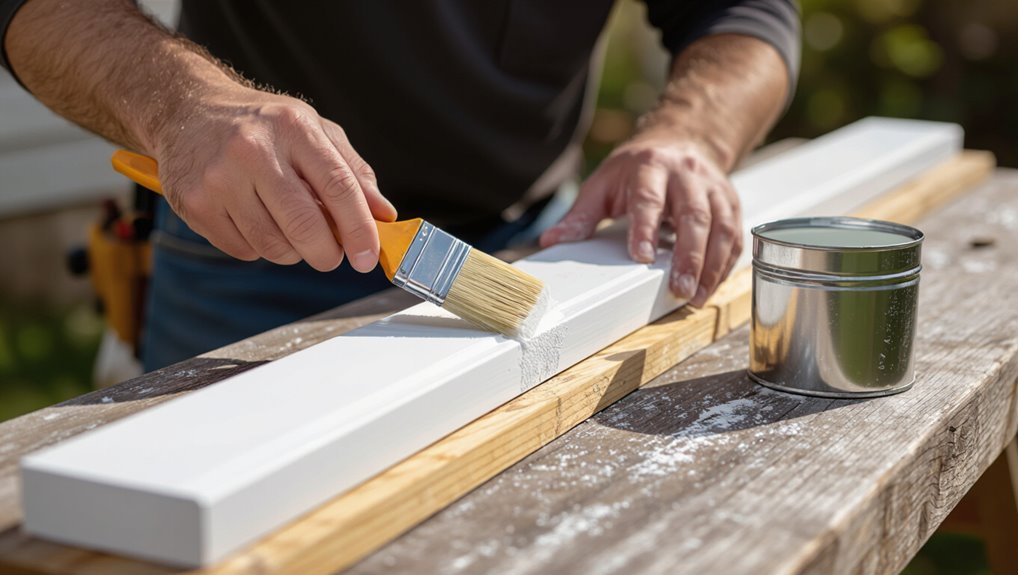
Before you paint, prep the PVC by cleaning, scuffing, and masking so the primer can form a consistent bond.
You’ll use proven priming techniques to guarantee adhesion and evaluate paint compatibility afterward.
Follow these application tips:
- Use solvent-compatible primer
- Sand light, remove dust
- Apply thin, even coats
- Allow full flash time
- Inspect for missed spots
Choosing Exterior Paint for PVC: Key Properties
When picking paint for exterior PVC trim, you’ll want products with strong UV resistance to prevent fading and chalking.
Also look for flexible formulations with excellent adhesion so the paint moves with the substrate and stays bonded.
Finally, consider breathability and a sensible dry time to avoid trapped moisture and guarantee a durable finish.
UV Resistance
Because PVC sits in direct sunlight for years, you’ll want paint that resists UV damage to keep color and surface integrity intact.
Choose coatings with strong UV protection to prevent UV degradation and color fading from sunlight exposure.
Consider these factors:
- UV-resistant pigments
- UV-stable binders
- Fade warranties
- UV-blocking additives
- Regular inspection schedule
Flexibility And Adhesion
If you want paint that stays put on PVC as it expands and contracts, prioritize flexibility and strong adhesion—these properties prevent cracking, peeling, and edge lift as temperatures and moisture change.
Choose formulations offering flexibility benefits so coatings move with the substrate.
Combine proper surface cleaning, light abrasion, and a compatible primer as adhesion techniques to guarantee durable bond and reduced maintenance.
Breathability And Dry Time
How quickly paint breathes and dries matters more than you might think for exterior PVC trim: you want a coating that lets trapped moisture escape and cures at a pace that avoids surface skinning or prolonged tackiness. Consider breathability factors and dry time considerations to prevent bubbling and failure.
- Choose breathable primers
- Favor fast, controlled cure
- Check humidity limits
- Avoid thick coats
- Allow full cure before exposure
Color Choices to Reduce Heat and Warping
When choosing paint for exterior PVC trim, pick lighter, muted colors that reflect sunlight and keep the material cooler to reduce thermal expansion and warping.
You’ll favor shades with strong heat reflection and low color absorption to limit temperature swings.
Test samples in sunlight, avoid deep, saturated hues, and consider regional climate—cooler tones help PVC stay dimensionally stable and last longer.
Finish Options: Matte, Satin, Semi-Gloss
Pick a sheen that fits both the look you want and the wear the trim will face, since matte, satin, and semi-gloss each offer different durability and maintenance needs.
Matte hides surface imperfections and needs gentler cleaning. Satin balances subtle sheen with easier upkeep, and semi-gloss stands up best to scrubbing and moisture.
Think about how texture and reflectivity will change your trim’s visual impact and how often you’re willing to maintain it.
Choosing The Right Sheen
Which sheen suits your PVC trim depends on the look and durability you want; satin and semi-gloss both resist dirt and are easier to clean, while matte hides surface imperfections better but shows scuffs more readily.
Use sheen selection to match style and consider sheen effects on appearance.
- Satin: subtle glow, practical
- Semi-gloss: durable shine
- Matte: conceals flaws
- Contrast: trim vs siding
- Style: modern vs traditional
Durability And Maintenance
Although the finish you choose looks small, it determines how often you’ll clean and touch up PVC trim: matte hides minor surface flaws but shows scuffs. Satin balances a soft glow with easier cleaning, and semi-gloss gives the best resistance to dirt and repeated washing.
For long term durability, pick semi-gloss for high-traffic areas; follow simple maintenance tips: gentle detergent, soft brush, and periodic inspections.
Visual Impact And Texture
Your choice of finish—matte, satin, or semi-gloss—directly shapes how your PVC trim reads against siding and architectural details.
You’ll pick finishes for aesthetic enhancement and subtle texture variation. Consider how light, maintenance, and contrast interact:
- Matte hides imperfections
- Satin balances sheen and depth
- Semi-gloss emphasizes lines
- Dark colors add drama
- Light tones simplify profiles
Tools for Painting PVC Trim: Spray vs. Brush/Roller
When you’re deciding between spraying and brushing/rolling PVC trim, think about coverage, finish, and the job size: sprayers give fast, even coverage for large areas and detailed profiles, while brushes or rollers offer more control for touch-ups or small sections.
Choose spray techniques for speed and smoothness; use brush options for precision, edges, and managing drips on intricate trim.
Step-by-Step: Paint Exterior PVC Trim
Before you start painting PVC trim, you’ll prep the surface by cleaning, sanding, and filling gaps so paint adheres properly.
Then you’ll choose a compatible primer and exterior-grade paint formulated for plastics and UV resistance.
Finally, you’ll apply paint using the method you picked, feather edges, and finish with proper drying and cleanup techniques.
Surface Preparation Steps
Good surface prep makes the paint stick and last, so you’ll want to clean, sand, and prime PVC trim carefully before applying any topcoat.
Focus on surface cleanliness and primer importance to guarantee adhesion.
Then follow these steps:
- Wash with mild detergent
- Rinse and dry thoroughly
- Sand lightly for tooth
- Remove dust completely
- Apply recommended primer evenly
Primer And Paint Selection
1 key decision is choosing a primer and paint that match PVC’s non-porous surface and your climate; pick a high-quality acrylic latex primer formulated for vinyl or PVC and a topcoat labeled for exterior trim so you get proper adhesion, flexibility, and UV resistance.
Choose paint with UV inhibitors, consider color matching to avoid heat gain, and prioritize finish durability for long-lasting protection.
Application And Finishing Techniques
Start by preparing a clean, dry surface and plan your work in manageable sections so you can keep a wet edge and maintain consistent coverage.
Use proper application techniques and follow finishing techniques to guarantee durability.
Tips:
- Sand lightly between coats
- Use quality brush or roller
- Maintain thin, even coats
- Allow full dry time
- Inspect and touch up seams
How Many Coats and Proper Dry Times
When painting exterior PVC trim, plan on two coats for reliable coverage and durability: a quality primer (if required by your paint) and a full topcoat, with a third touch-up coat only where needed.
Apply thin, even coats during each coat’s application step, sanding lightly between coats if necessary.
Respect manufacturer dry times—usually several hours—before recoating to guarantee adhesion and a lasting finish.
Temperature, Humidity, and Weather Window Rules
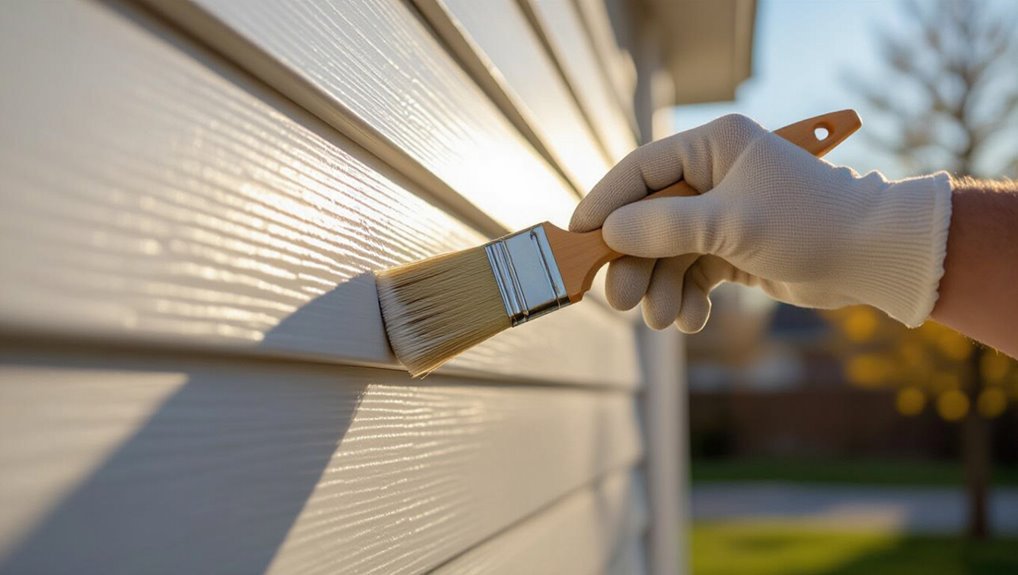
If you want a durable finish, paint PVC trim only within the paint manufacturer’s recommended temperature and humidity ranges—usually between about 50–90°F (10–32°C) and below roughly 70% relative humidity—so the coatings cure properly and stick without blistering or poor leveling.
You should monitor temperature effects and humidity impact; plan workdays and avoid moisture.
Monitor temperature and humidity, schedule workdays accordingly, and avoid moisture for a long-lasting finish.
- Check forecast
- Use a hygrometer
- Avoid rain
- Paint in shade
- Pause at dewpoint
Common Mistakes That Cause Peeling or Cracking
Even with the right weather window, a few common mistakes will still make paint peel or crack on PVC trim.
You’ll skip thorough cleaning, ignore sanding, or use wrong primers and paints.
Follow paint preparation tips: remove contaminants, roughen glossy surfaces, and choose compatible acrylic exterior paint.
Avoid common pitfalls like painting over moisture, extreme temperatures, or thick glossy coats that can’t flex with the trim.
Fixing Adhesion Failure, Bubbling, and Peeling
Start by stripping loose paint, sanding glossy spots, and cleaning the PVC so new coatings can bond properly.
Pick a primer made for vinyl/PVC and follow the manufacturer’s instructions for drying time and application.
For bubbling or peeling that’s already happened, remove the damaged areas, feather the edges, fill or replace split sections, then prime and repaint.
Surface Preparation Steps
1 key to a durable painted finish is proper surface preparation when you’re dealing with adhesion failure, bubbling, or peeling on exterior PVC trim.
You’ll inspect, clean, and sand, then choose appropriate primer and paint.
Focus on Surface cleaning, Primer types, Adhesion techniques, Paint selection and follow:
- Remove loose paint
- Clean with mild detergent
- Sand glossy areas
- Scuff for bonding
- Dry thoroughly
Choosing Proper Primer
After you’ve cleaned, sanded, and dried the PVC, pick a primer formulated to promote lasting adhesion and resist moisture that causes bubbling and peeling. Choose primer types for PVC—bonding, solvent, or acrylic—then use correct application techniques: thin even coats, proper drying, and light sanding between coats to prevent peeling.
| Bonding | Solvent | Acrylic |
|---|---|---|
| Thin coat | Ventilate | Sand lightly |
| Dry time | Solvent odor | Recoat window |
Addressing Existing Damage
When you find bubbling, peeling, or areas where paint won’t stick, don’t ignore them—these problems will only worsen if you paint over compromised surfaces.
You should perform a quick damage assessment, remove loose paint, sand edges, clean residue, and choose proper repair techniques before priming.
Follow steps:
- Scrape affected areas
- Sand to feather edges
- Clean with solvent
- Apply compatible filler
- Spot-prime and recoat
Maintaining Painted PVC Trim
If you’ve already painted your PVC trim, keeping it looking good is mostly about routine cleaning, quick touch-ups, and watching for signs of wear so small problems don’t become big ones.
Use simple maintenance tips: soft-bristle brush, mild detergent, and rinse.
Clean gently with a soft-bristle brush, mild detergent, then rinse thoroughly to keep trim looking fresh.
Inspect annually for chips or peeling, sand lightly, and spot-prime before repainting.
Store leftover paint for accurate color matching.
Will Painting Affect Your PVC Warranty?
Will painting your PVC trim void the warranty? You shouldn’t assume so—check manufacturer terms.
Painting can have warranty implications depending on paint types, surface prep, and application. Follow guidelines to avoid issues.
- Read warranty language
- Use approved paint types
- Prepare surfaces per instructions
- Keep records and receipts
- Contact manufacturer for approval
DIY vs. Pro: Cost and Time Estimates
Checking your warranty and manufacturer recommendations helps you decide whether to tackle painting PVC trim yourself or hire a pro.
For a clear cost breakdown, list materials, primer, paint, and tool rental versus contractor labor and markup.
For time comparison, estimate DIY prep/paint over weekends against pro efficiency and warranty-backed timelines so you can weigh budget, skill, and schedule.
When Repainting Isn’t Worth It: Replacement Signs
When the trim shows deep cracks, warped sections, persistent staining, or extensive paint failure despite proper prep, you should consider replacement rather than another paint job.
You’ll weigh replacement indicators against benefits, run a quick cost analysis, and choose replacement when repairs won’t last.
Consider:
- Structural rot
- Large warps
- Irreversible staining
- Repeated paint failure
- Hidden moisture damage
Quick Checklist Before You Start Painting PVC Trim
Before you break out the paint, run through a short, focused checklist so you don’t waste time or money on avoidable problems: inspect for cracks or rot, clean and sand surfaces, confirm PVC-compatible primer and paint, test color selection on a small area, verify recommended application temperature, and choose products rated for finish durability and UV resistance.
Gather tools, tape, and safety gear before starting.
Frequently Asked Questions
Can I Paint PVC Trim That Was Previously Coated With Oil-Based Stains?
Yes — you can paint it. Like stripping old bark from a tree, you’ll sand, clean, and degloss using proper preparation techniques, then use compatible paint types (acrylic or polyurethane exterior paints) and a quality primer for adhesion.
How Long Before Rain Can Freshly Painted PVC Get Wet Safely?
You should wait at least 24–48 hours before rain protection is removed so freshly painted PVC can safely get wet; follow paint-specific drying times, cooler or humid conditions may extend wait periods, so check manufacturer instructions.
Will Painted PVC Emit Harmful Fumes When Heated by Sunlight?
Like a sun-warmed stone, you won’t get harmful fumes from painted PVC under sunlight; UV exposure effects can fade or soften paint, and paint adhesion challenges mean you’ll need proper prep and UV-resistant coatings to avoid issues.
Can I Attach Decals or Trim Accessories Over Freshly Painted PVC?
Yes — but wait: you should let paint fully cure (usually 7–30 days) so decal adhesion and trim durability aren’t compromised. Clean and use compatible adhesives; test a small area to verify bonds hold under sun and movement.
Does Paint Change PVC Trim’s Fire Resistance Rating?
No — paint won’t meaningfully alter PVC trim’s fire resistance; you’ll preserve its baseline rating while paint adhesion affects surface durability. Like a thin skin, coatings change appearance and wear but not inherent flame behavior.
