
Can You Paint Part of a Wall and Finish Later? What You Should Know First
Yes — you can stop painting partway and finish later, but you’ll need to plan to avoid visible seams, sheen shifts, and adhesion problems. Note the paint batch and sheen, clean and sand exposed stops, feather edges, and protect unfinished areas from dust and temperature swings. Allow proper recoat times based on latex or oil, monitor humidity and temp, and test small patches for color match. Keep tools and records handy so you can resume confidently and learn fixes for lap marks.
Can You Really Paint Part of a Wall and Finish Later?
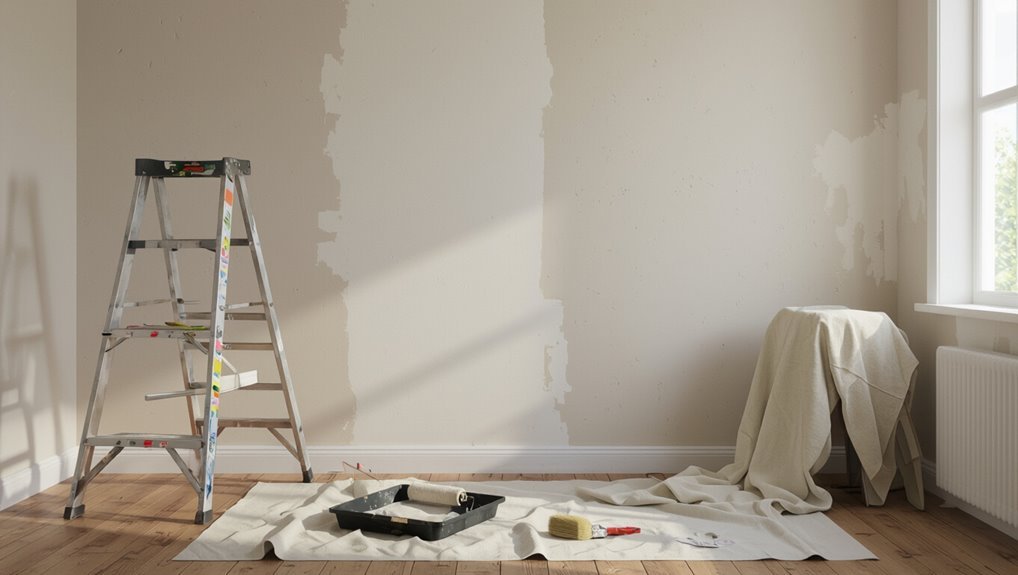
Wondering if you can paint part of a wall now and finish it later? You can tackle a partial wall in stages if you use careful paint techniques, matching sheen and color, and feathering edges to hide overlap.
Clean, sand, and prime any exposed stops before resuming. Keep records of paint batch and drying conditions so your touch-up blends seamlessly.
When You Should Stop Mid-Wall : And When You Shouldn’t
If you’re midway through painting and life interrupts, stop only when the remaining work won’t create obvious seams or runoff problems—like leaving a clean, straight edge at a corner, doorframe, or natural break in the wall.
Balance painting techniques with proper wall preparation to avoid visible joins. Consider:
Balance painting techniques with proper surface prep to prevent visible joins—plan stops at natural edges for seamless results.
- Corners and edges
- Trim and frames
- Natural breaks
- Large uninterrupted areas
How Long Can You Wait Before Resuming Painting?
When you pause painting, how long you can wait depends mainly on the paint type, the room’s temperature and humidity, and whether the partially painted edges have dried to a tack-free state.
Latex paints typically allow a recoat after 1–4 hours, while oil-based paints can take 8–24 hours. Cooler or more humid conditions will stretch those times longer.
You should track the waiting period to protect paint longevity.
How Temperature and Humidity Affect Paused Paint Jobs
When you pause a paint job, temperature directly affects how fast the paint dries and whether it skins over before you can resume.
High humidity slows curing and can cause tackiness or mildew, while very dry or cold conditions can lead to cracking or poor adhesion.
To protect partially painted surfaces, you should cover them, control the room climate if possible, and label where you stopped so you can prep correctly when you return.
Temperature Impact On Drying
Because temperature and humidity directly control how paint dries, you’ll want to monitor both before pausing a job and while waiting to resume.
- Check temperature ranges to avoid skinning or slow drying.
- Track humidity levels—molded or tacky surfaces risk poor paint adhesion.
- Note drying times at current conditions; adjust pause length accordingly.
- Warm, ventilated spaces speed curing; cold, damp ones prolong it.
Humidity And Paint Curing
Humidity plays a big role in how paint cures after you pause a job, so check it along with temperature before you walk away.
High humidity slows drying, increases tackiness, and can harm paint durability by trapping moisture.
Low humidity speeds skin formation but can cause cracking.
You should anticipate humidity effects on recoat timing to avoid adhesion problems and uneven finish.
Storage Of Partially Painted Surfaces
Storing a partially painted wall properly means controlling temperature and moisture so the paint doesn’t tack up, wrinkle, or lose adhesion while you wait to finish.
You should manage paint storage and surface protection to avoid dust, condensation, or heat stress that ruins edges.
- Keep room 50–70°F, stable
- Maintain 40–60% humidity
- Cover edges with tape/plastic
- Ventilate gently, avoid drafts
Tools to Keep on Hand Before You Pause Painting
Before you pause, have your paint tray with a liner ready so you can seal or swap it quickly.
Clean brushes and rollers now to prevent drying and keep them ready for the next session.
Wrap exposed edges with plastic sheeting and tape to protect surfaces and trap humidity.
Paint Tray And Liner
One good paint tray and a few disposable liners will save you time and make pausing between painting sessions much cleaner and faster.
Choose tray materials that suit your paint and workflow, and pick liner types that fit snugly. You’ll switch liners between colors and store a covered tray briefly.
- Plastic trays
- Metal trays
- Disposable liners
- Heavy-duty liners
Clean Brushes And Rollers
You’ve got your tray and liners in order, so next make sure your brushes and rollers are ready for a break.
For brush care, remove excess paint, reshape bristles, and wrap tips in plastic or foil if pausing overnight.
For roller maintenance, spin out paint, cover in plastic, or store in a sealed bag.
Proper cleaning prevents dried mess and saves time later.
Plastic Sheeting And Tape
While you’re pausing work, keep plastic sheeting and painter’s tape within reach so dust, drips, and wet edges stay contained; they let you seal off floors, furniture, and trim quickly and give you clean lines when you resume.
- Use plastic sheeting benefits to protect surfaces.
- Measure and cut before taping.
- Follow tape application tips for crisp edges.
- Remove tape slowly to avoid peeling.
Prep the Work Edge So the Next Coat Blends
Start by keeping a clean, damp rag and a small angled brush within reach so you can quickly tidy up the work edge before the next coat.
Use edge preparation techniques: remove drips, feather paint with light sanding, and wipe dust.
When you resume, apply thin, overlapping strokes and employ blending methods to match texture and sheen, minimizing visible seams for a seamless finish.
How to Protect the Unfinished Area From Dust and Damage
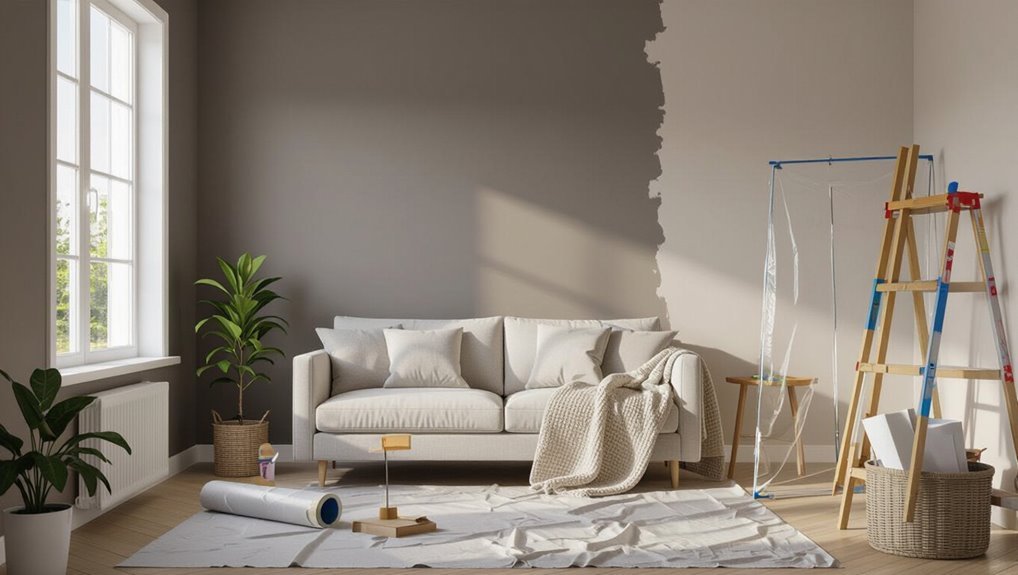
After tidying the work edge, protect the unfinished area so dust, pet hair, and accidental bumps won’t ruin your progress.
Use dust barriers and protective coverings to seal the space, keep traffic away, and mark the zone.
Follow these quick steps:
- Hang plastic sheeting as dust barriers.
- Tape edges with painter’s tape.
- Lay drop cloths over floors.
- Block access with a sign or temporary barrier.
Clean and Sand the Edge Before You Resume
Before you pick up the brush again, clean the painted edge to remove any grime or loose paint.
Lightly sand the feathered seam so the new coat will blend smoothly with the existing finish.
Wipe away all sanding dust with a tack cloth or damp rag so the surface is completely clean before you resume.
Clean Painted Edge
Wipe down the painted edge with a damp cloth to remove dust, grease, and loose paint so your next coat sticks properly.
Then dry and inspect the seam, using a clean brush to remove trapped debris and finish edge preparation before painting.
- Remove cobwebs and dust
- Clean loose flakes
- Wipe with solvent if oily
- Let dry fully
Sand Feathered Seam
Once the edge is clean and dry, sand the feathered seam to blend the old paint into the surrounding surface so new coats lay down smoothly.
Use gentle sanding techniques—fine-grit or a sanding sponge—to feather edges without gouging.
Focus on even surface preparation, smoothing connections and removing high spots so your next paint application adheres uniformly and hides any visible joins.
Remove Dust Completely
1. You’ll need spotless edges before you resume painting. Use proven dust removal techniques and surface preparation tips so paint bonds evenly.
Wipe with a damp microfiber cloth, vacuum with a brush attachment, then tack cloth final. Lightly sand any rough spots, clean again, and let dry.
Proper cleanup prevents flaking and guarantees a seamless finish when you continue.
Feather and Blend Roller/Brush Lines When You Resume
Match the new paint to the old by feathering and blending your roller or brush lines so the repair disappears into the surrounding finish. Use feathering techniques and blending methods to soften edges; work wet‑into‑wet, lighten pressure, and overlap strokes. Stay patient, step back, and adjust.
| Calm | Confidence |
|---|---|
| Smooth | Seamless |
| Relief | Pride |
Match Paint Color and Sheen After a Pause
When you pause and come back to a wall, check the paint can for the batch number so the color matches exactly.
If you don’t have the same batch, bring a chip to the store for a precise rematch.
Also keep the sheen consistent—use the same finish and stir thoroughly to avoid noticeable differences.
Matching Paint Batch Numbers
If you paused a project and need more paint later, check the can for the batch or formula number before buying a new one—you’ll want the exact code to get the closest color and sheen match.
Keep sample chips and note paint consistency and color blending habits.
- Record batch/formula.
- Bring a labeled swatch.
- Ask store to match code.
- Test a small patch.
Sheen Consistency Tips
Because sheen affects how light plays across your wall, you’ll want to match it as carefully as you would the color—gloss differences are more noticeable than many people expect. Check original paint can for finish, test a small patch, and avoid mixing batches. Note sheen variations across light and surface. Use consistent paint finishes for touch-ups.
| Surface | Test | Result |
|---|---|---|
| Wall | Patch | Match |
| Trim | Sample | Adjust |
| Ceiling | Swatch | Confirm |
Cut-In vs. Full-Wall Restart: Choose the Right Technique
Curious which method will save you time and give the cleanest edge? You’ll pick cut-in techniques when you resume later—tight edges, minimal overlap, better paint blending with fresh strokes.
Restarting full-wall works if you’ll finish at once or need uniform sheen.
Consider drying time, lighting, and access before choosing.
- Cut-in techniques
- Full-wall restart
- Timing and drying
- Lighting conditions
How to Fix Seams, Lap Marks, and Texture Mismatches
Once you’ve chosen cut-in or full-wall restarts, you’ll still run into seams, lap marks, and texture mismatches—but you can fix them so the repair blends with the surrounding paint.
Prep edges, sand lightly for seam blending, and guarantee texture consistency with matching compound.
Use proper edge preparation, controlled brush strokes, and roller technique to match nap.
Focus on paint adhesion, color matching, and finishing techniques.
3 Quick Adhesion Checks Before You Recoat
Want to make sure your new coat actually sticks? Do a simple adhesion test, check surface cleanliness, and confirm primer choice matches existing paint before recoating.
- Tape test: press and rip to spot lift.
- Cleanliness: remove dust, grease, chalking.
- Porosity check: spot water drop—sinks in or beads?
- Compatibility: confirm primer choice and paint base match to avoid peeling.
Staging Tips for Multi-Day Paint Jobs
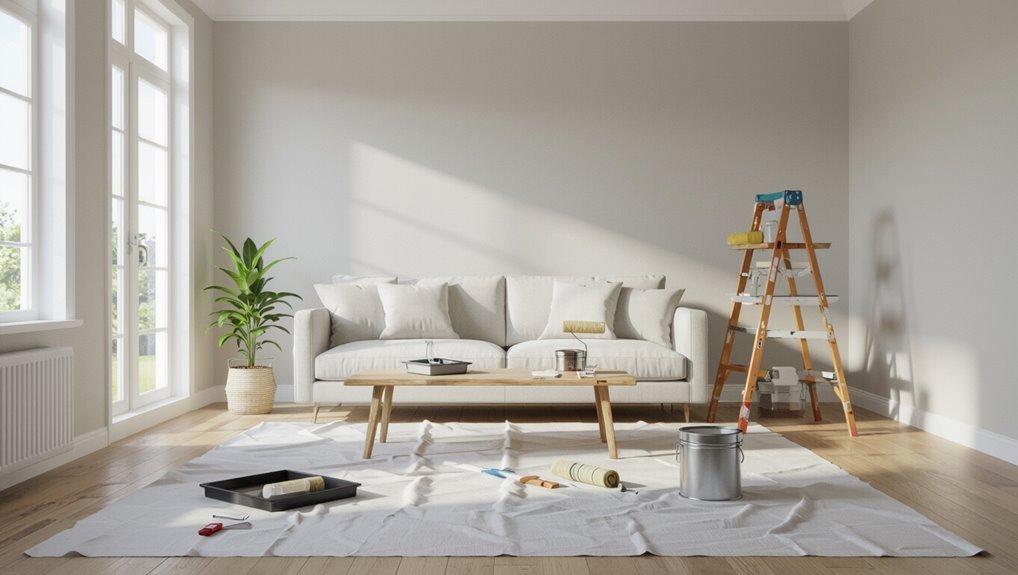
If your job will span several days, plan how you’ll secure work areas each night so paint stays clean and tools stay organized. You’ll use multi day planning to label cans, cover floors, and create clear access paths. Focus on staging essentials: tarps, sealed trays, charged lights.
| Item | Purpose |
|---|---|
| Tarps | Protect floors |
| Labels | Prevent mix-ups |
Common Mistakes That Turn a Halfway Job Into an Eyesore
When you pause a paint job without the right prep, small oversights quickly become glaring flaws: tacky edges, drips that dry lumpy, and dust trapped in wet paint all scream “unfinished.”
- Uneven color consistency from mismatched batches.
- Visible lap marks from wrong finish techniques.
- Peeling where tape wasn’t removed properly.
- Texture mismatches when surface sanding’s skipped.
Frequently Asked Questions
Will Unfinished Edges Affect Wallpaper or Trim Installation Later?
About 78% of DIYers report visible seams when unfinished edges remain; yes, they’ll affect wallpaper or trim installation because poor paint adhesion and lack of edge blending can cause lifting, visible lines, and uneven finishes unless properly prepped.
Do Paused Paint Jobs Void Contractor Warranties?
They can—if contractor agreements or warranty clauses require continuous work, pausing may void coverage; you should review contracts, notify the contractor, and get written confirmation to preserve warranty protection before stopping painting.
Can You Leave Electrical Outlets Exposed While Pausing?
You shouldn’t leave exposed outlets while pausing; you’ll create safety hazards. Turn power off, cover outlets with plastic or outlet covers, label circuits, and follow painting safety to prevent shocks, dust intrusion, and contractor warranty issues.
Is It Safe to Store Paint Cans in a Garage During a Multi-Day Pause?
Safe storage starts smart: you’ll want proper paint storage in a garage only if temperature considerations are stable, cans are sealed, elevated, away from flames, and protected from freezing or extreme heat to preserve paint quality and safety.
Should You Notify Household Members About Paused Painting Areas?
Yes — you should tell everyone where paint drying is paused; you’ll avoid accidental smudges and spills, and everyone can follow safety precautions like keeping kids and pets away, closing vents, and watching for wet edges.
