
Can You Stencil a Textured Wall? Tips for Getting Clean Results
Yes — you can stencil a textured wall, but you’ll need the right prep and technique to get crisp results. First identify the texture (orange-peel, knockdown, heavy) and fix big imperfections; skim-coat only if texture is too deep. Use flexible mylar or vinyl stencils, larger motifs, and a firm, dry pouncer or stiff brush. Apply thin, multiple coats, tap off excess paint, and touch up bleeds with a fine brush. Keep going to learn detailed steps and pro tips.
Can You Stencil a Textured Wall? Quick Answer
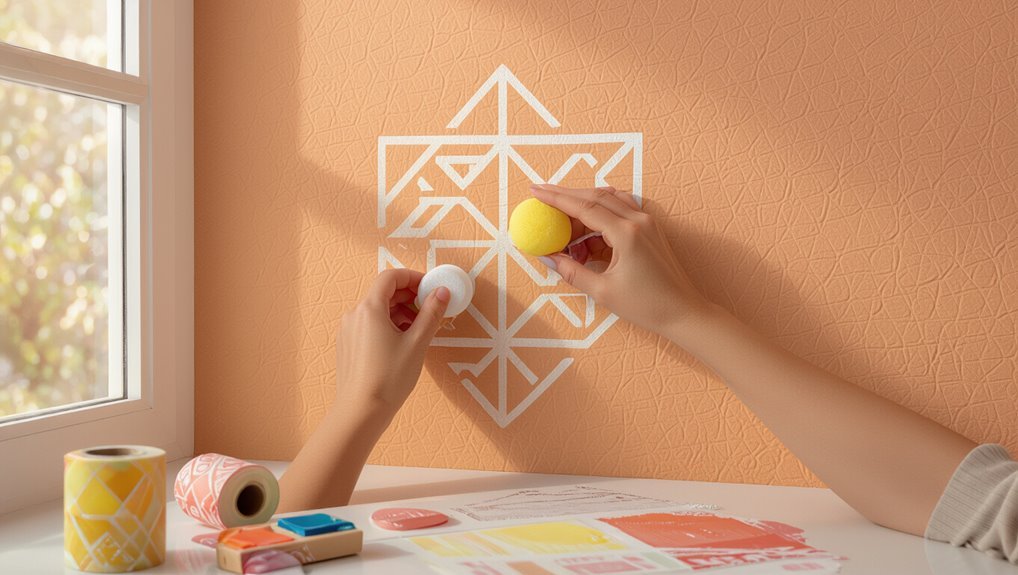
Yes—you can stencil a textured wall, but results depend on the texture and technique.
You’ll choose stencil techniques that suit texture types: light orange peel accepts crisp patterns with pouncing, while heavy popcorn or knockdown may need simplified designs or raised stencils.
You’ll test first, adjust paint thickness and pressure, and expect softer edges on coarse surfaces rather than perfectly sharp lines.
Identifying Your Wall Texture Before Stenciling
Before you stencil, run your hand over the wall to note the feel and pattern type so you know how the stencil will sit.
Check the paint thickness—thicker coatings can hide detail and affect adhesion.
Also look for surface imperfections like bumps, cracks, or patching that could distort the design.
Feel And Pattern Type
Texture matters: run your hand over the wall to detect whether it’s smooth, lightly orange-peeled, knockdown, heavy popcorn, or brush-stroked, because each pattern affects stencil adhesion, paint application, and final crispness.
You’ll adjust stencil techniques to suit texture effects: press and anchor differently, choose softer rollers or stippling, and plan motif placement to avoid seams, raised edges, or lost detail on rough patterns.
Paint Thickness Level
Run your fingers over the surface and look closely at how the paint sits in the valleys and on the peaks: thick, gloppy paint fills texture and blunts stencil detail, while thinner, well-sheened paint preserves edges and fine lines.
You’ll assess paint viscosity to judge texture compatibility; choose low-viscosity coats or thin layers for crisp stenciling and avoid heavy application that obscures pattern clarity.
Surface Imperfections Present
Feel the wall and scan it closely to spot bumps, cracks, flaking paint, or heavy orange-peel stipple that will affect stencil crispness; these imperfections tell you whether you’ll need patching, sanding, or a different stencil technique.
You’ll assess textured surfaces to choose repair depth and suitable stencil techniques—light texture may accept flexible applicators, deep texture usually requires filling or a bold, forgiving pattern for clean, legible results.
Prep Steps to Prevent Paint Bleed on Texture
Before you stencil, take a few careful prep steps so paint won’t seep into the textured surface and ruin the crisp edges.
You’ll focus on bleed prevention and managing texture interaction: seal pores, test pressure, and choose application technique.
Follow these quick steps to control paint flow and get sharp patterns without fuss.
- Seal and prime small areas first
- Use a firm, dry applicator
- Test on scrap texture
Choosing Stencils Made for Textured Walls
When you’re picking stencils for a textured wall, prioritize flexible materials like thin mylar or vinyl that can conform to bumps.
Match the pattern size and scale to the texture—larger motifs read better on rough surfaces while tiny details get lost.
Keep portability in mind so you can press and reposition the stencil easily as you work.
Stencil Materials That Flex
Because textured surfaces demand flexibility, pick stencils made from soft, bendable materials like mylar, thin vinyl, or laser-cut silicone that conform to bumps and grooves without tearing.
You’ll value flexible materials for stencil durability and easier edges. Test adhesion, cleanability, and thickness.
- Mylar: reusable, tear-resistant
- Thin vinyl: affordable, molds well
- Silicone: best flexibility, lasts longer
Pattern Size And Scale
Scale matters: pick stencils whose repeat size matches your wall’s texture and the room’s proportions so the design reads clearly from normal viewing distance. You’ll assess pattern harmony and scale impact by testing samples. Choose larger repeats for heavy texture and big rooms; smaller motifs suit subtle texture and compact spaces.
| Texture | Suggested Repeat |
|---|---|
| Heavy | Large |
| Medium | Medium |
| Fine | Small |
Paint Types and Thinning for Sharp Stencil Edges
If you want crisp stencil edges on a textured wall, pick a paint that holds up to the surface and can be thinned for controlled application—usually acrylic latex for durability or acrylic craft paints for fine detail.
Balance paint consistency and use gentle thinning techniques to prevent bleed without overwatering.
- Test small areas first
- Thin with water or medium sparingly
- Use short, controlled dabs
Must-Have Tools for Crisp Stenciling on Texture
To get crisp stencil lines on a textured wall, you’ll want a high-quality stencil that holds its shape and edges.
Make sure your paint is thinned to the right consistency so it won’t puddle or bleed into the texture.
Use proper application tools—stencil brushes, foam rollers, and low-tack adhesive—so you can control paint build-up and pressure.
Stencil Quality Matters
Because textured walls hide detail, choosing high-quality stencils and the right tools makes the difference between a crisp pattern and a muddled mess.
You’ll want durable materials that resist tearing and allow repeated use; prioritize stencil durability and simple stencil maintenance so edges stay sharp.
Carry these essentials:
- Flexible mylar stencil
- Low-profile adhesive
- Soft pouncer brush
Right Paint Consistency
Now that you’ve got durable stencils and the right tools, getting the paint consistency right will make or break the pattern on a textured wall.
You’ll aim for medium paint viscosity so it sits on peaks without pooling. Test and adjust with a palette until coverage’s even.
Maintain stencil alignment between passes, wiping excess paint to prevent bleed and preserve crisp edges.
Proper Application Tools
When you’re working on a textured wall, the right tools let you control paint buildup and keep edges sharp.
You’ll need quality stencil materials and steady application techniques to get crisp repeats on uneven surfaces.
- Stencil brush or foam pouncer for controlled dabbing
- Low-tack stencil adhesive to prevent bleed
- Microroller for light, even coverage and touch-ups
How to Secure Stencils: Tape, Spray Adhesive, Registration
If you want crisp, repeatable stencil impressions on a textured wall, securing the stencil properly is essential.
Use Stencil Techniques like alignment marks and registration tabs so patterns match.
Try low-tack painter’s tape for edges or temporary spray Adhesive Options for more hold—test on scrap first.
Hold seams with clips or registration pins, and wipe excess adhesive to prevent smudges.
Application Techniques: Pouncing, Stippling, Thin Coats
Choose the right motion and pressure for clean edges: pouncing (a controlled tapping motion) deposits small amounts of paint through the stencil, stippling (a short, upright dabbing) builds texture without dragging, and applying thin, multiple coats prevents bleed and keeps details sharp.
You’ll balance texture compatibility and stencil durability while working.
- Start light, test on scrap
- Layer thin coats for depth
- Rotate brush to avoid wear
Handling Seams, Corners, and Repeat Patterns on Texture
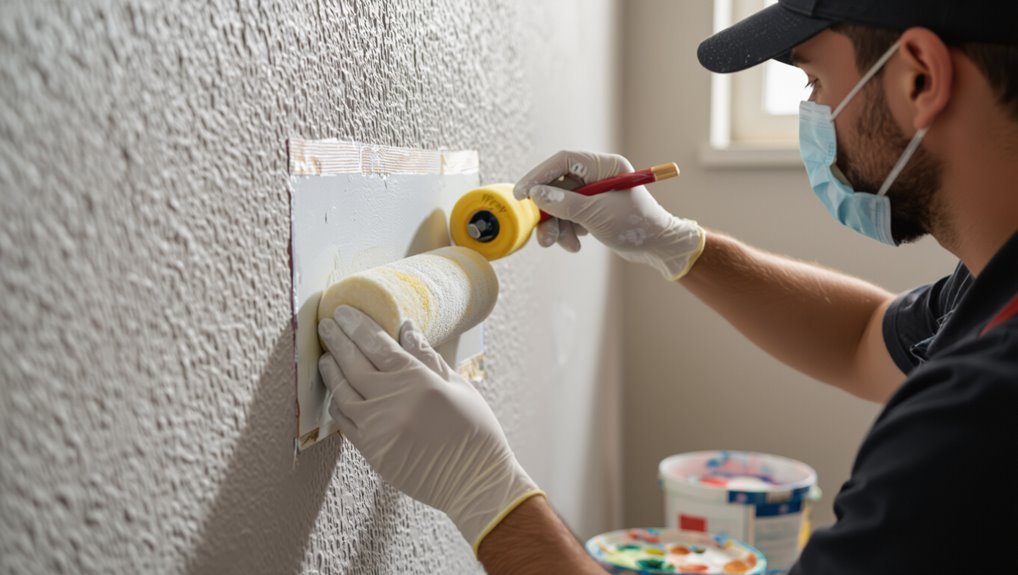
Because seams, corners, and repeating motifs demand different handling on textured surfaces, you’ll plan each pass to preserve pattern continuity and minimize bleed.
Use small, controlled stencil techniques: align repeats before painting, mark registration points, and rotate or trim templates for corners.
Accept texture challenges by easing pressure, overlapping slightly at seams, and stepping back to check alignment as you work.
Fixing Bleed, Patchy Coverage, and Misalignment
When paint seeps under the stencil, leaves gaps, or the pattern shifts out of register, tackle each problem with targeted fixes rather than redoing the whole wall.
Use bleed prevention by tapping off excess, employ coverage techniques like thin multiple coats, and correct misalignment with small stencil adjustments mindful of texture considerations and proper paint applications.
- Re-tack edges and pounce thin coats.
- Fill gaps with a fine brush.
- Realign using registration marks.
When to Prime, Skim Coat, or Call a Professional
Decide whether to prime, skim coat, or call a pro based on the wall’s texture, damage level, and the finish you want; if the surface has deep texture or widespread gouges, skim coating or hiring a professional will save time and give a smooth base.
While light sanding and a good primer will suffice for minor roughness before stenciling.
Choose priming options carefully, and seek professional advice when unsure.
Design & Placement Tips That Work With Wall Texture
A few simple placement choices can turn textured walls from a challenge into an advantage: align stencils with the texture’s high points so paint catches on ridges for a subtle, dimensional look, or position motifs across smoother areas to keep lines crisp.
You’ll choose stencil shapes and color combinations to accent or hide texture; plan repeats and focal areas for balance.
- Repeat spacing for rhythm
- Scale to wall features
- Contrast for visibility
Frequently Asked Questions
How Do I Stencil Over Wallpaper With Texture?
Want clean results? You can stencil over textured wallpaper if you prep: remove loose paper, seal seams with wallpaper adhesives, prime, use stencil materials like flexible brushes and adhesive spray, and apply thin layers, dabbing gently for crisp edges.
Can I Stencil Exterior Textured Walls?
Yes — you can stencil exterior textured walls, but you’ll need adapted stencil techniques: use flexible outdoor stencil material, durable exterior paint, daub lightly with a stipple brush or pouncer, and seal with a clear weatherproof topcoat for longevity.
Will Stenciling Damage Delicate Faux Finishes?
Like walking on eggshells, you won’t ruin delicate faux finishes if you work carefully; you’ll preserve faux finish preservation by testing, using gentle stencil technique adjustments, low-tack adhesive, soft brushes, minimal paint, and light, controlled pressure.
How Long Before Sealing a Stenciled Textured Wall?
You should wait 24–48 hours for proper stencil drying time before sealing; that lets paint cure on textured surfaces. Use gentle sealing techniques—thin, even coats of clear matte acrylic or spray sealant—to avoid smudging or buildup.
Can Children Safely Help Stencil Textured Surfaces?
Like painting with a gentle breeze, yes — you can involve kids if you supervise, use kid-safe paints, simplified stenciling techniques, non-toxic materials, gloves, and set clear rules so child safety stays front and center.
