
How Long Should Wood Dry After Rain Before Painting? The Safe Answer
You should wait until the wood’s surface feels dry and a moisture meter reads about 12–15% before painting—typically 24–72 hours after rain, depending on temperature, humidity, airflow, and wood type. Latex usually needs 24–48 hours, oil-based finishes 48–72. Check several spots, use airflow or a dehumidifier to speed drying, and avoid painting if wood’s cool, dark, or soft. Keep an eye on conditions and you’ll find useful tips to guarantee proper adhesion.
Minimum Drying Times by Finish (Quick Summary)
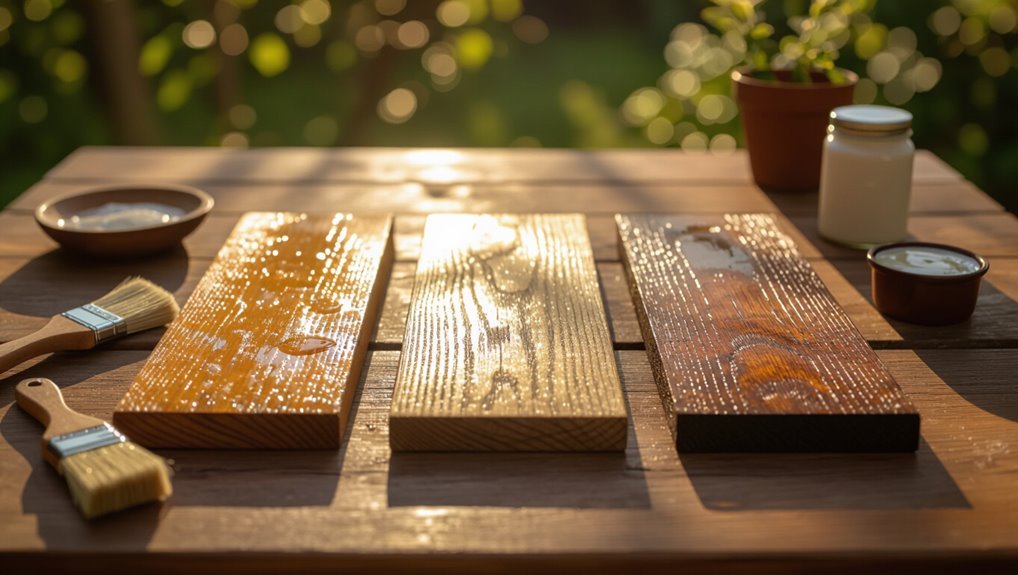
Because different finishes react to moisture in different ways, you should wait the minimum recommended time for the specific product you’ll use.
Check labels: latex often needs 24–48 hours in good drying conditions, oil-based stains and paints may demand 48–72 hours.
Sealers and varnishes vary. Always confirm manufacturer guidance to guarantee proper paint adhesion and avoid premature failure.
How Long Should Wood Dry After Rain Before Painting?
After rain, you should wait until the wood’s surface feels dry and the internal moisture reaches paintable levels—typically 24–72 hours depending on species and weather.
Use a moisture meter or the simple tape test to confirm the wood’s moisture content is below the recommended 12–15% for most paints.
If the wood stays damp longer, keep it covered and recheck before you paint.
Drying Time Guidelines
Wood should usually dry for at least 24–72 hours after rain before you paint, but the exact time depends on temperature, humidity, wood type, and how thoroughly the surface was wet.
Check local drying conditions: warm, windy, low-humidity days speed drying while cool, humid ones slow it.
Wait until the surface is visibly dry to guarantee reliable paint adhesion and longer finish life.
Moisture Check Methods
Those drying-time guidelines give you a ballpark, but you’ll want to confirm the wood’s actual moisture before you reach for paint. Use a moisture meter, touch test, or probe to assess moisture absorption and choose drying techniques accordingly.
| Method | What it shows | Use when |
|---|---|---|
| Moisture meter | % moisture | precise check |
| Touch test | surface dampness | quick screen |
| Probe | internal wetness | deep check |
How Moisture Content Affects Paint Cure
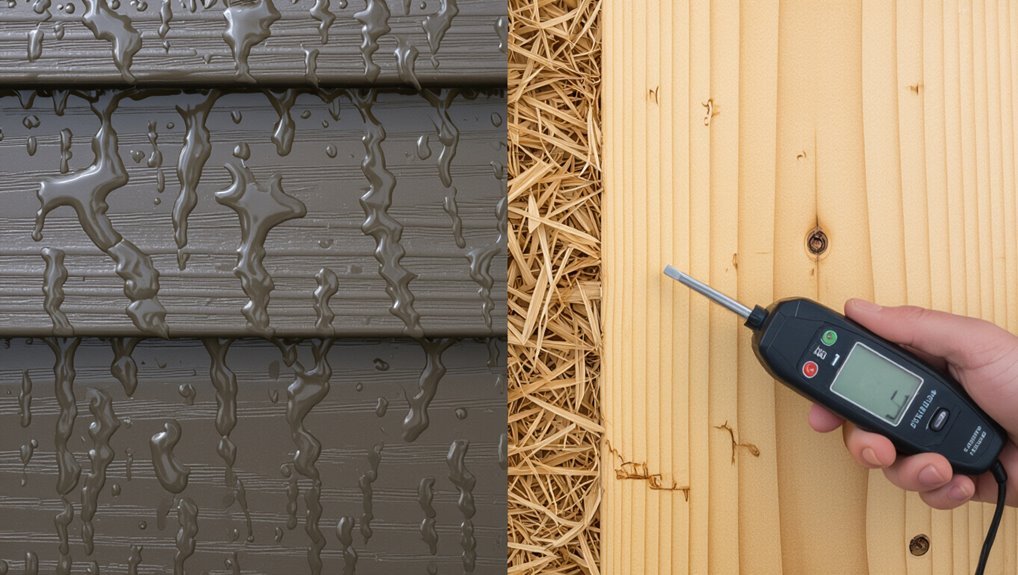
Moisture in the board directly slows paint drying and prevents proper film formation, so you’ll want the wood’s moisture content to fall within the paint manufacturer’s recommended range (typically 8–15% for exterior work).
If moisture retention is high, solvent evaporation and crosslinking stall, weakening paint adhesion and causing blistering or peeling.
You should wait until moisture levels drop to acceptable limits before painting.
Measure Wood Moisture With a Moisture Meter
You can check whether the boards have reached the paint maker’s recommended moisture range by using a moisture meter.
Place probes into several boards, record readings, and average for reliable moisture measurement.
Verify meter calibration with a manufacturer’s check block or known sample before use.
Recheck after a few hours if readings vary; only paint when readings consistently fall within the recommended range.
Quick Visual and Touch Checks to Confirm Dryness
Want a fast check before breaking out the paintbrush? Do a visual inspection first: look for dark patches, sheen, or water beads.
Then use a touch test—press a clean finger to several spots, especially end grain and sheltered areas. If surfaces feel cool, tacky, or leave residue, wait longer.
If dry, warm, and clean, you’re likely ready to paint.
Wait Times for Pressure-Treated Lumber
Pressure-treated lumber often holds more moisture, so you’ll usually wait longer—commonly several weeks to a few months—before painting.
Use a moisture meter to confirm readings under 15% and check multiple spots across the board.
Once dry, apply appropriate sealers or treatments before painting to guarantee adhesion and longevity.
Drying Time Guidelines
When lumber gets wet, wait long enough for the moisture content to drop to paint-ready levels before you coat it—typically 2 to 4 weeks for newly cut or pressure-treated boards stored in dry, ventilated conditions, but up to several months if they were heavily soaked or stacked without airflow.
Consider drying factors and environmental conditions to plan safe painting.
- Airflow
- Sun exposure
- Temperature
- Humidity
- Stacking method
Moisture Meter Tips
1 simple tool can save you guesswork: a moisture meter. You’ll use it to check pressure-treated lumber’s dryness before painting.
Rely on moisture meter accuracy—test multiple spots, edge to core—and follow manufacturer recommended moisture meter calibration routines. Aim for consistent readings within target percent for paint.
If readings vary, wait and retest; don’t paint until stable, low readings appear.
Sealing And Treatment
Because the chemical preservatives and the wood need time to stabilize, you should wait before sealing pressure-treated lumber, especially after rain.
You’ll typically wait 2–6 weeks depending on dryness and product. Use proper wood treatment and sealing techniques to avoid trapping moisture.
Check moisture content below 15% with a meter, then apply sealant. Follow label guidance.
- Dryness check
- Product instructions
- Sealant choice
- Application timing
- Recheck moisture
Wait Times for Newly Installed Decking Boards
If you just installed new decking boards, plan to let them dry at least 48–72 hours after a rain event before painting or staining, longer if the wood feels cool or damp to the touch. For decking maintenance, check moisture and weather considerations before finishing.
| Step | Check | Action |
|---|---|---|
| 1 | Touch test | Delay if damp |
| 2 | Moisture meter | Accept ≤15% |
| 3 | Weather | Pick dry window |
Wait Times: Hardwoods Versus Softwoods
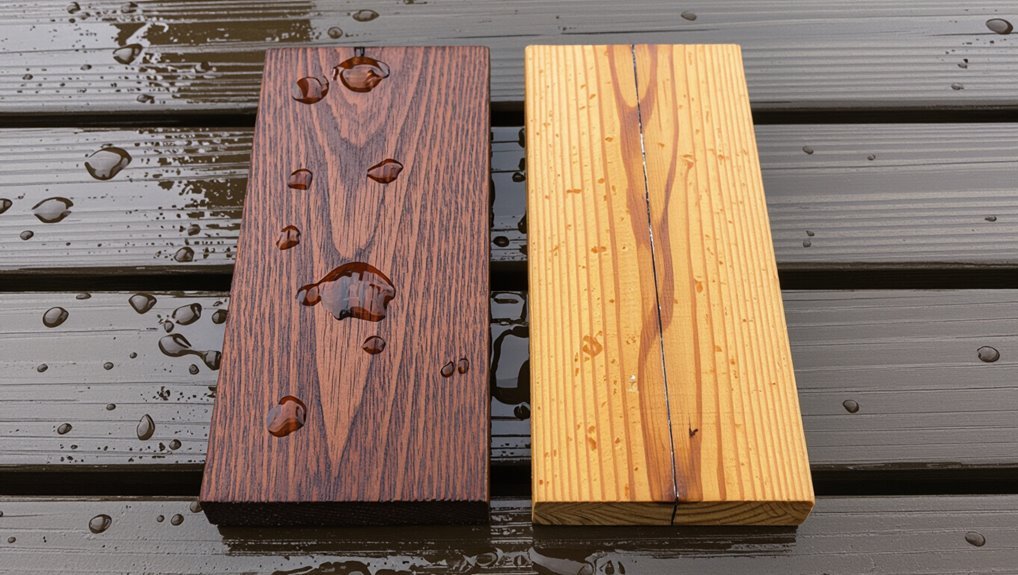
When rain soaks your deck, hardwoods and softwoods won’t dry at the same rate.
You’ll usually need to wait longer for dense hardwoods to shed moisture than for lighter softwoods.
Consider the wood type when deciding how long to wait before painting.
Hardwood Drying Time
Although hardwoods are denser and hold more moisture than softwoods, they don’t necessarily need dramatically longer drying times after rain—you’ll usually wait longer, but the difference depends on species, board thickness, and weather.
You should assess hardwood types, apply proper drying techniques, and measure moisture before painting.
- Check species-specific rates
- Measure board thickness
- Use moisture meter
- Promote airflow
- Avoid direct sun cycling
Softwood Drying Needs
Hardwoods often take longer to shed rain moisture, but softwoods dry faster and demand a different approach.
You’ll treat softwood species like pine or cedar with quicker inspection cycles, checking moisture content and surface feel.
Use active drying techniques—airflow, shading, mild heat—and wait until moisture meter readings reach paint-safe levels.
Don’t rush; softwoods vary, so verify before priming.
Priming Versus Topcoating: Different Wait Times
Because primers soak into slightly damp wood more effectively than paint does, you’ll often need less drying time before priming than before applying a topcoat.
Primers can penetrate slightly damp wood better than paint, so prime sooner but fully dry before topcoating.
Use priming tips to guarantee adhesion, then wait longer for topcoating techniques to avoid trapping moisture.
Check moisture content and surface dryness; proceed when readings are safe.
- Check moisture meter
- Choose breathable primer
- Thin coats
- Monitor humidity
- Cure fully before topcoat
Paint Types: Latex, Oil, and Stain Timelines
When you’re deciding how long to wait after rain, remember that latex paint, oil-based paint, and stains each behave differently on damp wood, so drying timelines and application rules vary by product and conditions. You should match wood preparation and stain application to environmental factors to protect finish durability.
| Type | Typical Wait | Note |
|---|---|---|
| Latex paint | 24–48 hrs | quick recoat |
| Oil paint | 48–72 hrs | deeper penetration |
| Stain | 12–48 hrs | depends on porosity |
Temperature Effects on Drying After Rain
Temperature has a big impact on how quickly wood sheds moisture after rain, so you should factor it into your drying timeline.
Warmer, drier air speeds evaporation and cuts wait time, while cold conditions slow the process dramatically.
If temperatures are near or below freezing, plan on a much longer drying period before you paint.
Temperature And Drying Rate
If it’s cool outside, wood will hold moisture much longer and slow your painting schedule, while warmer conditions speed evaporation and shorten drying time.
You should gauge temperature influence on drying conditions and adjust wait times accordingly.
Consider:
- Ambient temperature
- Relative humidity
- Sun exposure
- Wind speed
- Wood species and thickness
Cold Weather Slowdown
Cool, damp conditions will noticeably slow how fast your wood dries after rain, so you’ll need to budget extra time before painting.
In cold weather effects, moisture remains trapped longer, raising drying challenges.
You should check wood moisture content, wait for daytime warmth, use fans or heaters cautiously, and avoid painting until readings reach recommended levels to guarantee adhesion and finish durability.
Wind and Sun: Speeding Wood Drying After Rain
When sun and wind join forces, they’re the quickest natural way to dry wet wood after rain. You’ll boost drying by maximizing sun exposure and increasing effective wind speed around boards.
Aim for steady airflow and direct light, rotate pieces, and avoid shaded piles. Check moisture before painting.
- Position for sun exposure
- Elevate for airflow
- Monitor wind speed
- Rotate wood
- Test moisture
Humidity and Dew Point: What Slows Drying
If the relative humidity stays high, your wood will hold moisture and take much longer to dry.
An elevated dew point means water can condense on the surface even if it looks dry, so you shouldn’t paint until conditions improve.
Watch nighttime humidity—cooler temps can raise moisture and undo daytime drying.
High Relative Humidity
Although you might think temperature is the main factor, high relative humidity is often the biggest reason wet wood just won’t dry—because when the air is already loaded with moisture, it can’t absorb much more from the wood’s surface.
You should monitor humidity effects and choose drying techniques accordingly.
- Wait for lower humidity
- Use fans cautiously
- Increase ventilation
- Avoid sealed covers
- Time painting after clear days
Elevated Dew Point
An elevated dew point means the air’s already nearly saturated, so moisture from wet wood has little place to go and drying slows dramatically.
You’ll notice paint won’t stick well until the dew point drops several degrees below the wood’s surface temperature.
You should monitor dew point effects and humidity impact before painting, delay work when both are high, and wait for lower, stable conditions.
Nighttime Moisture Risk
When nights stay humid and the dew point nears the wood’s surface temperature, moisture will condense back onto the lumber and undo hours of daytime drying.
You should plan painting for stretches of dry, stable weather that include nighttime lows well below the dew point. Nighttime dew invites moisture accumulation, so wait for several low-humidity nights before coating.
- Check dew point forecasts
- Measure surface moisture
- Avoid painting after humid evenings
- Use fans or heaters if needed
- Schedule mid-day applications only
Wood Grain, Porosity, and Thickness: Drying Impact
Because wood’s grain, porosity, and thickness control how moisture moves, you need to assess each before deciding how long to wait after rain.
You’ll inspect grain direction and wood texture; tight grain sheds faster, open grain holds water.
Higher porosity and greater thickness increase moisture retention and drying time.
Measure surface dampness and allow extra hours for dense or porous boards before painting.
Fresh Cuts and Green Ends: Extra Drying Needs
If you cut wood recently or are dealing with green ends, expect higher moisture levels that can trap water and cause staining or poor paint adhesion.
You’ll need longer drying times for those fresh cuts than for seasoned surfaces, especially at the exposed end grain.
Check moisture content with a meter and wait until readings match the rest of the piece before painting.
Fresh-Cut Moisture Risks
Although fresh-cut lumber might look dry on the surface, it often holds a lot more moisture than kiln-dried stock. That hidden water can cause paint to blister, peel, or fail to adhere.
You’ll face moisture accumulation and drying challenges; don’t paint until moisture content is stable.
- increased swelling
- trapped sap
- uneven absorption
- delayed curing
- finish failures
Green Ends Drying Time
Cutting exposed ends—called green ends—speeds moisture loss and can lead to deep checking, so you’ll need extra drying time compared with fully seasoned wood.
Treat green ends specially: seal or sticker them, store under cover with airflow, and monitor moisture retention with a meter.
Expect days to weeks longer drying before painting, depending on species, thickness, and ambient humidity.
Mildew and Old Stains: Do They Change Readiness?
How does existing mildew or old stains affect whether the wood’s ready for paint? You need cleaner surfaces: mildew removal and stain prevention matter. If mold or tannin bleed remains, paint won’t adhere or will discolor.
Clean, dry, and spot-prime stained areas before painting.
- Inspect for mildew and deep stains
- Use proper mildew removal solutions
- Rinse thoroughly
- Let wood fully dry
- Spot-prime stained spots
When to Wait Longer: Rainy Seasons and Back-to-Back Wet Days
When you’re facing a rainy season or several wet days in a row, check the weather forecasts and plan painting windows around predicted dry spells.
Use a moisture meter to measure the wood — if readings stay above the paint manufacturer’s recommended level, don’t start.
In those cases, allow extended drying time until the wood consistently falls within the safe moisture range.
Check Weather Forecasts
If you’re painting during a rainy season or after several wet days, check the extended forecast before you start. You’ll track weather patterns and rely on forecast accuracy to decide whether to delay.
Use reliable sources, note consecutive wet days, watch humidity trends, and plan buffer days so wood dries fully before painting.
- check multiple sources
- note consecutive rain
- monitor humidity
- plan buffer days
- adjust schedule
Measure Wood Moisture
After checking forecasts and planning buffer days, you’ll want to measure the wood’s moisture before painting—especially during rainy seasons or after consecutive wet days.
Use moisture measurement techniques like a pin or pinless meter to spot high readings. Verify multiple spots and depths.
If readings exceed recommended levels for your finish, delay application and review wood drying methods to lower moisture safely before painting.
Allow Extended Drying
Because back-to-back wet days pack moisture into wood and slow evaporation, you should plan extra drying time during rainy seasons before painting.
You’ll need extended drying and to factor weather considerations into your schedule. Check moisture content, wait additional days, shelter the wood, use fans or dehumidifiers, and recheck before priming.
- Check moisture content
- Wait extra days
- Shelter the wood
- Use fans/dehumidifiers
- Recheck before priming
Safe Ways to Speed Drying: Fans, Heat, and Dehumidifiers
When you need to speed up drying without risking the wood, use controlled airflow, gentle heat, and a dehumidifier together rather than relying on one method alone.
You’ll combine drying techniques for balanced moisture management: point fans to move air, use low-temperature heaters (keep distance), and run a dehumidifier until moisture readings drop.
Monitor with a moisture meter and avoid high heat or direct blasts.
Products and Shortcuts to Avoid After Rain
Though it’s tempting to grab quick fixes, skip products and shortcuts that promise fast results at the expense of proper drying. You should avoid using instant-dry additives, solvent “revivers,” or sealers that mask moisture.
Avoid quick-fix additives or sealers—these shortcuts trap moisture and lead to blistering and adhesion failure.
Bad paint products and drying shortcuts trap water, causing blistering and adhesion failure.
- Instant-dry additives
- Solvent revivers
- Moisture-masking sealers
- Low-quality primers
- Heat-gun shortcuts
Prep After Rain: Cleaning, Sanding, and Drying Checks
After the rain stops, you’ll want to thoroughly clean the surface, sand any raised grain or loose paint, and confirm the wood is fully dry before priming or painting.
Use gentle cleaning techniques—mild detergent, scrub brush, rinse, and allow air drying.
Apply sanding methods that remove rough spots without over-sanding.
Check moisture with a meter or touch: no coolness, no dark patches, and paint only when dry.
Choosing Primers and Paints for Previously Wet Wood
Because wet wood can still trap moisture even after it looks dry, choose primers and paints formulated for high-moisture or exterior conditions to guarantee adhesion and prevent blistering.
You’ll focus on wood preparation and paint adhesion when selecting products and applying them.
- Oil-based primer for tannin bleed
- Acrylic bonding primer
- Mildew-resistant paint
- Flexible exterior topcoat
- Moisture-tolerant sealer
Common Failures From Painting Wet Wood (And Fixes)
Choosing the right primer and paint helps, but painting over wood that held moisture still leads to predictable failures you should recognize and fix.
You’ll see blistering, peeling, mildew, and poor paint adhesion when surface preparation was skipped.
Fix by drying fully, sanding, cleaning, and using mildew treatment.
Prime with a breathable, high-adhesion primer and apply paint only after moisture content is acceptable.
Typical Timelines: Porch and Fence Sample Scenarios
Typical drying times vary by location, wood type, and weather, but you can expect a sun-exposed porch floor to be paint-ready in about 24–72 hours after a soaking rain, while a shaded fence with denser boards may take 3–7 days.
You should check moisture and surface feel before painting.
Consider these scenarios:
- Porch conditions: sun, slope, ventilation
- Porch conditions: older vs. new boards
- Fence materials: cedar vs. pine
- Fence materials: board thickness
- Local humidity and recent forecast
When to Call a Pro: Signs You Shouldn’t Paint Yet
When should you call a pro instead of tackling the paint job yourself?
If moisture indicators show persistent dampness, black mold, deep rot, or widespread flaking, those are clear pro painting signs.
Call a professional if you lack proper testing tools, see structural soft spots, or the area needs extensive prep like replacement or sealing.
If you don’t have testing tools, spot structural soft spots, or face major prep like repairs, call a pro.
Don’t risk a failed finish or hidden damage.
Documenting Conditions for Warranty or Claims
If you want warranty coverage or need to file an insurance claim, document the wood’s condition before, during, and after rain so you can prove timing and extent of moisture exposure.
Keep precise records for warranty documentation and follow claim procedures promptly. Include photos, timestamps, moisture readings, repair receipts, and witness notes.
- Photos
- Timestamps
- Moisture readings
- Receipts
- Witness notes
Quick Checklist: Are You Ready to Paint After Rain?
After you’ve documented conditions for warranties or claims, use this quick checklist to confirm the wood’s ready for paint.
Check surface dry-to-touch, no visible beads or dark spots, and consistent color.
Verify ambient temperature and humidity meet paint preparation guidelines.
Ascertain no active leaks or runoff.
If in doubt, wait longer and reassess drying conditions before priming and painting.
Further Resources and Reading (Moisture Meters, Standards)
Because surface appearance and weather aren’t always reliable, consult objective resources—like moisture meters, industry standards, and manufacturer guidelines—before you prime or paint.
Because looks and weather lie, use objective tools—moisture meters, standards, and manufacturer guidance—before priming or painting.
You’ll get accurate moisture readings, compare them to drying standards, and follow best practices to avoid adhesion or rot issues.
- Buy or borrow a moisture meter
- Check manufacturer specs
- Review local drying standards
- Read industry guides
- Join painter forums
Frequently Asked Questions
Can I Paint Over Water Blisters or Raised Wood Fibers After Rain?
No, you shouldn’t—water blisters and raised wood fibers show water damage, so you’ll need to dry, sand, and repair first; then check paint compatibility and prime before repainting to guarantee proper adhesion and longevity.
Does Recent Rainfall Affect Siding Caulk Adhesion and Curing?
Yes — recent rainfall can cut caulk performance by up to 50% if surfaces stay wet. You’ll want dry, clean joints; otherwise caulk won’t bond correctly. Prioritize siding maintenance, surface prep, and wait for full cure.
Will Painting Near Gutters or Splash Zones Require Extra Drying Time?
Yes — you’ll need extra drying time near gutters and splash zones. Prioritize gutter maintenance and splash zone precautions so surfaces dry fully, preventing adhesion failures and ensuring paint and caulk cure properly before you coat.
Can Rainwater Contaminants (Soil, Pollen) Cause Paint Adhesion Problems?
Absolutely — like grit on a windshield, rain effects such as soil and pollen will reduce paint adhesion, so you’ll need to thoroughly clean and rinse surfaces before painting to guarantee proper bonding and avoid premature peeling.
Should I Delay Staining Wood That Was Pressure-Washed and Rained On?
Yes — you should delay staining until wood moisture drops to about 12-15%. You’ll monitor wood moisture and adjust staining timing accordingly; don’t stain while it’s damp or soon after rain to guarantee proper staining timing and adhesion.
