
How to Clean Walls With Cheap Paint Without Ruining the Finish
Test a hidden spot first, then dust top to bottom. Use warm water with a few drops of mild dish soap and a soft sponge or microfiber cloth; rinse with clean water and blot dry to avoid streaks. Work gently on scuffs—try a damp magic eraser lightly—and avoid bleach, acetone, or harsh scrubbing that lifts pigment. For stubborn grease, a diluted vinegar or pH-neutral cleaner helps. Keep tools soft and proceed cautiously, and you’ll find tips for deeper care and repainting below.
Quick Steps to Clean Cheap-Painted Walls
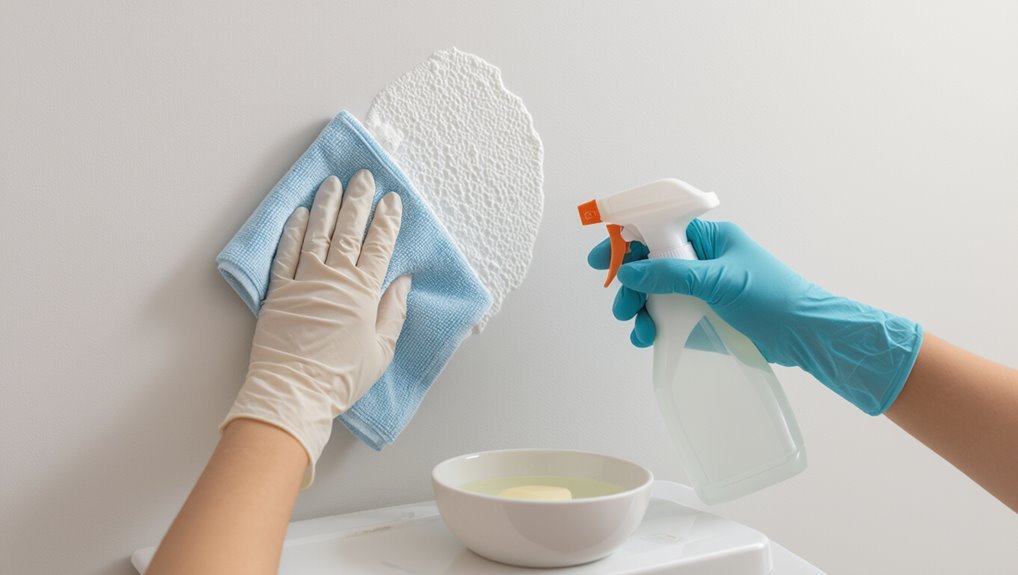
Start by testing a small, hidden area to make sure the paint won’t lift or smear—dampen a cloth with warm water and gently rub a corner or behind furniture.
Work top-down, dust first, then use mild soap and a soft sponge. Rinse with clean water, blot dry, and avoid harsh scrubbing.
Use wall maintenance tips to set cleaning frequency based on traffic and soil levels.
How to Assess Paint Type and Sheen
Before you begin cleaning, identify the paint type and sheen so you know how much abrasion and moisture the surface can handle.
Check a hidden spot with a damp cloth and mild detergent to test resistance.
Note sheen variations—flat, eggshell, satin, semi-gloss—because they affect paint durability and cleaning methods.
Label findings and choose gentler techniques for lower-sheen finishes.
Why Cheap Paint Scuffs, Streaks, or Peels When Cleaned
When you scrub walls painted with cheap paint, the low-quality binder often can’t hold pigment and film together, so the finish scuffs or leaves streaks.
If the surface wasn’t properly cleaned or primed before painting, the new paint won’t bond well and can peel when you clean it.
Knowing these two causes helps you choose gentler cleaning methods or plan for a repaint with better prep and higher-quality paint.
Low-Quality Binder Content
If you scrub cheap-painted walls and they scuff, streak, or start peeling, the culprit is often the binder—the ingredient that makes pigment stick and forms the paint film. With low quality paint you’ll notice poor binder durability, so cleaning lifts pigment or leaves streaks. Handle gently, test a small area, and avoid abrasive cleaners.
| Cause | Effect | Fix |
|---|---|---|
| Weak binder | Scuffing | Gentle cleaner |
| Low solids | Streaking | Patch test |
| Poor adhesion | Peeling | Recoat/repaint |
Improper Surface Preparation
Because paint only sticks to a clean, stable surface, skipping proper prep makes cheap paint more likely to scuff, streak, or peel when you clean it.
You should remove dirt, fix chalking, and prime to improve surface adhesion and paint longevity. Clean, repair, and prime so your cleaning won’t strip finish.
- Remove dust/grime
- Repair loose flakes
- Use a bonding primer
Safe Spot and Scuff Test Before You Start
Before you plunge in, pick a hidden spot—like inside a closet or behind furniture—and try a scuff test there to see how the paint reacts.
Use clear water, mild detergent, and a soft cloth for spot testing to check paint compatibility and durability.
If the finish dulls, flakes, or shows color loss, stop and choose gentler methods or consult a pro before cleaning.
Gather the Right Tools (Brushes, Sponges, Scrapers)
1 good kit makes cleaning cheap paint a lot easier: gather a few soft sponges, microfiber cloths, a couple of soft-bristle brushes, and a plastic scraper or putty knife for stuck-on grime.
Use proper tools to protect finish and follow wall cleaning techniques and paint maintenance tips.
Use the right tools to protect finishes and follow wall-cleaning and paint-care best practices.
- Soft sponges
- Microfiber cloths
- Plastic scraper
Gentle Cleaners That Actually Work
When you’re tackling cheap paint, stick to mild solutions that lift dirt without stripping pigments or gloss; a mix of warm water and a few drops of dish soap, diluted white vinegar (about 1 cup per gallon), or a commercial pH-neutral cleaner will usually do the job.
You’ll scrub gently, use a soft cloth or sponge, avoid harsh solvents, try gentle abrasive pads sparingly, and consider eco friendly options.
Safe vs Unsafe Cleaners for Cheap-Painted Walls
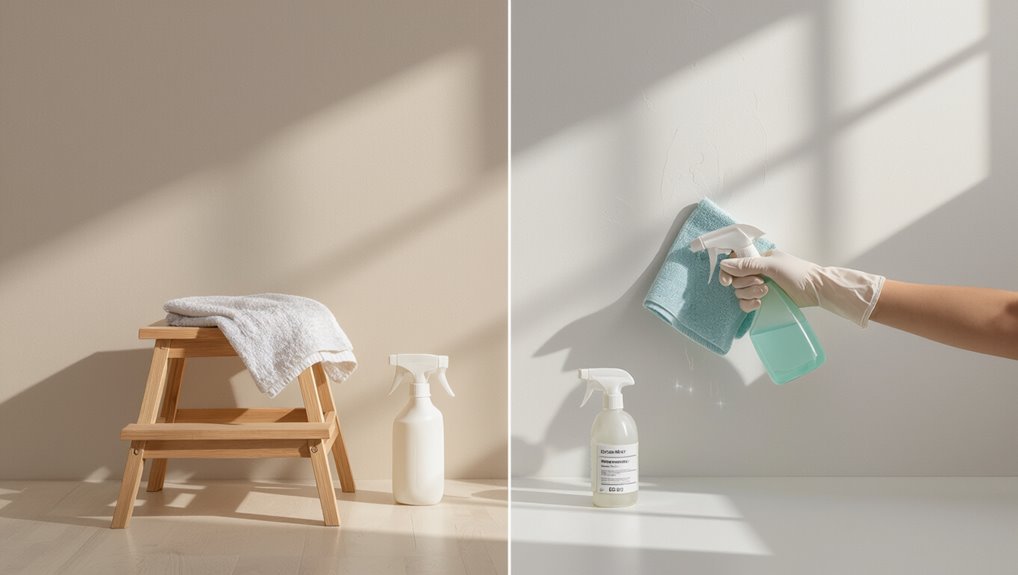
Know which cleaners to reach for and which to avoid so you don’t damage cheap paint: mild soaps, diluted vinegar, and pH-neutral products are safe bets that lift grime without stripping color or sheen, while bleach, acetone, paint thinners, and strong alkaline or acidic cleaners can soften, discolor, or remove the finish.
Use mild soap, diluted vinegar, or pH‑neutral cleaners; avoid bleach, acetone, and harsh acids/alkalis—test a small area first.
- safe cleaners: mild soap, pH-neutral
- avoid unsafe cleaners: bleach, acetone
- test small area first
How to Mix and Dilute Cleaning Solutions
Now that you’ve picked safe cleaners, you’ll need to mix them correctly so they clean without harming the paint.
Use mild cleaning solutions—dish soap or vinegar—diluted in lukewarm water. Follow label dilution ratios (common 1:10 or 1:20) and test a hidden spot.
Stir gently, label the container, and remake batches often to avoid weakened effectiveness or residue buildup.
Dusting and Dry-Soil Removal Techniques
Before you reach for liquids, gently dry-dust walls with a soft microfiber cloth or duster to remove loose grit that can scratch cheap paint.
For stubborn fine particles or after dusting, wipe with a tack cloth to pick up remaining dust without rubbing.
Take your time and work top to bottom so you don’t recontaminate cleaned areas.
Gentle Dry Dusting
Gentle dry dusting removes loose dirt, cobwebs, and surface grime without wetting the paint, so you can freshen walls without risking streaks or damage.
You’ll use soft tools and proper dusting techniques suited to different wall materials. Move top to bottom, use light strokes, and avoid scrubbing.
- Microfiber duster
- Extendable soft brush
- Static cloth
Tack Cloth Wiping
After you’ve removed loose dust with a soft duster, reach for a tack cloth to pick up the fine particles that swirls and brushes leave behind.
You’ll feel tack cloth benefits immediately: it lifts grit without moisture.
Use proper technique—fold, lightly drag in one direction, replace tacky face often—to avoid smudging cheap paint.
Work top-to-bottom, small sections, and don’t press hard.
General Method for Grime and Fingerprints
When grime and fingerprints mar your cheap-painted walls, you can usually restore them with a simple, low-cost routine that won’t damage the finish.
You’ll need gentle cleaner, soft cloths, and patience for effective grime removal and fingerprint prevention.
- Mix mild detergent with warm water.
- Test a hidden spot first.
- Wipe gently top-to-bottom, rinse, dry.
Remove Scuffs and Pencil Marks Without Stripping Paint
Before you start, test a small, hidden spot to make sure the paint won’t lift.
Use mild cleaners like diluted dish soap or a magic eraser alternative and apply them with a soft cloth or sponge.
Work with light pressure and gentle tools, repeating only as needed until the mark fades.
Test Inconspicuous Area
Because cleaning products and techniques can affect finishes differently, always try your method in an inconspicuous spot first.
You’ll confirm safety and results before wider cleaning. Use this quick checklist to guide test techniques and evaluate test materials:
- Try a small hidden area with gentle pressure.
- Wait to see any color, sheen, or texture change.
- Document results, then proceed cautiously.
Use Gentle Cleaning Solutions
After you’ve confirmed the paint holds up in a hidden spot, tackle scuffs and pencil marks with mild, non-abrasive cleaners so you don’t strip the finish.
Use gentle solutions like diluted dish soap or a baking soda paste for spot tests. Wipe gently, rinse, and dry.
Adjust cleaning frequency to prevent buildup, addressing marks promptly to avoid repeated scrubbing that wears cheap paint.
Light Pressure And Tools
Start lightly: use soft pressure and the right tools to lift scuffs and pencil marks without stripping the paint.
You’ll avoid damage by using light pressure and gentle, appropriate cleaning tools. Test a small area first, then proceed slowly.
Try these options:
- Magic eraser: damp, gentle strokes
- Microfiber cloth: mild soap, circular motion
- Soft sponge: avoid scrubbing pads
Tackling Crayon, Marker, and Ink Stains
Kids and markers leave their mark on paint all the time, but you can usually remove crayon, marker, and ink without stripping the finish.
For crayon removal, soften wax with a hairdryer then wipe with a gentle cloth and mild detergent.
Warm the crayon with a hairdryer, then gently wipe away with a soft cloth and mild detergent.
For marker prevention, use washable markers and supervise.
For ink treatment, dab isopropyl lightly; test first.
Prioritize stain prevention and gentle wiping.
Removing Grease and Cooking Splatters Fast
When grease or cooking splatters hit your cheap-painted walls, you’ll want a fast degreasing solution to lift oils without stripping paint.
Mix a mild dish soap with warm water and apply it with a soft cloth or sponge, using gentle circular motions to avoid scuffing.
Rinse with clean water and pat dry to prevent residue and water marks.
Quick Degreasing Solution
A simple vinegar-and-water mix tackles most kitchen grease fast: combine one part white vinegar with two parts warm water, add a few drops of dish soap, and spray or wipe the splatters until they lift.
Use this quick vinegar solution as a natural degreaser and follow these tips:
- Test a hidden spot first
- Blot, don’t scrub
- Rinse with clean water
Gentle Scrub Technique
Once the vinegar mix loosens grime, you’ll finish the job with a gentle scrub that removes stubborn grease without harming cheap paint.
Dampen a soft sponge, work in small circular motions, rinse frequently, and avoid abrasive pads.
Blot excess moisture with a microfiber cloth to speed drying.
This gentle scrub prioritizes paint preservation while removing cooking splatters quickly and safely.
Fixing Water Stains and Ring Marks Without Streaks
Start by blotting the stain with a clean cloth so you don’t spread moisture.
For water stain removal and ring mark treatment, gently dab a mild detergent solution, rinse lightly, and dry with a fan.
If discoloration remains, spot-prime before repainting.
- Blot, don’t rub
- Use mild soap
- Dry thoroughly
Treating Mold and Mildew on Cheap Paint Safely
If you spot mold or mildew on cheap paint, act quickly to prevent spread and damage: wear gloves and a mask, ventilate the room, and test a small area first so your cleaning won’t lift or discolor the paint.
Use a mild detergent or diluted vinegar, blot gently, dry thoroughly, and address humidity sources.
Maintain mold prevention and choose mildew resistance products to discourage recurrence.
What to Do If Cleaning Causes Color Loss or Finish Damage
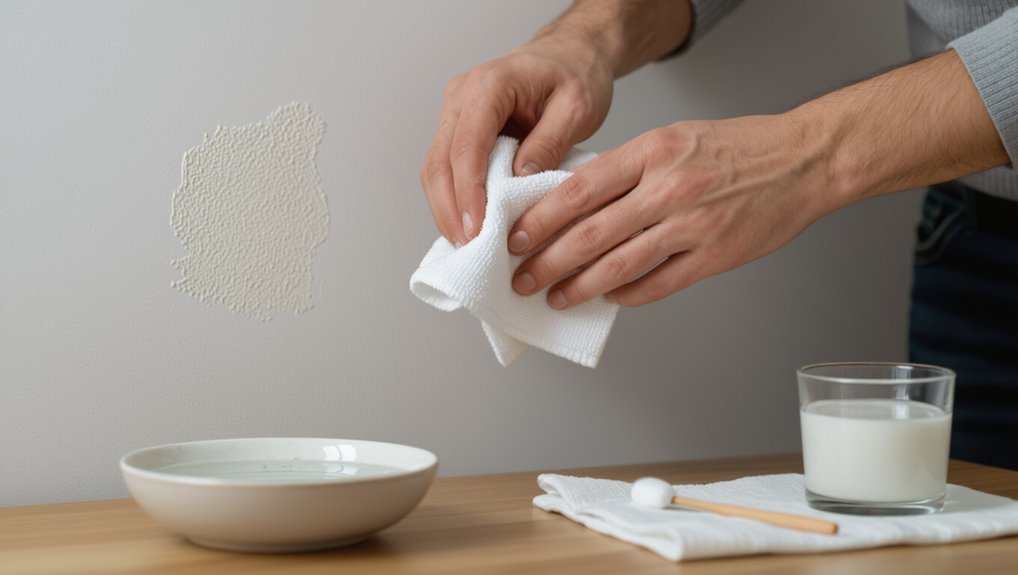
When cleaning strips or bright spots out of cheap paint, don’t panic—you can usually limit damage and restore appearance with quick, careful steps.
Use gentle cleaners, blot, and stop when finish dulls.
Try these color restoration techniques and paint preservation tips:
- Test touch-up paint on an unseen area.
- Feather edges with a damp sponge.
- Use a matching flat or satin touch-up.
Repair Small Paint Lifts and Peeling
If you spot small lifts or peeling, start by gently probing the edges to identify anything loose you’ll need to remove.
Carefully scrape and sand the lifted areas, then feather the surrounding paint so your repairs blend smoothly.
Finish by applying touch-up paint in thin layers until the repaired spot matches the wall.
Identify Loose Edges
Start by closely inspecting the wall for tiny lifts and peeling edges—you’ll spot them where paint curls away from trim, corners, or areas that got damp.
Gently press suspicious areas to test paint adhesion and note variations in wall texture. Mark spots to repair and gather tools.
- Light scrape loose flakes
- Check for underlying damp
- Sketch repair locations
Feather And Blend Paint
Grab a flexible putty knife and gently scrape away any loose paint until the edge feels solid.
Then sand the perimeter smooth so the lifted area blends with the surrounding finish.
Mix a thin coat of matching paint, use a feathering technique to taper the new edge, and lightly blend while it’s wet.
Feather and blend paint carefully to hide lifts and avoid noticeable seams.
When to Repaint Cheap-Painted Walls
When you begin noticing uneven color, peeling, or frequent touch-ups, it’s time to repaint cheap-painted walls; these signs mean the finish no longer protects or flatters the surface.
Track repainting frequency against paint durability: low-cost paints may need rejuvenation every 3–7 years.
Consider repaint when stains, chalking, or fading affect appearance or protection.
- visible peeling
- persistent stains
- faded, chalky finish
How to Prep Cheaply Painted Walls Before Repainting
Before you paint, clear and repair the surface so the new coat will stick and look even: remove loose paint and dust with a scraper and stiff brush, wash the walls to lift grease and chalking (mild detergent for interior walls; trisodium phosphate substitute if needed), fill holes and cracks with spackling, sand rough spots smooth, and tape off trim and fixtures—doing these steps in that order saves time and prevents common finish problems.
Use basic prepping tools, inspect wall surfaces for adhesion issues, and wipe dust before priming so your repainting goes smoothly.
Budget Primers and Paints to Replace Cheap Paint
Although you’ll be working on a tight budget, you can still choose primers and paints that reliably cover and hold up better than cheap job-store brands.
Even on a tight budget, smart primer and paint choices give better coverage and lasting results than bargain brands.
You’ll want budget friendly options that act as quality alternatives to flimsy cans. Consider these picks:
- High-hide acrylic primer (cheap but effective)
- Mid-range washable matte paint (durable)
- Eggshell or satin finish for easier cleaning
Everyday Habits to Protect Cheap Paint Longer
Since cheap paint shows wear faster, you can stretch its life with a few simple daily habits that cut down on scuffs, stains, and moisture.
Wipe marks promptly with a soft cloth and mild cleaner, keep humidity low, use doormats and furniture pads, and avoid abrasive scrubs.
These protective measures become routine maintenance, preventing deterioration and reducing the need for frequent repainting.
Frequently Asked Questions
Can I Use a Steam Cleaner on Cheap-Painted Walls?
Yes — you can, but picture hot mist softening paint; you’ll need steam cleaner precautions because cheap paint can blister. Stay back, test a hidden spot, keep low heat and quick passes to avoid paint finish risks.
Will UV Exposure Fade Cheap Paint Faster Than Cleaning Damage?
Yes — UV exposure usually fades cheap paint faster than cleaning damage; you’ll prioritize fade prevention to boost paint longevity by using UV-blocking window films, curtains, and low-UV bulbs, and cleaning gently when needed.
Are Oil-Based Cleaners Ever Safe on Latex Cheap Paint?
“Better safe than sorry.” You shouldn’t use oil-based cleaners on latex cheap paint; they can soften and strip finish. Use mild soap, gentle scrubbing and proper cleaning techniques to preserve paint durability and avoid damage.
How Long Should Cleaned Walls Remain Untouched Before Touching Up?
You should wait 24–48 hours before touching up; that lets wall drying finish and paint cure enough for touch up techniques to blend. If humid, give 72 hours, and test a small patch before full repair.
Can Wallpaper Adhesive Residues Be Removed Without Repainting?
Absolutely — you can remove adhesive residues without repainting; it’s like wrestling a stubborn gorilla into submission. You’ll use adhesive removal methods, gentle solvents, and wall protection to avoid damage and preserve the finish.
