
How to Get Paint Off a Popcorn Ceiling Without Tearing It Up
First test for asbestos or lead if your ceiling predates the mid‑1980s, then suit up with a respirator, goggles, gloves, and coveralls. Work in small sections and protect the room with plastic sheeting and drop cloths. Soften the paint using low‑pressure steam or a mild liquid deglosser, wait, then gently scrape with a wide plastic blade while supporting surrounding texture. Stop if texture detaches. Continue cautiously and follow cleanup and repair steps below for full guidance.
Quick Answer: Safest Popcorn Ceiling Paint Removal
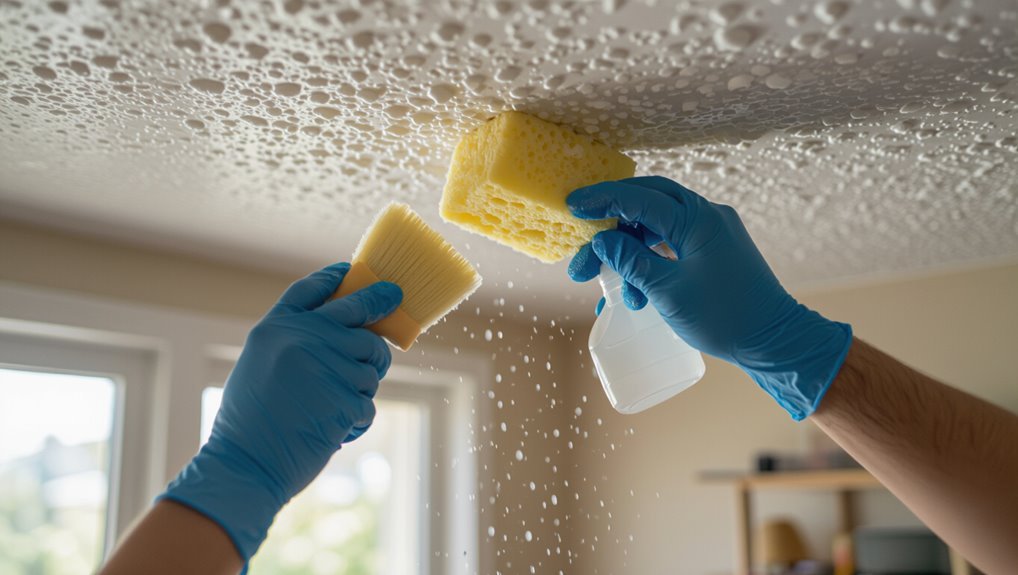
If you want the safest, quickest way to remove paint from a popcorn ceiling, start by testing for lead and asbestos.
Then soften the paint with a light mist of water and a plastic putty knife to gently scrape without damaging the texture.
You’ll consider cost effective alternatives like light sanding sponges or chemical strippers and weigh ceiling restoration options to preserve texture and budget.
Check Popcorn Ceilings for Asbestos
Treat any popcorn ceiling installed before the mid-1980s as possibly containing asbestos and don’t disturb it until you know for sure.
Get a sample tested by an accredited lab rather than guessing from photos or labels.
If results confirm asbestos, hire licensed abatement pros to remove or encapsulate it safely.
Assume Asbestos Possible
Because many popcorn ceilings installed before the 1980s may contain asbestos, assume it’s possible and proceed cautiously: don’t scrape, sand, or disturb the texture until you confirm it’s asbestos-free or have a licensed pro handle removal.
Follow asbestos regulations, use strict health precautions, limit access, seal the area, and wear appropriate PPE.
If unsure, stop and consult a qualified professional before doing anything further.
Test Before Disturbing
Before you disturb the ceiling, test a small sample for asbestos so you know whether it’s safe to proceed or if you need a licensed professional.
You should do basic test techniques and a careful texture evaluation before touching the surface. Follow safe handling, label samples, and avoid sanding or scraping until results clear.
- Wear PPE
- Wet sample
- Seal and label
- Isolate area
Hire Accredited Lab
If your quick home test suggests asbestos or you want certainty, hire an accredited lab to analyze the sample so you get legally defensible, reliable results.
You should collect samples per instructions or hire accredited professionals to avoid contamination.
Lab testing delivers clear, certified reports you can use to decide safe removal or remediation.
Don’t proceed without that documentation.
Gather the Right Tools, PPE, and Materials
Before you start, make sure you’ve got the right protective gear—respirator, goggles, and disposable coveralls—to keep dust and particles off you.
You’ll also want gentle tools like a soft-bristle brush, wide plastic scraper, and spray bottle for wetting the surface.
Finally, gather cleanup and prep materials such as drop cloths, plastic sheeting, painter’s tape, and a mild detergent for surface prep.
Protective Gear Essentials
Start by gathering the right tools and personal protective equipment so you can remove paint safely and efficiently.
You’ll need protective gear and practical safety tips to protect lungs, eyes, and skin. Wear a respirator, goggles, gloves, and disposable clothing.
Follow ventilation and cleanup steps to minimize dust and contaminants.
- Respirator
- Goggles
- Gloves
- Disposable coveralls
Tools For Gentle Removal
Gather a compact kit of tools and materials that let you remove paint gently without damaging the popcorn texture: a spray bottle, soft plastic putty knives, fine-grit sanding sponge, mild paint stripper or solvent rated for textured ceilings, scrub pads, plenty of clean water, drop cloths, and a small wet/dry vacuum for cleanup.
Use gentle techniques, choose effective solvents, wear PPE, work in small sections, and test first.
Materials And Surface Prep
You’ve assembled the gentle tools; now make sure you’ve got the right materials and protective gear to protect both the popcorn texture and yourself.
Focus on surface preparation and careful material selection to avoid damage. Gather PPE, low-pressure sprayers, soft bristle brushes, and safe strippers.
Follow instructions, test a small area, and keep ventilation steady.
- PPE
- Test kit
- Gentle cleaner
- Soft tools
Protect the Room and Set Up Containment
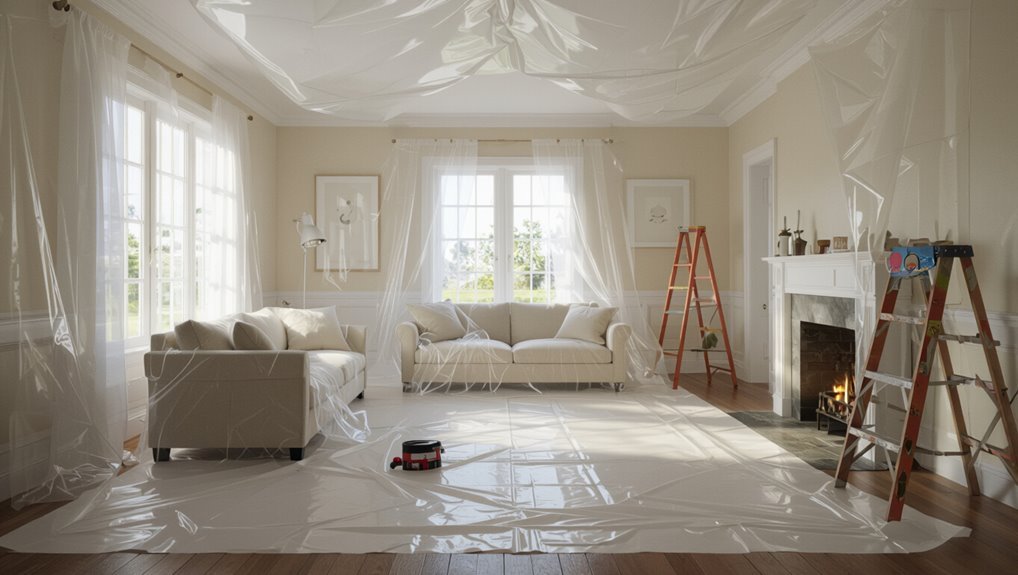
Before you scrape a single patch, seal off the room and shield everything that’s staying: hang heavy-duty plastic from ceiling to floor over doorways, tape plastic sheeting along baseboards, and cover furniture and floors with drop cloths or more plastic. Use clear room preparation and containment strategies so dust and paint chips stay confined.
| Item | Purpose | Material |
|---|---|---|
| Doorway | Seal entry | Heavy plastic |
| Baseboards | Protect trim | Tape + sheeting |
| Floors | Catch debris | Drop cloths |
| Furniture | Prevent dust | Plastic covers |
| Vents | Block airflow | Tape filters |
Spot-Test Methods Before You Commit
Before you start, test an inconspicuous area so you won’t ruin a visible section if the method fails.
Try gentle solvents on a small spot and wait to see if the paint softens without dissolving the popcorn texture.
If the texture holds and the paint comes off cleanly, you’re safe to proceed.
Test Inconspicuous Area
Since popcorn texture and paint types vary, always spot-test in an out-of-the-way corner or inside a closet to see how your chosen remover or technique reacts.
You’ll check test techniques and surface differences before proceeding. Use small tools, wait for full drying, and compare results.
- Cotton swab
- Damp sponge
- Small scraper
- Stipple brush
Use Gentle Solvents
After you’ve evaluated how a remover reacts in an out-of-the-way spot, move on to trying mild solvents on similarly hidden areas so you can judge effectiveness and surface safety.
You’ll test gentle solvents like diluted dish soap, isopropyl alcohol, or citrus-based cleaners. Work small, blot don’t rub, wait between applications, and record results.
These effective techniques minimize damage before broader work.
Check Texture Integrity
When you’re ready to commit to a remover or method, spot-test the ceiling’s texture in several inconspicuous areas to confirm it holds up; popcorn finishes can flake, crumble, or swell differently depending on age and composition.
You’ll perform a quick texture inspection and ceiling assessment to avoid surprises.
- Scrape gently
- Apply small solvent
- Wait 24 hours
- Compare results
Steam Removal for Popcorn Ceiling Paint
Use a steam cleaner to soften and lift paint from a popcorn ceiling without drenching the texture; the heat loosens paint adhesion so you can gently scrape flakes away with minimal damage. You’ll use steam tools and a careful steam technique, move slowly, and test a small area first.
| Tool | Temp | Tip |
|---|---|---|
| Hand steamer | Medium | Short bursts |
| Scraper | N/A | Angled edge |
| Cloth | Low | Blot moisture |
Chemical Removal for Popcorn Ceiling Paint
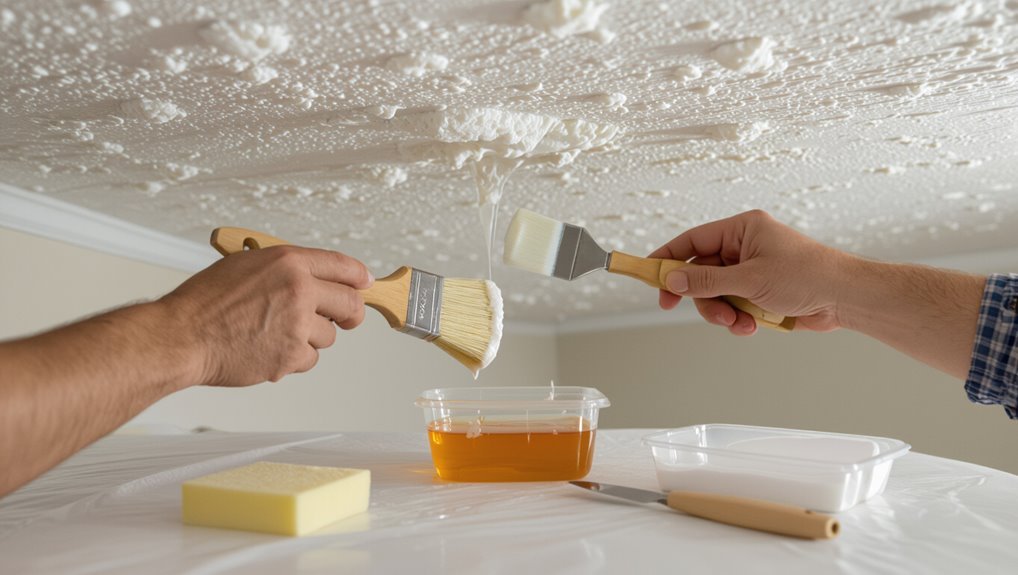
Chemical strippers can dissolve paint on a popcorn ceiling without soaking the texture, but you’ll need to pick the right product and follow safety steps.
You’ll wear PPE, test a small area, and choose between strong chemical alternatives or gentler, eco friendly options to protect texture and indoor air.
- Test patch first
- Use PPE
- Follow manufacturer timing
- Neutralize residue
Use a Liquid Deglosser Safely on Textured Ceilings
Although liquid deglossers can quickly soften old paint, you’ll need to handle them gently on popcorn ceilings to avoid damaging the texture.
When you do a liquid deglosser application, test a small inconspicuous area first, use minimal product, and blot rather than scrub.
Wear gloves, ventilate well, and follow textured ceiling precautions to protect texture and avoid over-saturation.
Gentle Manual Removal: Step-by-Step Technique
Start by working in a small, well-lit area and don protective gear — gloves, goggles, and a dust mask — since you’ll be loosening paint and particles from the texture.
Use gentle scraping methods and texture preservation techniques to lift paint without pulling popcorn. Work slowly, support surrounding texture, and clean debris promptly.
- Test a small patch
- Score very lightly
- Scoop with a soft blade
- Brush residuals gently
Removing Stubborn Spots Without Tearing Texture
When a spot won’t come off with gentle scraping, try a mild solvent like rubbing alcohol or a citrus-based cleaner applied sparingly.
You’ll always spot-test in an inconspicuous area first to make sure the solvent won’t dissolve or discolor the texture.
Work gently with a cotton swab and blot—don’t rub—to avoid tearing the popcorn finish.
Use Gentle Solvents
If a few stubborn paint spots won’t budge with water and a soft brush, reach for a mild solvent so you can dissolve the paint without damaging the popcorn texture.
Use gentle solvents and effective techniques: apply sparingly, blot don’t rub, work small areas, rinse residue gently.
- Test inconspicuous patch
- Use cotton swab
- Ventilate room
- Blot with clean cloth
Spot Test First
Before you tackle a visible stain, always spot-test your chosen solvent or method on a hidden patch of the popcorn ceiling to confirm it won’t dissolve adhesive or pull off texture. You’ll check spot test importance and surface compatibility, observe reaction time, and adjust technique before treating larger areas.
| Step | Check |
|---|---|
| 1 | Solvent |
| 2 | Time |
| 3 | Texture |
| 4 | Adhesive |
| 5 | Outcome |
Repair Minor Texture Damage After Removal
Patch small gouges and thin spots with a light skim coat so the texture blends with the surrounding ceiling.
You’ll use joint compound for texture repair and practice feathering to match popcorn peaks. After drying, sand lightly and reapply tiny texture as needed.
Focus on clean ceiling patching and minimal touchups to keep the surface consistent.
Keep ceiling repairs neat and minimal—patch cleanly and feather tiny touchups so the texture stays consistent.
- Assess damage
- Apply skim coat
- Texture match
- Sand and finish
When to Stop and Switch to Repainting or Covering
Once you’ve finished feathering and repairing small gouges, step back and evaluate whether further spot work will actually save time and look right. If mismatched ceiling texture or lingering paint color patches remain, stop and consider full repaint or covering. Use this quick matrix to decide:
| Option | Visibility | Effort |
|---|---|---|
| Spot repair | Low | Low |
| Repaint | Medium | Medium |
| Covering | High | High |
How Long Each Method Takes and Cost Estimates
Expect each approach to take very different amounts of time and money:
Spot repairs can be done in a few hours with minimal materials (around $10–$50).
Repainting a medium-sized room usually takes a day or two and $50–$200 for paint and supplies.
Covering the ceiling with new drywall, planks, or a drop ceiling can stretch over several days to a week and run $300–$1,500 or more depending on materials and labor.
- Spot repair — fast, low cost (cost comparison, time estimates)
- Repaint — moderate time, mid cost
- Partial cover — several days, higher cost
- Full replace/cover — longest, priciest
Clean Up Debris and Dispose of Materials Safely
Before you leave the room, gather a garbage can, heavy-duty contractor bags, a stiff broom or shop vacuum with a HEPA filter, and disposable gloves—you’ll want to keep dust and flakes contained as you work.
Sweep or vacuum debris into bags, seal them, and label if needed.
Follow local debris disposal rules and package paint chips with safe materials to prevent contamination.
When to Hire a Pro for Popcorn Ceiling Paint Removal
If the ceiling might contain asbestos or you’re unsure about testing, don’t risk it—hire a licensed pro who can handle hazardous material safely.
Call a professional if the texture is heavily damaged or the ceiling is fragile, since DIY removal can cause more harm.
Also get help when you lack the right tools and experience, because the proper equipment makes the job faster and less risky.
Safety And Asbestos Risk
Because many popcorn ceilings installed before the mid-1980s may contain asbestos, you should treat any paint-removal project as potentially hazardous and consider hiring a licensed abatement professional rather than tackling it yourself.
Emphasize asbestos awareness and follow strict safety precautions; call a pro if testing, containment, or HEPA cleanup is needed.
- Test first
- Use licensed abatement
- Avoid DIY disturbance
- Request clearance testing
Extensive Damage Or Fragility
When your popcorn ceiling shows widespread cracking, sagging, or flaky texture, call a professional—these signs mean the substrate or finish is compromised and DIY fixes can make things worse.
You should arrange a fragility assessment and thorough damage evaluation before any work.
A pro will stabilize, repair, or remove without causing collapse, hidden mold exposure, or costly rework you’d face handling complex deterioration yourself.
Lack Of Proper Equipment
1 major reason to hire a pro is lacking the right gear: you’ll need specialized ladders or scaffolding, HEPA vacuums, proper respirators, wet-sanding tools, and containment supplies to remove paint safely from a textured ceiling without creating a toxic dust cloud or causing damage.
You mightn’t own varied equipment types or know tool maintenance; pros do, so call them.
- Access gear
- HEPA systems
- Safety PPE
- Containment
Common Mistakes That Tear Up Popcorn Ceilings
Popcorn ceilings are delicate, and a few common mistakes can ruin their texture or leave you with a bigger cleanup job.
You’ll avoid damage by not over-wetting, scrubbing aggressively, or using high-pressure tools.
Ignore common misconceptions and removal myths that promise fast fixes.
Test a small area, use gentle techniques, and stop if texture starts detaching so you can adjust before causing irreversible harm.
Signs Your Ceiling Needs Full Replacement Instead
If you spot problems that gentle repairs can’t fix, you should consider replacing the whole ceiling instead of trying to salvage the texture.
Check these clear signs before deciding—ceiling age, widespread water damage, or crumbling material often mean replacement is wiser given renovation costs and long-term reliability.
- Extensive water stains and sagging
- Asbestos or hazardous material concerns
- Widespread flaking and loss of adhesion
- Multiple previous repairs failing
Quick Troubleshooting Checklist and Next Steps
Before you start scraping or calling a pro, run through a quick checklist to diagnose the problem and pick the safest next step. Check popcorn texture integrity, test paint adhesion, look for moisture, and note damage. Use this table to decide:
| Issue | Action |
|---|---|
| Loose texture | Avoid scraping; repair adhesive |
| Poor adhesion | Solvent test |
| Moisture | Fix leak |
| Cracks | Patch then retest |
Frequently Asked Questions
Will New Paint Adhere to Popcorn Ceilings Without Removal?
Yes — but cautiously: rough texture meets slick paint; you’ll need to address paint adhesion factors and use ceiling preparation techniques like cleaning, priming with a high-bond primer, and repairing loose texture so new paint will stick reliably.
Can I Texture-Match Patched Areas Myself?
Yes — you can texture-match patched areas yourself; use texture application techniques like spray, brush, or stomp, and matching tools such as hopper guns, texture brushes, and sponges, practicing on scrap drywall until patterns align precisely.
How Do Humidity Changes Affect Repaired Popcorn Texture?
Humidity changes cause expansion and contraction that can crack or loosen repaired texture; you should use repair techniques like feathering edges, matching compound elasticity, and allowing controlled drying so seams stay bonded and texture remains consistent.
Are There Eco-Friendly Products Safe for Popcorn Ceilings?
Yes — you can use eco friendly solutions like vinegar-water, mild castile soap, or bicarbonate-based cleaners; test first, blot gently, and use a soft sponge so you’re using safe cleaning methods that won’t damage popcorn texture.
Does Wallpaper Removal Damage Popcorn Ceilings?
Imagine steam curling like fog across your ceiling: yes, wallpaper removal can damage popcorn texture if you strip too aggressively. You’ll use gentle removal techniques, patience, and ceiling preservation focus to avoid tearing or losing texture.
