
How to Paint Around Ceiling Lights Without Making a Mess
Turn off power at the breaker, remove bulbs and fixtures if you can, and cover floors and furniture with drop cloths. Tape around fixtures or use plastic sheeting to protect trim, then work in small sections using an angled brush to cut in and a short‑nap roller on an extension pole to avoid drips and splatter. Feather thin coats and let them dry between passes, clean tools promptly, and test the lights after reinstalling; keep reading for detailed tips and troubleshooting.
Set Your Goal: Paint Around Ceiling Lights Safely
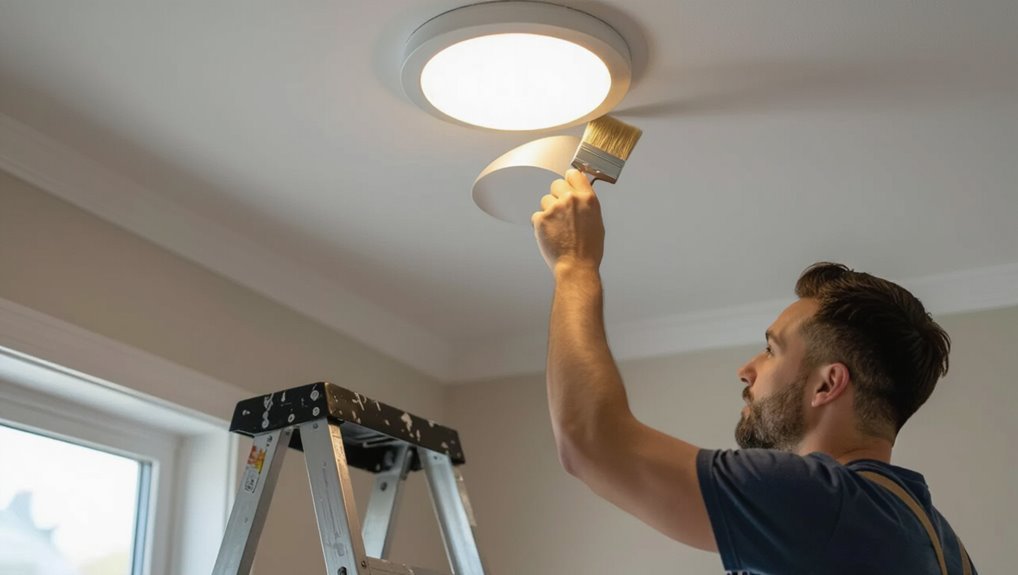
Before you touch a brush, decide what “safe” means for your job: do you want to avoid wiring hazards, protect fixtures from paint, or both?
You’ll outline lighting techniques to minimize handling, choose tools that keep paint off bulbs and trim, and set clear ceiling safety limits—no standing on unstable surfaces or working with power on—so your plan stays efficient and hazard-free.
Quick 5‑Step Plan You Can Follow
Start by prepping the area so dust and fixtures won’t get in the way.
Next, mask and cover the light and surrounding surfaces to protect them from drips.
Finally, paint with care using the right brushes and steady strokes to blend edges cleanly.
Prep The Area
Get your workspace ready with a quick, focused five‑step plan so you can paint cleanly around ceiling lights without hazards or mess.
Step 1: shut power and remove bulbs.
Step 2: clear furniture and lay drop cloths.
Step 3: clean ceiling surface.
Step 4: plan painting techniques and gather tools.
Step 5: note lighting considerations to work safely and see coverage.
Mask And Cover
1. You’ll follow a quick 5-step plan using smart masking techniques and simple covering methods.
Turn off power, remove bulbs, then tape around the fixture with painter’s tape, ensuring edges are sealed.
Drape drop cloths over furniture and ladder, securing corners.
Use plastic sheeting for recessed areas.
Check seals before painting so dust and splatters stay contained.
Paint With Care
Move steadily and work in small sections so you keep control of edges and avoid drips; with the fixtures masked and the room covered, use a high-quality angled brush for cutting in around the light.
Then switch to a short-nap roller to blend out the paint across the ceiling.
Follow five steps: prep, cut in, roll, feather edges, inspect.
These paint techniques guarantee tidy results and aid ceiling maintenance.
Tools & Protective Supplies You Need
Before you start painting around ceiling lights, you’ll want the right safety gear—gloves, goggles, and a mask—to protect yourself from dust and fumes.
Lay down drop cloths to catch drips and use masking tape and paper to shield fixtures and trim.
With those basics in place, you’ll work cleaner and safer.
Safety Gear Essentials
Because you’ll be working near electricity, dust, and overhead fixtures, you should gear up with the right protective supplies and tools to keep the job safe and efficient.
Wear safety goggles and protective gloves, and turn off power at the breaker.
- Mask (respirator)
- Non-slip ladder shoes
- Headlamp or clip-on work light
Drop Cloths & Masking
Drop cloths and masking tape protect your floors, fixtures, and trim from paint splatter and let you work confidently around light fixtures.
Choose appropriate drop cloth types—canvas for reuse, plastic for quick jobs, paper for delicate floors—and secure edges.
Use precise masking techniques: cut strips for tight seams, overlap corners, and remove tape while paint is tacky to avoid tearing or residue.
Turn Off Power and Safely Remove or Secure Fixtures
Shut off the circuit supplying the light at your breaker panel and test the fixture with a noncontact voltage tester so you know the power’s really dead before you touch anything.
Emphasize fixture safety and power precautions, then:
- Remove the bulb and shade if detachable.
- Unhook fixture wires and cap them.
- If not removing, secure fixture to avoid paint drips.
Cover Bulbs, Trims & Vents (Best Temporary Options)
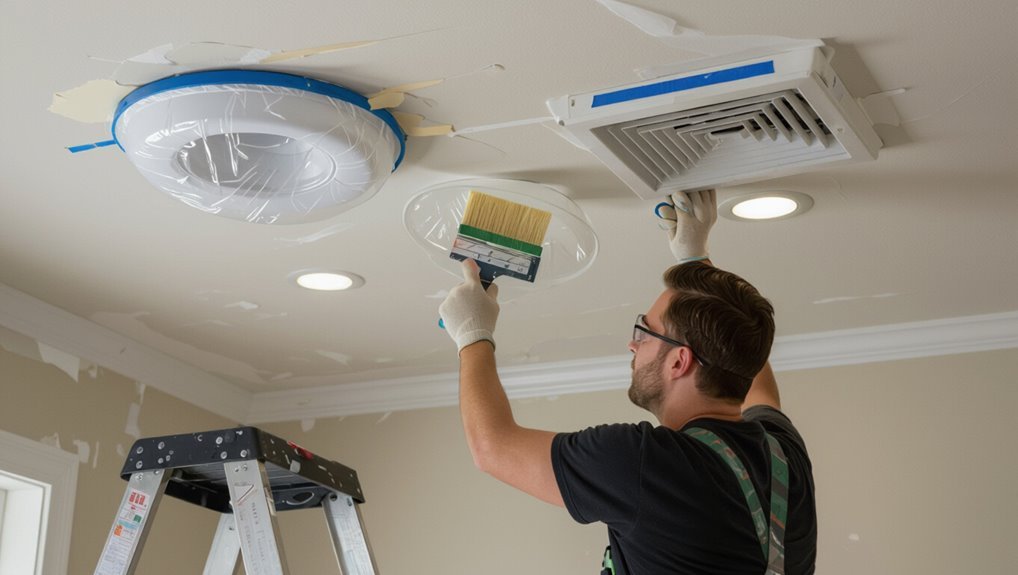
Before you start painting, cover the light bulbs with plastic bags or specialized bulb covers to protect them from paint and heat.
Mask trims and vents with painter’s tape and thin plastic or paper to keep edges clean and prevent debris from getting inside.
These temporary solutions are quick, inexpensive, and easy to remove when the paint’s dry.
Cover Light Bulbs
When you’re painting near ceiling fixtures, cover the bulbs and surrounding trims to protect them from drips and overspray; simple, temporary options like plastic bulb covers, painter’s tape with plastic sheeting, or disposable paper shades work well and won’t trap heat if used correctly.
Use bulb protection and temporary covers, then:
- Fit plastic bulb caps.
- Wrap with taped plastic.
- Slip on paper shades.
Mask Trims & Vents
Once the bulbs and shades are protected, shift your attention to trims and vents to keep paint off metal and grille finishes.
Use painter’s tape and cut-to-fit cardboard or plastic for trims, and secure lightweight vent coverings with low-tack tape.
Apply precise masking techniques around edges, label covers for removal order, and avoid adhesive residue by testing tape on a hidden spot first.
Paint Choices for Ceilings and Tight Areas
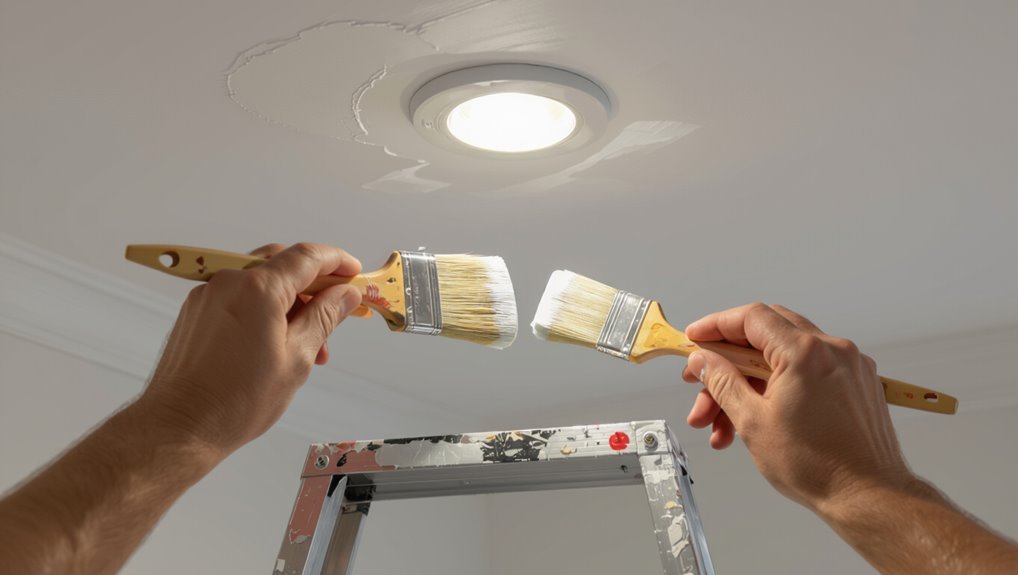
Although ceilings and tight fixtures demand slightly different paints than walls, you can simplify your choices by focusing on finish, coverage, and durability.
You’ll want ceiling paint suited for low-sheen, good hide, and easy touch-ups in tight spaces. Choose mildew-resistant options for bathrooms and kitchens, and pick a quality brush/mini-roller combo for control.
- Matte finish
- High-coverage
- Durable/mildew-resistant
Cutting‑In Around Lights Without Drips
Now that you’ve picked the right ceiling paint and tools, focus on cutting‑in around lights without creating drips.
Use steady cutting techniques: load the brush sparingly, angle bristles toward the fixture, and work in short strokes.
Maintain edge control by feathering paint away from the light, wiping excess on the tray, and checking under bright light so drips never form.
Use Extension Poles & Steady Strokes for Recessed Cans
Reach up with an extension pole fitted to a quality angled brush or roller to safely and evenly paint recessed cans without standing on a ladder.
Use extension handles and steady painting techniques to control pressure and angle.
Use extension handles and steady technique to manage pressure and angle for smooth, controlled painting.
- Hold pole near base for stability.
- Use slow, continuous strokes toward the trim.
- Keep paint load light to avoid drips.
Fix Drips, Brush Marks, and Uneven Edges Fast
Catch drips and brush marks quickly before the paint skins over so you can smooth them out with minimal sanding.
If you spot a drip, wipe excess with a damp rag, then feather the area with a soft brush for edge control.
Lightly sand any raised marks after drying, vacuum residue, and touch up with thin coats.
Good drip prevention saves time.
Reinstall Fixtures and Remove Paint From Bulbs Safely
Once the paint has dried and any drips or brush marks are smoothed, you can move on to reinstalling fixtures and removing paint from bulbs safely.
Once paint is dry and smoothed, reinstall fixtures and safely remove any paint from bulbs before restoring power.
Follow these steps for proper fixture maintenance and bulb cleaning:
- Turn power off, reinstall mounting hardware, secure fixture.
- Remove paint spots from cool, removed bulbs with gentle solvent and soft cloth.
- Test power, check alignment, tighten connections.
When to Call an Electrician or a Pro Painter
If you’re unsure about wiring, notice flickering, scorch marks, or tripped breakers when reinstalling lights, call a licensed electrician—these are signs of wiring faults or overloaded circuits that can be dangerous. You should seek professional assistance for complex rewiring or unsafe fixtures; hire a pro painter for tricky finishes. Maintain electrical safety and avoid DIY risks.
| Issue | Who to Call |
|---|---|
| Flickering lights | Electrician |
| Scorch marks | Electrician |
| Tripped breakers | Electrician |
| Complex wiring | Electrician |
| Finish touch-ups | Pro painter |
Frequently Asked Questions
Can I Paint Around Ceiling Lights While They Are Still Hot?
Technically you can, but it’s wiser to avoid working on hot fixtures; let them cool first. You’ll follow safety precautions and best practices, unplugging power, using heat-resistant tape, and guarding against burns or paint mishaps.
Will Paint Fumes Damage LED or Smart Bulbs?
No, brief fume exposure won’t typically harm LED or smart bulbs, but prolonged fume exposure can affect bulb safety and electronics over time, so you should ventilate, avoid heavy overspray, and let paint fully cure before reinstalling.
How Do I Prevent Paint From Staining Light Switches or Dimmers?
Want to avoid ugly splatters? You’ll remove switch covers, apply paint tape around switches, cover remaining openings with paper or plastic, paint carefully, then reinstall switch covers once dry to keep switches and dimmers spotless.
Can I Use a Spray Gun for Ceilings With Multiple Fixtures?
Yes — you can use a spray gun for ceilings with multiple fixtures. You’ll mask fixtures, adjust spray gun techniques for even coverage, choose appropriate ceiling paint options, and work in controlled passes to avoid overspray and drips.
Do Outdoor-Rated Fixtures Require Special Ceiling Paint?
Think of outdoor lighting as a ship—you’re the captain choosing sails. You don’t need special ceiling paint for outdoor-rated fixtures, but you should pick durable, moisture-resistant ceiling finishes that withstand exposure and match the fixture’s specs and location.
