
How to Paint a Popcorn Ceiling With a Sprayer Without Making a Mess
Before you start, test for asbestos if your home predates the 1980s and hire pros if it’s positive. Clear the room, mask vents, and cover furniture and floors with drop cloths and plastic. Use an HVLP or airless sprayer with a popcorn-compatible tip, wear a respirator and goggles, and practice on cardboard to tune pressure and overlap. Hold 12–18 inches away, spray steady parallel passes, let coats dry, and clean the sprayer promptly; keep going and you’ll pick up pro tips.
Do You Need Asbestos Testing First?
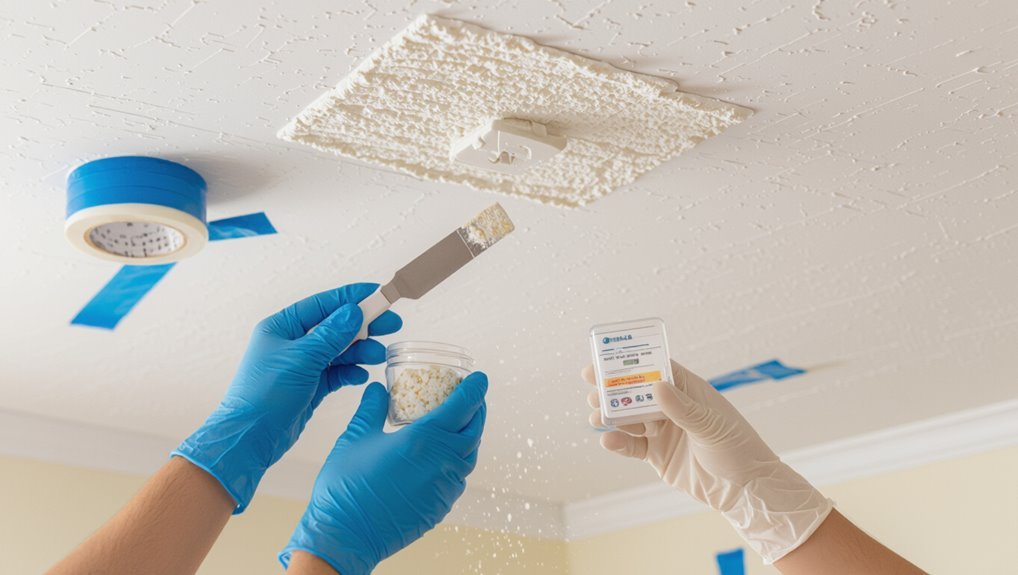
Should you test for asbestos before you start painting a popcorn ceiling? You should, especially in homes built before the 1980s.
Arrange professional asbestos testing and follow strict safety precautions while awaiting results.
Don’t sand or disturb the texture yourself; disturbing material can release fibers.
If positive, hire certified abatement pros rather than attempting DIY containment or removal to protect your health.
Tools & Materials: Best Sprayers, Tips, Filters, and PPE
Before you get started, you’ll want the right sprayer, replacement tips, and high-efficiency filters to keep the job efficient and clean.
Choose an HVLP or airless sprayer depending on texture and budget, and match tip sizes for even coverage on rough popcorn surfaces.
Don’t forget PPE—respirator, goggles, and disposable coveralls—to protect you from airborne particles and overspray.
Best Sprayer Types
Choosing the right sprayer makes the job faster and keeps your popcorn ceiling texture consistent, so pick one that matches your room size and experience.
For sprayer comparisons, consider HVLP for control, airless for speed on large rooms, and a pneumatic unit for durability.
Match your sprayer to paint types (latex, acrylic) and nozzle size to avoid clogging and overspray.
PPE And Filters
Once you’ve picked a sprayer that suits the room and paint, protect yourself and the equipment with the right PPE and filters.
Wear PPE essentials: NIOSH-rated respirator, safety goggles, disposable coveralls, and gloves.
Choose filter types for the sprayer and mask—HEPA for airborne particles, paint-specific intake filters to prevent clogging.
Replace filters regularly and dispose of PPE safely to avoid contamination.
Prepare the Room: Clear, Remove Fixtures, Plan Access
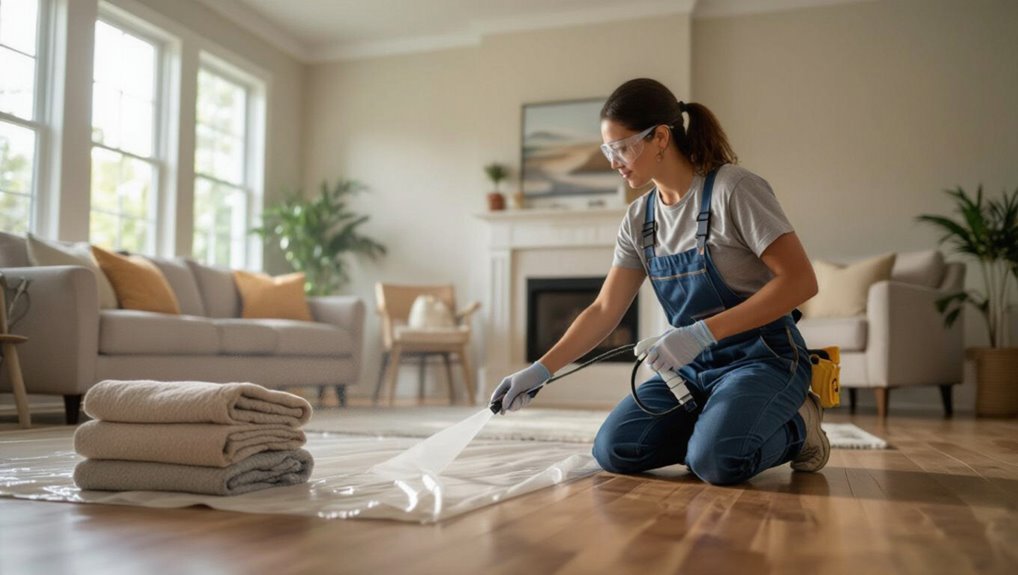
Start by clearing a clear workspace: move furniture to the center and cover it with drop cloths, roll up rugs, and take down anything on the walls so you can reach the ceiling without obstacles.
Map the room layout, plan your access points, and create a clear path. Remove light fixtures or secure them for fixture safety, label hardware, and keep tools handy.
Protect Walls, Trim, and Floors Without Taping Every Inch
You don’t need to tape every inch to keep paint off your walls and trim.
Lay drop cloths strategically across the floor and up a few inches on the walls to catch drips and overspray.
Use plastic sheeting or lightweight drop cloths clipped or tucked over trim for quick, reusable protection.
Use Drop Cloths Strategically
Covering floors, trim, and walls with drop cloths prevents dust and paint splatter from turning cleanup into a chore, and you don’t have to tape every seam to get good protection. You’ll focus on drop cloth placement and strategic coverage: lay overlapping sheets, weigh edges, and tuck near corners so you move quickly without constant taping.
| Area | Tip |
|---|---|
| Floor | Overlap seams |
| Walls | Tuck edges |
| Trim | Weigh down |
| Corners | Fold snug |
Shield Trim With Plastic
While you focus on the ceiling, protect trim, walls, and floors quickly by draping lightweight plastic sheeting over them and securing only key edges; you’ll save time and avoid tape on every inch without sacrificing protection.
Use clips or low-tack adhesive at corners, tuck sheeting behind baseboards for trim protection, and weigh edges with objects.
Remove carefully to avoid drips and debris.
How to Prime and Repair a Popcorn Ceiling
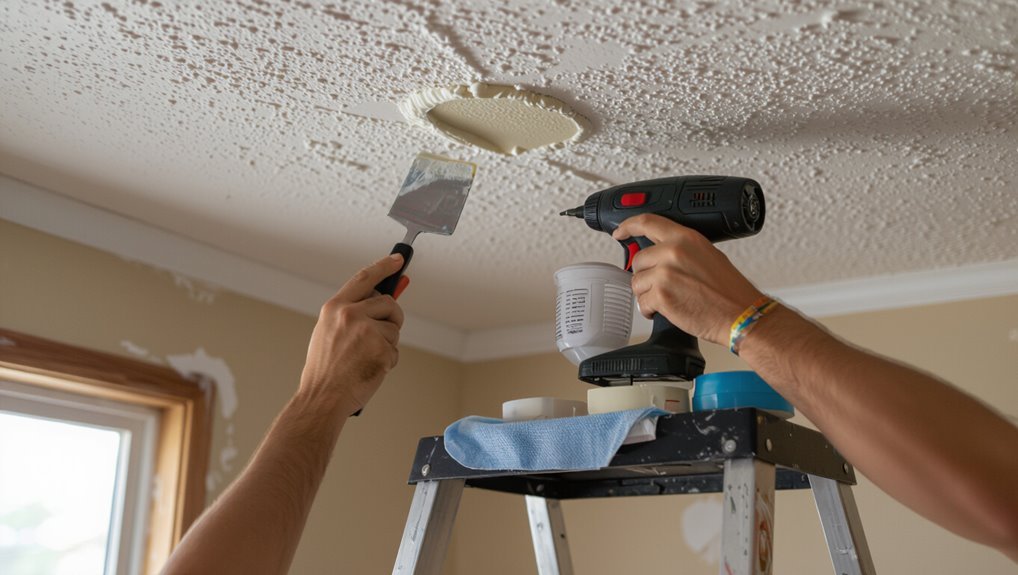
Start by inspecting the ceiling for loose texture, water stains, or cracks so you can decide whether to repair, prime, or both before painting.
For ceiling preparation, remove loose popcorn texture gently, patch cracks with joint compound, and let dry.
Spot-prime stains with a stain-blocking primer, then apply a full coat of primer designed for textured surfaces before painting for uniform adhesion and color.
Choose the Right Sprayer and Tip for Popcorn Ceilings
When tackling a popcorn ceiling, you’ll want to pick a sprayer designed for textured surfaces—airless or HVLP can work depending on your project size.
Choose a tip size that produces a coarse fan to avoid clogging and guarantee even coverage.
Start with moderate flow and pressure, then adjust for consistent spray without oversaturating the texture.
Sprayer Type Selection
Because popcorn ceilings are textured and fragile, choosing the right sprayer and tip is essential to get even coverage without damaging the surface. You’ll compare sprayer brands and consider nozzle sizes; HVLP or airless work best for texture. Match power to room size, test spray pattern, and protect surroundings to avoid mess.
| Type | Power | Best use |
|---|---|---|
| HVLP | Low | Small rooms |
| Airless | High | Large areas |
| Cordless | Medium | Touch-ups |
| Compressed | Variable | Controlled finish |
Tip Size Matters
Once you’ve picked the right sprayer type, the next decision is tip size—get it wrong and you’ll either blow off texture or leave heavy, drippy spots.
For popcorn ceilings, choose a medium-to-large orifice tip to handle thicker paint without clogging.
Your tip selection should balance coverage and atomization, and include texture considerations to preserve peaks while avoiding puddling or overspray.
Flow And Pressure Settings
Start by matching flow and pressure to the tip and paint viscosity so you don’t blast off texture or create runs.
Use the sprayer’s flow control to meter material; set pressure low enough to atomize without overspray.
Test on scrap, increase pressure adjustment in small increments, and keep passes steady. This preserves popcorn peaks and avoids drips while ensuring even coverage.
How to Set Spray Pressure & Pattern for Textured Ceilings
1 main rule: match your spray pressure and pattern to the ceiling texture and the nozzle you’re using.
Adjust pressure low for heavy popcorn so droplets cling, higher for light texture to avoid buildup.
Choose a wide fan for even coverage or a narrow cone for deep recesses.
Test on cardboard, note spray texture and spray distance, then fine-tune before starting.
Spraying Technique: Distance, Overlap, and Motion
Keep the sprayer 12–18 inches from the ceiling and maintain a consistent distance as you work so texture receives even coverage without overloading.
Move in steady, parallel passes, keeping spraying distance uniform and using a 30–50% even overlap between passes.
Glide the gun smoothly, start and stop off the surface, and avoid dwelling so you don’t saturate or create streaks.
Control Overspray: Ventilation, Masking, and Tack Cloths
Although spraying saves time, you’ll need to control overspray with good ventilation, careful masking, and tack cloths to protect surfaces and make cleanup easier.
Use ventilation tips: open windows, run fans outward, and create cross-breeze.
Apply masking techniques: cover walls, lighting, and floors with plastic and painter’s tape.
Finish with tack cloths usage to pick up dust before spraying and between passes.
When and How to Apply a Second Coat
Once your first coat has dried and you’ve removed any tack cloth dust, inspect the popcorn ceiling for thin spots, missed areas, or drips that need smoothing—those tell you whether a second coat is needed.
Wait the manufacturer’s recommended second coat timing, usually 2–4 hours or longer in humid conditions.
Lightly re-spray overlapping passes to achieve texture uniformity without overloading the surface.
Clean and Maintain Your Sprayer to Prevent Clogs
Rinse your sprayer immediately after use and disassemble the nozzle and filters to prevent paint from drying inside and causing clogs.
After rinsing, soak parts per manufacturer instructions, brush away residue, and blow out passages with compressed air.
Inspect seals and hoses, replace worn parts, and lubricate moving components.
Regular sprayer maintenance guarantees reliable performance and effective clog prevention for future popcorn ceiling jobs.
Troubleshooting: Splotches, Texture Loss, and Drips
When you see splotches, thinning texture, or drips on a freshly sprayed popcorn ceiling, don’t panic—most issues come from predictable causes like improper thinning, uneven spray technique, or clogged nozzles, and you can usually fix them without stripping the ceiling.
Act quickly for splotch prevention and texture restoration:
- Thin or mix paint to manufacturer specs.
- Clean or replace nozzle; test spray.
- Lightly re-spray feathering edges to blend.
Final Touches: Inspecting and Fixing Missed Areas
Before you roll up the drop cloths, give the ceiling a careful inspection from multiple angles and light directions so you can spot any missed patches, thin spots, or overspray that didn’t blend.
For final inspection, mark issues with painter’s tape.
Use gentle touch up techniques: feather spray at low pressure or dab with a stipple brush and matching paint.
Recheck and remove tape.
Frequently Asked Questions
Can I Paint a Popcorn Ceiling Without Removing Light Fixtures Entirely?
Yes — you can. You’ll use painting techniques like low-pressure spraying, careful masking, and drop cloths; secure fixture protection with plastic, tape, and plastic bags; avoid overspray by spraying away from fixtures and testing first.
Will a Sprayer Damage Popcorn Texture if Ceiling Is Brittle?
Yes — a sprayer can damage brittle popcorn; you’ll need a gentle sprayer technique and low pressure, hold nozzle farther away, and test a small area to preserve texture, patch loose bits first to avoid flaking.
How Long Before Reattaching Ceiling-Mounted Smoke Detectors?
Of course you can rush—don’t. Wait at least 24 hours after painting so fumes fully dissipate and paint cures; you’ll protect smoke detector safety and complete proper ceiling maintenance before reattaching units to guarantee reliable operation.
Can I Paint Over Water Stains Without Replacing Damaged Texture?
Yes — you can paint over water stains if the texture’s sound; you’ll clean, apply stain-blocking primer, and repaint. For ceiling maintenance, fix leaks first, test adhesion, and replace damaged texture only when it’s compromised.
Is Doing Popcorn Ceiling Twice a Year Necessary to Maintain Appearance?
No, you don’t need to repaint popcorn ceilings twice a year — unless you enjoy busywork. You’ll extend texture longevity with occasional touch-ups, gentle cleaning, and proper popcorn ceiling maintenance rather than frequent full recoats.
