
How to Paint Retaining Wall Blocks That Last Through the Seasons
You can make your retaining wall paint last by managing moisture, repairing cracks, and choosing breathable masonry primer and exterior paint that match your block type. Clean and treat efflorescence, prime porous or previously painted surfaces, then roll paint in even coats during mild, dry weather. Test moisture, fix drainage and weep holes, and seal only after full cure. Inspect yearly and touch up chips promptly, and keep going to learn seasonal timing and troubleshooting tips.
Quick Guide: How to Paint Retaining Wall Blocks (Step-by-Step)
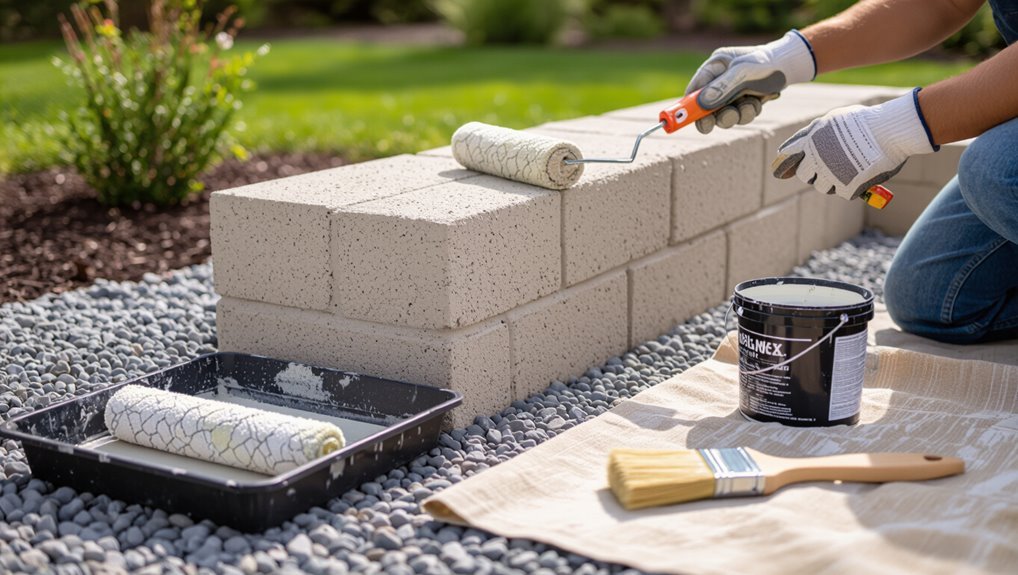
Gather your tools and prep the wall: painting retaining wall blocks is straightforward if you clean, repair, prime, and choose the right paint.
You’ll scrub, patch cracks, and sand loose mortar. Apply masonry primer, then two coats of breathable exterior paint.
Prioritize color selection for sunlight and landscaping, and plan seasonal considerations—avoid freezing temps or extreme heat to guarantee adhesion and longevity.
Assess Block Type, Age & Structural Condition
Before you scrub, patch, or prime, take time to identify the block type, estimate its age, and inspect the wall’s structural condition—these factors determine which cleaners, repairs, and paints will work.
Check for cracks, spalling, efflorescence, and mortar loss.
Match treatments to block durability and consider environmental factors like freeze/thaw cycles or moisture exposure before selecting coatings and repair methods.
Common Reasons Paint Fails on Retaining Walls
You’ll often see paint fail because moisture’s getting through the blocks or behind the coating, causing peeling and blistering.
If you don’t clean, repair, and profile the surface first, the paint won’t bond and will flake off.
Choosing the wrong paint for masonry or damp conditions will make any job short-lived.
Moisture Intrusion Issues
When moisture gets into or through retaining wall blocks, paint can’t bond properly and will blister, peel, or flake long before its time; understanding how water moves—through capillary rise, hydrostatic pressure, or leaks—helps you pinpoint why coatings fail and what to fix.
You should assess seepage, install effective moisture barriers, improve drainage solutions, and repair cracks or faulty joints to prevent recurrent water damage.
Poor Surface Preparation
Moisture problems often start the failure cascade, but even a dry wall will reject paint if you skip proper prep.
You must remove surface contaminants and use solid preparation techniques before priming.
Picture the steps:
- Scrub away dirt and algae.
- Pressure-wash stubborn grime.
- Repair cracks and voids.
- Sand and dust-clean for adhesion.
Incompatible Paint Selection
Pick the right paint and you’ll avoid a lot of common failures; pick the wrong one and adhesion, peeling, or premature fading will follow.
You must match coating chemistry to masonry—avoid incompatible paint types like interior latex on porous blocks.
Consider environmental factors: freeze-thaw, moisture, UV exposure.
Choose breathable, masonry-formulated paints and primers so your finish bonds and endures.
Primer Choices: Block, Cinder, and Previously Painted Surfaces
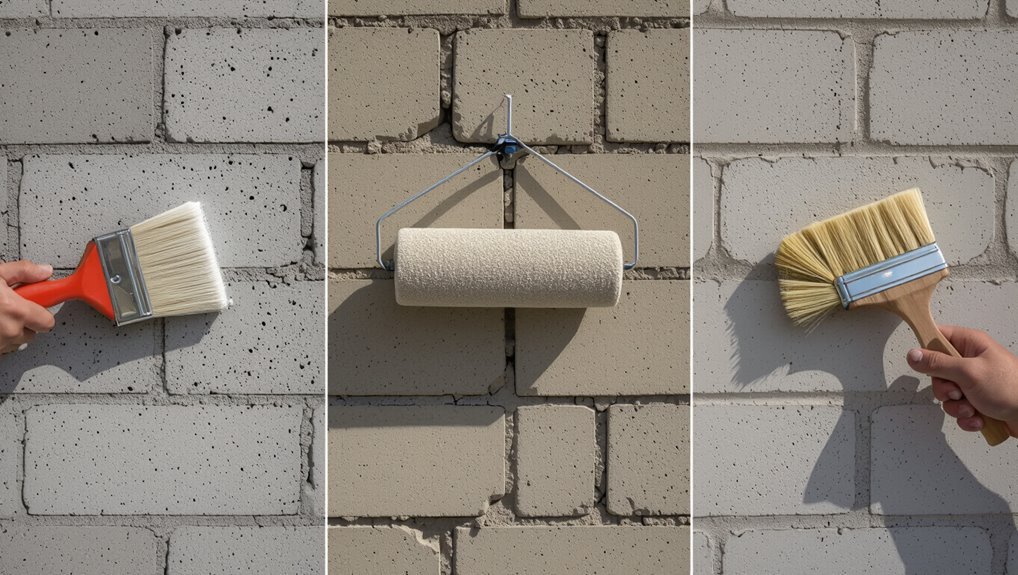
For bare block or cinder walls, you’ll want a masonry primer formulated to seal porous surfaces and resist efflorescence.
If the wall’s already painted, clean and sand any loose paint before using a bonding primer made for glossy or chalky coatings.
Picking the right primer and preparing the surface properly gives your topcoat a much better chance of lasting.
Choosing Masonry Primers
When you’re prepping block, cinder, or a previously painted surface, choosing the right masonry primer makes the difference between a durable finish and one that peels or stains.
You’ll focus on masonry surface preparation and primer compatibility testing, then pick primers for substrate porosity, efflorescence control, moisture barriers, and adhesion:
- Dense block
- Porous cinder
- Salt-prone walls
- Painted surfaces
Preparing Previously Painted Blocks
Although previously painted blocks can save you prep time, you still need to inspect the surface and choose a primer that matches the existing coating and the block type—dense concrete, porous cinder, or a salt-affected wall—to guarantee proper adhesion and long-term performance. Check surface texture, remove loose paint, etch slick finishes, and select breathable or bonding primer to restore paint adhesion.
| Block type | Primer tip |
|---|---|
| Dense | Bonding primer |
| Cinder | Penetrating primer |
| Salt-affected | Salt-blocking primer |
Picking Durable Exterior Masonry Paints and Breathable Coatings
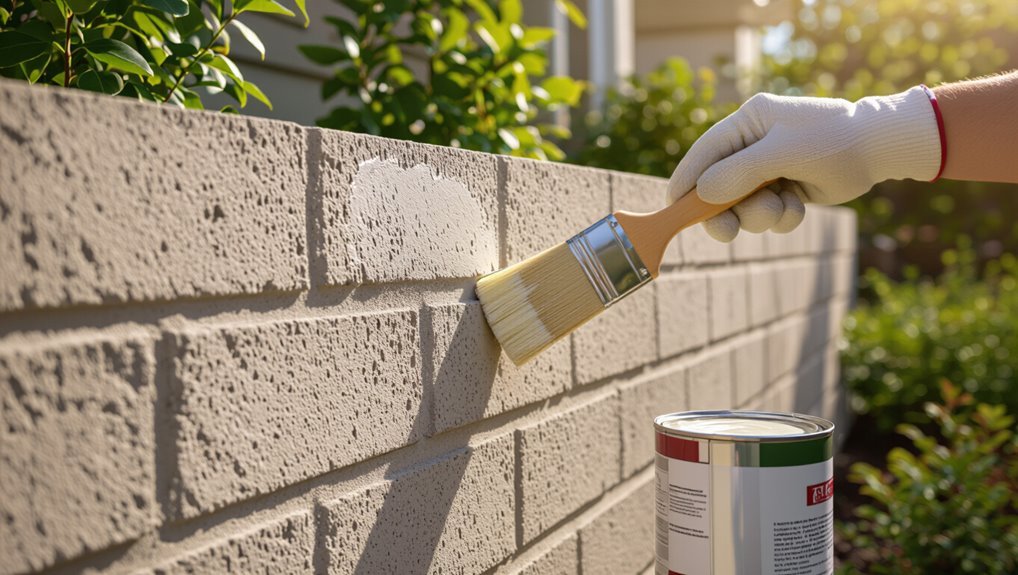
Choosing the right paint and breathable coating makes the difference between a lasting, low-maintenance finish and one that peels or traps moisture.
You’ll pick breathable masonry paint for vapor transmission, favoring durable finishes and smart color selection to hide wear.
Visualize texture and protection:
- Matte breathable coat
- Elastomeric layer
- Masonry primer
- UV-resistant topcoat
Stain or Paint? Pros and Durability Tradeoffs for Retaining Walls
Which finish will hold up best: stain or paint? You’ll weigh concealment, maintenance, and penetration.
Stain soaks into block, showing texture and easing color selection; it resists peeling but fades.
Stain penetrates the block, revealing texture and simplifying color choices; it won’t peel, though it will mellow over time.
Paint hides flaws, offers bolder hues, and needs stronger prep.
For a clear longevity comparison, pick stain where breathability and low upkeep matter, paint where coverage and dramatic color trump frequent touch-ups.
Tools & Materials: Rollers, Masonry Brushes, Cleaners, Sealers
You’ll need a handful of purpose-built tools to get durable, professional results:
- Thick-nap rollers selection for rough block texture.
- Sturdy masonry brushes for joints and edges.
- pH-neutral cleaners to remove dirt and salts.
- Breathable masonry sealer to protect without trapping moisture.
Choose quality, match nap to block porosity, and replace worn brushes to maintain even coverage and longevity.
Surface Prep: Cleaning, Efflorescence Removal, and Repairs
Before you apply any paint, clean and repair the wall so the coating bonds and lasts. You’ll do surface cleaning, scrub loose mortar, and use efflorescence treatment on white salts. Patch cracks, replace crumbled blocks, and chase out dirt. Visualize tasks:
| Scrub | Patch | Treat |
|---|---|---|
| Brush | Mortar | Salt |
| Rinse | Replace | Seal |
Moisture Testing, Drainage Fixes, and Vapor Issues to Fix First
Before you paint, you’ve got to check the wall for moisture so paint won’t fail.
If the wall’s damp, fix drainage issues like clogged weep holes, poor grading, or broken drains.
Also consider vapor barriers or sealers to stop ground moisture from pushing through the blocks.
Check Wall Moisture
A damp retaining wall will ruin paint, so check moisture levels and fix drainage or vapor problems first. You’ll assess via simple moisture testing and inspect wall drainage lines. Do this before painting.
- Use a moisture meter on blocks.
- Probe for damp spots.
- Look for pooling water.
- Smell for musty vapor; don’t paint if present.
Fix Drainage And Vapor
Now that you’ve checked for moisture, address any drainage and vapor issues so paint will stick and last.
You’ll test for damp spots, then install drainage solutions like gravel backfill, French drains, or weep holes to redirect water.
Add vapor barriers behind the wall where soil moisture is high, repair cracks, and guarantee grading directs runoff away so coatings cure and hold season after season.
Painting Technique: Priming, Cutting In, and Rolling Blocks
When you prep and paint retaining wall blocks correctly, the finish lasts longer and looks more professional. You’ll prime for adhesion, cut in edges, then roll.
Think about color selection and texture options to match surroundings.
- Tape edges cleanly
- Load roller evenly
- Maintain wet edge
- Inspect for missed spots and touch up
Coats, Dry Times & Ideal Weather for Painting Masonry
Although you’re keen to finish, plan for multiple thin coats rather than one heavy one: masonry soaks up paint unevenly, so applying two to three light coats gives the best coverage and durability.
Allow recommended dry times between coats, checking tack-free status.
Paint when ideal temperature and moderate humidity levels persist—typically 50–85°F and below 70%—so coats cure properly and resist peeling.
When to Seal: Clear Masonry Sealers and When They Help
You’ll want to seal your retaining wall after paint has fully cured and when the block is exposed to moisture or freeze-thaw cycles.
Clear masonry sealers protect against water, staining, and efflorescence without changing the color, and they can extend the life of both the paint and the blocks.
Apply sealers on a dry day with temperatures in the product’s recommended range and follow recoat and cure times for best results.
When To Seal
If your retaining wall faces frequent moisture, freeze-thaw cycles, or salt exposure, sealers can protect the blocks and extend their life.
You’ll choose sealing techniques based on season, moisture, and paint condition. Seal after repairs and when paint’s cured.
Consider timing and temperature. Visualize conditions:
- Spring rain
- Summer heat
- Fall moisture
- Winter freeze
Benefits Of Clear Sealers
When your wall’s been repaired and the paint’s fully cured, a clear masonry sealer gives you breathable protection without changing the color or texture of the blocks. You’ll get clear sealers advantages like moisture resistance, UV clarity, and long term protection for paint and masonry.
| Benefit | Effect | Note |
|---|---|---|
| Moisture barrier | Prevents water | Reduces freeze damage |
| UV stable | Preserves color | No yellowing |
| Breathable | Allows vapor | Avoids blistering |
Application Timing Tips
Because clear sealers perform best on fully cured paint and dry masonry, plan your timing to match both paint manufacturer cure times and local weather forecasts.
You’ll check application conditions and weather considerations before sealing.
Visualize steps:
- Dry surface, 24–48 hours after rain.
- Paint cured per label.
- No forecasted frost or heavy rain.
- Moderate temperature, low humidity.
Maintenance: Routine Checks and How to Touch Up Small Spots
While a painted retaining wall can look great for years, you’ll need to check it regularly for chips, peeling, and moisture damage so small problems don’t get worse; a quick monthly inspection is usually enough to catch trouble early.
Use routine inspections to spot damage, clean and sand small areas, apply primer, then match paint and use gentle touch up techniques for seamless repairs.
Troubleshooting: Peeling, Bubbling, Stains, and Discoloration
Peeling, bubbling, stains, and discoloration can all signal specific problems with your retaining wall’s paint or substrate, so you’ll want to diagnose each symptom before you pick a fix.
Address peeling paint, bubbling issues, stain removal, and discoloration fixes like this:
- Scrape failed paint.
- Probe blisters.
- Clean contaminants.
- Prime and repaint.
Frequently Asked Questions
Will Painting Retain Heat and Harm Plant Roots Near the Wall?
No — painted blocks modestly increase heat retention, but you shouldn’t worry. You’ll protect roots by choosing light colors, breathable masonry paint, and adding mulch or irrigation so root protection remains effective despite slight temperature changes near the wall.
Can I Legally Paint a Retaining Wall on Shared Property or Easements?
Yes — but don’t assume you own the world: you’ll need to check shared property rights and easement agreements, consult neighbors, and likely get written permission or permits before painting to avoid legal disputes or enforced repainting.
How Long Should I Wait After Concrete Curing Before Painting New Blocks?
Wait about 28 days after concrete curing before painting new blocks; that curing time guarantees full strength and proper paint adhesion. If conditions were cooler or wetter, wait longer and test moisture level to confirm readiness.
Will Painted Retaining Walls Affect Nearby Drainage Permits or Inspections?
Yes — think of your painted wall as a garden path: if coatings change water flow, you’ll trigger drainage regulations and inspection requirements. You should check local rules, document changes, and guarantee coatings don’t obstruct planned drainage.
Are Eco-Friendly or Low-Voc Paints as Durable for Retaining Walls?
Yes — you can use eco-friendly, low-VOC paints and still get strong color longevity; you’ll choose high-quality formulations, proper surface prep, and finishes that resist moisture, reducing environmental impact while maintaining durability through seasonal wear.
