
How to Paint Walls Different Colors in the Same Room
You can confidently paint walls different colors in the same room by planning zones, prepping surfaces, and using careful cutting‑in and rolling to keep lines clean and even. Test swatches under your room’s light and pick harmonizing undertones, finishes, and sheens for balance. Tape edges, patch and sand holes, prime as needed, then work from the far corner, keeping a wet edge and feathering shifts. Follow these steps and you’ll get cohesive, professional-looking results—keep going for practical tips and techniques.
Quick 7-Step Painting Plan
Start by gathering your supplies, then follow this seven-step plan to work efficiently and get clean, consistent results:
You’ll prep walls, tape edges, and apply primer where needed.
Cut in neatly, roll in sections, and maintain wet edges.
Use color psychology to balance mood and consider space perception when arranging hues.
Leverage color psychology to set mood and manipulate perceived space when selecting and placing paint hues.
Finish with touch-ups and sealant for durability.
Choose Paint Colors That Work
When you pick colors, pay attention to undertones so adjacent hues feel cohesive rather than clashing.
Use neutrals to balance bold choices and give the eye places to rest.
Test samples together in the room light before you commit.
Consider Undertone Harmony
Harmony matters: paying attention to undertones lets you pick colors that actually complement each other instead of clashing. Use color theory and color psychology to guide undertone analysis for cohesive color combinations, color harmony, and controlled color contrast. You’ll achieve visual balance and intentional mood setting by testing swatches together under real light before committing.
| Swatch | Undertone | Effect |
|---|---|---|
| A | Warm | Cozy |
| B | Cool | Calm |
| C | Neutral | Versatile |
Balance With Neutrals
Neutrals act as the glue that keeps varied wall colors from competing—choose a base neutral that shares an undertone with your accent hues so everything reads as intentional.
You’ll use neutral color palettes to calm shifts, anchor furniture, and highlight focal walls.
Pair them with contrasting shades sparingly to create rhythm, keeping balance by repeating the neutral across trims, textiles, and decor for cohesion.
Map the Room and Zones
Start by measuring the room and sketching a simple layout so you know wall lengths and proportions.
Then mark functional zones—like seating, dining, or work areas—so each color supports its purpose.
Finally, note architectural features such as trim, alcoves, and windows that should influence where colors change.
Measure And Sketch Layout
Before you pick colors, measure and sketch the room so you’ll know exactly where each zone falls and how much paint you’ll need.
Tape a scale plan, record wall lengths, window and door locations, and ceiling height.
Note focal points and traffic flow to inform color psychology and spatial perception.
Label each wall segment, calculate square footage, and list paint quantities for accuracy.
Define Functional Zones
With your sketch and measurements in hand, map the room into clear functional zones—sleeping, working, lounging, dining, circulation—so you can assign colors that match each area’s purpose.
Label each zone, note furniture and traffic flow, and consider color psychology to set mood.
Use contrasting hues to define areas without barriers, and tweak tones to influence spatial perception and visual balance.
Note Architectural Features
Take note of every architectural feature—windows, doors, moldings, alcoves, fireplaces, built-ins, and ceiling changes—so you can place colors where they’ll enhance or recede as needed.
Map these architectural highlights, then assign hues that emphasize focal points or hide flaws.
Use deliberate color contrasts to separate zones, draw the eye, or downplay scale, ensuring shifts feel intentional and cohesive.
Decide Color Placement by Function
Although color choice is personal, you should place hues based on how each room functions and how you want people to feel and behave there. Use color psychology and functional aesthetics to assign calming tones to rest areas, energizing hues to activity zones, and neutral anchors for passage spaces.
| Area | Purpose | Suggested Mood |
|---|---|---|
| Bedroom | Rest | Calm |
| Kitchen | Activity | Energizing |
| Hallway | Passage | Neutral |
Choose Paint Finishes and Sheen
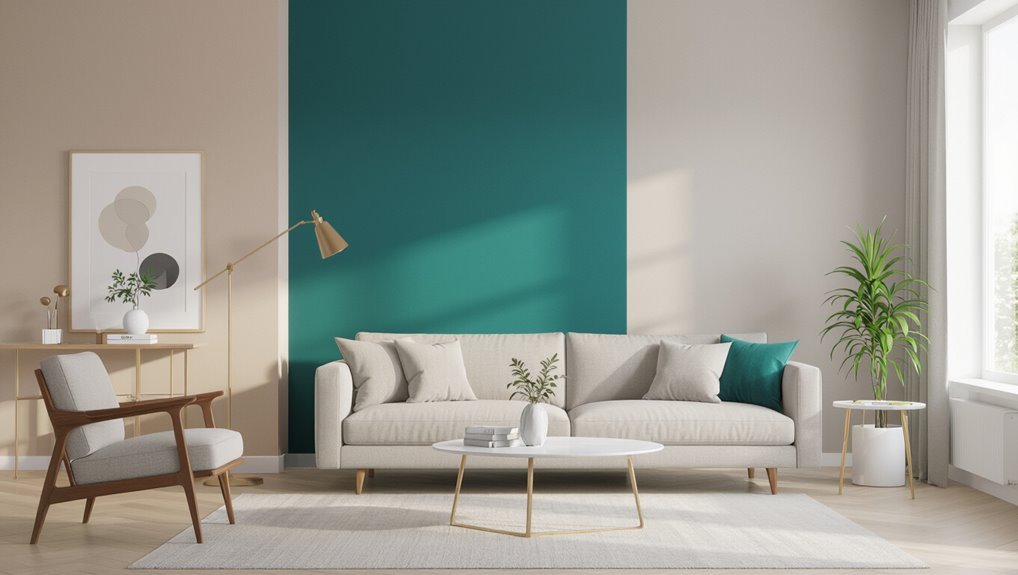
Because finish affects durability, light reflection, and how flaws show, you should pick sheen based on each room’s use and condition.
Choose finish types like flat for low-traffic areas, eggshell or satin for living spaces, and semi-gloss or gloss where you need washability.
Match sheen levels between accent and main walls to control contrast, hiding imperfections where needed and boosting highlights where desired.
Measure and Order Paint Quantities
Before you buy any paint, measure your walls so you order the right amount and avoid costly returns or extra trips. Do paint quantity calculations per wall, account for doors/windows, and factor coats. Check paint type recommendations for coverage. Use the table for quick planning:
| Wall | Area (sq ft) | Gallons needed |
|---|---|---|
| A | 200 | 1.5 |
Prepare Surfaces and Patching
Start by evaluating the wall for cracks, holes, and loose paint so you know what needs fixing.
Fill holes properly with the right patching compound and let it dry fully before proceeding.
Sand smooth and wipe the surface clean so your new colors will stick and look even.
Assess Wall Condition
Evaluating your walls means checking every surface for cracks, holes, peeling paint, stains, and texture issues so you know what repairs and prep you’ll need before painting.
For efficient wall assessment, perform a surface inspection under good light, note problematic areas, test adhesion, and identify moisture or mold.
Prioritize structural fixes and cleaning so color differences won’t highlight hidden flaws.
Fill Holes Properly
Patch holes carefully so your new paint looks smooth and professional.
Use appropriate filling techniques and patching products for each defect. Follow these steps:
- Choose patching products for tiny nail holes.
- Use lightweight compound for larger gouges.
- Apply in thin layers, let dry between coats.
- Feather edges so repairs blend before priming and painting.
Sand And Clean
Sand and clean the patched areas and surrounding surfaces so paint will adhere evenly and look seamless.
After filler cures, use appropriate sanding techniques—start with medium grit, finish with fine—to feather edges.
Wipe dust with a damp microfiber, then apply recommended cleaning methods for grease or stains.
Let surfaces dry fully before priming so your color shifts stay crisp and durable.
Tools and Time Checklist
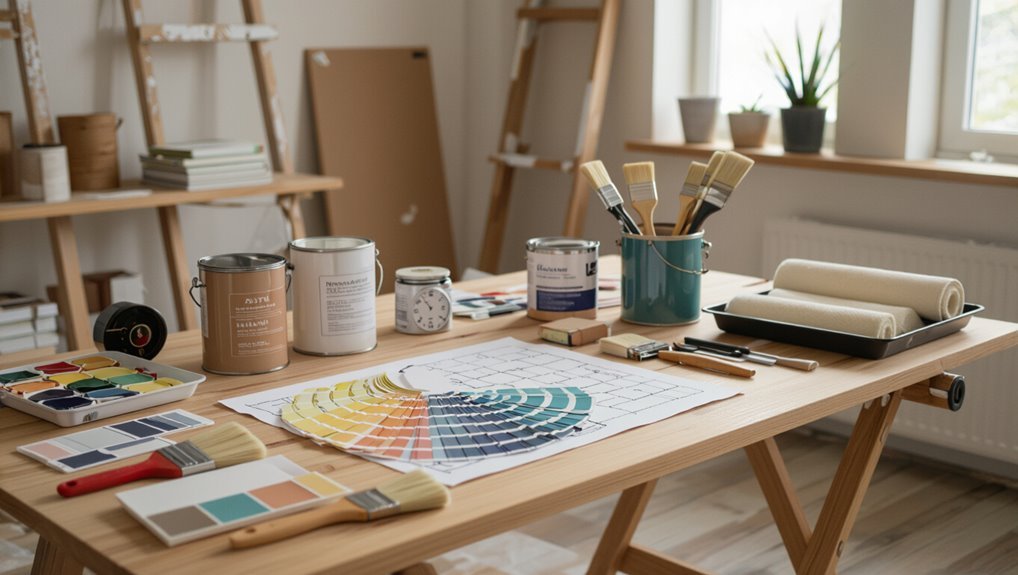
You’ll need a few specific tools and a realistic time plan before you start painting; gather them now so you don’t stop mid-job.
Use essential paint tools, plan time management, confirm color palettes, and finish surface preparation first.
- Brushes/rollers
- Drop cloths/containers
- Primer and paint
- Cleaning and sanding supplies
Tape for Crisp Paint Lines
1 roll of painter’s tape can make the difference between a sloppy edge and a professional-looking finish.
You’ll choose tape types for delicate surfaces or sharp lines, check adhesion, and clean the wall first.
For precise tape application, press firmly along seams and overlap slightly at corners.
Remove tape slowly at a 45° angle while paint’s tacky to avoid peeling.
Cut In Along Edges First
Before you roll, you’ll want to cut in along edges to protect trim and get crisp corners.
Tape the trim where needed and cover floors or furniture so paint doesn’t smear.
Use a high-quality angled brush and steady strokes to feather the paint into the field.
Tape And Protect Trim
Start by cutting in along the edges with a steady hand, painting a narrow strip where wall meets trim so you don’t get paint on the woodwork later.
Then tape and protect trim using precise taping techniques for clean lines.
Follow these steps:
- Clean surfaces
- Choose quality painter’s tape
- Press edges firmly
- Seal tape with a fingertip
Use Proper Brushwork
Cut in along edges with a steady hand, using a 2–2.5-inch angled sash brush to paint a narrow strip where the wall meets trim so rollers won’t touch the woodwork. You’ll choose brush types, practice stroke techniques, and work top-down. Keep a wet edge and steady pressure for crisp lines.
| Tool | Size | Use |
|---|---|---|
| Angled sash | 2–2.5″ | Edges |
| Nylon | 1–1.5″ | Detail |
| Roller | 9″ | Field |
| Brush comb | N/A | Clean |
Roll Walls Efficiently by Color
Once you’ve taped and edged the room, roll each color in logical sections so you’re not constantly switching trays or cleaning rollers; work from the farthest corner toward the exit and finish one full wall or continuous surface before moving to the next to keep edges wet and colors consistent.
Work in logical sections: roll each color from the farthest corner toward the exit, finishing one wall before moving on.
Use efficient paint roller techniques and steady color application.
- Load roller evenly
- Maintain W pattern
- Keep wet edge
- Rotate rollers
Blend and Feather Soft Transitions
When you blend and feather between colors, work while the paint’s still wet so you can soften the line without creating muddy tones.
Use a dry brush or slightly dampened sponge to pull pigment outward, practicing color blending in small sections.
Alternate light strokes, keep a soft edge, and use feathering techniques to gradually merge hues.
Step back frequently to check for even shifts.
Balance Bold and Neutral Walls
After you’ve softened the line between two hues, think about how a bold wall will play against neutral surroundings.
You’ll use color psychology and contrast to set mood, while balancing proportions and wall textures for harmony.
Consider these steps:
- Choose one focal bold wall.
- Match neutrals to undertones.
- Test swatches in different light.
- Repeat accent color sparingly.
Design Visual Zones for Use
Although you might love an open-plan look, design visual zones so each area serves its purpose—work, relax, dine—without feeling disjointed. Use color psychology to assign hues that match function and guide traffic; contrast alters spatial perception, defining boundaries without walls.
| Zone | Color | Purpose |
|---|---|---|
| Work | Soft blue | Focus |
| Relax | Warm beige | Calm |
| Dine | Olive | Social |
| Entry | Accent | Passage |
Preview Colors Under Room Lighting
Now that you’ve assigned colors to each zone, check how they’ll actually look under your room’s lighting before you commit.
Test samples on large cards and view at different times. Consider how light temperature shifts color perception.
Steps:
- Tape swatches to each wall.
- Observe morning, noon, evening.
- Use bulbs matching planned fixtures.
- Take photos to compare.
Use Furniture and Trim to Tie Colors
Use your furniture and trim to pull the room’s palette together so each color feels intentional.
Position pieces to create sightlines that repeat accent hues, and choose upholstery or rugs that echo wall tones.
Use trim contrast to frame painted sections and anchor shifts.
Thoughtful furniture arrangement lets colors interact naturally, making the space cohesive without additional decor.
Touch-Up, Repair, and Finish Tips
When you finish painting, take time for careful touch-ups and repairs so the final result looks professional and lasts.
Use solid wall preparation to guarantee adhesion and color consistency.
Follow these concise tips:
- Inspect for drips or thin spots; apply touch up techniques.
- Use repair methods for dents/cracks.
- Blend edges for seamless shifts.
- Choose finish options to match sheen and durability.
Frequently Asked Questions
Can I Paint Ceilings a Different Color Than Walls in the Same Room?
Yes—you can paint ceilings a different color than walls; you’ll use ceiling color psychology to affect mood and opt for contrasting ceiling styles to add depth, make ceilings recede or pop, and coordinate trims for a polished look.
How Do I Handle Electrical Outlets and Switch Covers With Multiple Wall Colors?
Like matching socks, you’ll coordinate outlet covers to the dominant wall or switchplate trim. You’ll paint or replace covers for clean color coordination, use connecting trim, and center switches on the main hue for cohesion.
Can Accent Walls Affect Room Resale Value?
Yes—accent walls can boost resale appeal when used strategically; you’ll highlight focal points, convey style, and use color psychology to evoke mood. Accent wall benefits include increased perceived value, but keep tones neutral for broad buyer appeal.
What About Painting Rooms With High Humidity or Moisture?
Think of walls as ship hulls riding stormy seas; you’ll choose humidity resistant paints and moisture control techniques, seal leaks, use dehumidifiers, and guarantee proper ventilation so paint adheres and mold stays boarded up.
Should I Use Color Samples on Large Panels Before Committing?
Yes—you should. Try large panels to test color psychology in real light, guarantee color harmony between hues, and observe mood shifts throughout the day; you’ll avoid costly mistakes and pick shades that truly work for you.
