
How to Remove Water-Based Paint From Walls Without Wrecking the Surface
If the paint’s fresh, act fast: blot excess with a damp cloth, scrub gently with mild soap and warm water, and lift softened spots with a flexible plastic scraper to avoid gouging. For semi‑cured paint try rubbing alcohol or a commercial solvent on a test patch, and use fine sanding only as a last resort. Protect floors and trim, air‑dry paint‑soaked rags before disposal, and follow gentle blending and touch‑up tips below to finish the job right.
Quick: Remove Fresh Water‑Based Paint Now
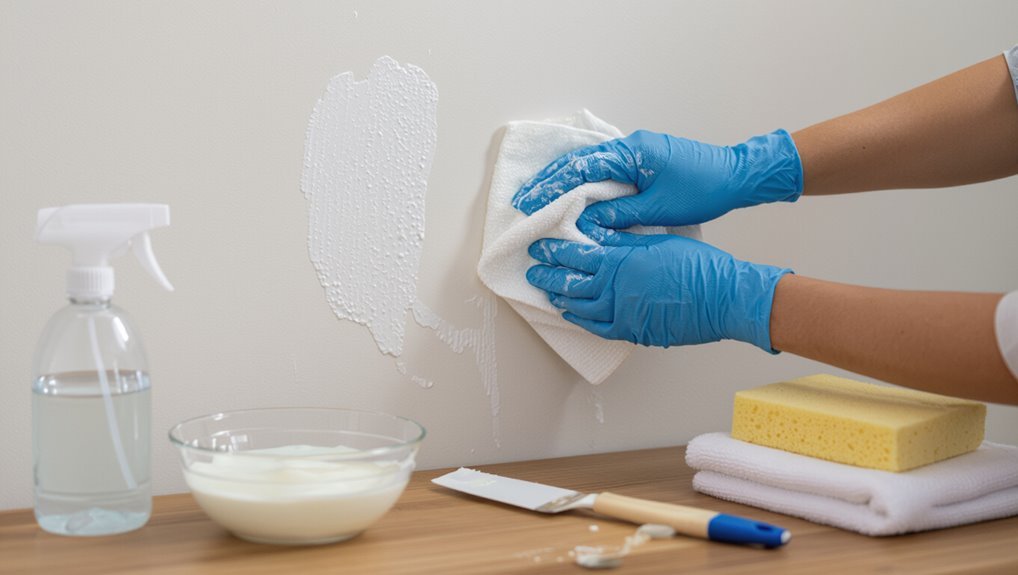
Act fast: fresh water‑based paint wipes away much more easily than dried paint.
You’ll blot excess with a damp cloth, rinse frequently, and use gentle circular motions to avoid damaging wall surfaces.
For quick cleanup, lift softened paint with a soft scraper and mild soap solution.
These removal techniques prevent spreading and reduce the chance you’ll need harsher methods later.
Prep Checklist: Supplies to Gather
Before you start, gather the right tools and equipment—like scrapers, putty knives, soft-bristle brushes, and drop cloths—to protect surfaces and make removal easier.
You’ll also want cleaning supplies such as mild detergent, rubbing alcohol or a commercial water‑based paint remover, plenty of clean rags, and a bucket of warm water.
Having these on hand will keep the job safe, efficient, and less messy.
Tools And Equipment
Gathering the right tools will make removing water-based paint from walls faster and safer, so collect protective gear, cleaning supplies, and gentle scrapers before you start.
Choose quality paint removal tools—plastic putty knives, soft-bristle brushes, and a multi-tool with gentle blades.
Don disposable drop cloths, painter’s tape, and foam corner protectors for surface protection.
Keep a small bucket and microfiber cloths handy.
Cleaning Supplies
Now that your tools and protection are ready, collect the cleaning supplies you’ll need to soften and lift water-based paint without damaging the wall: a mild dish soap, white vinegar, isopropyl alcohol (70% or higher), a gentle citrus-based cleaner or commercial latex-paint remover, a spray bottle, a bucket of warm water, microfiber cloths, soft sponges, and disposable rags.
| Item | Use | Tip |
|---|---|---|
| Vinegar | Soften paint | eco friendly options |
| Alcohol | Spot clean | fast drying |
| Citrus cleaner | Remove residue | budget friendly supplies |
How to Tell Water‑Based Paint From Oil Paint
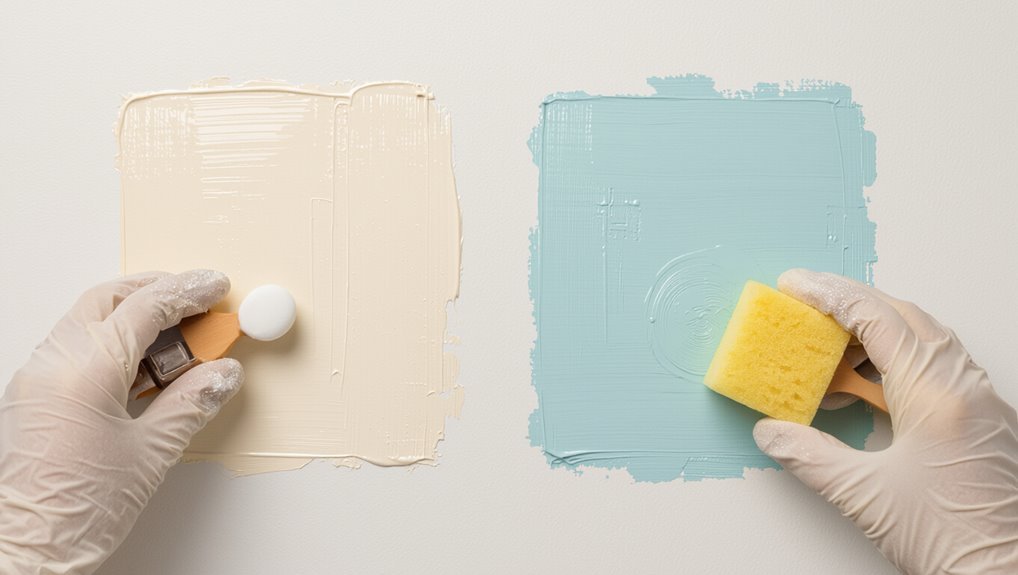
Wondering whether the paint on your wall is water-based or oil-based?
Check paint characteristics and drying times: water-based feels less glossy, smells milder, and dries fast; oil-based is shinier, stronger odor, and dries slowly.
Water-based paints are less glossy, milder-smelling, and dry quickly; oil-based paints are shinier, stronger-smelling, and slow to dry.
Test small area with water and rubbing alcohol. If it softens with water, it’s water-based; if only alcohol or solvent works, it’s oil-based.
3. Try both tests.
When to DIY vs. Call a Pro
How do you decide whether to tackle paint cleanup yourself or call a pro?
Assess DIY Considerations: size of spill, surface type, tools, and your skill.
Try a small test area; if the patch responds, continue.
Seek a Professional Evaluation when damage risk, textured or delicate surfaces, large coverage, or time constraints exceed your comfort.
A pro minimizes mistakes and restores finish.
How Paint Age Affects Removal Choices
Because paint changes with time, the age of the water-based coating directly shapes your removal approach and likely success: fresh splatters usually lift with mild soap, water, or a soft scrub, while paint that’s had days to cure will need stronger solvents, repeated action, or light abrasion.
Paint age determines removal: fresh comes off with soap and water; older spots need solvents or light abrasion.
Consider paint composition and targeted removal techniques:
- Fresh: soap, water.
- Semi-cured: solvent wipes.
- Cured: abrasion, stronger remover.
Test First: Check a Small Hidden Area
Before you start removing paint across a visible area, test your chosen cleaner and technique on a small, hidden spot—like behind a trim or inside a closet—so you can see how the solvent, scrub, or abrasive affects the underlying finish without risking visible damage.
Perform an initial test, note reaction time, finish change, and residue, then adjust pressure, product, or method before tackling exposed walls.
Safest First Step: Damp‑Cloth Removal for Uncured Paint
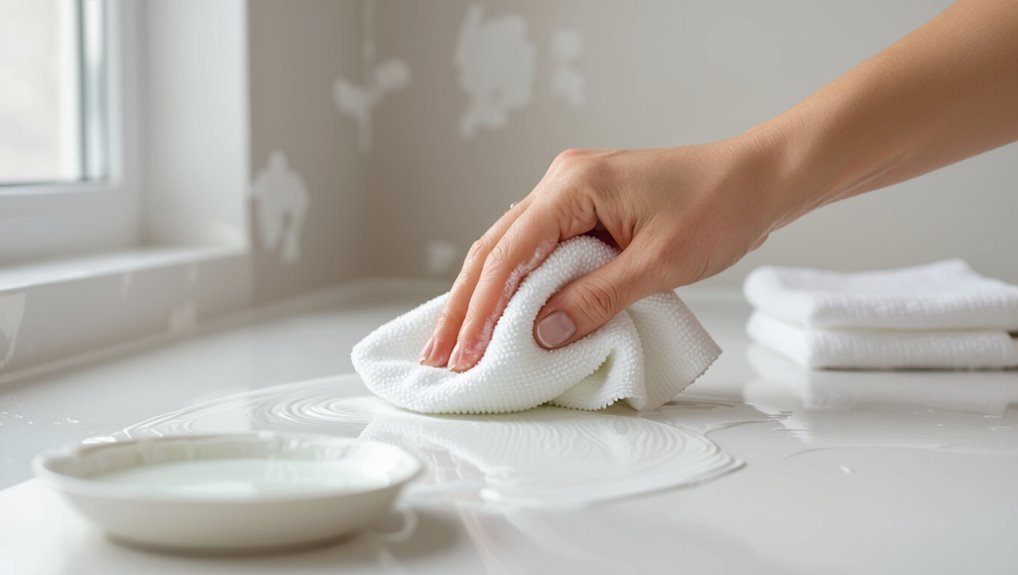
Start by gently wiping fresh, uncured water‑based paint with a damp, lint‑free cloth—it’s the simplest, least damaging way to remove smears before they set.
You should:
- Blot, don’t rub, using damp cloths to lift paint.
- Rinse and wring cloth frequently to avoid spreading.
- Stop if residue resists; let paint dry before next method.
Lift Tacky Paint With Mild Soap and Water
Mix a few drops of mild dish soap into warm water to make a gentle cleaning solution you’ll use for tacky paint.
Dip a soft cloth or sponge, wring it well, and gently scrub the spot in circular motions to lift the paint without abrading the finish.
Rinse with clean water, pat dry, and avoid overworking the area so you protect the underlying paint.
Prepare Soap Solution
One simple option is to combine a few drops of mild dish soap with warm water to create a gentle cleaning solution that’ll soften tacky, water-based paint without harming the wall finish.
Choose soap types and test solution ratios on a hidden spot.
Use:
- 1 cup warm water + 2–3 drops soap
- Stir gently
- Apply sparingly with a soft cloth
Gentle Scrubbing Technique
Gently scrub the tacky paint with a soft cloth or nonabrasive sponge dampened in the mild soap solution, working in small circular motions to lift residue without damaging the wall. Use gentle pressure and soft bristles on stubborn spots; rinse cloth often.
| Tool | Purpose |
|---|---|
| Sponge | Lift paint |
| Soft brush | Agitate gently |
| Cloth | Wipe clean |
Protect Paint And Dry
Before the wall dries, pat the cleaned area with a dry, lint-free cloth to remove excess moisture and prevent watermarks.
Then let the surface air-dry fully for at least an hour while keeping it protected from direct sunlight and drafts.
You’ll maintain paint preservation and surface protection by:
- Avoiding rubbing harshly.
- Using mild soap residue-free rinse.
- Applying a light seal if needed.
Soften Dried Paint: Warm Vinegar Method & Timing
Heat a small pot of white vinegar and test a hidden spot before you start: warm vinegar helps soften dried water-based paint so you can lift it without damaging the wall.
Heat a little white vinegar, test a hidden spot, then soften and gently lift dried water-based paint.
Use gentle vinegar heating—keep it warm, not boiling.
Apply with a cloth, wait 5–10 minutes for paint softening, then scrape gently with a plastic scraper.
Repeat as needed, drying between passes.
Use Rubbing Alcohol Safely on Painted Walls
If paint residue won’t budge with vinegar, try isopropyl rubbing alcohol on a hidden spot to check for colorfastness and sheen changes.
Then follow steps:
- Dampen a cloth, blot gently, avoid scrubbing.
- Rinse with water, pat dry immediately.
- Repeat sparingly, testing frequently.
You’ll protect painted surfaces by working slowly and stopping if finish softens or dulls.
Safely Use Commercial Paint Remover on Drywall
When you choose a commercial paint remover for drywall, pick a product labeled safe for gypsum board and follow the manufacturer’s instructions closely. These formulas work faster than household solutions but can damage paper-faced drywall if misused.
Test a small area, wear gloves and ventilation, and compare commercial product options. Apply thinly with recommended application techniques, wait prescribed time, then gently scrape and neutralize per instructions.
Remove Drips From Textured & Popcorn Ceilings
First check whether the drips are still wet or have dried and confirm they’re from water-based paint so you choose the safest method.
For dried spots, you’ll want to use gentle tools—like a soft-bristled brush, plastic scraper, or damp sponge—so you don’t damage the texture.
Take your time and test a small, hidden area before treating larger drips.
Assess Paint Type
Want to tell what kind of paint you’re dealing with before you start scraping? You should identify paint characteristics and test surface compatibility on an inconspicuous spot.
Check finish, adhesion, and soak test results. Then decide safest approach.
- Water-based signs: soft when damp.
- Oil-based signs: beading, solvent needed.
- Mixed coats: treat as stubborn, proceed carefully.
Gentle Removal Techniques
Start by working gently—remove dried water‑based drips from textured or popcorn ceilings with light tools and patience to avoid tearing the finish.
Use a soft-bristled brush, a plastic scraper or your fingernail to lift paint flakes, and dab stubborn spots with damp microfiber.
Focus on gentle techniques, keep debris contained, and use surface protection like drop cloths and minimal moisture to preserve texture integrity.
Scrape Small Spots Without Gouging the Wall
When you need to remove tiny paint specks, work slowly and use the right tools so you don’t gouge the drywall or plaster.
Use gentle scraping techniques and protect surrounding areas for wall protection.
Follow steps:
- Score paint edge lightly.
- Lift flakes with a thin blade.
- Clean residue with a damp cloth and let dry before touching up.
Use a Plastic Putty Knife and Sanding Block Correctly
Pick a flexible plastic putty knife that won’t gouge the drywall or plaster, and use light, controlled strokes to lift softened paint.
When you need to smooth edges, wrap a sanding block with fine-grit paper and sand gently along the surface, keeping pressure even.
Take frequent pauses to check your progress so you remove paint without damaging the wall.
Choose The Right Tools
One good rule is to use a plastic putty knife for scraping and a fine-grit sanding block for smoothing—plastic prevents gouging the drywall or plaster while the sanding block gives even pressure and control.
Choose tools based on paint types and wall textures.
- Select flexible blade.
- Pick 220–320 grit block.
- Use light pressure and test first.
Gentle Scraping Techniques
Start by holding the plastic putty knife at a low angle and scrape with steady, light strokes so you lift softened water-based paint without gouging the wall. Use gentle scraping techniques, keep edges clean, and protect nearby trim for wall protection. Finish with a sanding block only if needed, but avoid aggressive pressure.
| Tool | Purpose |
|---|---|
| Knife | Lift paint |
| Block | Smooth edges |
| Tape | Protect trim |
| Cloth | Wipe residue |
| Bucket | Rinse rag |
Sand With Care
After scraping, you’ll want to smooth rough edges with a plastic putty knife held at a very shallow angle while gently sanding with a fine-grit sanding block; this combo lifts stubborn flakes and blends seams without gouging the surface.
Use these sanding techniques and prioritize surface protection:
- Feather edges with light strokes.
- Keep the block flat to avoid dips.
- Wipe dust often to inspect progress.
Blend Repaired Areas So Touch‑Ups Disappear
When you’ve repaired and primed a patch, blend the surrounding paint so the touch-up vanishes into the wall: feather the new coat outward with a slightly damp brush or roller, matching the original texture and using light, overlapping strokes until edges soften and sheen aligns.
Use blending techniques and touch up tips: work small, match sheen, let coats dry, and inspect under varied light.
Remove Paint From Baseboards, Trim, and Molding
Carefully remove any stray water‑based paint from baseboards, trim, and molding before it fully dries so you don’t have to sand or repaint later.
Remove stray water‑based paint from baseboards, trim, and molding before it dries to avoid sanding or repainting.
Use gentle solvents and a soft scraper for baseboard cleaning, keep a damp cloth handy for molding care, and tape edges for trim protection.
Apply these paint removal techniques:
- Blot
- Scrape
- Rinse
Remove Water‑Based Paint From Wallpaper & Vinyl
Before you start, test a hidden spot to make sure the wallpaper or vinyl won’t discolor or lift.
Use only mild, water-based or gentle solvent cleaners and a soft cloth, working slowly to avoid damage.
Keep seams and edges protected and avoid soaking them so adhesive doesn’t loosen.
Test Hidden Area First
Since wallpaper and vinyl finishes react differently to cleaners and scrapers, always test a hidden spot first so you know what to expect.
You should check a small test area and note any discoloration or texture change.
Follow these steps:
- Clean a hidden spot gently.
- Apply your method briefly.
- Inspect for damage and wait before proceeding.
Use Gentle Solvents
If your wallpaper or vinyl finish survived the test spot, try mild, paint-safe solvents next: apply a small amount of rubbing alcohol or a commercial, nonabrasive remover to a soft cloth and blot gently.
Work slowly, using gentle solvents and effective techniques to lift paint without scrubbing. Rinse frequently, pat dry, and stop if adhesive or color softens to avoid damage.
Protect Seams And Edges
Once the paint on the flat surfaces looks like it’s coming off, shift focus to seams and edges where wallpaper or vinyl is most vulnerable; those areas can peel or bubble if you overwork them.
Use gentle tools and prioritize edge protection and seam shielding.
- Test solvent near a seam.
- Lift paint with a soft blade.
- Tape edges before scrubbing.
Tackle Large Spills and Paint Runs on Walls
Start by containing the mess: quickly blot excess paint with a clean, dry cloth or paper towel without rubbing, then lay drop cloths or plastic sheeting to protect the floor and nearby surfaces.
Work from edges inward, use mild soap and water or a recommended cleaner, monitor drying times, test cleanup techniques on hidden spots, and respect different wall finishes to avoid damage.
Minimize Odor and Improve Ventilation
Because even water-based paints can give off fumes, open windows and doors immediately and run fans to push stale air outside and draw fresh air in. You’ll boost air circulation and reduce lingering smells.
Even water-based paints can fume—open windows, run fans, and boost airflow to push smells outside.
Try:
- Position cross-ventilation fans toward exits.
- Use activated charcoal or baking soda as odor neutralizers.
- Run an air purifier with a carbon filter until the room smells clean.
Protect Floors and Nearby Surfaces During Cleanup
Before you start cleaning, cover floors with drop cloths to catch drips and protect carpeting or wood.
Use painter’s tape to seal edges and tape off adjacent surfaces so you don’t spread paint or cleaning solution.
Don’t forget to shield fixtures and vents with plastic or paper to keep them clean and unblock airflow.
Cover Floors With Drop Cloths
1 simple layer of protection can save you hours of cleanup: spread drop cloths over floors and any nearby surfaces that could catch splatters.
You’ll take safety precautions and guarantee good floor protection before you work.
Follow these steps:
- Use heavyweight canvas or plastic.
- Secure edges with non-marking weights.
- Overlap seams and replace soaked cloths promptly.
Tape Off Adjacent Surfaces
Tape edges of baseboards, trim, and any adjacent surfaces with painter’s tape to create a crisp barrier that keeps paint off floors and fixtures. Use appropriate tape types for delicate wall finishes; press edges firmly. Remove tape while paint is tacky to avoid peeling.
| Surface | Tape choice |
|---|---|
| Baseboard | Low-tack |
| Trim | Medium-tack |
| Floor edge | Heavy-duty |
| Textured wall | Specialty tape |
Protect Fixtures And Vents
While you work, cover vents, light fixtures, and outlet plates with plastic or painter’s cloth to keep paint splatters and solvent drips from settling into crevices; secure coverings with low-tack tape so you can remove them without damage.
Use fixture protection and vent covering strategically:
- Remove covers where safe.
- Tape edges tightly.
- Replace after drying to prevent trapped moisture.
Dispose of Paint‑Soaked Rags and Materials Safely
Don’t toss paint-soaked rags and materials in the trash without treating them first, because they can ignite unexpectedly or contaminate the environment; instead, follow proper drying, containment, and disposal steps to keep yourself and waste handlers safe.
Air-dry or spread rags outdoors, seal dry materials in metal or labeled containers, and use local paint waste management programs for eco friendly disposal to comply with regulations.
Avoid Mistakes That Ruin Wall Finishes
After you’ve handled paint-soaked materials safely, turn your attention to how you treat the wall itself—one wrong move can leave stains, texture damage, or uneven sheen that’s harder to fix than the original spill.
Don’t guess—consider wall finishes and paint types. Follow this quick checklist:
- Test solvent in an inconspicuous spot.
- Use soft tools, avoid scraping.
- Rinse gently, pat dry.
Choose the Right Touch‑Up Paint and Tools
1 clear rule: match the original paint’s base, sheen, and color before you touch up, because even a perfect color match will look wrong if the finish or base (water- vs. oil-based) differs.
Choose touch-up paint that follows manufacturer labels, test samples on hidden spots for color matching, and pick tools—angled brush, small roller, or foam pad—suitable for the paint finishes you’re blending.
Repair Gouges or Plaster Damage After Removal
First, assess how deep and wide the gouges or plaster damage are so you know whether a simple filler will do or you need a heavier repair.
Then prep the edges by cleaning loose material and undercutting slightly to give patching compound something to bond to.
Finally, apply patching plaster or filler, smooth it flush with the wall, and sand once dry for a seamless finish.
Assess Damage Severity
When you’ve removed the paint, take a close look for gouges, cracks, or plaster that’s crumbling away—these signs tell you whether a simple patch will do or if you need more extensive repair.
Conduct a damage assessment, noting severity indicators and location.
Then rank repairs:
- Minor: hairline cracks, shallow gouges.
- Moderate: deeper gouges, loose plaster.
- Severe: large voids, structural weakness.
Prep Surface Edges
Before you start filling gouges or tacking loose plaster, clean and bevel the damaged edges so patches will bond securely; use a utility knife or a sharp drywall rasp to remove crumbly material and create a slightly recessed, even perimeter around each hole.
Then remove dust, apply primer where needed, and consider surface preparation tips and edge protection methods like tape or thin metal corner strips to prevent further chipping.
Patch And Smooth Plaster
Start by filling the gouges with a lightweight patching compound that matches the depth of the damage; press it firmly into the recesses, overfill slightly, and smooth the surface with a flexible plastic putty knife.
After drying, sand flush and inspect for uniformity.
- Feather edges for seamless plaster repair.
- Use fine sandpaper for surface finishing.
- Prime before repainting.
How Long to Wait Before Repainting
Although the exact drying time depends on temperature, humidity, and paint thickness, you can usually repaint water-based (latex) paint after about 2 to 4 hours for a recoat and 24 hours for a full cure before heavy use.
Check repainting timing on the paint can and test a small patch to confirm surface compatibility.
Wait longer in cool or humid conditions.
Use Commercial Stain Removers: Test First
Once the paint has cured, you can reach for a commercial stain remover to tackle stubborn spots that soap and water won’t budge.
Test on an inconspicuous area first to check finish compatibility and stain efficacy. Then follow product directions.
Steps:
- Apply small amount.
- Wait recommended time.
- Wipe gently and assess for damage before proceeding.
Prevent Future Splatters: Safer Painting Habits
If you plan ahead and use simple safeguards, you’ll cut down on splatters and save time on cleanup.
Lay drop cloths, mask trim, and work slowly with a loaded roller to minimize flicks.
Lay drop cloths, tape trim, and roll slowly with a loaded roller to cut down on flicks.
Wear protective gear like goggles and clothes you don’t mind ruining.
Use steady strokes, maintain a wet edge, and clean brushes promptly for effective paint splatter prevention.
Quick Troubleshooting: Stubborn Spots and Next Steps
When a smudge or dried drip won’t come off with your usual soap-and-water routine, don’t panic—you’ve got a few targeted options to try next.
Use gentle pressure and test first; for stubborn stains, try a melamine sponge or diluted vinegar.
removal tips:
- Soften with warm water, then blot.
- Try melamine gently.
- Rinse and touch up paint if needed.
Frequently Asked Questions
Can Water-Based Paint Harm Wallpaper Adhesive Over Time?
Yes, water-based paint can contribute to adhesive breakdown over time; you’ll risk compromised wallpaper preservation if moisture soaks through, so you should avoid prolonged wet exposure, seal correctly, and test small areas first.
Can Boiling Water Help Remove Paint From Metal Fixtures?
Yes — you can try boiling water for paint removal on metal, but it’s like pouring steam over dried glue: it loosens soft, water-based paint, won’t remove stubborn layers, and you’ll need scraping and care.
Will Hair Dryers Damage Latex-Painted Walls During Softening?
You can use a hair dryer gently; it won’t usually damage latex paint if you avoid excessive heat and prolonged exposure. Use moderate settings, keep moving, and test a small area to manage paint softening techniques and heat application risks.
Can Baking Soda Paste Remove Paint Without Discoloration?
Yes — you can. Like a gentle tide, baking soda paste lifts small paint spots without harsh bleaching, aiding paint removal while usually avoiding discoloration; test first, scrub softly, and rinse thoroughly to protect the finish.
How to Remove Paint Splatters From Fabric-Covered Furniture?
You blot wet splatters, dab with mild detergent and cold water, and test hidden fabric; if dry, gently scrape then use rubbing alcohol or a commercial stain remover. You’ll protect furniture care and guarantee paint protection.
