
How to Repair Wall Paint Damage and Make It Look Brand New
Start by inspecting the damage—holes, chips, stains, or cracks—and note size and any moisture. Clean and sand the area, then fill small holes with spackle and larger ones with patching compound. Prime stained or repaired spots, match paint color and sheen, and feather thin coats while blending edges with a small roller or brush. Match wall texture if needed, allow full drying between coats, and avoid lap marks for a seamless finish; keep going for detailed tips.
Identify Damage: Holes, Chips, Stains, Cracks
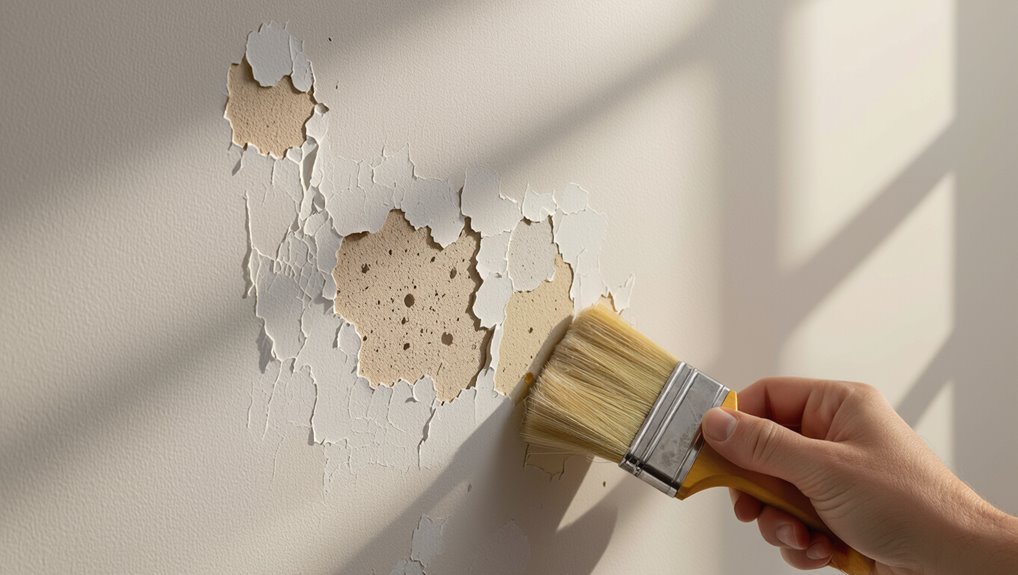
Before you start repairs, walk the room and note every imperfection—holes, chips, stains, and cracks each need a different fix.
You’ll perform a focused damage assessment, categorizing size, depth, and finish. Inspect for moisture, underlying plaster issues, and paint delamination.
That lets you choose targeted repair techniques—filler for holes, sanding for chips, stain treatment, and crack stabilization—avoiding wasted effort.
Gather Tools for Paint Repair Jobs
When you’re ready to repair paint damage, gather a compact kit of essential tools so each task goes smoothly: include sandpaper, putty knife, spackling compound, primer, brushes and a small roller, painter’s tape, drop cloth, and a utility knife.
Know your paint types beforehand—latex, oil, or specialty—to choose compatible primers and finishes.
These tool essentials keep repairs neat and lasting.
Quick Fixes: Small Holes, Scuffs, Chips
Anyone can tackle small holes, scuffs, and chips with a few simple steps and minimal tools: clean the area, sand lightly, apply spackling or touch-up paint, and blend the finish so the repair disappears.
You’ll care about color mixing and texture matching to hide flaws.
Quick emotional wins:
- Relief — visible damage gone
- Pride — DIY success
- Calm — restored space
- Confidence — ready for bigger fixes
Match Paint Color and Finish Accurately
Repairing small flaws is satisfying, but a seamless result depends on matching paint color and finish accurately. You’ll use color matching tools, compare paint samples and color swatches, consider sheen levels and finish types, test paint brands under lighting effects, and note texture variations before committing.
| Step | Tip |
|---|---|
| 1 | Test samples |
| 2 | Compare swatches |
| 3 | Check sheen |
| 4 | Try brands |
| 5 | Note texture |
Clean, Sand, and Tape the Surface
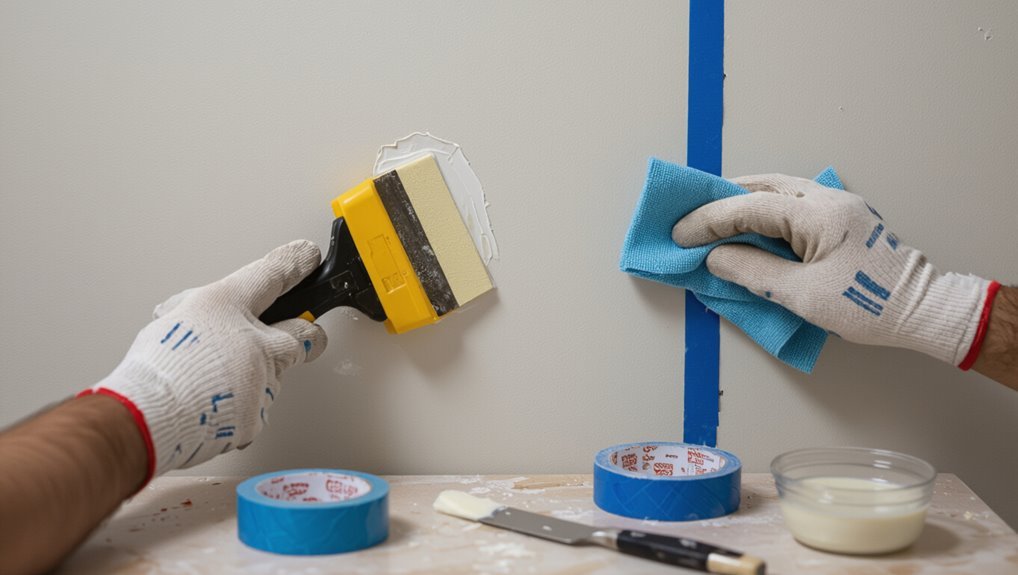
Start by cleaning the area thoroughly: wipe away dust, grease, and loose paint with a mild detergent solution or trisodium phosphate, rinse, and let it dry completely.
Then sand edges smoothly using gentle sanding techniques, follow surface preparation tips, and tape clean lines.
Gently sand edges, prep surfaces carefully, and tape crisp lines for a flawless finish.
Feel confident as you prep.
- Relief
- Pride
- Calm
- Anticipation
Fill Tiny Holes and Nail Marks
Start by checking the size of the hole so you know whether spackling or a stronger patch is needed.
Fill tiny holes and nail marks with a putty knife and spackle, then let it dry completely.
Once smooth, sand lightly and repaint to match the surrounding wall.
Assess Hole Size
Small nail holes and pin-sized blemishes are easy to assess: hold a bright light close to the wall and look for shadows or irregularities, then run your fingertip over the area to feel any depressions.
You’ll note hole types and choose repair techniques accordingly. Decide:
- Tiny pinpricks — quick fix, relief.
- Small nail holes — minor bother, manageable.
- Clustered dents — frustrating, plan care.
- Visible chips — annoying, act now.
Smooth And Paint
Grab a putty knife and a lightweight spackling compound, then press a small amount into each pinhole or nail mark so the cavity’s filled flush with the wall.
Let it dry, sand smooth with fine-grit paper, and wipe dust away. Good surface preparation guarantees even paint application.
Use a small brush or mini-roller, feathering edges to blend repaired spots into the surrounding finish.
Repair Hairline Cracks and Peeling Paint
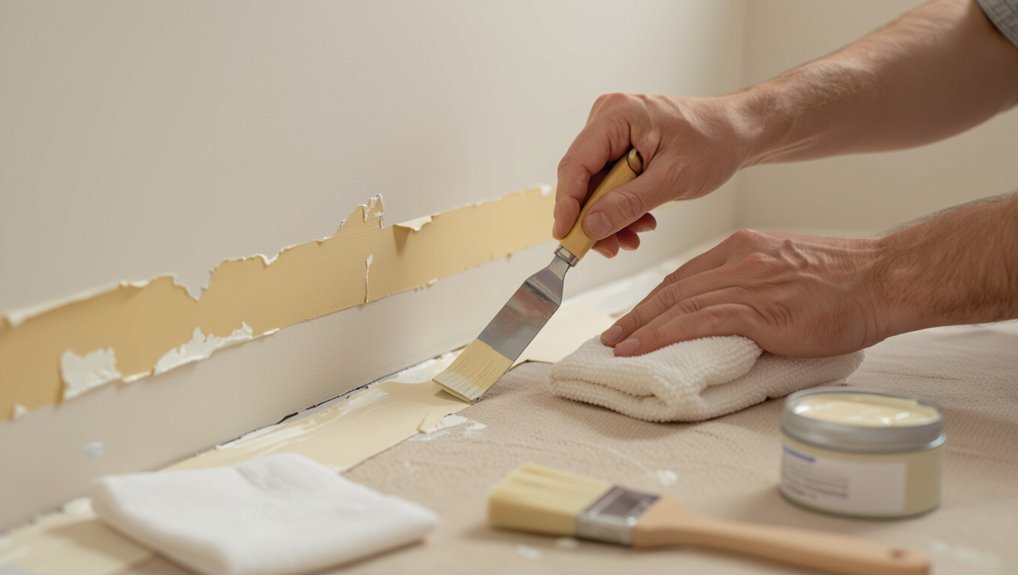
When you spot hairline cracks or flaking paint, act quickly to prevent moisture and dirt from widening the damage.
Identify hairline crack causes, clean and sand loose edges, apply primer, and use peeling paint remedies like flexible filler and matching paint so the finish blends.
Identify causes, clean and sand edges, prime, then use flexible filler and matching paint for a seamless finish.
Feel relieved as your wall regains smoothness and charm.
- Panic melts away
- Pride returns
- Comfort restores
- Home feels whole
Patch Larger Gouges With Joint Compound
If the gouge is wider or deeper than a hairline crack, you’ll need joint compound to fill it properly.
First clean and roughen the area, removing loose paint and dust so the compound sticks.
Then apply the compound in thin layers, smoothing each coat and sanding lightly between coats until it’s flush with the wall.
Assess Damage Size
Start by measuring the gouge so you know whether it needs a simple patch or a full fill with joint compound.
You’ll do a quick damage assessment, decide if taping or layering’s needed, and plan repairs to enable future damage prevention.
Choose joint compound when depth exceeds surface cracking; otherwise a skim works.
- Frustration
- Relief
- Confidence
- Pride
Prepare The Surface
Having measured the gouge and decided on joint compound, you’ll clear loose debris and roughen the edges so the patch bonds well.
For proper surface preparation, vacuum dust, wipe with a damp cloth, and let dry.
Address any greasy spots with mild detergent during surface cleaning.
Tape fragile surrounding paint and guarantee the area is solid and free of contaminants before you mix compound.
Apply And Smooth Compound
Grab your taping knife and mix the joint compound to a creamy, spreadable consistency.
Then press it into the gouge with firm, even strokes so the void’s fully filled and the compound bonds to the edges.
You’ll use compound application techniques and smoothing tools to feather edges, then sand lightly once dry for a seamless finish.
- Relief
- Pride
- Calm
- Confidence
When to Prime and Which Primer
Before you repaint, decide whether the damaged area needs a primer: if the repair exposes bare drywall, wood, plaster, or patched joint compound, or if stains, tannins, smoke, or high-contrast colors are present, prime first to guarantee adhesion and uniform topcoat appearance.
When to prime depends on surface preparation; choose primer types (stain-blocking, bonding, or high-build) for primer benefits like sealing, adhesion, and uniformity.
Paint Techniques for Seamless Blending
Start by feathering the edges of your patch so the new paint tapers into the old without a hard line.
Make sure you match both the color and the sheen to avoid obvious differences under light.
If needed, lightly scuff the surrounding area before blending to help the new paint marry with the existing finish.
Feathering The Edges
Although feathering looks subtle, it’s the key technique you’ll use to blend new paint into old without visible lines; you’ll apply gentle strokes, soften edges, and step back to inspect.
Use these feathering techniques to calm contrast and guarantee smooth blending edges:
- Light, tapering brushstrokes to sigh away lines.
- Cross-hatching for gradual fade.
- Thin coats to control intensity.
- Patience—small moves, big payoff.
Match Sheen And Color
If you want your repair to disappear, match both the color and the paint’s sheen—your eye picks up gloss differences as easily as color shifts—so use the same finish and a carefully matched tint. Use color theory basics to compare undertones and test on a patch. Know sheen types and work from least to most glossy.
| Test area | Result |
|---|---|
| Patch | OK |
| Sidelight | OK |
| Dry | OK |
| Touchup | OK |
Blend With Scuffing Technique
Lightly scuff the surrounding paint to create a keyed surface that helps new paint blend invisibly with the old.
Use fine-grit sandpaper or scuffing tools, wipe dust, feather primer, then apply thin coats while practicing blending techniques.
You’ll see repairs melt into the wall.
- Relief
- Confidence
- Pride
- Satisfaction
Match and Repair Textured Walls
When you’re repairing textured walls, your main goal is to recreate the surface pattern so the patch disappears once it’s painted.
You’ll follow surface preparation, choose repair techniques and product recommendations, match texture patterns, and practice texture blending.
Use appropriate paint applicators for wall finishes, test color matching, feather edges, and replicate the grain.
Choose the right applicators, match paint color, feather edges, and mimic the texture’s grain for an invisible repair.
Work patiently for seamless results.
Drying Times, Recoats, and Avoiding Lap Marks
Because paint dries and cures in stages, you’ll need to wait the recommended touch‑dry time before recoat and the full cure time before subjecting the wall to wear; follow the manufacturer’s label for temperature and humidity guidance, allow longer in cool or humid conditions, and test a small area to confirm it’s ready so you avoid tacky overlaps and lap marks.
- Use gentle drying techniques to soothe anxiety.
- Time your recoat timing to gain confidence.
- Mind paint absorption for smooth results.
- Prevent lap marks and feel proud.
Troubleshoot Stains, Bleed-Through, and Flaking
Once your paint’s dry and lap marks are under control, you’ll still run into issues like stains, bleed‑through, and flaking that demand different fixes. You’ll use stain removal, bleed through solutions, and flaking prevention. Focus on surface preparation, paint touch ups, and addressing color fading promptly to restore finish and durability.
| Issue | Fix | Tip |
|---|---|---|
| Stains | Clean & prime | Test first |
| Bleed‑through | Shellac primer | Seal |
| Flaking | Scrape & sand | Recoat |
| Fading | Touch ups | Match color |
| Prep | Clean | Dry fully |
Frequently Asked Questions
Can I Repair Paint Damage on Wallpapered Walls?
About 75% of repairs need professional help; you can sometimes repair paint damage on wallpapered walls yourself. You’ll use wallpaper repair techniques, careful paint touch up, matching patterns, seam glue, and gentle cleaning to blend edges.
Will Household Cleaners Remove Old Paint Before Repair?
Yes — household cleaners can help, but they’re limited: you’ll need stronger paint removal techniques for old paint. Test cleaner effectiveness first, use mild solvents or sanding as needed, and protect surrounding surfaces.
Can Pets Damage Freshly Repaired Paint, and How to Protect It?
Yes — pets can damage freshly repaired paint; you should restrict access, use pet-safe barriers, train scratching and chewing behaviors, and apply durable repair techniques like high-traffic enamel or clear protective coats to prevent future blemishes.
Is It Safe to Repair Lead-Painted Surfaces Myself?
No, it’s risky: you shouldn’t DIY on lead paint without precautions. Lead paint safety means testing, containment, PPE, and HEPA cleanup; use professional abatement or follow strict DIY painting precautions to avoid exposure.
How Long Before Rehanging Heavy Items on Repaired Spots?
Wait at least 24–48 hours before rehanging heavy items; heavier shelf weight may need longer. You’ll want repair techniques like proper drying, curing, and anchoring to guarantee the patch’s strength before trusting it with loads.
