
32 Studio Apartment Layout Ideas for Smart Living
You can make every inch work by zoning sleeping, working, cooking, and relaxing areas with clear sightlines and unobstructed pathways, keeping bulky pieces near walls and low-profile furniture in the middle. Pick convertible pieces—a sofa bed, Murphy bed, or loft—and use vertical, hidden storage, slide-away tables, and tuckable stools. Layer task, ambient, and accent lighting and add acoustic textiles for calm. Apply compact kitchenette and bathroom workflows, and keep palettes pale and cohesive to feel larger; more practical layout ideas follow.
Use a Zoned Floor Plan to Separate Functions
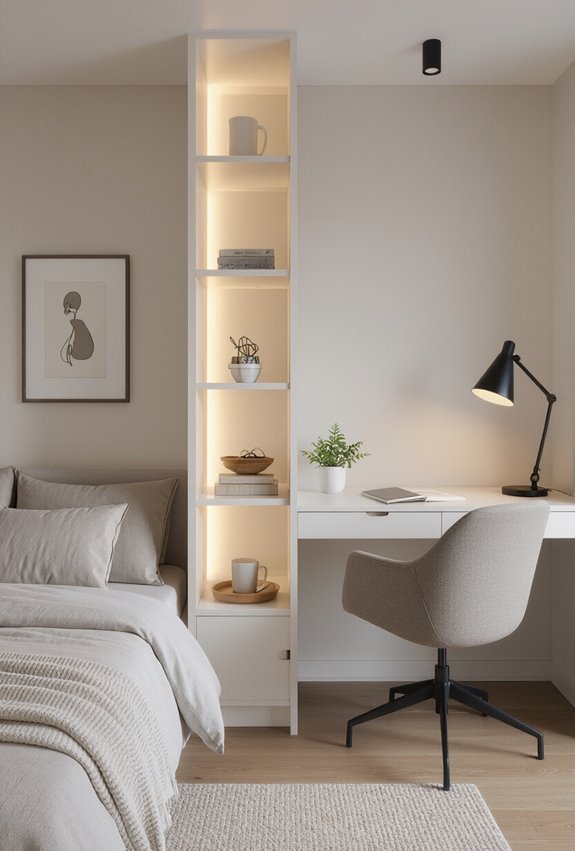
Once you’ve mapped routines and traffic paths, you can create clear zones that let each activity happen without crowding the rest of the room.
Define sleeping, working, cooking, and lounging areas with rugs, furniture placement, and open shelving.
Add privacy screening for the bed and use acoustic zoning—soft textiles, bookshelves, and panels—to reduce noise transfer and keep each zone functional and calm.
Choose a Convertible Sofa Bed to Save Space
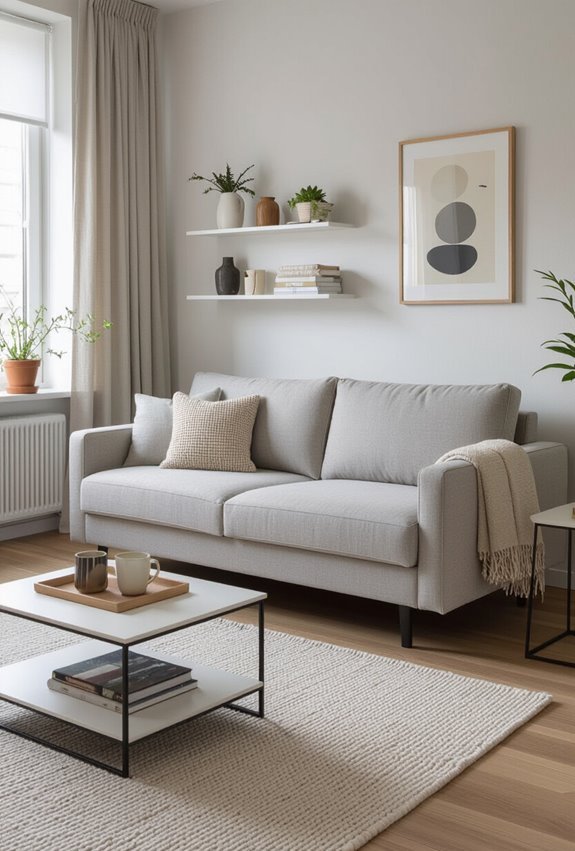
Think about a convertible sofa bed as your space-saving multitasker: it gives you a comfortable couch by day and a reliable bed by night without sacrificing style.
Choose durable space saving upholstery that resists wear, stains, and frequent folding.
Test the convertible mechanism for smooth, tool-free shifting and mattress comfort.
Position it to define zones, keep pathways clear, and add compact storage-friendly side tables.
Install a Murphy Bed With Integrated Storage
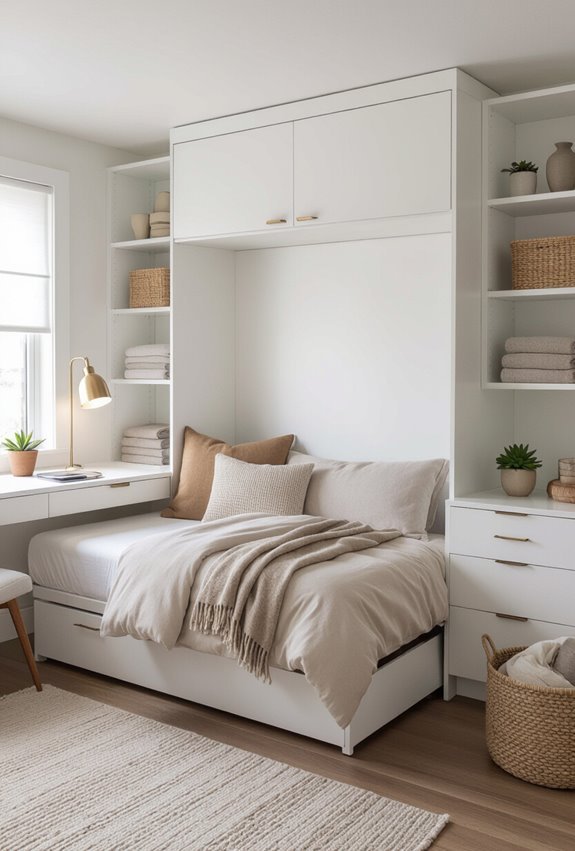
Mount a Murphy bed to reclaim floor space without sacrificing storage—these wall beds fold up neatly and can be built with shelves, cabinets, or drawers around the frame so your linens, clothes, and bedside essentials stay organized.
You’ll appreciate space saving cabinetry and a vertical lift mechanism that makes operation effortless.
Install lighting and a foldaway desk to maximize function while keeping the room uncluttered.
Position Furniture to Create Natural Pathways
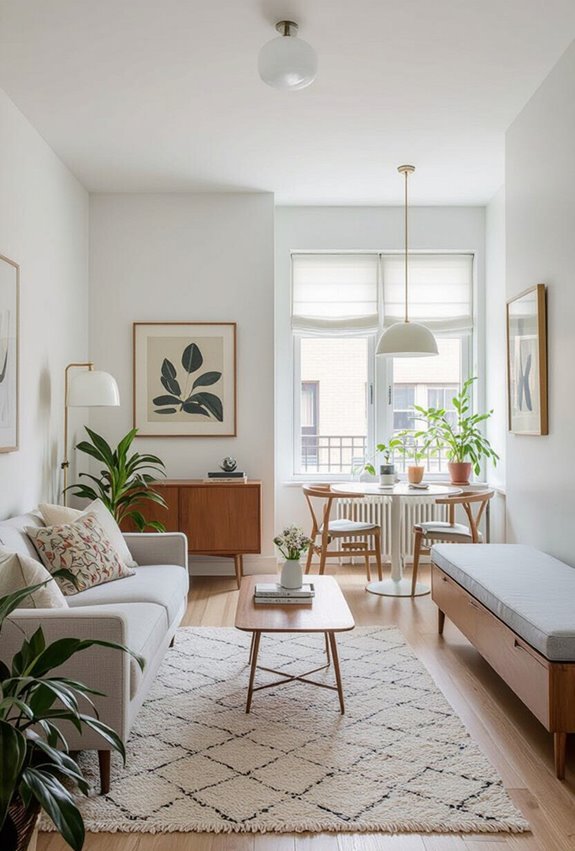
A Murphy bed frees up floor space, so arrange your furniture to form clear walkways that lead from the entry to key zones—bed, kitchenette, seating—without forcing detours.
Place low-profile pieces to keep sightlines open, stagger furniture to guide movement, and maintain consistent spacing to preserve visual flow.
Keep bulky items near walls and leave central space unobstructed for effortless circulation.
Combine Living and Dining With a Drop-Leaf Table
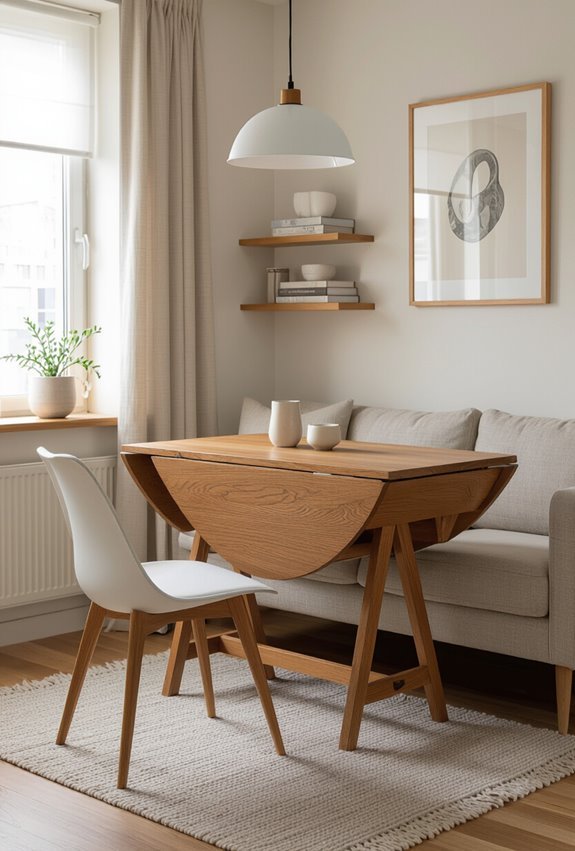
Fold down a drop-leaf table to turn your living area into a dining spot without losing floor space.
You can mount a wall mounted dropleaf near the sofa, creating instant function that tucks away when you relax.
Choose a compact vintage bistro style to add character.
Pair with folding chairs or stools you slide under the table to keep traffic clear.
Use a Kitchen Island That Doubles as a Dining Table
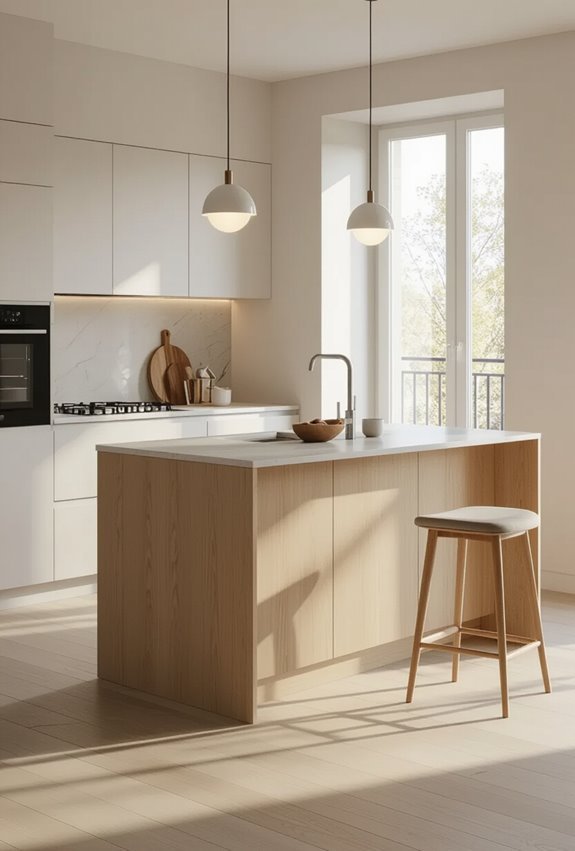
Maximize both prep space and seating by choosing a kitchen island that doubles as your dining table. Pick a bar height island to define zones and tuck stools underneath.
Use fold down seating on one side for occasional guests, then collapse it to reclaim floor space. Keep countertops clear and add hooks for utensils so the island stays functional without crowding your studio.
Create a Bedroom Nook With an Open Bookshelf Divider
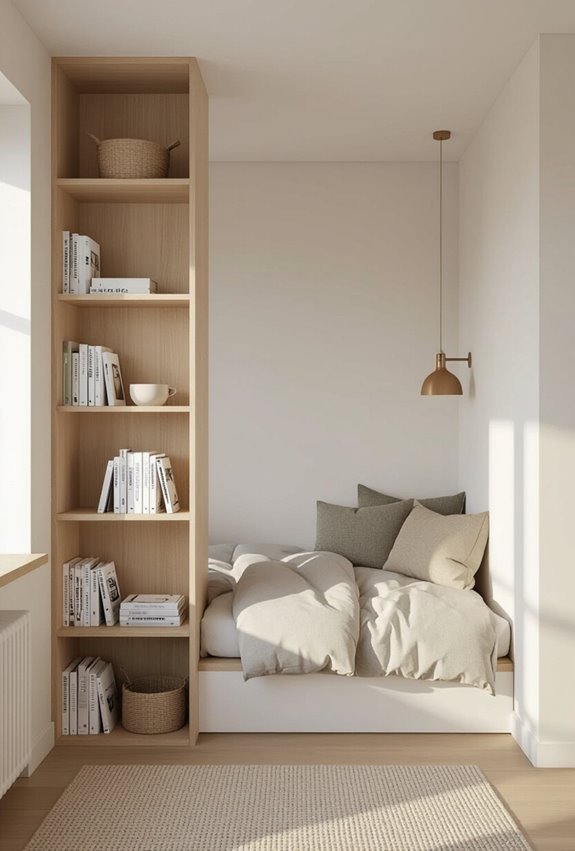
Slice your studio into distinct zones by placing an open bookshelf between the sleeping area and living space—this simple divider gives you privacy without blocking light or making the room feel boxed in.
Use open shelving to display books and plants while keeping airiness; add a soft rug, low lamp, and textiles to shape a cozy alcove that feels separate, warm, and uncluttered.
Pick Multiuse Furniture: Ottomans, Benches, and Trunks
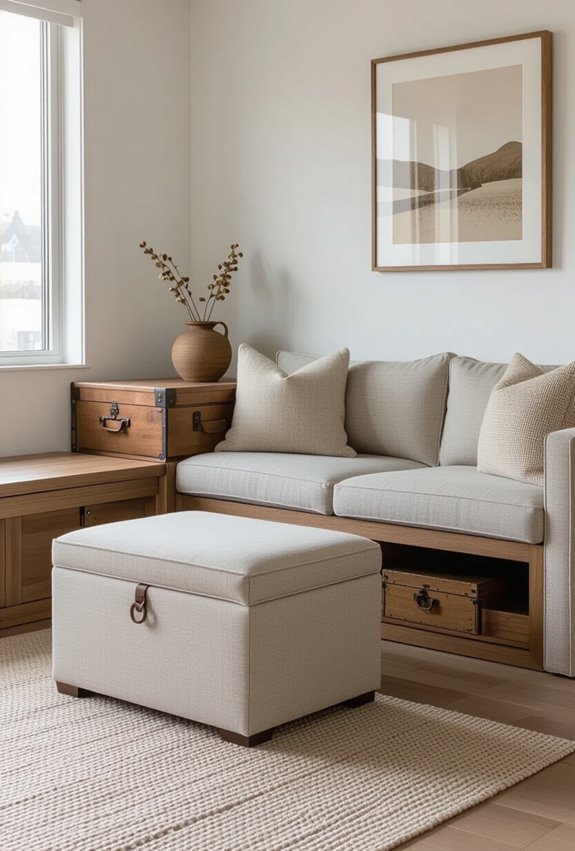
When space is tight, choose furniture that pulls double duty—ottomans, benches, and trunks can provide seating, storage, and even a coffee table surface so you get more function from fewer pieces.
You’ll love a storage ottoman for blankets and a tufted trunk as a stylish focal that hides linens or gear. Pick lightweight, dual-height pieces to adapt across tasks.
Mount Wall Desks to Free Up Floor Space
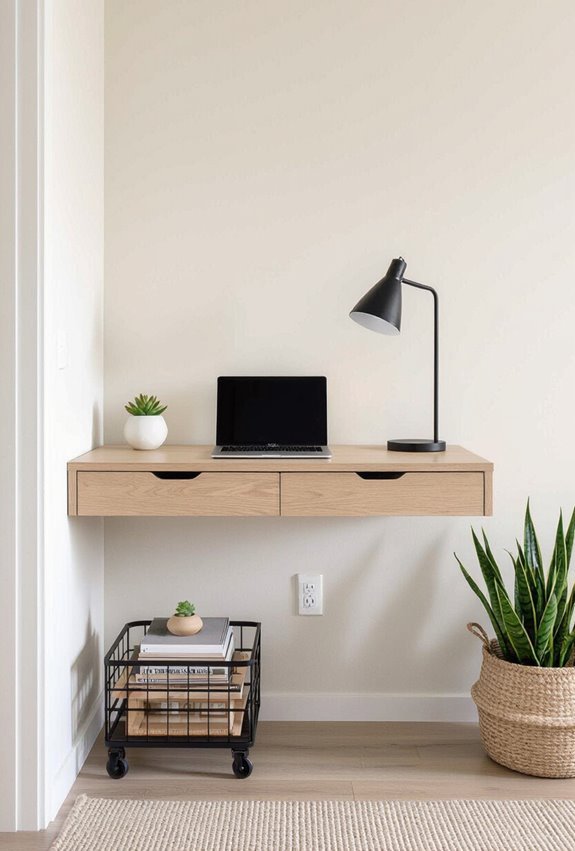
Mount a wall desk to reclaim floor space and create a streamlined work area without a bulky desk footprint. You’ll choose wall mounted desks that fold or feature slim profiles, place essentials within arm’s reach, and use vertical cable management to hide cords.
Mount shelves above for lighting and decor, keep seating minimal, and maintain clear pathways so the studio feels open and functional.
Build Vertical Storage With Tall Cabinets and Shelves
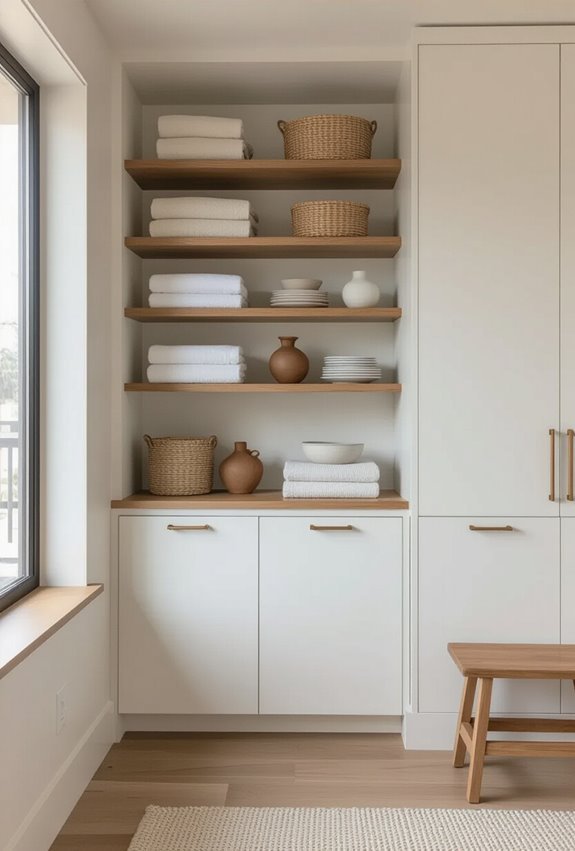
A few tall cabinets and a stack of open shelves can multiply your storage without eating into precious floor space—place them against unused walls or above low furniture, anchor them securely, and arrange frequently used items within easy reach while reserving higher shelves for seasonal or decorative pieces.
Use vertical cabinetry and clever shelf stacking to corral clutter, label bins, and keep pathways clear for efficient studio living.
Use Lofted Sleeping to Free Up Living and Dining Space
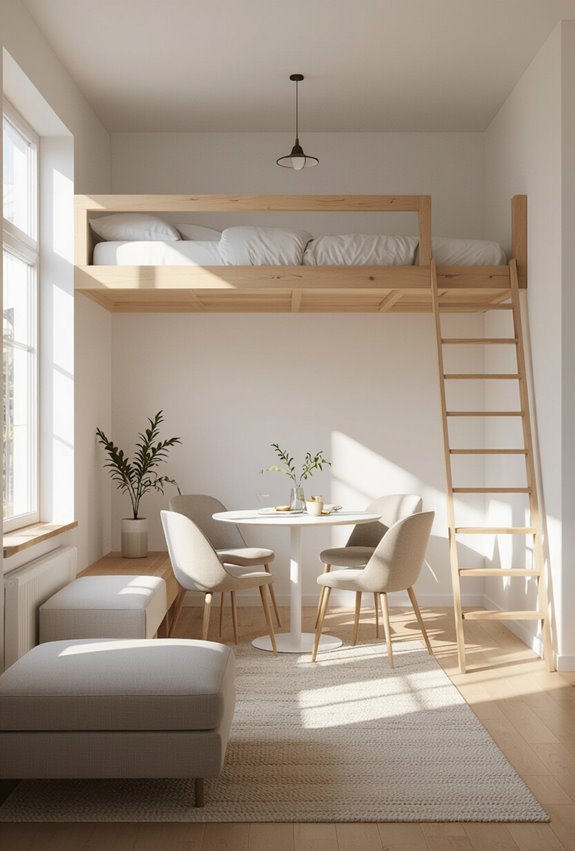
By lifting your bed off the floor, you reclaim valuable square footage for a living area or dining nook and make the whole studio feel more open and intentional.
Use the lofted sleeping platform to tuck a lofted desk underneath for work and shelving. Create a hammock lounge or compact seating below to relax.
Keep stairs or ladder storage slim to maximize circulation.
Integrate Appliances Into Cabinetry to Reduce Visual Clutter
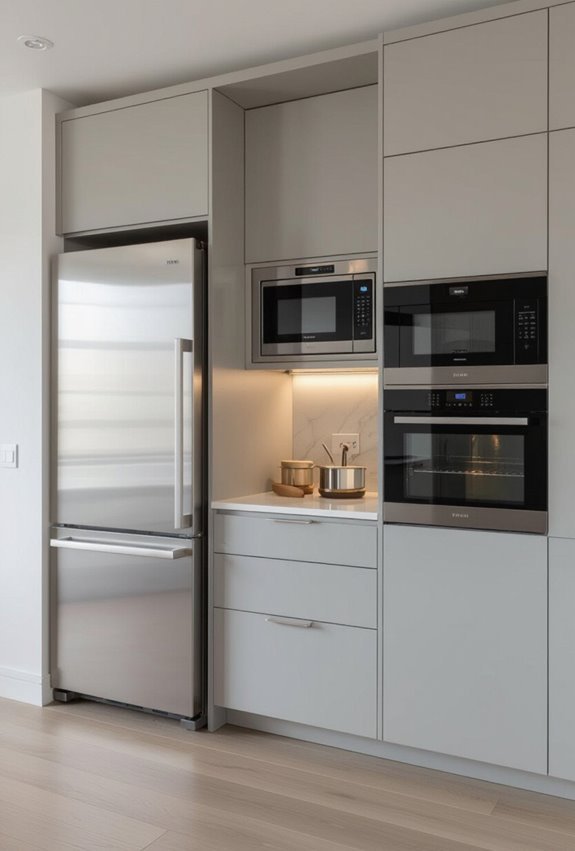
Tucking appliances behind cabinet doors makes your studio feel calmer and larger while keeping functionality intact. You’ll hide clutter by matching appliance front panels to cabinetry, creating seamless surfaces.
Use recessed microwave cabinetry and paneled dishwashers to preserve flow, and plan ventilation, access, and wiring so appliances perform reliably. This approach keeps visual noise low and your small space efficient.
Use Rugs and Lighting to Visually Separate Living and Dining
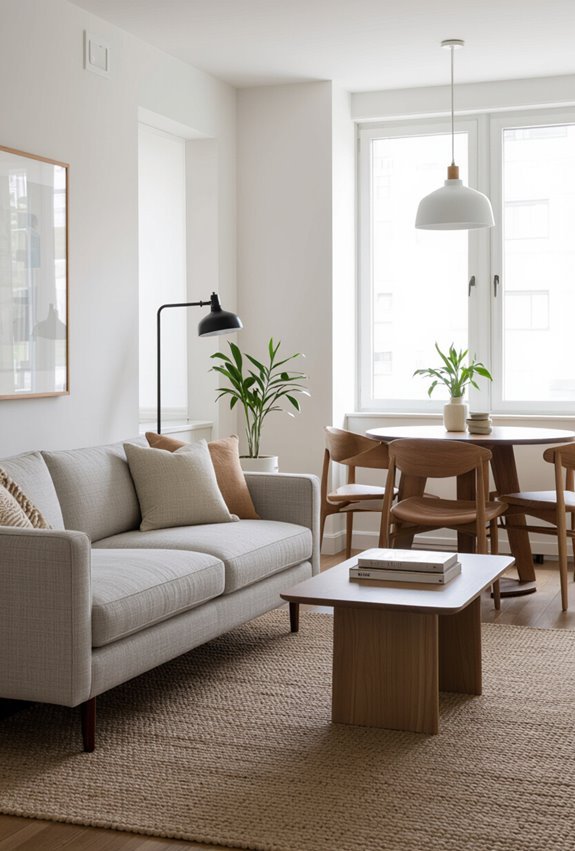
Low-profile storage keeps sightlines open, but you’ll still want clear visual cues to define zones—rugs and lighting do that without adding walls.
Use area rugs to anchor seating and dining spots, choosing sizes that fit furniture legs. Pair with adjustable mood lighting—pendants over the table and lamps near seating—to create distinct atmospheres while keeping the studio flexible and cohesive.
Pick Light, Reflective Colors to Make the Studio Feel Larger
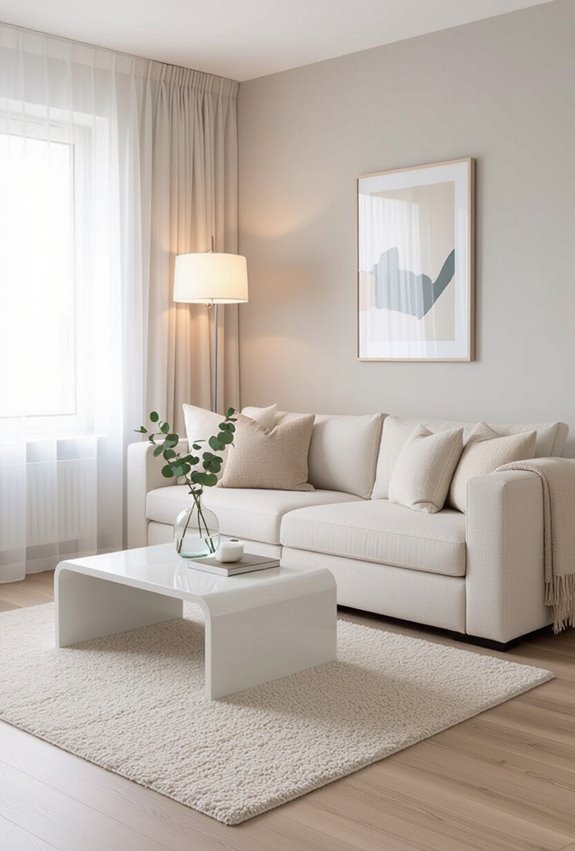
Why not let color do the heavy lifting? Choose pale neutrals on walls and ceilings to bounce light and unify zones, making the studio feel airy.
Use reflective finishes sparingly—semi-gloss trim, satin cabinetry, metallic accents—to amplify brightness without glare.
Keep contrast low and palettes cohesive so furnishings recede, creating a calmer, more spacious impression throughout your compact layout.
Choose Slimline Seating and Chairs for Narrow Areas
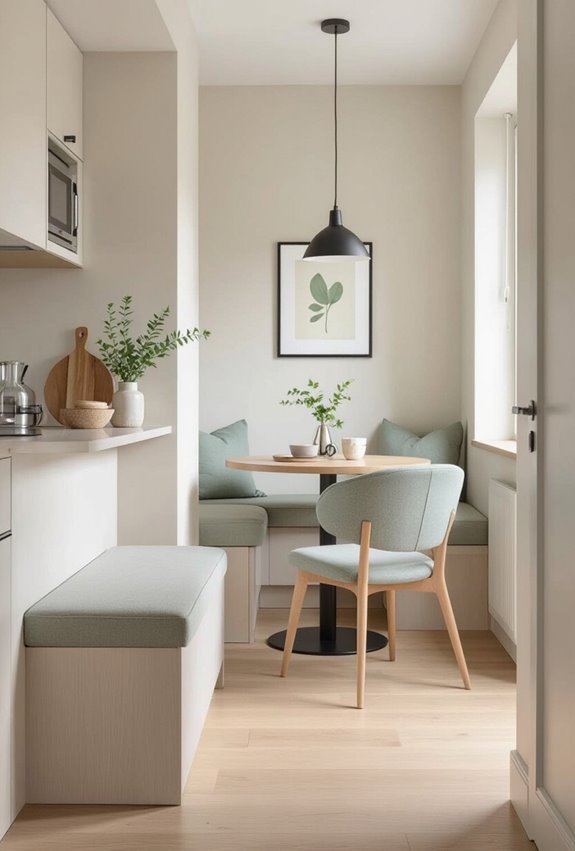
Mirrors will open up sightlines, but you still need furniture that won’t block them — choose slimline seating and chairs to keep narrow areas feeling airy and usable.
Opt for a slimline lounge with exposed legs and low arms to maintain flow.
Place narrow armchairs against walls or angled slightly to define zones without crowding walkways, ensuring mobility and visual openness.
Design a Compact Entry That Doubles as a Dining Drop Zone
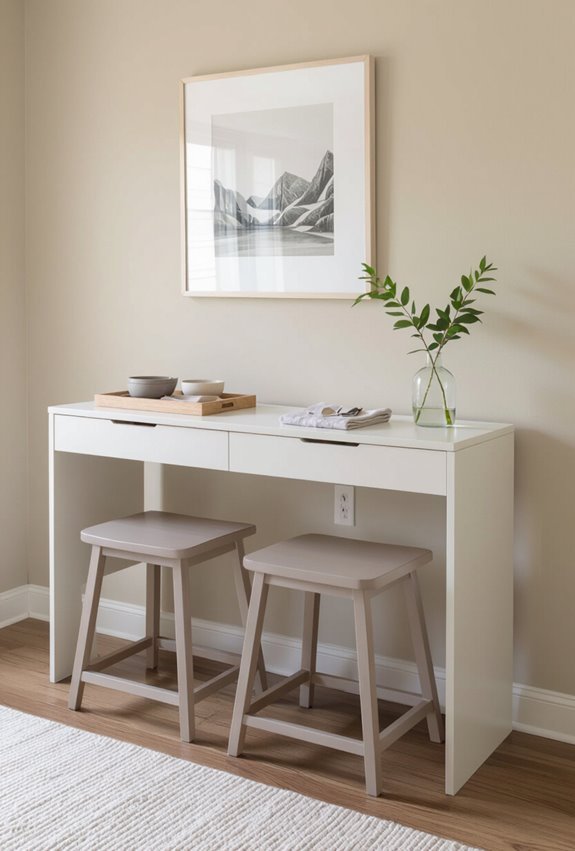
If you’ve got limited square footage, make the entry pull double duty as a compact dining drop zone so every inch works harder.
Create an entry bench with storage for shoes and trays, then add a slim console nook that holds keys and a foldaway tabletop.
Choose stackable stools you can tuck beneath, keep lighting minimal, and prioritize multiuse surfaces for tidy, functional arrivals and quick meals.
Use Sliding or Curtain Partitions for Flexible Privacy
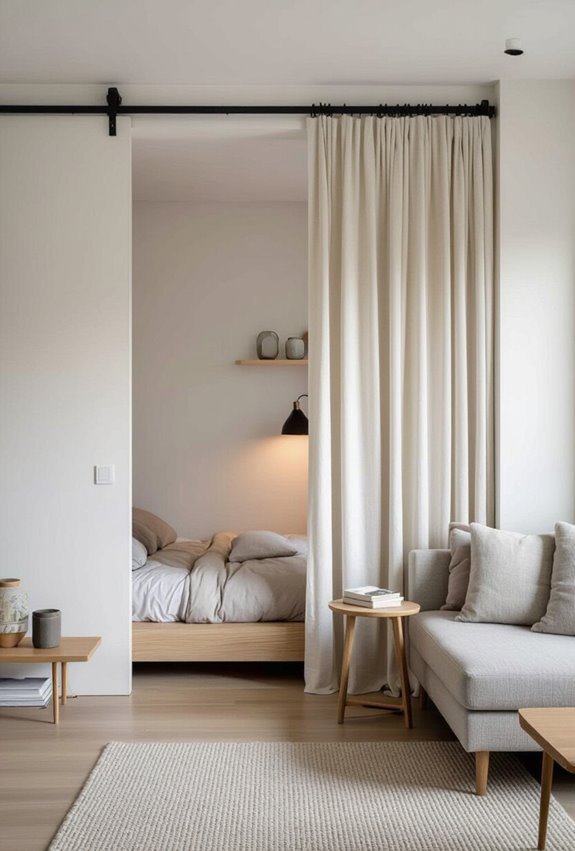
That same idea of making zones work double duty applies to privacy: sliding doors or curtains let you quickly reshape a studio without sacrificing openness.
You can pull fabric panels to enclose a sleeping area, use ceiling-mounted tracks for smooth operation, or install acoustic screens to dampen noise.
These solutions give flexible separation, maintain light flow, and stay compact for small footprints.
Create a Dedicated Work Corner Without Sacrificing Dining Space
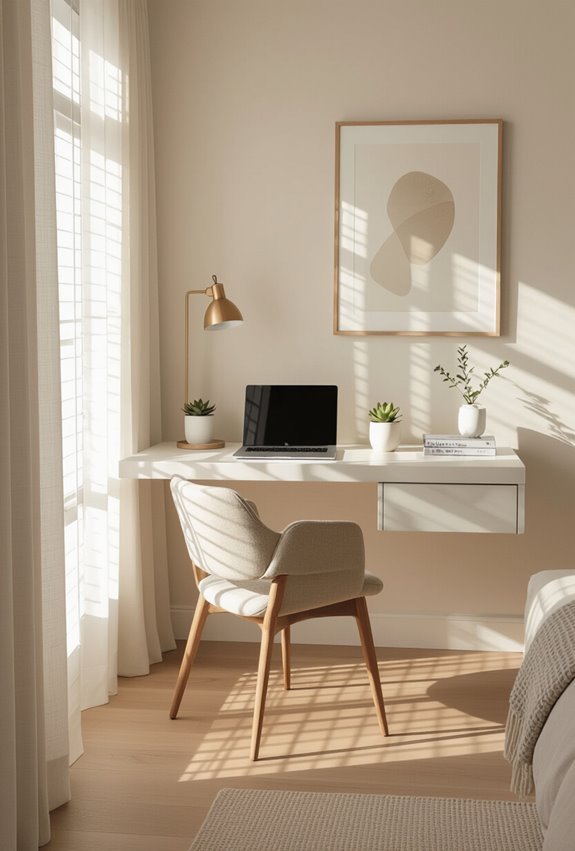
When you need a productive spot without losing room for meals, carve out a compact work corner that tucks into a niche, window ledge, or the end of a sofa—using a slim desk, wall-mounted shelves, and a chair that doubles as extra dining seating keeps the footprint small and functional.
Position a quiet workstation with task lighting; store papers in minimal bins. Use a foldable bistro chair for guests.
Store Seasonal Items Overhead and Under Furniture
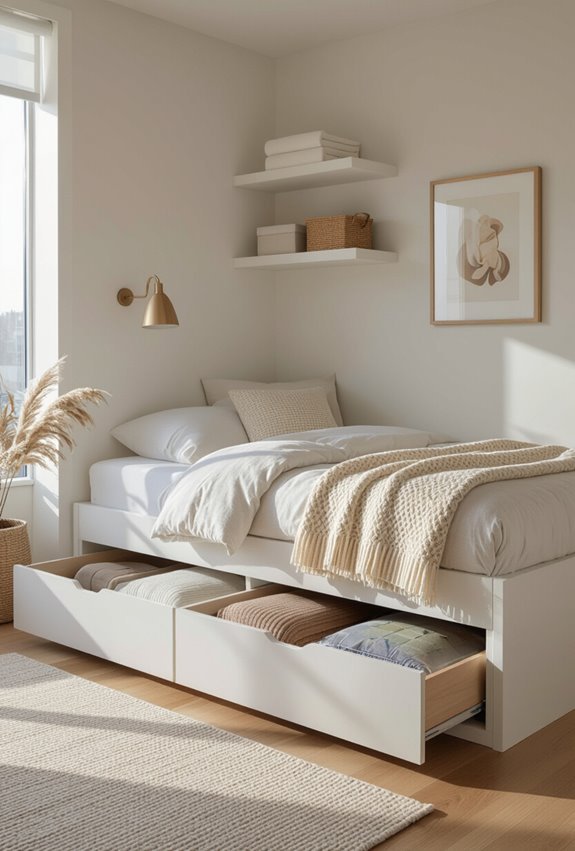
Above eye level and beneath your sofa or bed are prime spots to keep seasonal gear out of the way but within reach.
Use labeled overhead bins for holiday decor, luggage, and off-season clothing.
Slide slim bins under bed pieces, or add roll-out drawers to under bed storage.
Rotate items seasonally, keep inventory lists, and pick clear containers so you can grab what you need quickly.
Use Built-In Benches With Hidden Storage Along a Wall
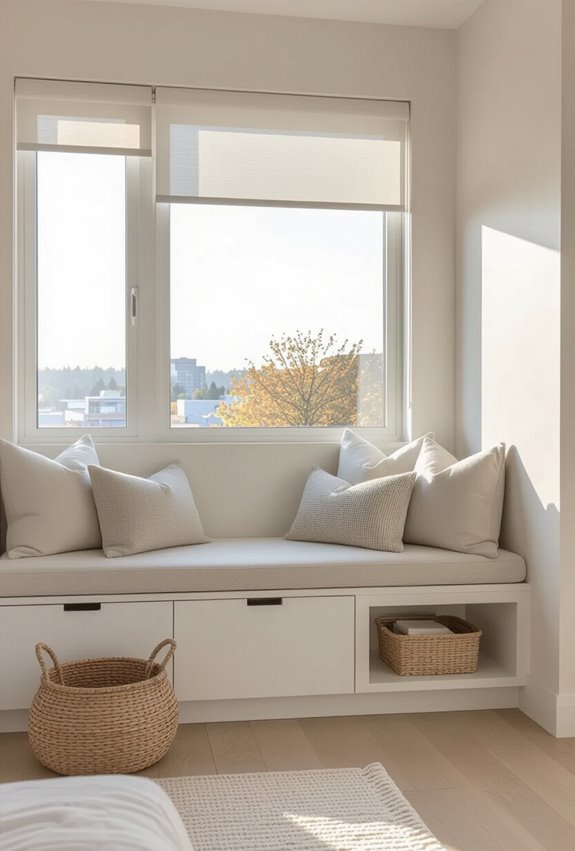
Combining seating and storage, built-in benches along a wall give you a streamlined spot to sit, stow, and style without wasting floor space.
You can design built in seating that doubles as hidden storage under hinged lids or drawers, add a custom bench tailored to dimensions, and include a wall cubby for books or keys. It keeps clutter controlled and surfaces clear.
Maximize Corners With Corner Shelving and Compact Tables
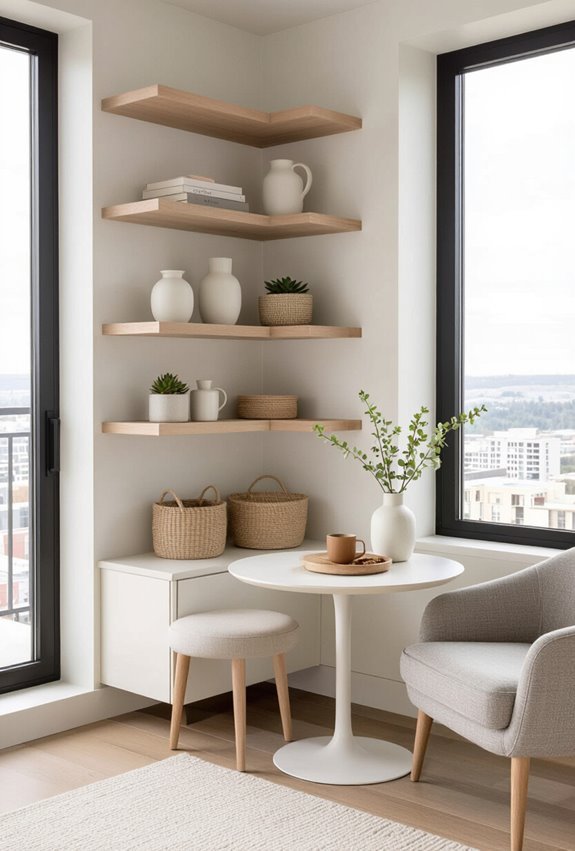
Built-in benches free up central space, so it’s smart to turn your corners into purposeful nooks with corner shelving and compact tables.
You can install shallow corner cabinets for hidden storage, use floating shelves to display plants and books, and place triangular tables as compact workstations or snack spots.
These choices keep traffic flowing, maximize vertical space, and make every inch practical without clutter.
Layer Task, Ambient, and Accent Lighting for Multifunctional Zones
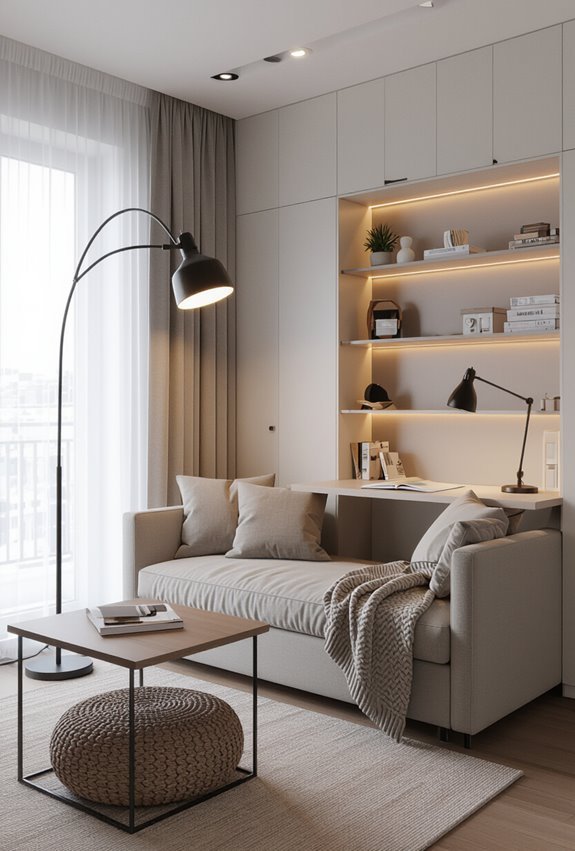
When you layer task, ambient, and accent lighting, a small studio instantly feels organized and flexible—each zone gets the right illumination for its purpose without overpowering the rest.
Use layered illumination to define sleeping, working, and lounging areas. Add task lamps at desks and reading nooks, adjustable ambient fixtures for overall warmth, and subtle accent lighting to highlight art or architectural details.
Design a Compact Bathroom Layout That Complements the Studio
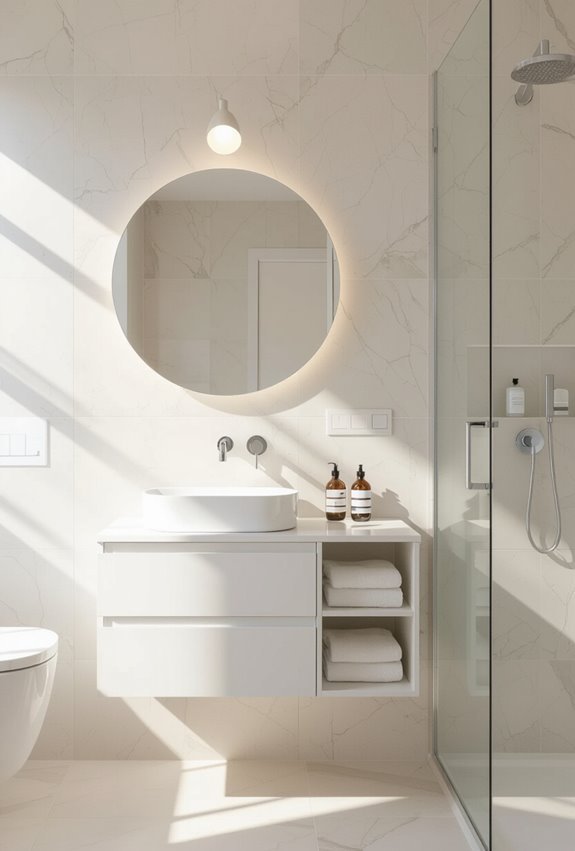
Good lighting makes small spaces feel intentional, and your bathroom should follow that same logic—keep it compact but purposeful so it complements the studio’s flow.
Choose a hinged vanity to hide toiletries while maximizing floor space, pair it with a pocket shower to save swing room, mount mirrors and rails vertically, and use uniform tiles and concealed storage to keep sightlines clean and efficient.
Small Luxury Upgrades That Elevate Living and Dining Efficiency
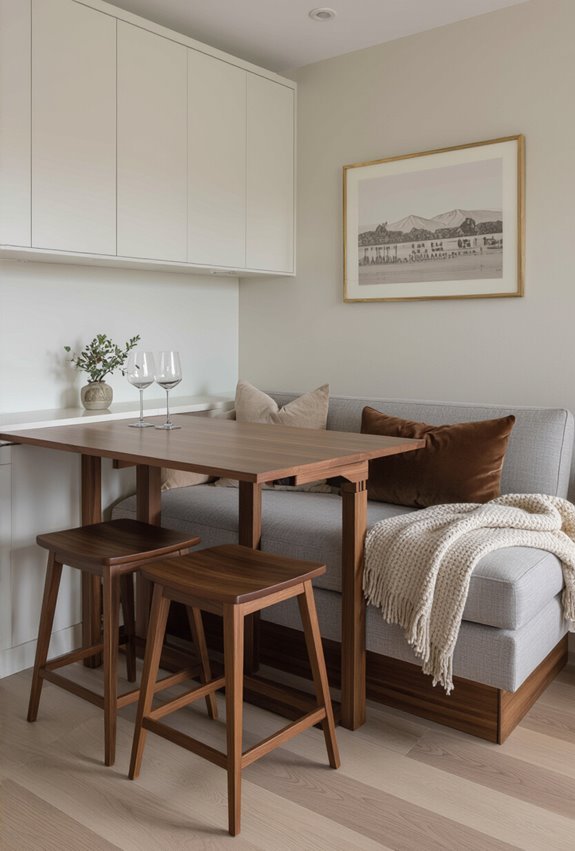
Although you’re working with limited square footage, small luxury upgrades can dramatically sharpen how your living and dining areas feel and function.
Swap thin cushions for plush textiles, add a compact console table that doubles as a bar, and choose statement lighting to define zones.
Use a tailored rug to anchor seating, slim storage to hide clutter, and mirrors to amplify light and depth.
Minimalist Design for a Clutter-Free Space

While embracing a minimalist design can seem challenging, it’s a powerful way to achieve a clutter-free space in your studio apartment.
Focus on minimalist decor and choose functional accessories that enhance your living experience.
Consider these tips:
- Opt for multi-use furniture
- Keep surfaces clear
- Use neutral colors
- Limit decorative items
- Invest in smart storage solutions
These strategies will transform your space beautifully.
L-Shaped Layouts for Better Flow
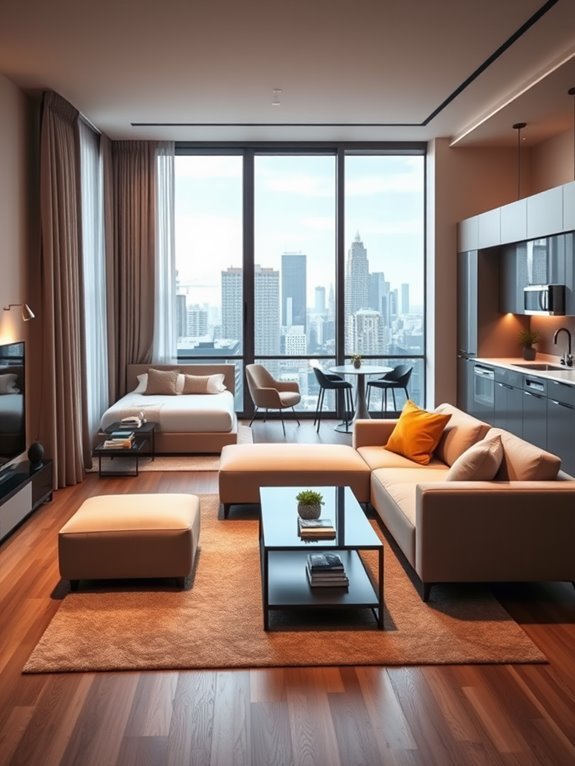
An L-shaped layout can enhance the flow of your studio apartment, making it feel more spacious and organized.
By utilizing space zoning, you can effectively separate areas for sleeping, working, and lounging.
This layout allows for versatile furniture arrangements, like placing your sofa along the shorter wall, creating a cozy nook while maintaining an open feel throughout the room.
Flexible Space With Rolling Furniture

While maximizing space in a studio apartment can be challenging, using rolling furniture offers a practical solution.
Incorporate rolling carts for versatile storage and easy access to your essentials.
Movable partitions can create distinct areas for sleeping, working, or dining, effortlessly adjusting your layout as needed.
This flexibility allows you to transform your space based on your daily activities and needs.
Conclusion
In a studio apartment, every inch counts, so get creative! By using these layout ideas, you can transform your small space into a cozy haven that feels both functional and stylish. Remember, it’s all about making the most of what you’ve got—like turning a humble canvas into a masterpiece. With the right approach, your studio can become a beautiful blend of comfort and practicality, proving that less truly can be more.
