
Why Does Paint Blister on Walls and How to Prevent It
You’re seeing paint blister because moisture, heat, poor adhesion, or surface contamination is letting water or air separate the coating from the wall. Check for leaks, damp spots, or trapped moisture behind old paint and make certain surfaces are clean, dry, and primed with compatible products before you repaint. Improve ventilation and fix plumbing or flashing issues to prevent recurrence. Keep blisters small by spot-repairing, and keep going for step-by-step fixes and prevention tips.
Quick Checklist: Fix Small Paint Blisters Now
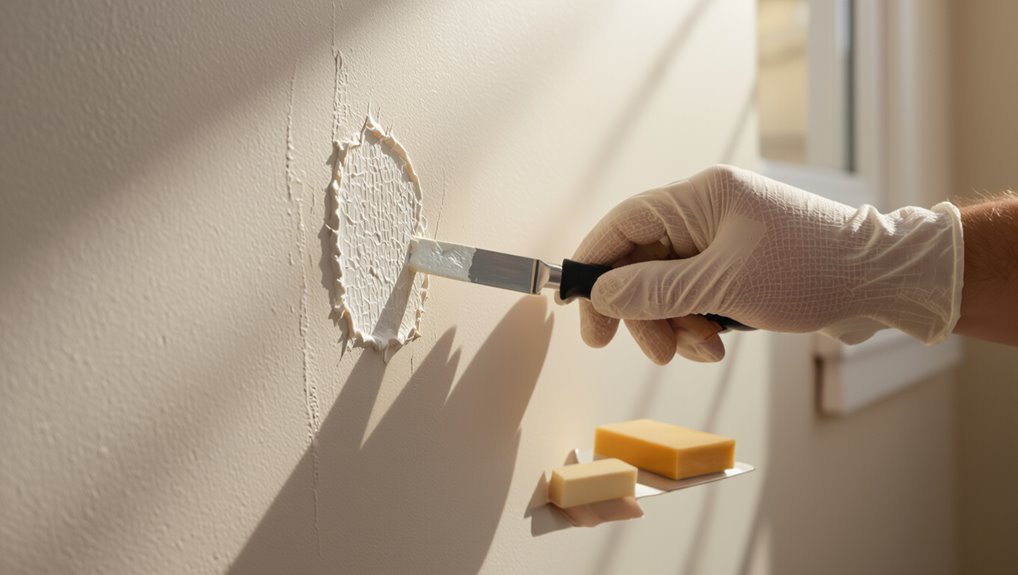
1 simple checklist will get those small paint blisters under control fast.
You’ll inspect the area, sand loose edges, and clean surfaces thoroughly.
Prime bare spots to restore paint adhesion, choose the correct paint for humidity, and apply thin, even coats.
Prime bare spots, pick paint suited for humidity, and apply thin, even coats for lasting adhesion and finish.
Seal and monitor drying conditions to prevent recurrence.
This blister prevention routine keeps repairs durable and discreet.
How to Tell Blisters From Bubbles and Peeling
Once you’ve handled small blisters with the checklist, you’ll want to tell them apart from other paint defects so you can choose the right repair. Use these cues:
- Inspect blister characteristics: raised, often stuck to substrate.
- Check bubble formation: trapped air beneath paint peels when pierced.
- Spot peeling: paint lifts in sheets, exposing substrate.
Main Causes of Paint Blistering on Walls
You’ll usually find two main culprits behind paint blisters: trapped moisture under the paint and prolonged heat or sun exposure.
If moisture gets sealed beneath the coating, it expands and forces the paint to lift.
And when walls bake in direct sun or high heat, the top layer can dry and blister while underneath remains soft.
Trapped Moisture Underpaint
When moisture gets trapped beneath a paint layer, it expands as it warms and forces the coating to lift, creating blisters you can see or feel.
You should identify sources, choose proper moisture barriers, and pick compatible paint types to prevent recurrence.
- Fix leaks and vent humidity
- Install vapor/moisture barriers correctly
- Use breathable primers and compatible paint types
Heat And Sun Exposure
Although heat and direct sun don’t chemically alter paint, they cause the substrate to expand and the coating to soften. This makes blistering likely as trapped air or moisture pushes the paint away from the wall.
You should shield exterior finishes from UV radiation, improve insulation quality to reduce thermal cycling, choose compatible wall materials, and use durable coatings to extend paint lifespan and prevent bubbles.
How Moisture (Internal vs External) Causes Blisters
If paint starts bubbling or peeling, moisture is usually the culprit, and it can come from inside the wall or from the outside.
You’ll need to identify moisture sources, internal humidity, external weather, vapor barriers, condensation issues, and wall materials.
Consider:
- Leak-driven wetting from pipes or roofs.
- Penetration from rain, siding, or poor flashing.
- Trapped vapor behind impermeable finishes.
How Heat, Sun, and Temperature Swings Cause Blisters
When paint sits in direct sunlight, the UV and heat can weaken its binders and cause the surface to break down.
You’ll also see blisters form where intense sun raises the surface temperature faster than the substrate, trapping expanding air or moisture beneath.
Repeated temperature swings make the coating and wall expand and contract at different rates, which stresses the paint and promotes blistering.
Direct Sunlight Damage
Because sunlight heats exterior walls unevenly, paint can expand and contract repeatedly. Those cycles cause the finish to separate and form blisters.
You’ll notice sunlight exposure and UV deterioration weaken binders, so coatings peel. Protect surfaces by choosing reflective finishes and proper primers.
- Inspect for faded, brittle paint
- Use UV-resistant topcoats
- Add shading where possible
Thermal Expansion Effects
Sunlight doesn’t just fade paint—it drives repeated heating and cooling that makes building materials expand and contract, and those movements put stress on the coating.
You’ll see blisters where paint separates during thermal contraction cycles, especially on sun-exposed walls.
Insulation impact matters: poor or uneven insulation amplifies temperature swings, so improving insulation and using flexible, heat-resistant coatings reduces blistering risk.
Surface-Prep Mistakes That Lead to Blistering
If you skip or rush surface prep, you’ll invite problems like paint blistering because the coating can’t adhere properly to dirty, damp, or loose surfaces.
You must guarantee surface cleanliness and boost adhesion quality by correcting common errors:
- Painting over dust or grease.
- Ignoring dampness or untreated mildew.
- Leaving flaking paint or chalky deposits unremoved.
Choose Paints and Primers That Resist Blistering
Now that you’ve fixed surface issues, pick paints and primers formulated to resist blistering so your work actually lasts.
Choose paint types labeled for high humidity or exterior-grade acrylics for flexibility and adhesion.
Opt for high-humidity or exterior acrylic paints for better flexibility and long-lasting adhesion
Match primer options to the substrate—stain-blocking primers for tannin bleed, bonding primers for slick surfaces.
Follow manufacturer specs for recoat times and dry conditions to minimize trapped moisture and blister risk.
Three Quick Checks to Diagnose the Root Cause
Before you start repairs, run three quick checks to pin down what’s causing the blisters.
Check for moisture behind the paint, inspect how well the surface was prepped, and look for signs of excessive heat or sun exposure.
These steps will guide the right fix and prevent repeat problems.
Check For Moisture
Wondering whether moisture is behind your paint blisters? Check for obvious moisture sources and measure humidity levels to confirm.
Do these three quick checks:
- Look for leaks around windows, plumbing, and roof.
- Use a hygrometer to log indoor humidity levels for 24–48 hours.
- Tap or press blisters—soft, damp spots suggest trapped moisture needing repair.
Inspect Surface Prep
If paint blisters keep appearing despite dry conditions, inspect how the surface was prepared—poor cleaning, leftover glossy finishes, or inadequate priming often cause adhesion failures.
Check three things:
1) surface conditions—remove dirt, grease, loose paint;
2) glossy layers—sand or degloss before painting;
3) primer—use the right type for substrate.
Proper prep restores paint adhesion and prevents recurring blisters.
Look For Heat Exposure
When paint blisters keep returning, check for heat exposure—it’s a common, often overlooked culprit that weakens adhesion and traps moisture beneath coatings.
You should do three quick checks to diagnose root causes:
- Assess nearby heat sources and sun exposure against the paint’s heat tolerance.
- Compare affected areas with other rooms.
- Verify paint types used and drying conditions to spot mismatches.
Fast Repairs for Small, Isolated Blisters
Start by gently tapping around the blister to confirm it’s isolated and not bonded to surrounding paint; small blisters are often cured with a quick spot repair that gets your wall back to normal without a full repaint.
For various blister types, score and lift the bubble, remove loose paint, apply primer, and fill.
Use basic repair tools—scraper, sandpaper, putty knife—and touch up with matching paint.
Step-by-Step Repair for Widespread Blistering

Small, isolated blisters are usually a quick fix, but widespread blistering needs a more systematic approach to restore the whole surface and prevent recurrence.
You’ll assess blister types, remove loose paint, and address underlying moisture.
Follow this 3-step repair plan:
- Strip and sand to sound substrate.
- Prime to improve paint adhesion.
- Repaint with proper coating and technique.
Preventive Practices and Long-Term Maintenance
Because blistering often signals underlying moisture or adhesion problems, you can prevent future outbreaks by combining routine inspections, proper ventilation, and correct paint selection.
You should schedule regular inspections, fix leaks promptly, control humidity with vents or dehumidifiers, and use primers suited to surfaces.
Adopt preventive maintenance routines—clean surfaces, touch up damaged areas, and repaint with compatible, breathable coatings to avoid recurrence.
Frequently Asked Questions
Can Blisters Form on Exterior Wood Siding in Cold Climates?
Like a balloon in winter, yes—you’ll get blister formation on wood siding in cold climates if moisture freezes behind paint. You’ll need proper drying, breathable primers, and repair to prevent further paint lifting and decay.
Do Certain Wallpaper Adhesives Cause Paint Blistering?
Yes — certain wallpaper adhesives can cause paint blistering. You’ll encounter adhesive types with strong solvents or moisture; poor wallpaper application traps moisture or dissolves paint, so always test and use compatible, low-moisture adhesives before applying.
Can Painting Over Oil-Based Paint Without Sanding Cause Blisters?
Yes — if you skip sanding, oil paint can blister: like a stubborn locket refusing removal, trapped old finish and poor surface preparation seal moisture and adhesion problems, so you’ll need proper sanding and prep to avoid blisters.
Will Humidity-Controlled Paint Dryers Prevent Future Blistering?
Yes — they’ll help if you control humidity levels during paint application, since consistent low moisture speeds drying and reduces trapped vapor that causes blisters. You’ll still need proper surface prep, primer choice, and compatible paint types.
Are Blistered Areas Hazardous to Indoor Air Quality?
Yes — you should worry a bit: blistered paint can hide mold growth that harms air quality, and poor air circulation makes it worse. You’ll want to remove affected paint, dry the area, and improve ventilation promptly.
