
Why Is Paint Chipping Off Your Wall and How to Fix It for Good
You’re seeing paint chip because moisture, old or incompatible coatings, poor surface prep, or temperature swings broke the paint’s bond; stop it by fixing leaks and humidity first, removing loose paint, sanding to a solid edge, then using the right primer for the substrate before repainting with quality paint at proper temperature and humidity. Wear PPE and control dust while you work. Continue here to learn step-by-step checks, quick fixes, and prevention tips to keep it from coming back.
Quick Answer: Why Your Paint Is Chipping and How to Stop It Fast
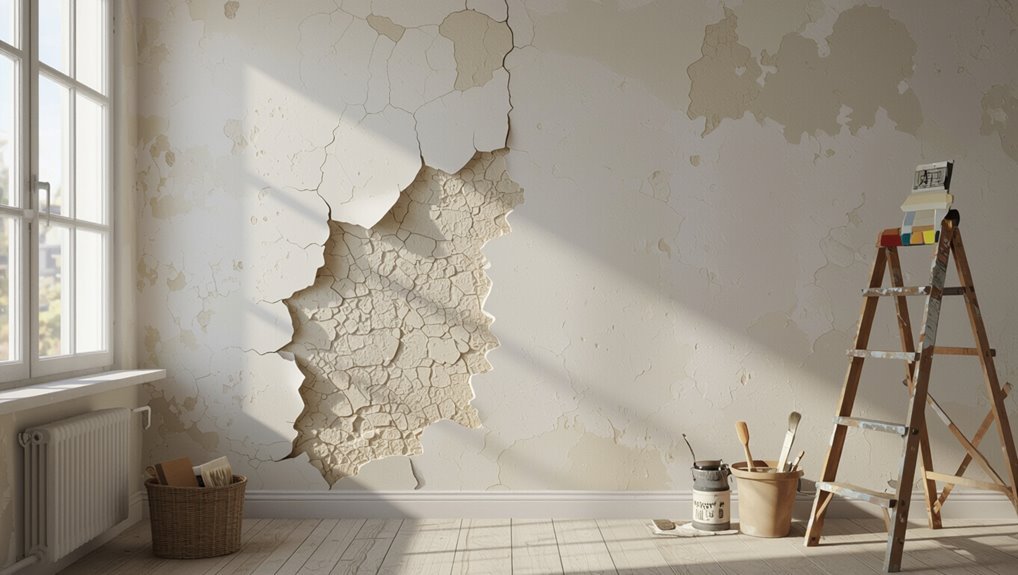
Wondering why paint’s flaking off your wall? You’re probably seeing poor paint durability from moisture, old paint layers, or incompatible coatings.
Fix it fast by addressing causes: stop leaks, remove loose paint, and sand to solid substrate.
Fix it quickly: halt leaks, scrape away loose paint, and sand down to a solid surface.
Proper surface preparation and choosing durable paint will prevent recurrence.
Follow these steps quickly so chips don’t return.
How This Guide Helps You Diagnose and Fix Peeling Paint
Because peeling paint usually has a clear cause, this guide helps you quickly identify the reason—moisture, adhesion failure, or old layers—and gives step-by-step fixes you can follow.
You’ll learn to assess causes, restore paint durability, and plan wall maintenance. Follow these steps:
- Inspect and diagnose.
- Prep and repair.
- Prime, paint, and protect.
Signs That Peeling Is Cosmetic Versus Structural Damage
Check whether the paint is just flaky on the surface or if it reveals cracks in the wall beneath.
If flakes come off easily and the substrate feels solid, it’s likely cosmetic.
But if you can see or feel structural cracks under the paint, you’ll need a more serious repair.
Surface-Only Flaking
How can you tell if peeling paint is just cosmetic? Check surface-only flaking by these quick signs:
- Light flakes lift with a fingernail; substrate intact and surface texture uniform.
- Paint layers separate but no gaps or movement; adhesion issue, often paint compatibility.
- No moisture stains, mold, or widening chips — you’re dealing with repaint prep, not structural repair.
Underlying Structural Cracks
When paint peels and you see cracks beneath, don’t assume it’s just a cosmetic issue—underlying structural cracks change how you should approach repairs.
Inspect crack width, length, direction, and nearby settling signs; perform a basic crack assessment.
If cracks are wide, continuous, or linked to sagging, they threaten structural integrity and need a contractor.
Cosmetic hairlines can be patched and repainted.
How to Safely Inspect the Wall Before Repairing Paint
Before you start scraping, put on gloves, a mask, and safety glasses to protect yourself from dust and old paint chips.
Check for moisture by feeling the wall, looking for stains or bubbling, and using a moisture meter if you have one.
Finally, test paint adhesion with a quick tape pull: if large flakes come away, you’ll need more than a simple touch-up.
Wear Protective Gear
Although inspecting flaking paint might seem simple, you should suit up to protect your lungs, eyes, and skin before you start scraping.
Wear protective gloves and a respiratory mask, plus eye protection. Follow this checklist:
- Gloves: nitrile or work gloves for skin protection.
- Respiratory mask: N95 or better for dust.
- Goggles: sealed safety goggles to block particles.
Check For Moisture
Now that you’re properly geared up, check the wall for moisture so your repairs will last. Use a moisture meter, look for stains, peeling patterns, and musty smells to identify moisture sources. Fix leaks, improve ventilation, and apply proper prevention methods before painting.
| Indicator | Tool | Action |
|---|---|---|
| Stain | Moisture meter | Repair leak |
| Musty smell | Visual | Ventilate |
Test Paint Adhesion
Anyone can quickly check how well paint is sticking by doing a few simple adhesion tests so you don’t waste time repairing a surface that’ll fail again.
Use straightforward paint adhesion testing methods to inspect safely and decide next steps.
- Tape test: press, pull sharp.
- Scratch test: score gently.
- Probe edges: lift loose flakes, note substrate.
Moisture-Driven Peeling: Common Sources Inside and Outside
When you see paint lifting or bubbling, moisture is often the culprit—either coming from inside the home or from outside sources that penetrate the wall.
Check common moisture sources: plumbing leaks, high indoor humidity, roof or flashing failures, and poor exterior drainage.
Fixing leaks, improving ventilation, and repairing exterior seals are key peeling prevention steps to keep paint bonded and durable.
How to Check Walls and Substrates for Hidden Dampness
Curious whether the paint problem hides a damp wall beneath the surface? Use simple damp detection steps to find concealed moisture and guide moisture mapping.
- Scan with a moisture meter across walls and near floors, corners, and plumbing.
- Look for staining, efflorescence, or musty odors and mark hotspots.
- Consider infrared imaging or hygrometer readings for thorough moisture mapping before repairs.
Poor Surface Prep: Legacy Coatings, Grease, and Loose Material
If old paint or loose flakes aren’t removed, new coatings won’t bond and will chip sooner.
You should strip or sand legacy coatings back to a stable surface and clear away grease, dust, and other contaminants.
Proper cleaning and surface prep make the difference between a long-lasting finish and early failure.
Old Paint Removal
Strip away loose, greasy, or flaking layers before you paint, because old coatings and surface contamination prevent new paint from bonding properly.
Use safe old paint techniques and eco friendly removers to protect surfaces and health.
- Scrape and sand to sound substrate.
- Apply chemical or heat removers cautiously.
- Prime bare spots and feather edges for uniform adhesion.
Surface Contamination Clearance
Dust, grease, old adhesive and remnants of previous coatings all stop new paint from sticking properly, so you need to remove them before you start.
You’ll identify contamination sources, then apply surface preparation techniques: vacuum and tack cloth for dust, degreaser for oils, scraper and sandpaper for loose paint, and solvent or adhesive remover for residues.
Rinse, dry, and inspect before priming.
How to Test Adhesion: Simple Pull and Scrape Checks
How well does the paint actually stick to your wall? You can do quick adhesion tests and a surface evaluation yourself:
- Press tape, pull sharply—note flakes or full removal.
- Scrape gently with a putty knife—observe lift or cohesion.
- Score a small crosshatch, add tape, then pull—measure loss.
These simple checks tell you if repainting prep is needed.
Temperature and Humidity Effects That Make Paint Fail
Those simple adhesion checks tell you whether the surface will hold paint, but environmental conditions can still sabotage a good bond.
You’ll see blisters, cracking, or flaking when temperature fluctuations expand and contract substrates or when high humidity levels prevent proper curing.
Paint applied in cold, damp, or rapidly changing conditions won’t adhere well.
Painting in cold, damp, or wildly changing conditions prevents proper adhesion and leads to failure.
Control climate: wait for stable, moderate temps and low humidity before painting.
How Incompatible Paint Layers Cause Chipping (Oil vs. Latex)
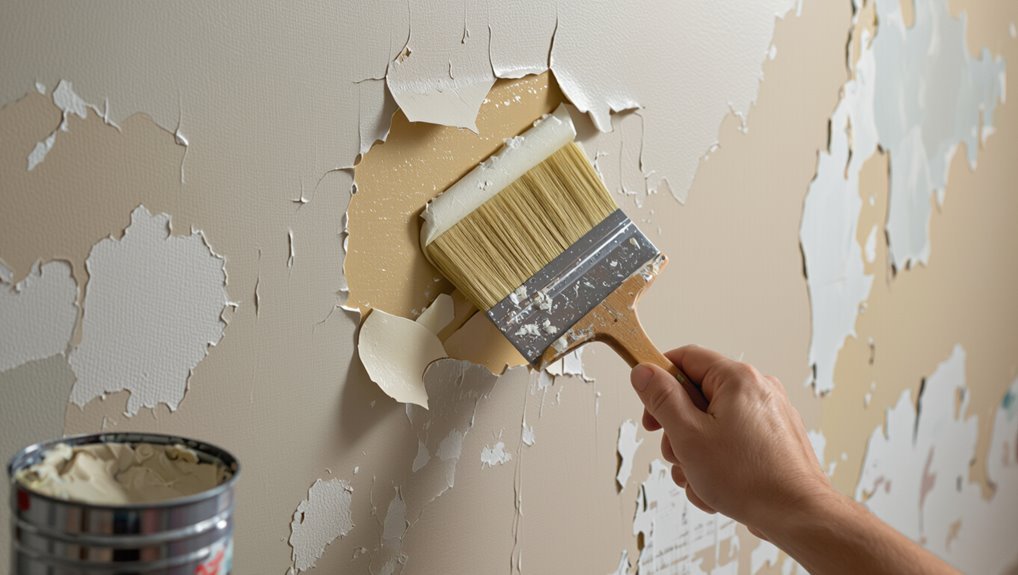
If you paint latex over existing oil-based paint without proper priming, the new layer won’t bond well and will start to chip.
You’ll notice flaking where the latex peels away in sheets because oil and latex have different flex and porosity.
To prevent this, you should either strip the oil paint or use a suitable bonding primer before applying latex.
Oil Over Latex
When you roll oil-based paint over an existing latex coat, the two formulas often refuse to bond properly.
As a result, the top layer dries hard and brittle while the underlying latex stays more flexible; that mismatch causes the oil paint to crack and chip away.
You’ll notice poor oil paint compatibility vs. latex paint properties.
Fix it by:
- Removing loose oil.
- Sanding and priming.
- Using a bonding primer.
Poor Adhesion Causes
You’ve seen how oil over latex can refuse to bond; poor adhesion covers that problem more broadly. When layers clash, adhesion issues start and paint peels. You’ll check paint compatibility, prep surfaces, and sand glossy areas to guarantee new coats stick—preventing chips and sadness.
| Emotion | Cause | Fix |
|---|---|---|
| Frustration | Incompatible layers | Strip/sand |
| Relief | Proper prep | Prime |
| Confidence | Good bond | Repaint |
Is the Paint to Blame? Low-Quality Paint and Wrong Sheen
Although paint problems can stem from many causes, the paint itself often deserves the first look: low-quality formulas and the wrong sheen can fail to adhere, hide imperfections, or resist wear, leaving you with flaking or peeling sooner than expected.
- Check paint quality — poor binders mean early failure.
- Match sheen selection to room use and surface.
- Buy reputable brands and test before committing to a full coat.
How Frequent Movement, Settling, and Cracking Lead to Peeling
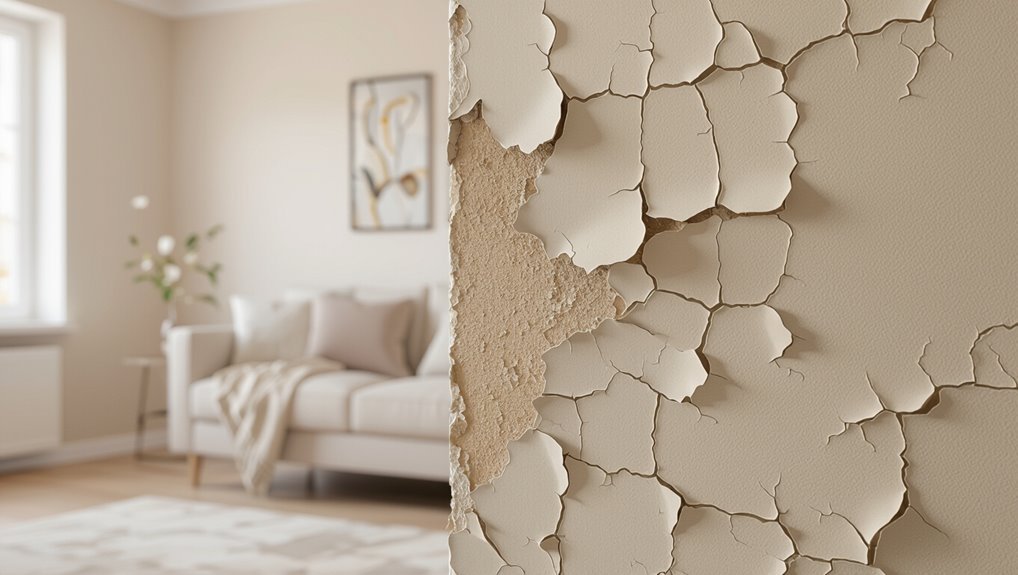
Beyond paint quality and sheen, the building itself keeps working against your finish: walls shift with settling, framing flexes under load, and tiny cracks open and close with temperature and humidity changes.
You’ll see paint peel where settling structures create stress lines; repeated movement impacts the bond between coating and substrate.
Addressing cracks and stabilizing joints prevents ongoing peeling and recurring touch-ups.
Materials and Tools Checklist for Every Repair Job
One clear way to avoid repeat repairs is to gather the right materials and tools before you start: quality patching compound, a range of sandpapers, a putty knife, primer, matching paint, and brushes or rollers suited to the surface.
Pick durable items, focus on materials selection and tool maintenance to extend life.
- Prep supplies
- Finish tools
- Clean-up essentials
Safety Gear and Containment for Dust, Mold, and Lead Paint
Before you start scraping or sanding, put on proper PPE—respirator, gloves, goggles, and disposable coveralls—especially if mold or old lead paint might be present.
Seal the work area with plastic sheeting and use a HEPA-filter vacuum or air scrubber to control dust.
Keep windows open or run exhaust fans to maintain ventilation and push contaminants outside.
Personal Protective Equipment
When you’re dealing with flaking paint, visible mold, or any chance of lead, gear and containment aren’t optional—they protect you and limit contamination.
Wear protective goggles, a face shield, safety gloves, a respirator mask or dust mask, long sleeves, knee pads, and work boots.
Keep a ventilation system running and a first aid kit nearby.
- Inspect PPE
- Replace damaged gear
- Limit exposure
Containment And Ventilation
After you’ve checked and replaced your PPE, set up containment and ventilation to keep dust, mold spores, and lead particles from spreading through the house. Seal doors with plastic, run HEPA vacuums, and use fans for proper ventilation. Maintain paint containment to protect occupants.
| Task | Tool | Purpose |
|---|---|---|
| Seal openings | Plastic sheeting | Block dust |
| Filter air | HEPA fan | Capture particles |
| Clean up | HEPA vacuum | Remove debris |
| Monitor | Air meter | Verify safety |
Step-by-Step Prep: Removing Loose Peeling Paint the Right Way
Start by surveying the wall and marking every area where paint is loose or flaking so you know exactly what needs attention.
You’ll do careful paint removal and focused surface preparation:
- Scrape loose paint with a scraper, feather edges.
- Sand rough spots to solid substrate.
- Vacuum and brush away dust.
Work methodically so new coatings adhere and last.
Clean and Degrease Surfaces for Better Adhesion
You’ll want to thoroughly clean and degrease the surface so new paint can bond properly: use a mild detergent or trisodium phosphate (TSP) solution on areas with grime, fingerprints, or kitchen oils, scrub with a non-abrasive sponge, then rinse and let the wall dry completely before priming or painting.
Use targeted surface cleaning techniques and simple adhesion improvement strategies like solvent wipes and tack cloths.
Repairing Substrate Damage: Filling Cracks, Holes, and Soft Spots
Assess and repair any substrate damage before painting so the finish stays smooth and the new coat adheres properly.
You’ll want to address cracks, holes, and soft spots promptly.
- Inspect surfaces and mark areas needing crack filling.
- Use appropriate filler for hole patching; sand flush when dry.
- Reinforce soft spots, prime repaired areas, then repaint for lasting adhesion.
When to Replace Water-Damaged Drywall or Trim Before Painting
Before you paint, check the drywall and trim for structural integrity—if panels bow, crumble, or pull away from studs, they need replacing.
Look closely for mold growth and black stains; anything with active mold should be removed and remediated.
Replace trim that’s soft, swollen, or separating from the wall rather than trying to patch it.
Assess Structural Integrity
If water has softened, sagged, or crumbled your drywall or trim, don’t just skim over the damage — you need to determine whether the material can be repaired or must be replaced.
Inspect firmness, fasteners, and seams; prioritize paint durability and moisture prevention.
- Probe soft spots.
- Check structural gaps.
- Replace if integrity’s compromised.
Check For Mold Growth
How can you tell when water damage has gone beyond surface staining and turned into a mold problem? You should call for a mold inspection if you smell mustiness, see fuzzy patches, or the paint bubbles persist after drying. Removing contaminated drywall often beats repainting. Prioritize mold prevention by fixing leaks and drying areas completely.
| Sign | Action | Priority |
|---|---|---|
| Odor | Inspect | High |
| Visible mold | Remove | High |
| Persistent bubbling | Test | Medium |
| Recurrent damp | Fix leak | High |
| Discoloration | Monitor | Medium |
Replace Soft Or Swollen Trim
Any soft, spongy, or swollen trim needs replacing before you paint, because compromised wood won’t hold fasteners or finishes and can trap moisture that ruins new paint.
Do a damage assessment, then plan trim replacement with proper material selection and swollen removal.
Consider caulking options after install.
- Remove soft wood.
- Choose durable material.
- Seal and caulk.
Choosing the Right Primer for Adhesion and Moisture Control
Want your paint to stick and stay put? Choose primer types based on substrate and moisture: latex for interior, oil or shellac for stain blocking, and moisture-resistant primers for damp areas.
Check adhesion properties labeled by manufacturer and test on a small patch. Apply per instructions, ensuring surfaces are clean and dry so primer bonds well and prevents future chipping.
Which Paint Types Pair Best With Common Substrates
Once you’ve primed properly, match paint type to the surface to prevent peeling and poor adhesion.
- Use latex paints on drywall types, plaster finishes, and vinyl siding for flexibility and breathability.
- Choose oil paints for metal substrates and trim where hardness and resistance matter.
- Seal and pick specialized masonry latex or elastomeric coats for concrete walls and stained wood surfaces to lock adhesion.
Application Tips: Brushing, Rolling, and Spraying for Durable Finishes
You’ll get longer-lasting results when you use the right brush strokes and hold the brush at a consistent angle to avoid uneven film build.
Pick a roller nap that matches your surface texture and choose a sprayer with adjustable pressure for even atomization.
Follow each tool’s best practices for loading, overlap, and drying to prevent premature chipping.
Brush Technique Basics
Although proper tools won’t fix every adhesion issue, choosing the right brush, roller, or sprayer and using the correct stroke and speed makes a big difference in how well paint bonds and resists chipping.
- Use brush control, correct stroke technique, and proper bristle selection.
- Match paint consistency and finish types, mind pressure application.
- Prioritize edge blending and tool maintenance for durable results.
Roller And Sprayer Choices
A good roller or sprayer will save you time and cut down on brush marks, but choosing the right type and using it correctly is what keeps paint from failing later. Pick high roller quality for even pickup; adjust sprayer settings for pressure and tip size. Test on scrap, maintain overlap, and keep consistent speed.
| Tool | Tip | Use |
|---|---|---|
| Roller | 3/8–1/2″ nap | Smooth walls |
| Sprayer | 0.013–0.015″ tip | Thin coats |
| Brush | Angular sash | Corners |
Control Drying Time and Environment to Prevent Future Peeling
When you control drying time and the environment, paint bonds better and is far less likely to peel.
Use proper drying techniques and account for environmental factors to guarantee adhesion.
Follow these steps:
- Work within recommended temperature and humidity ranges.
- Space coats so each fully dries before the next.
- Improve airflow and avoid direct sun or cold drafts during curing.
Fixes for Exterior Paint Peeling: Siding, Trim, and Eaves
Now that you’ve learned how drying conditions affect adhesion, let’s turn to fixing exterior paint failures on siding, trim, and eaves.
You should start with siding maintenance and eaves cleaning to remove mildew and loose paint, then perform trim repair as needed.
Choose proper paint selection and apply weatherproofing techniques considering environmental factors to boost paint longevity while respecting aesthetic considerations.
Fixes for Interior Paint Peeling: Bathrooms, Kitchens, and Basements
In bathrooms, kitchens, and basements you’ll first want to stop the moisture that’s causing paint to peel—fix leaks, add ventilation, or install a dehumidifier as needed.
Then strip loose paint, clean and dry the surface, and sand or patch uneven areas so new paint will stick.
Use a high-quality primer and a paint formulated for high-humidity or basement conditions to prevent recurrence.
Addressing Moisture Sources
If excess moisture’s behind peeling paint, you’ll need to find and fix the source before repainting; otherwise the problem will just come back.
Check common moisture sources and control humidity levels. Act promptly:
- Fix leaks (pipes, roofs, windows).
- Improve ventilation (fans, vents, dryer ducts).
- Use dehumidifiers and monitor humidity levels to keep walls dry.
Proper Surface Preparation
Because bathrooms, kitchens, and basements face higher humidity, grease, and occasional flooding, you’ll need to prepare surfaces differently than you’d in dry living rooms.
You should guarantee surface cleanliness, address substrate types, and use proper repair techniques.
Consider environmental factors and weather considerations, choose primer importance and paint compatibility wisely, follow careful paint application, and schedule maintenance routines to preserve finish durability.
Lead Paint: Safety Steps and When to Hire a Pro
Worried your peeling paint might contain lead? You should act carefully: lead paint needs strict safety precautions and sometimes professional removal.
Consider these steps:
- Test surfaces with a certified kit and isolate the area.
- Wear respirator, gloves, and use wet methods to minimize dust.
- Hire a licensed abatement pro for large areas, children’s rooms, or extensive deterioration.
Preventive Maintenance to Stop Paint Problems From Recurring
To keep peeling, bubbling, and flaking from coming back, you’ll need a simple, regular maintenance routine that addresses moisture, surface preparation, and timely spot repairs.
You should schedule preventive techniques like sealing gaps, controlling humidity, and using quality primers.
Perform regular inspections quarterly, touch up chips promptly, clean surfaces gently, and address leaks fast so paint adhesion stays strong and issues don’t recur.
Cost Breakdown: DIY Versus Hiring a Professional for Repairs
How much will it actually cost you to fix chipped paint — and should you tackle it yourself or call a pro?
You’ll weigh DIY Savings against Professional Expertise.
Consider:
- Materials: sandpaper, primer, paint — low cost if you do it.
- Time: your hours versus faster pro turnaround.
- Scope: small touch-ups DIY; extensive prep or repairs justify hiring.
Hiring a Contractor: Essential Questions to Ask and Red Flags
When should you hire a contractor instead of tackling chipping paint yourself? If damage is extensive, involves moisture, or needs structural repair, get professionals.
Ask about contractor qualifications, insurance, licenses, references, materials, and guarantees. Confirm clear project timelines, payment schedule, and cleanup.
Red flags: vague answers, no written estimate, high upfront cash requests, or poor communication—walk away.
Common Mistakes That Make Peeling Return After a Repaint
If you skip proper surface prep, don’t address moisture, or use the wrong paint, peeling will likely come back—often sooner than you expect.
You must avoid common repainting errors by following surface preparation tips and correct products.
- Poor cleaning/adhesion
- Ignoring humidity or leaks
- Using incompatible primers or paints
Act deliberately to prevent recurring peeling.
Troubleshooting Guide: What to Do If Paint Peels Again After Repair
1 clear step can save you time and money: diagnose why the paint failed again before redoing any work.
Inspect adhesion, moisture, contamination, and substrate damage. Check paint lifespan expectations and whether old layers exceeded it.
Choose targeted repair techniques—proper prep, primer, and compatible coatings.
Test a small area, monitor for recurrence, and only then repaint fully if the problem’s resolved.
Seasonal Timing: Best Months to Repaint Inside and Outside
Because temperature and humidity directly affect drying and adhesion, choosing the right month can make or break your repainting project.
Plan around seasonal conditions and aim for ideal temperatures for paint type.
- Interior: mild, low-humidity months for even curing.
- Exterior: dry stretches between frosts and heat waves.
- Avoid extremes; wait for steady days to guarantee lasting adhesion.
Quick-Reference Checklist: Diagnose, Fix, and Prevent Paint Chipping
Start with a quick inspection so you can pinpoint whether the problem is adhesion, moisture, or surface contamination—each needs a different fix.
Use inspection techniques and adhesion tests to assess surface conditions and moisture sources.
Match repair methods to paint types, note seasonal factors, run quality checks, ask contractor questions, and follow maintenance tips so chips don’t return.
Frequently Asked Questions
Can Paint Chipping Indicate Pest Damage Like Termites or Carpenter Ants?
Yes — you can suspect pests; paint chipping sometimes signals termite or carpenter ant activity. You’ll need pest identification by inspection, then use prevention methods like moisture control, sealing entry points, and professional treatment if confirmed.
Can Mineral Salts (Efflorescence) Cause Interior Paint to Flake?
Like white frost on glass, yes — efflorescence causes interior paint to flake when salts draw moisture through masonry. You’ll need moisture control, remove salts, and repair the source to stop recurring paint failure.
Will Textured or Popcorn Ceilings Need Special Prep to Stop Chipping?
Yes — textured and popcorn ceilings need special prep: you’ll remove loose texture, clean and repair substrate, apply a bonding primer, and use proper textured ceiling preparation to prevent popcorn ceiling issues and guarantee paint adhesion.
Can Wallpaper Residue Under Paint Cause Recurrent Peeling?
Yes — wallpaper residue under paint can cause recurrent peeling. You’ll need thorough wallpaper removal because certain adhesive types (starch, methylcellulose, or heavy-backed pastes) will prevent proper paint adhesion unless fully cleaned and primed.
How Do Ventilation Upgrades (Fans, HRV) Affect Paint Longevity?
Better breathing: you’ll boost paint lifespan by reducing moisture. Upgrading fans and HRV improves humidity control and air circulation, preventing blistering, mold, and peeling, so you’ll protect finishes and maintain consistent, lasting wall coverage.
